



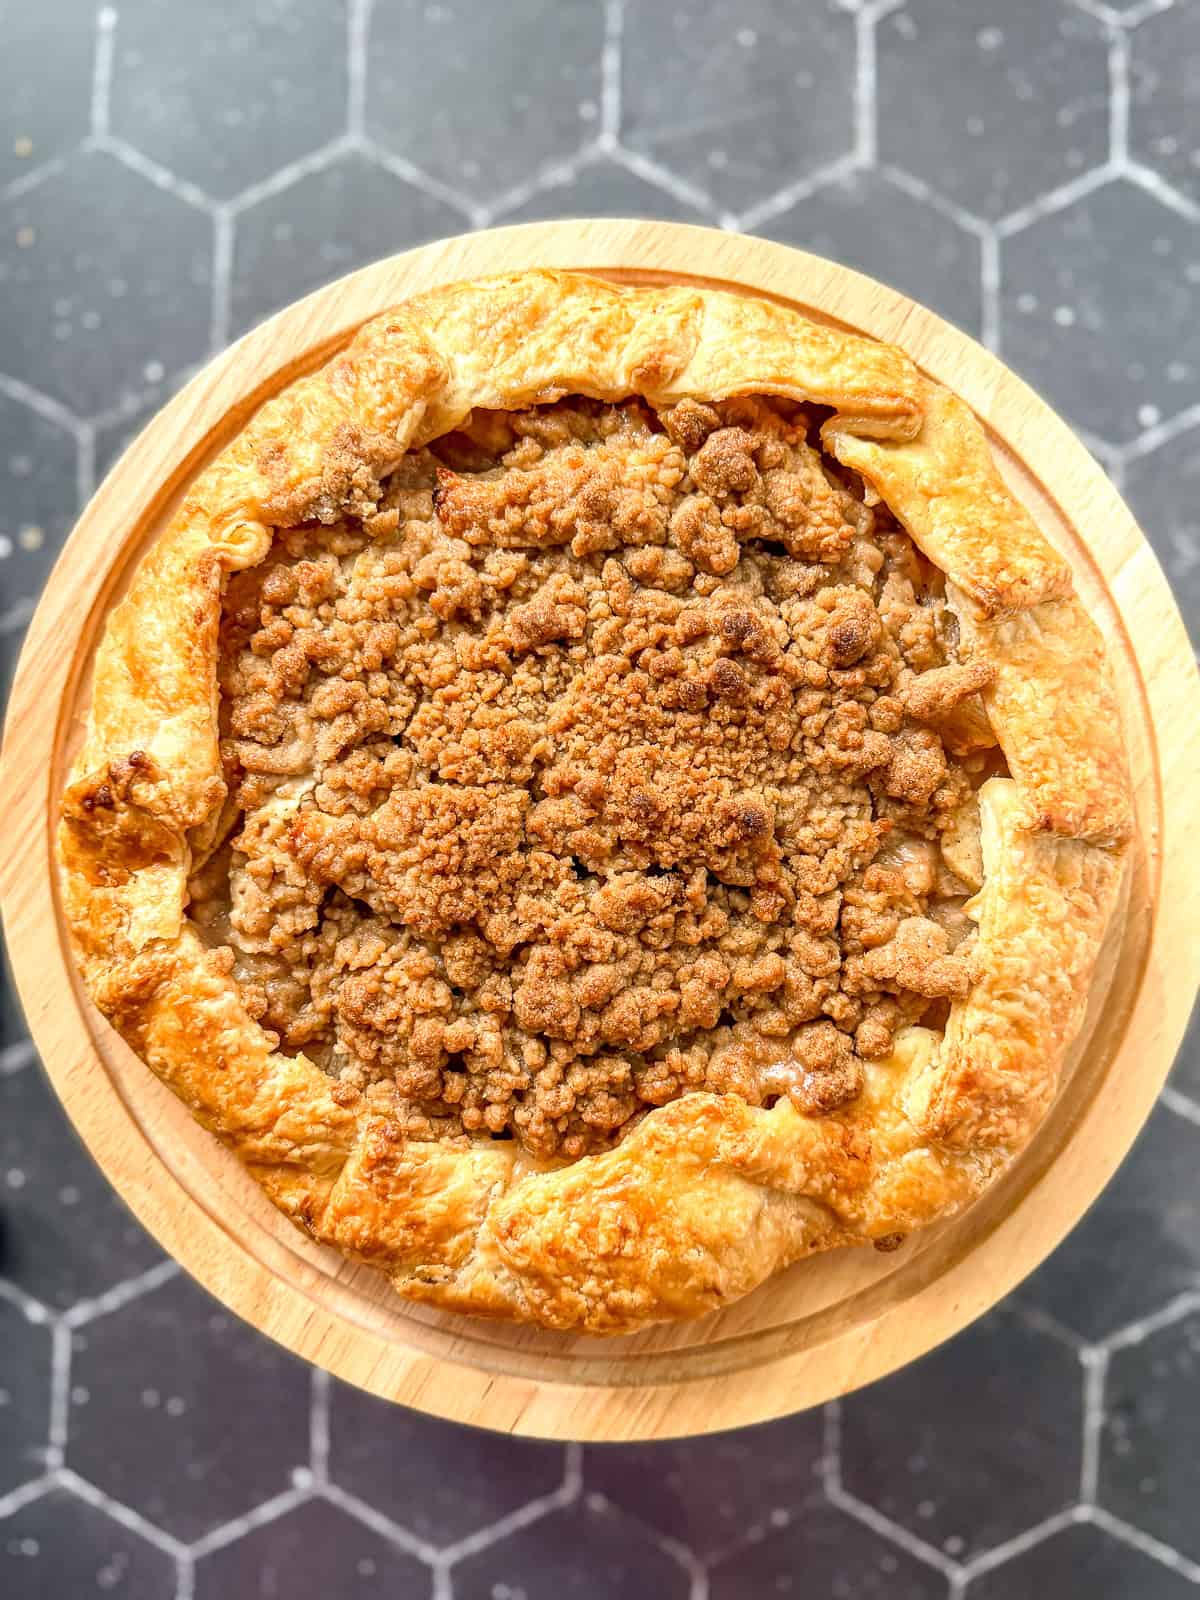
This Easy Apple Galette has thinly sliced cinnamon apples tucked into a flaky homemade crust and covered with buttery brown sugar streusel. It's everything I want from apple pie without the pie stress, and takes about 30 minutes of hands-on prep before chilling and baking.
Save this recipe for later
Enter your email and I'll send this recipe straight to your inbox.
An Apple Galette is basically a free-form apple pie, which means there is no pie plate, no top crust, and no need to make anything look perfect. Roll out the pastry, pile the apples in the middle, add a generous amount of streusel, fold up the edges, and bake it until the crust is golden and the apples are tender.
My first successful apple pie was actually a galette. This came after an unfortunate attempt involving big chunks of apples, store-bought dough, and what can only be described as raw apple soup wrapped in a couple of wet hand towels. A galette is much more forgiving, and this Apple Galette with Streusel is basically that first successful pie minus the trauma.
Jump to:
Why you'll love this recipe
- Easy - A galette gives you everything you love about apple pie without fitting dough into a pie plate, crimping edges, or making a top crust.
- Flaky - Very cold butter and a couple of short trips to the refrigerator give the homemade crust lots of crisp, flaky layers.
- Streusel - Buttery brown sugar and cinnamon streusel adds another layer of crunch on top of the tender apples.
- Forgiving - Uneven edges, imperfect folds, and little patches in the dough are not only allowed, they're kind of the whole point.
- Versatile - Serve it for breakfast or brunch with coffee, or add vanilla ice cream and call it dessert.
Ingredients & Substitutions
These are the ingredients you'll need to make this apple galette. Let's go over some of them and where you have some room to make substitutions.
- All-purpose flour - You'll use it in both the crust and the streusel. Regular all-purpose flour gives the pastry enough structure while still allowing it to bake up tender and flaky.
- Cold unsalted butter - Cold is doing a lot of work in this recipe. Cold butter in the crust creates flaky layers, and cold butter in the streusel gives you those crumbly clusters on top. If you only have salted butter, skip the additional salt.
- Ice water - Keep it really cold. I actually add ice to my water before measuring it because there is no sense putting cold butter into your dough and then warming everything back up with room temperature water.
- Lemon juice or apple cider vinegar - A little acid helps keep the pastry tender. Either works well here. I add it directly to the ice water.
- Apples - Honeycrisp and Envy are my usual choices because they have a nice sweet-tart flavor and hold their shape during baking. Granny Smith, Pink Lady, Braeburn, or another firm baking apple will also work.
- Cornstarch - This thickens the juices released by the apples as they bake so they don't run all over your sheet pan or soak into the bottom crust. You can substitute with double the amount of flour, but don't skip the thickener.
- Cinnamon - I keep the spices simple and use cinnamon in both the apple filling and the streusel. You can add a little nutmeg, cardamom, or ginger if you'd like.
See recipe card below for a full list of ingredients and measurements.
Cynthia's Recipe Review
Apple pie has betrayed me more than once. This recipe gives me a flaky crust, cinnamon apples, and buttery streusel without any of the pie trauma, so I'm calling that a win.

Equipment You'll Need
One reason I love a galette is that you really don't need much equipment. A food processor makes the pastry quick and keeps your warm hands away from the butter, but you can absolutely make the dough by hand with a pastry cutter or your fingers.
You'll also need a rolling pin, parchment paper, and a large rimmed sheet pan. A melon baller is surprisingly handy for neatly removing apple cores, but a small spoon or paring knife works just fine.
Step-by-Step Instructions
There are three basic parts here: the crust, the streusel, and the apples. None of them is difficult, and the process pictures will show you what everything should look like along the way.
Make the crust
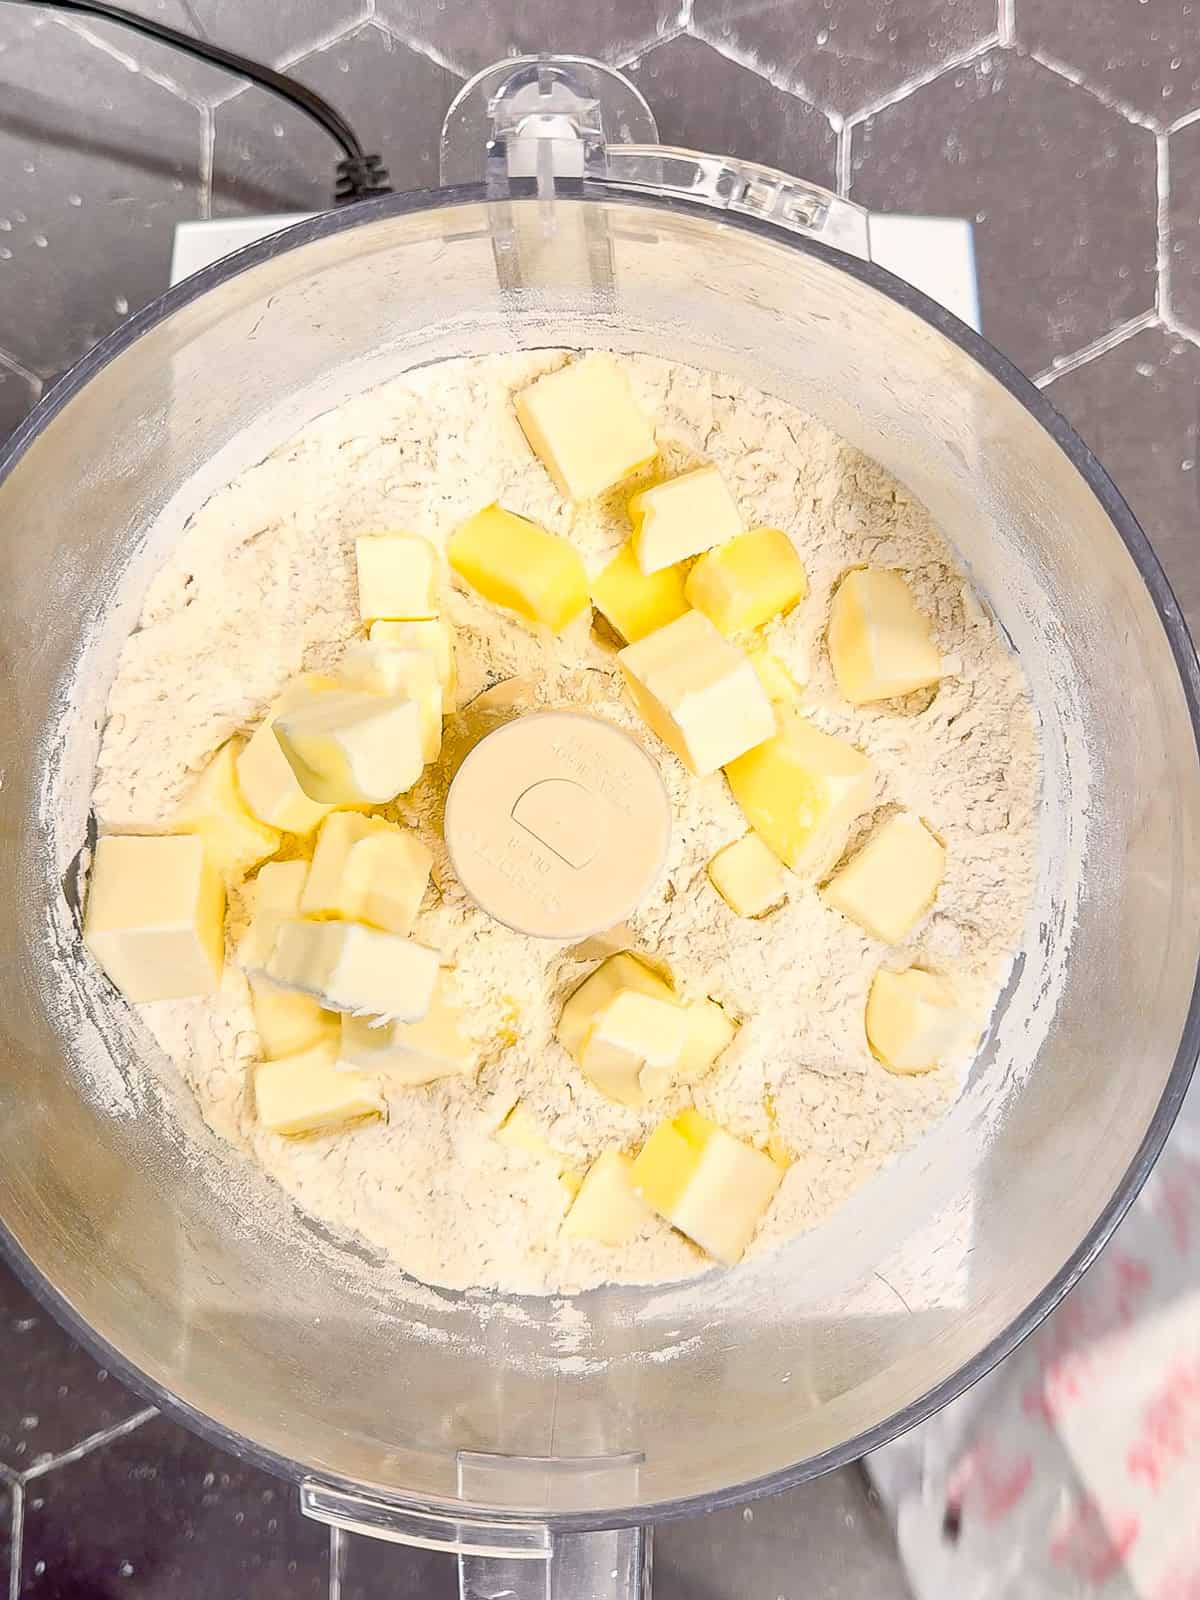
Step 1: Add all-purpose flour, granulated (caster) sugar, salt, and 10 tablespoons very cold unsalted butter to a food processor. Pulse about 5 or 6 times, until the mixture looks crumbly but you can still see small pieces of butter.
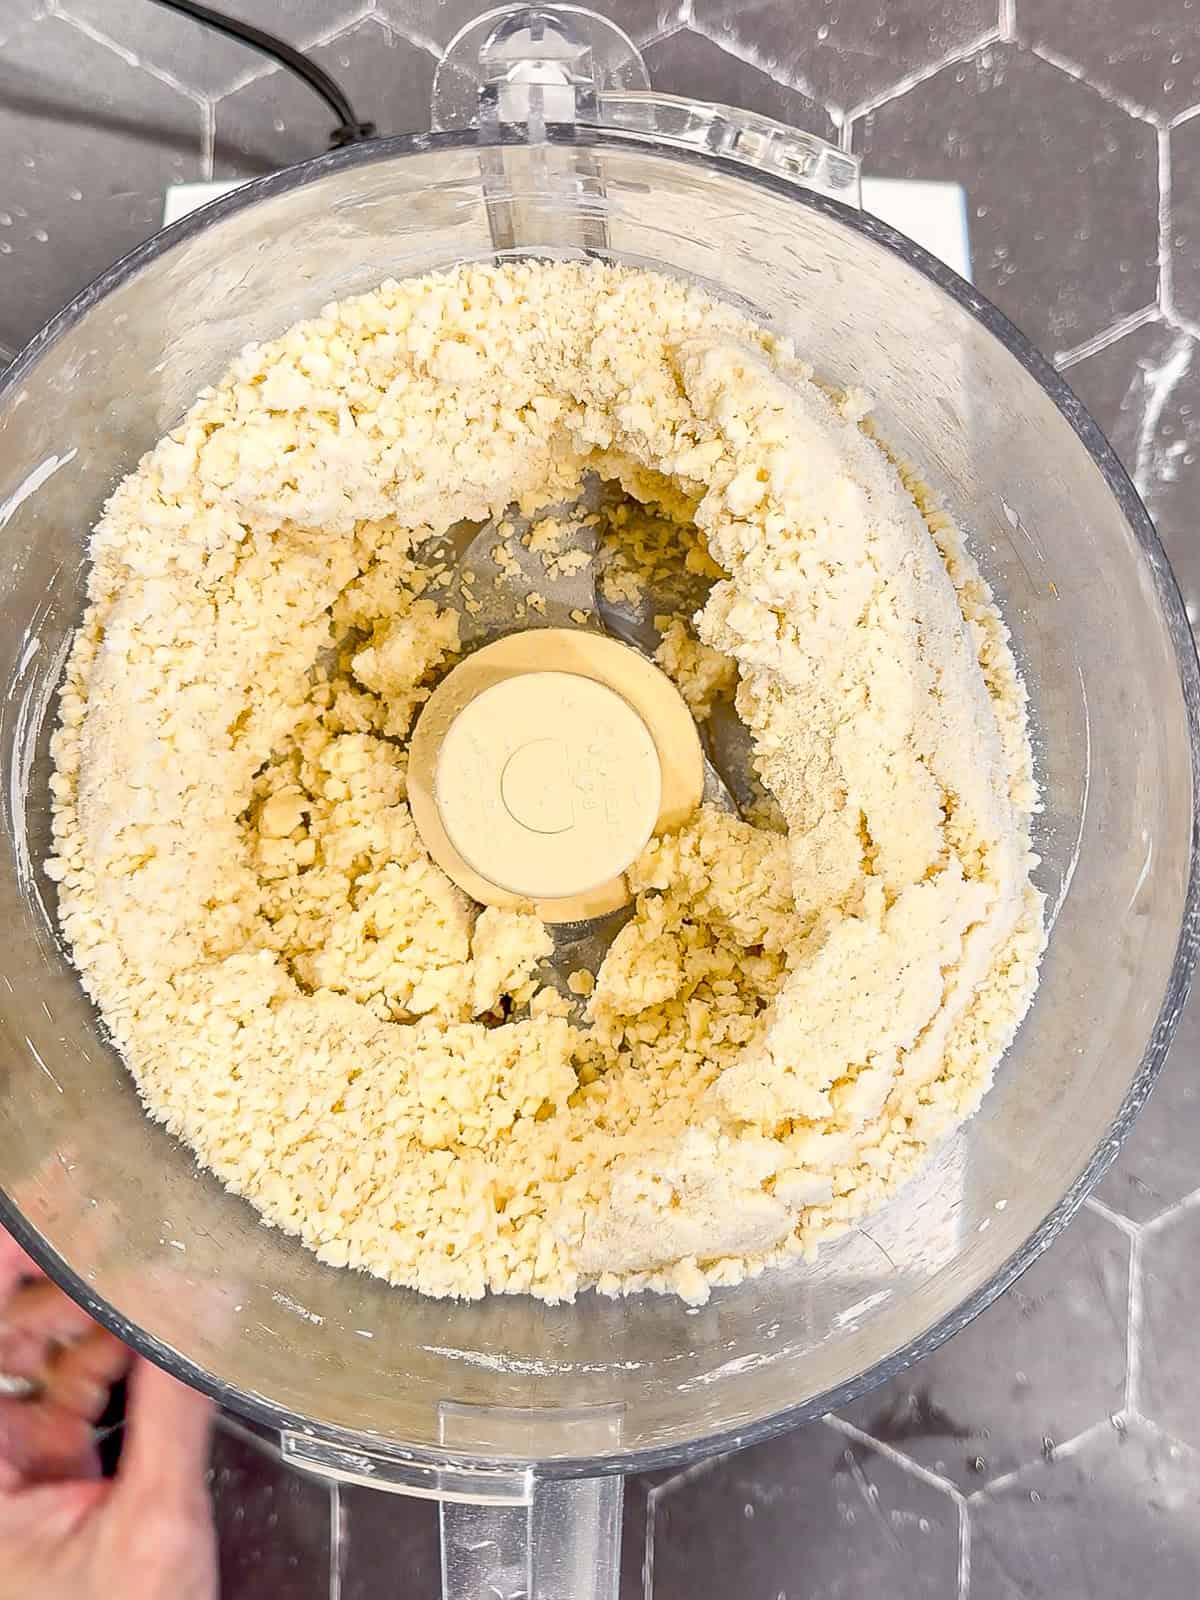
Step 2: Mix ice and ice water with 1 teaspoon lemon juice or apple cider vinegar. With the food processor running, slowly drizzle in the cold water mixture just until the dough begins to clump together, about 10 seconds. You might not need every drop of water. Stop as soon as the dough starts to come together.
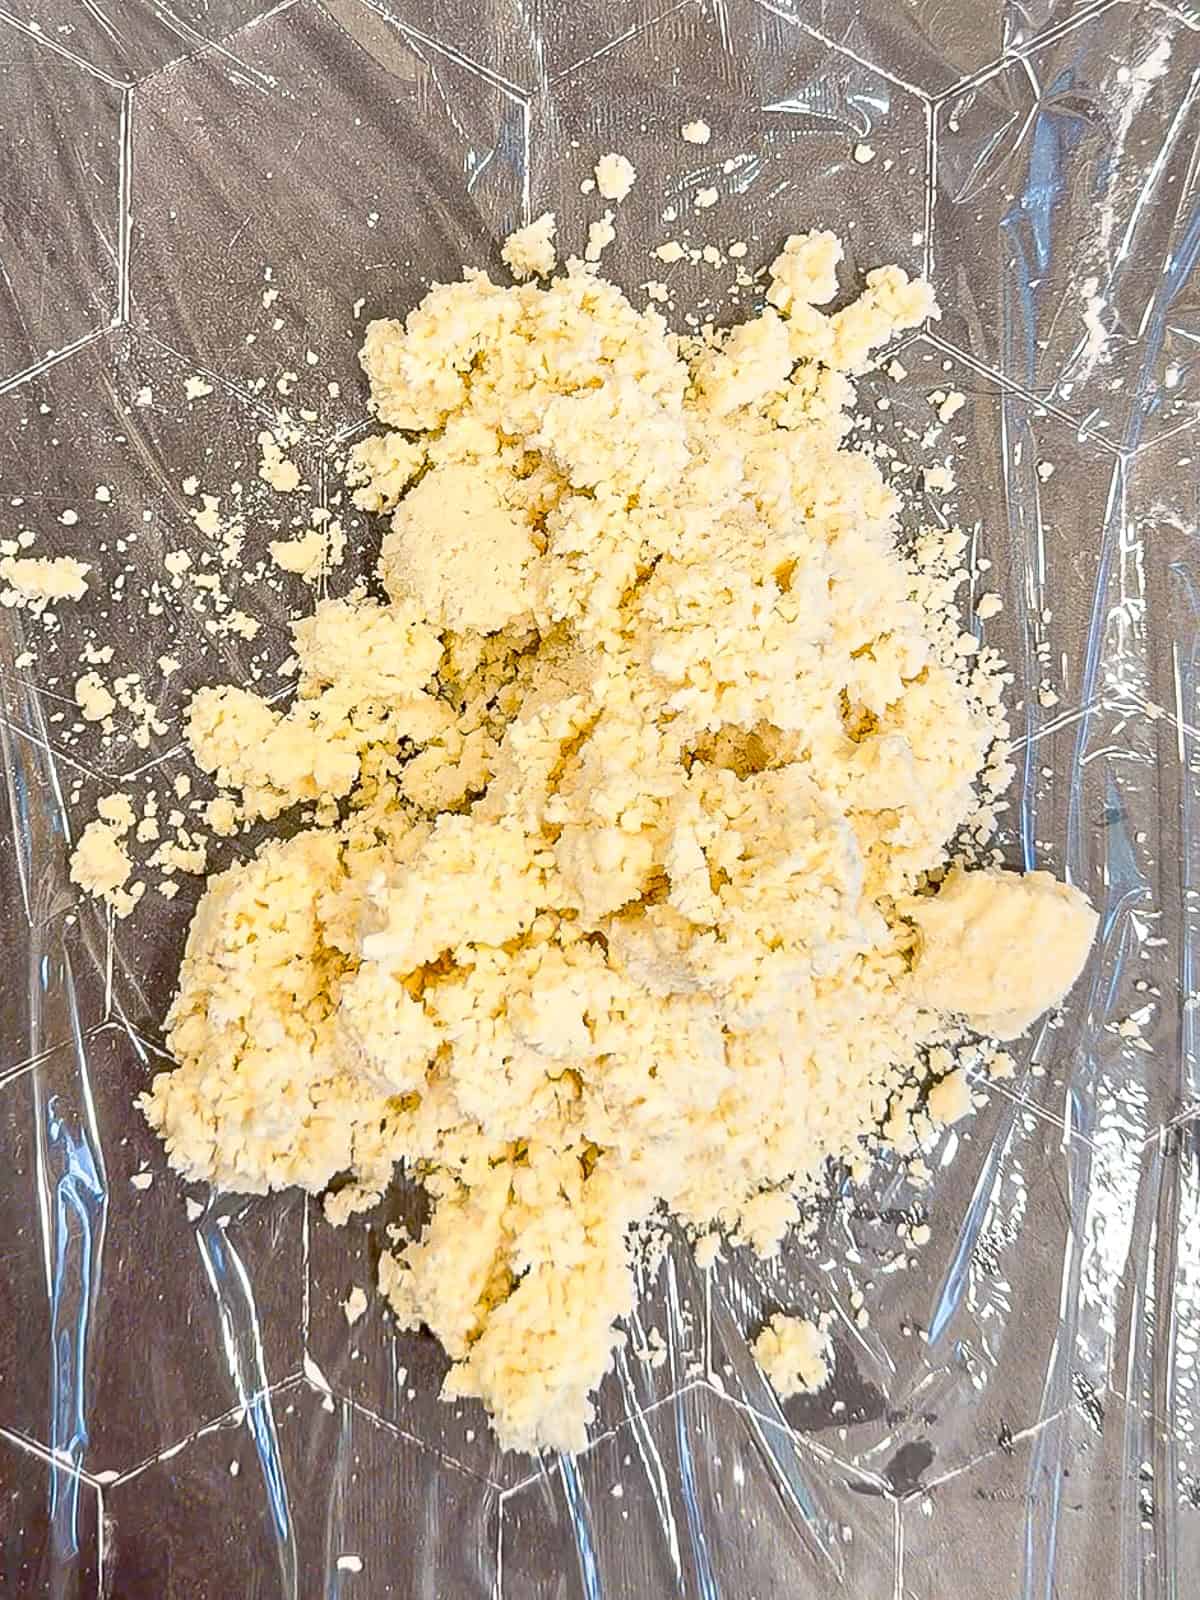
Step 3: Dump the dough onto a piece of plastic wrap. There may still be some loose, floury bits, but that's fine. Use the plastic wrap to help press everything together, shape the dough into a disc, wrap it tightly, and refrigerate for at least 30 minutes.
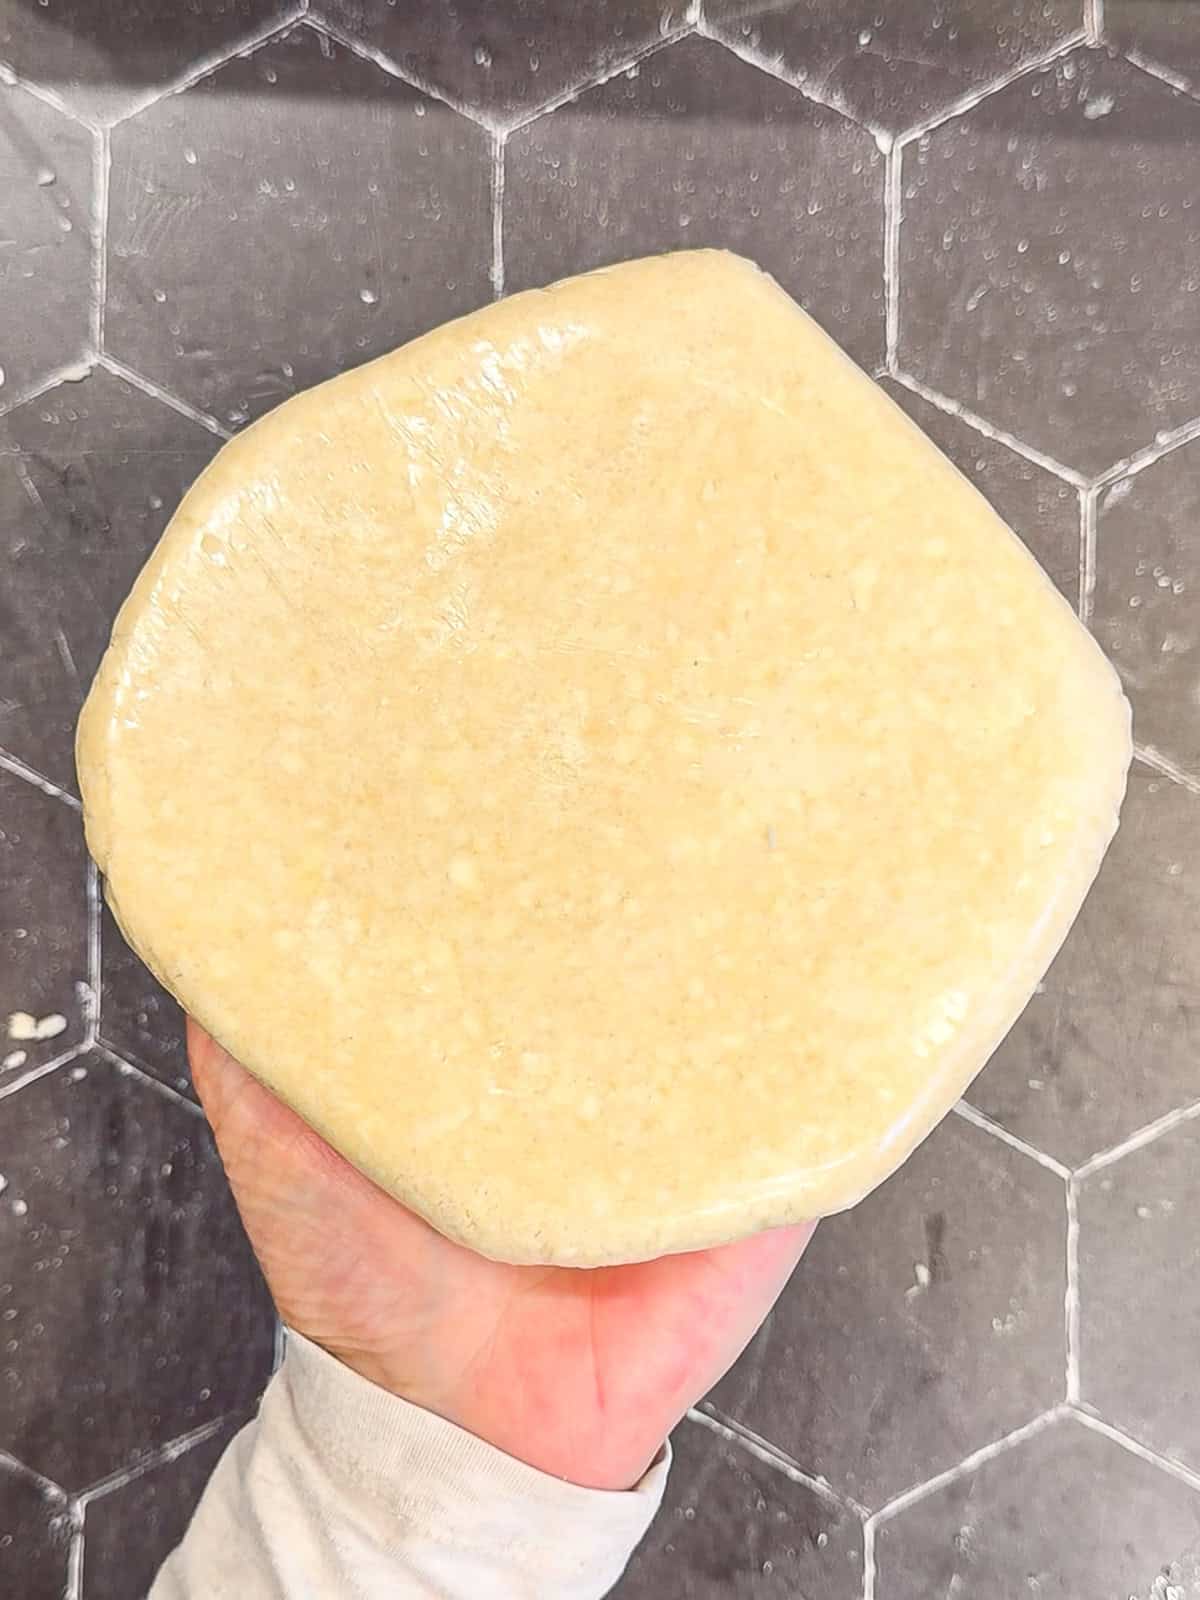
Step 4: Use the plastic wrap to help press everything together, shape the dough into a disc, wrap it tightly, and refrigerate for at least 30 minutes.
Make the streusel
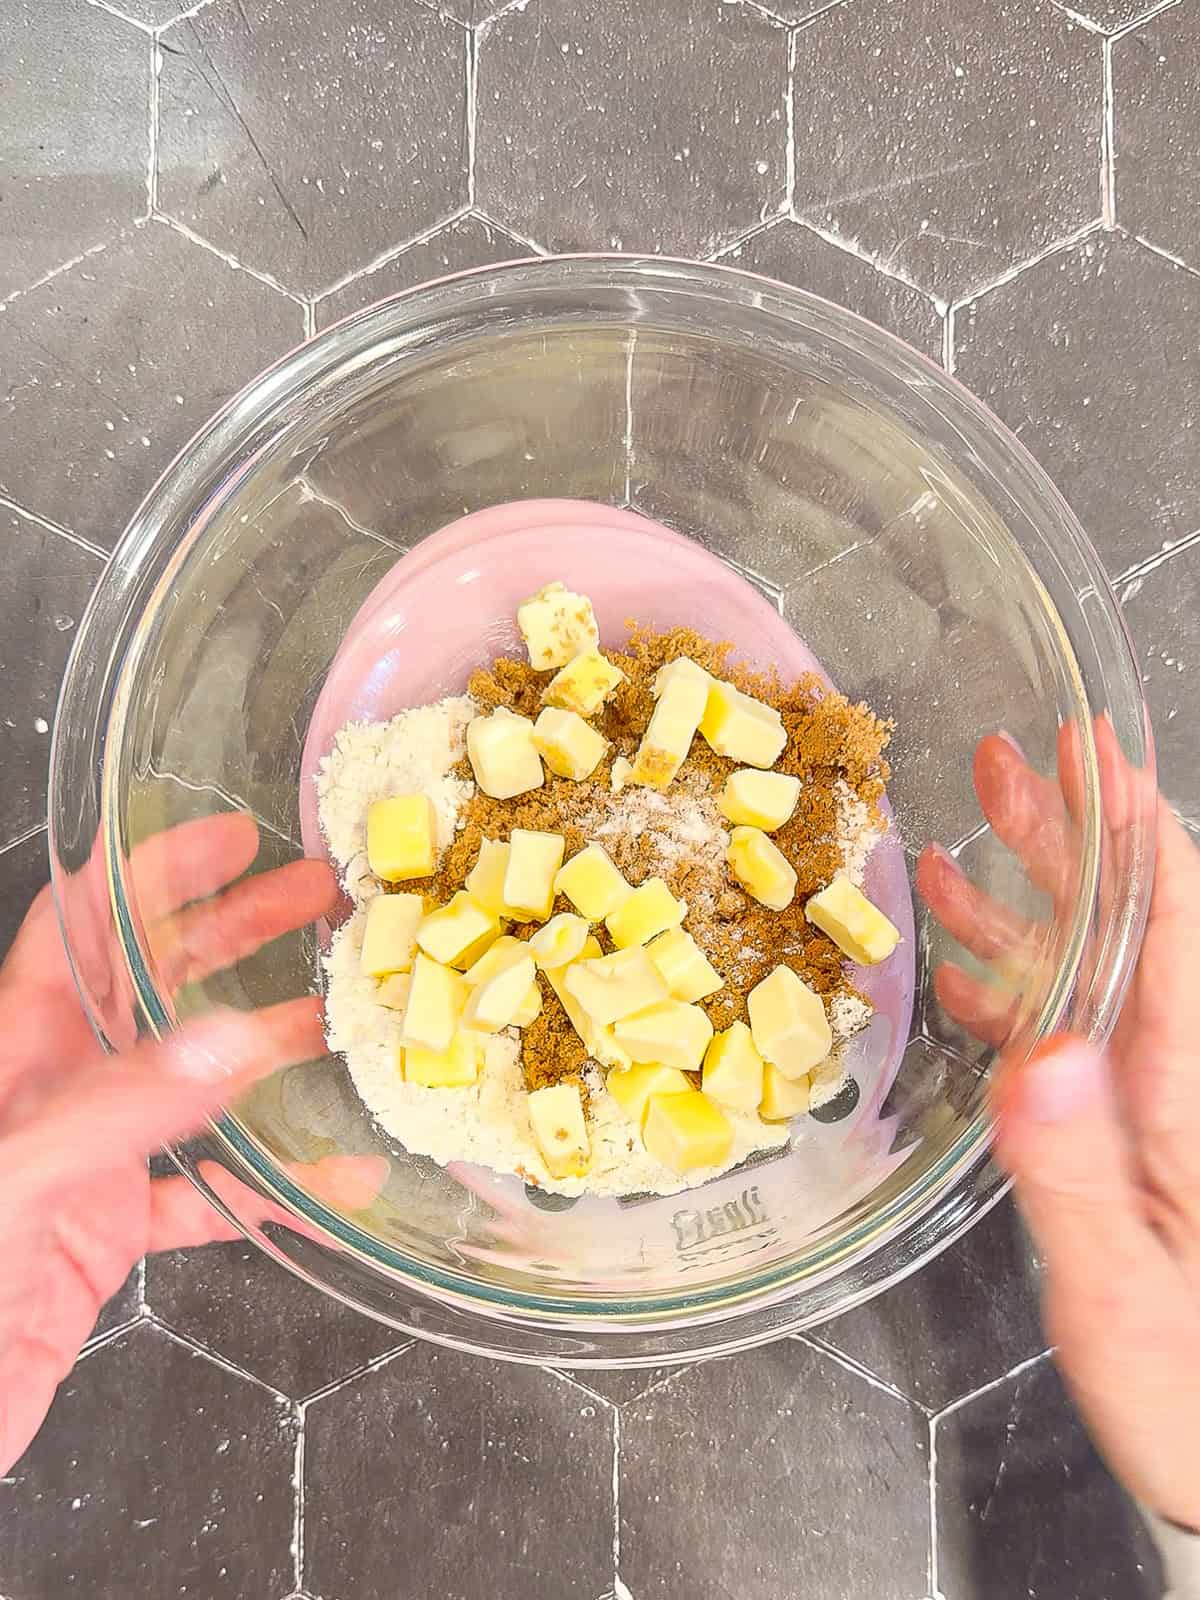
Step 5: Combine all-purpose flour, granulated sugar, brown sugar, cinnamon, a tiny pinch of kosher salt, and the butter in a medium bowl.
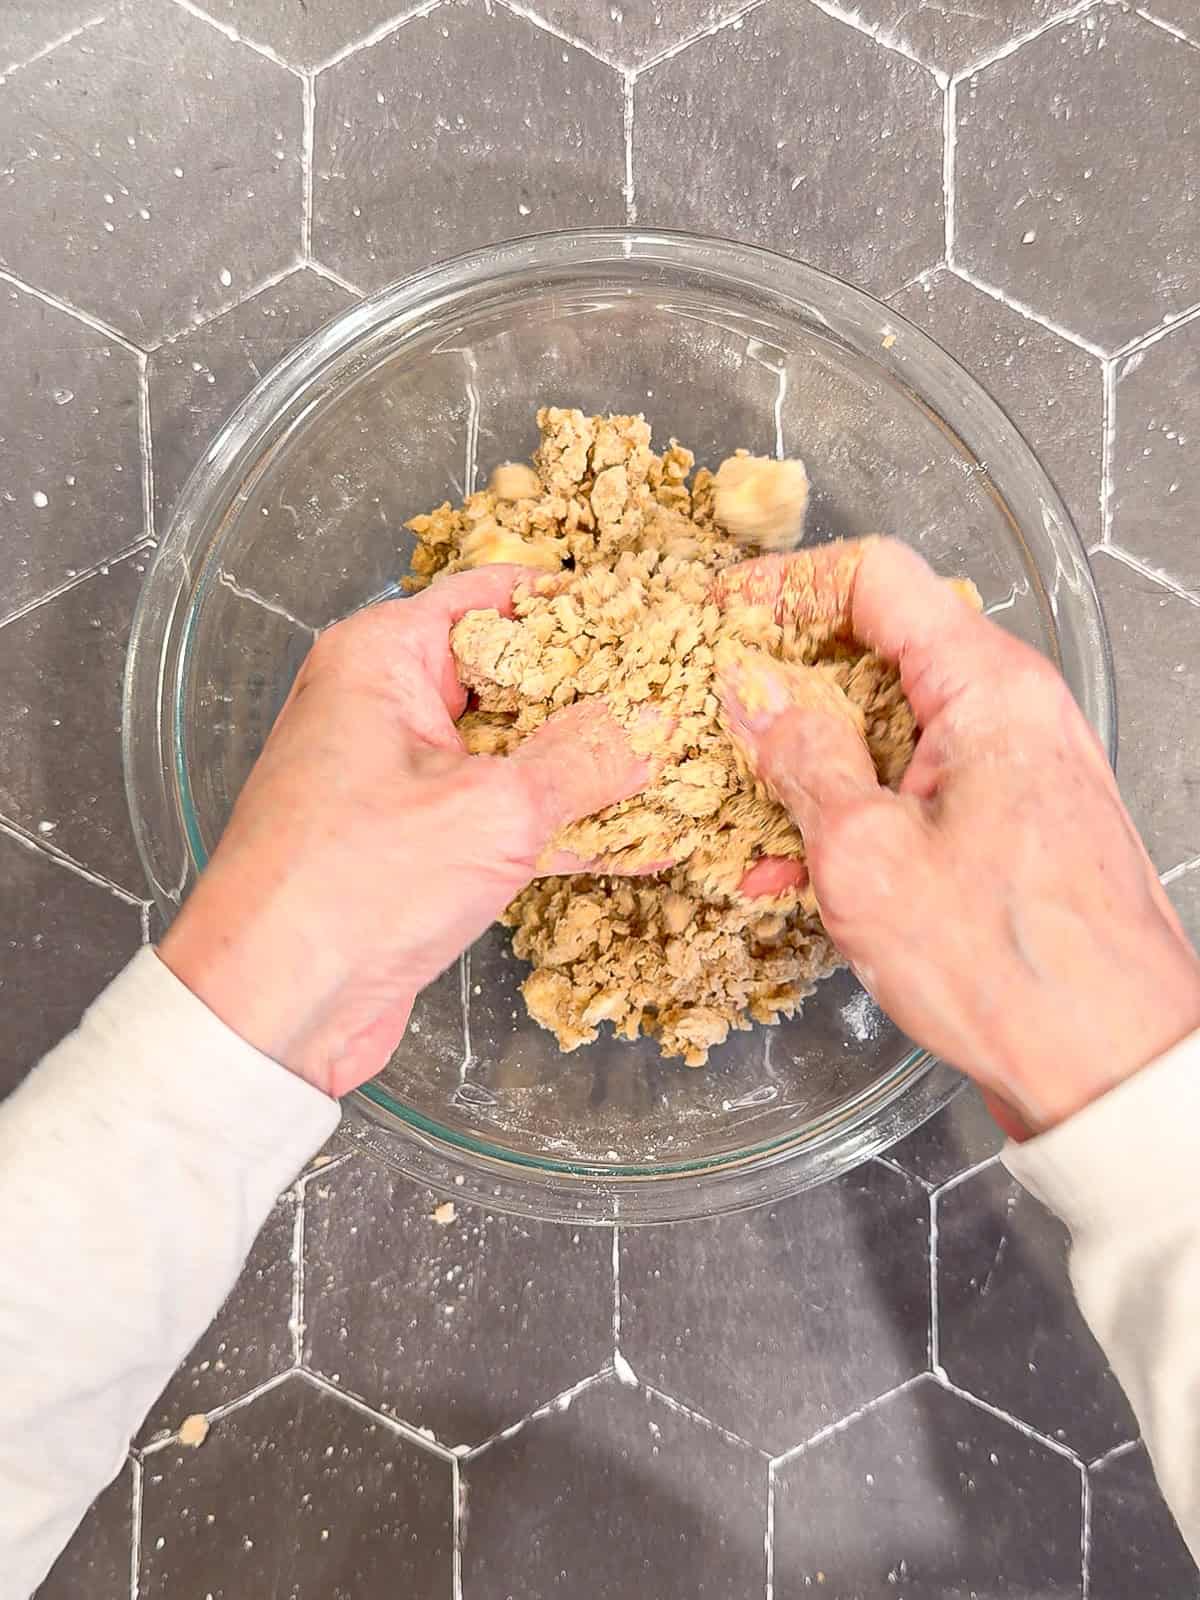
Step 6: Use a pastry cutter or your fingers to work it into the dry ingredients until the mixture is crumbly with no large pieces of butter or dry pockets of flour. Refrigerate the streusel while you prepare the apples.
Prepare the apple filling
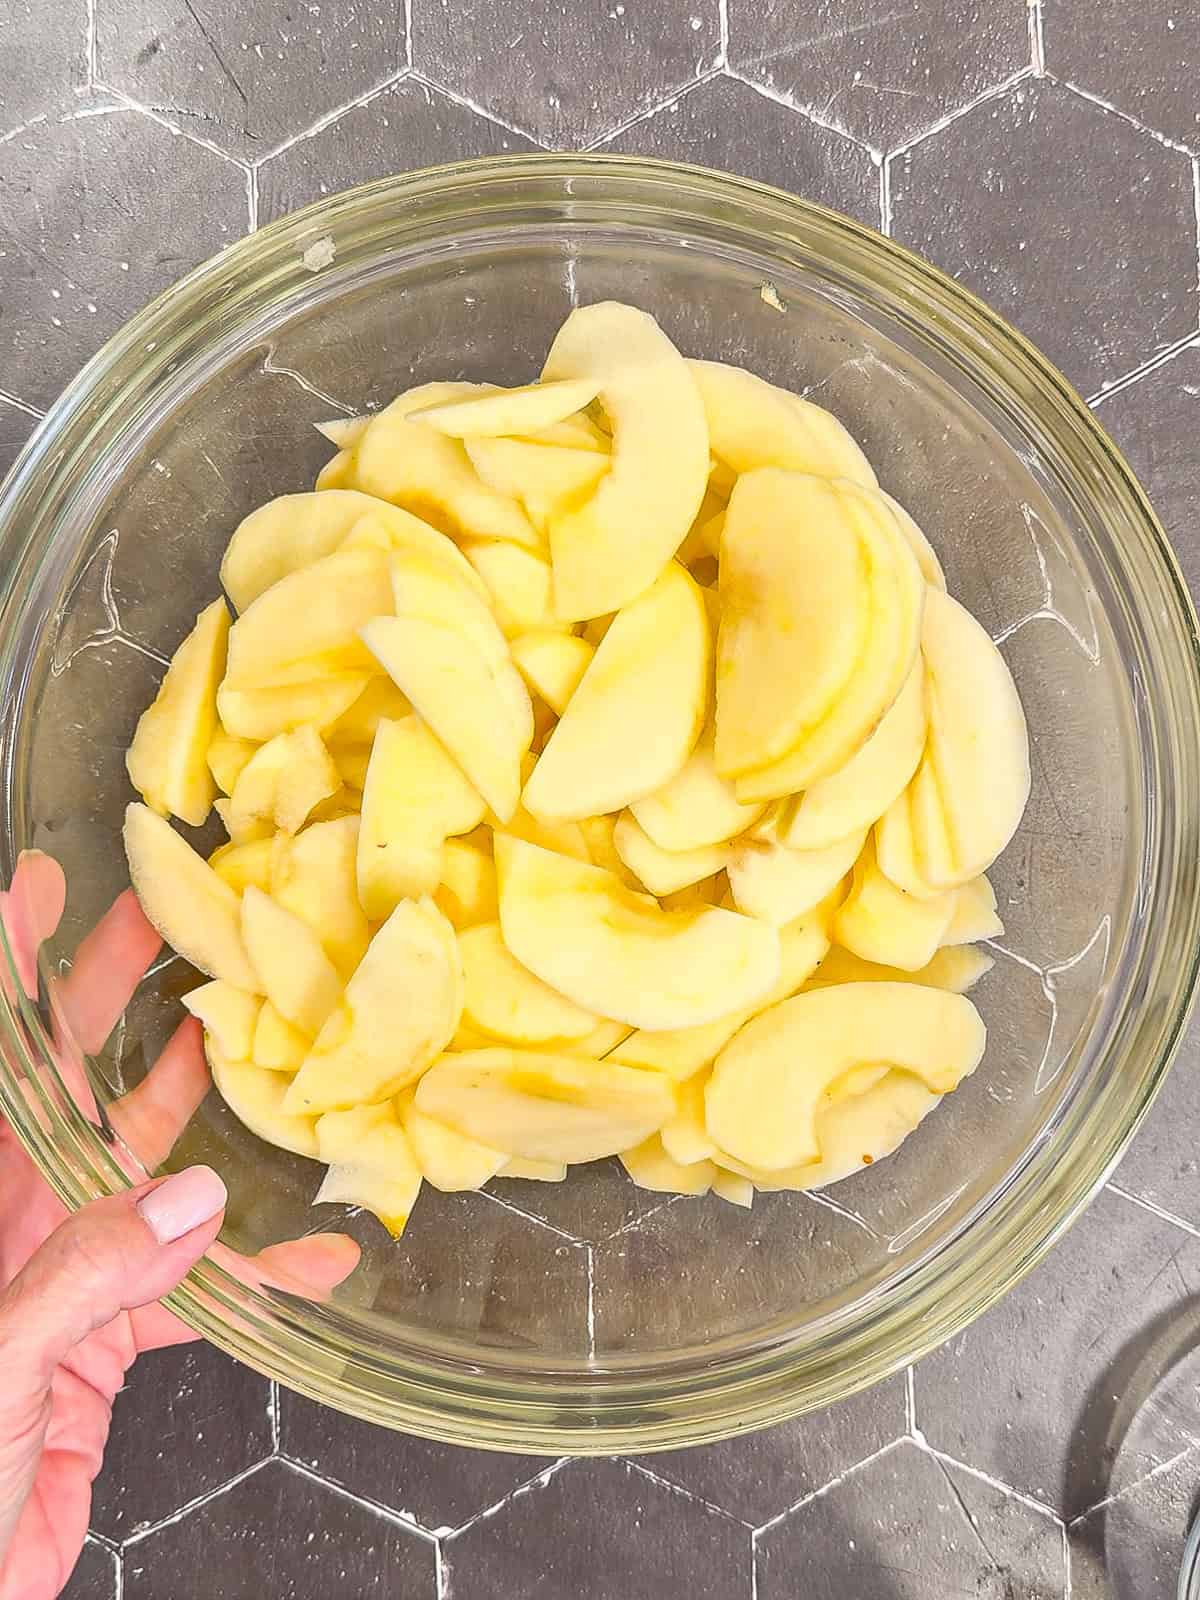
Step 7: Peel 3 to 4 apples, cut them in half, and remove the cores. I like to use a melon baller for this, but a small spoon works too. Slice the apples about ¼ inch thick.
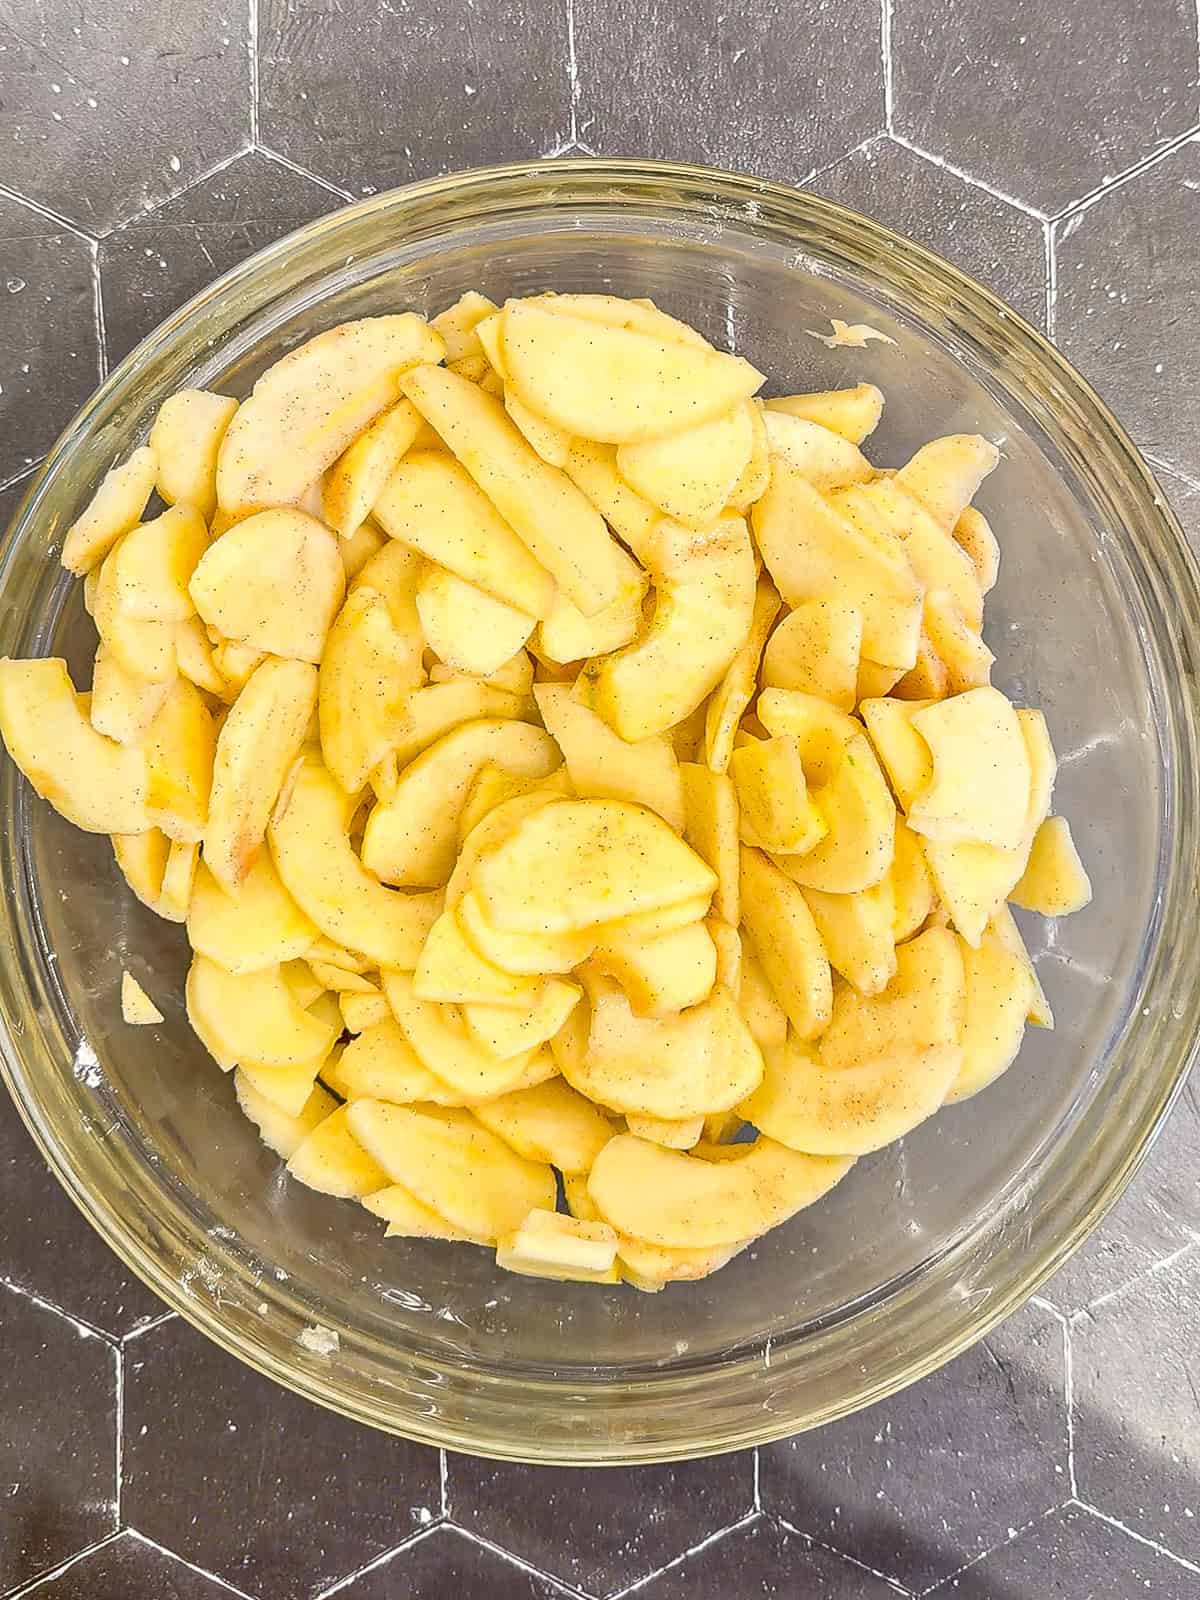
Step 8: Toss the sliced apples with granulated sugar, cornstarch, cinnamon, and salt until evenly coated.
Assemble the galette
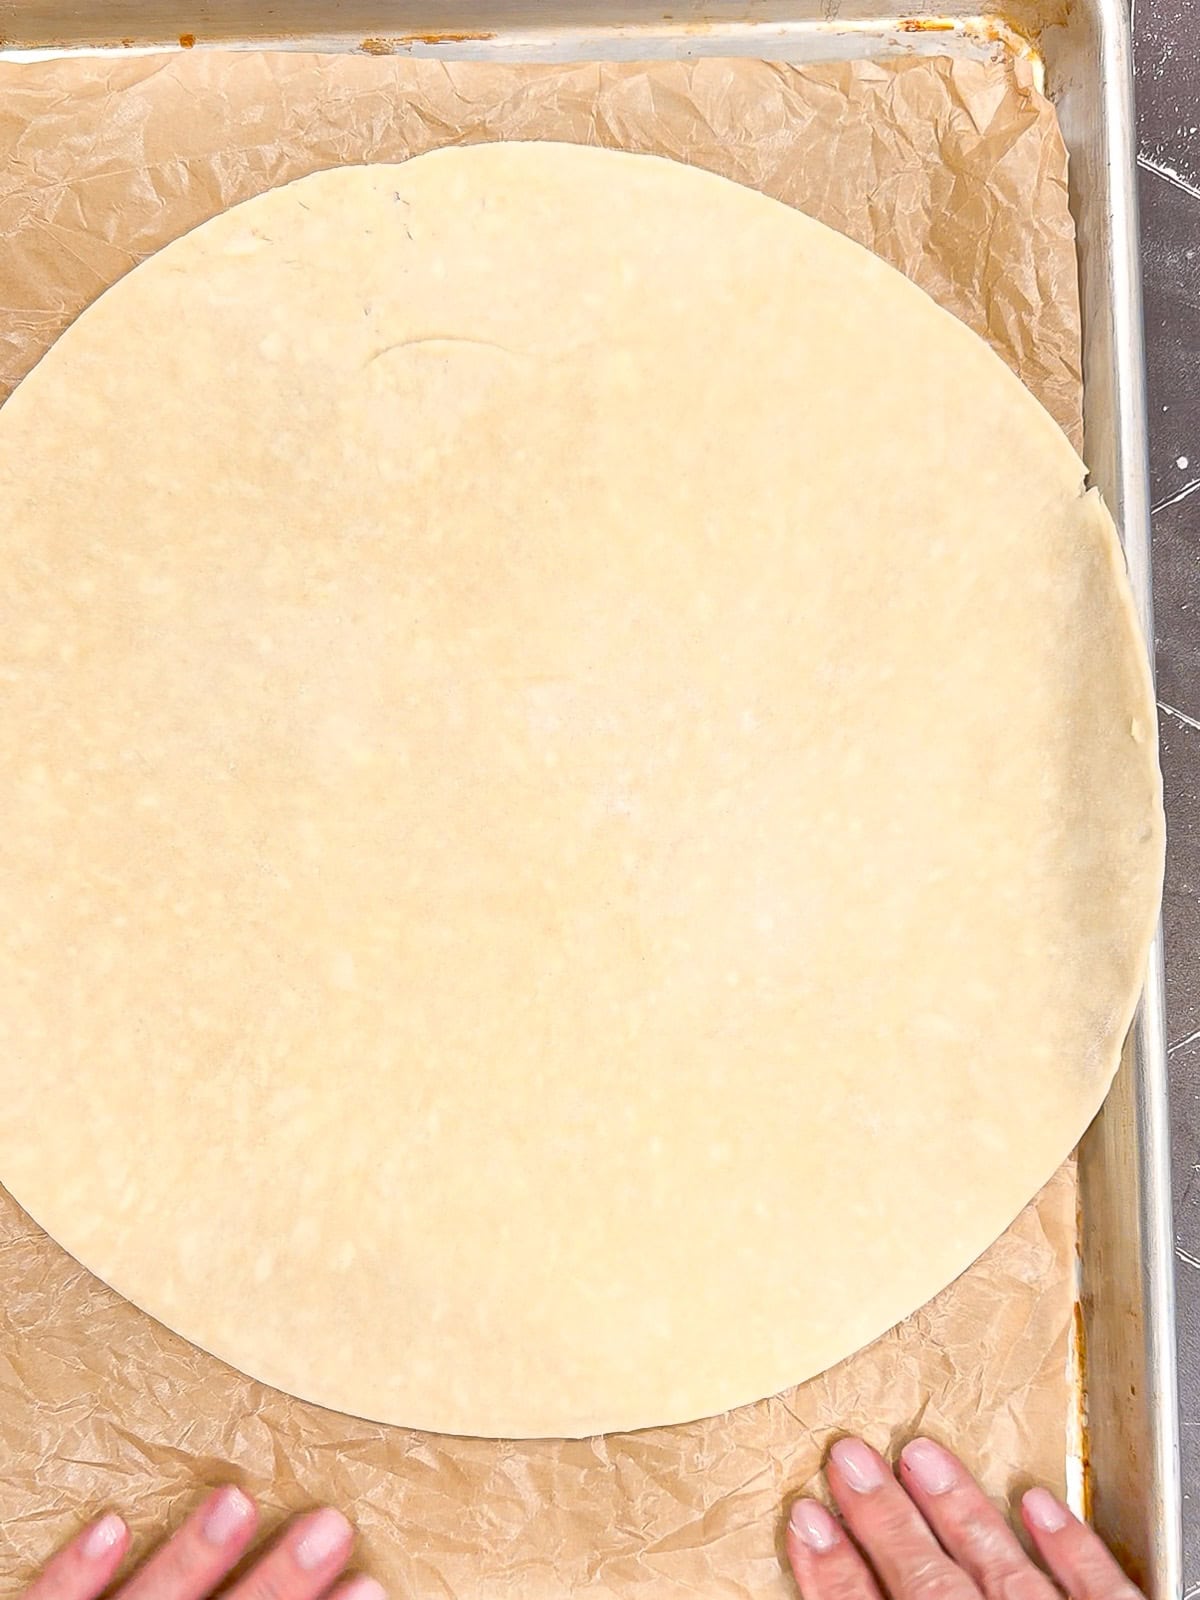
Step 9: Roll the dough into a rough 14-inch circle. It does not have to actually be a perfect circle. Transfer to parchment paper and move onto a large rimmed sheet pan. It will hang over a bit on the sides.
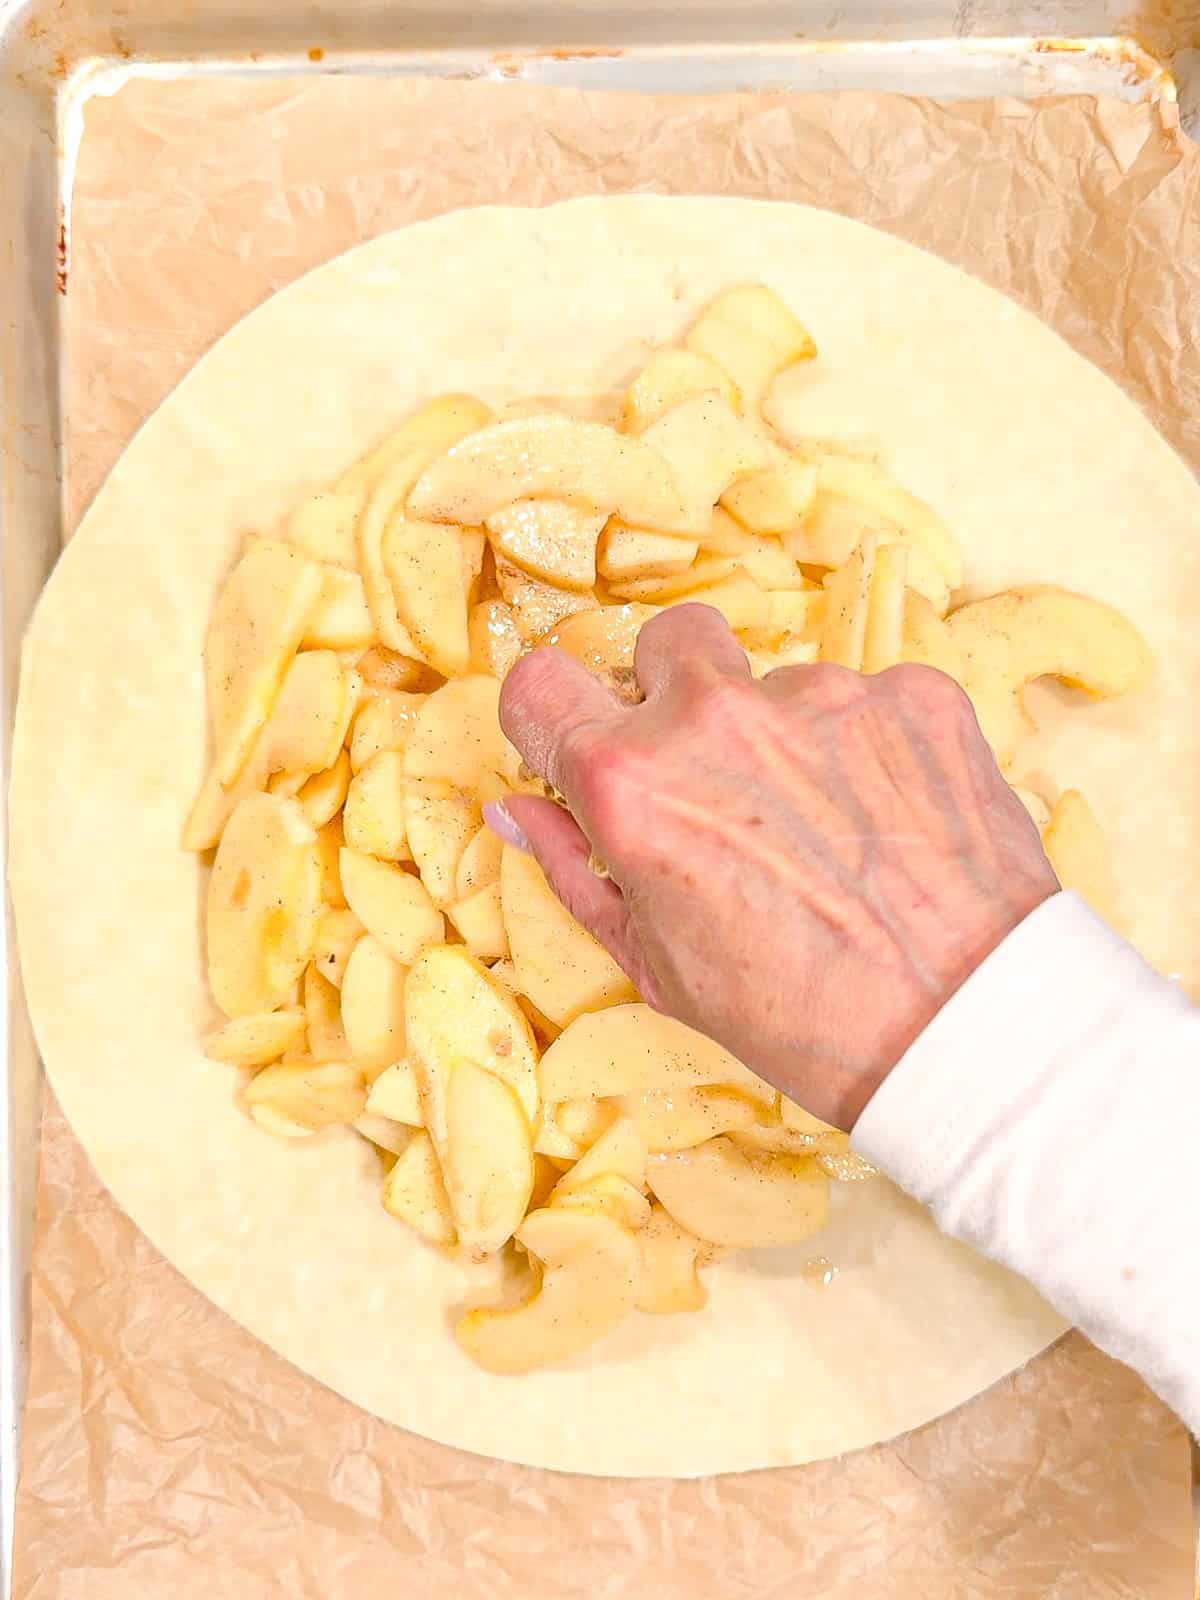
Step 10: Arrange the apples in the center of the dough, spreading them out and leaving about a 2-inch border all the way around. Dot the apples with 2 tablespoons unsalted butter cut into small pieces.
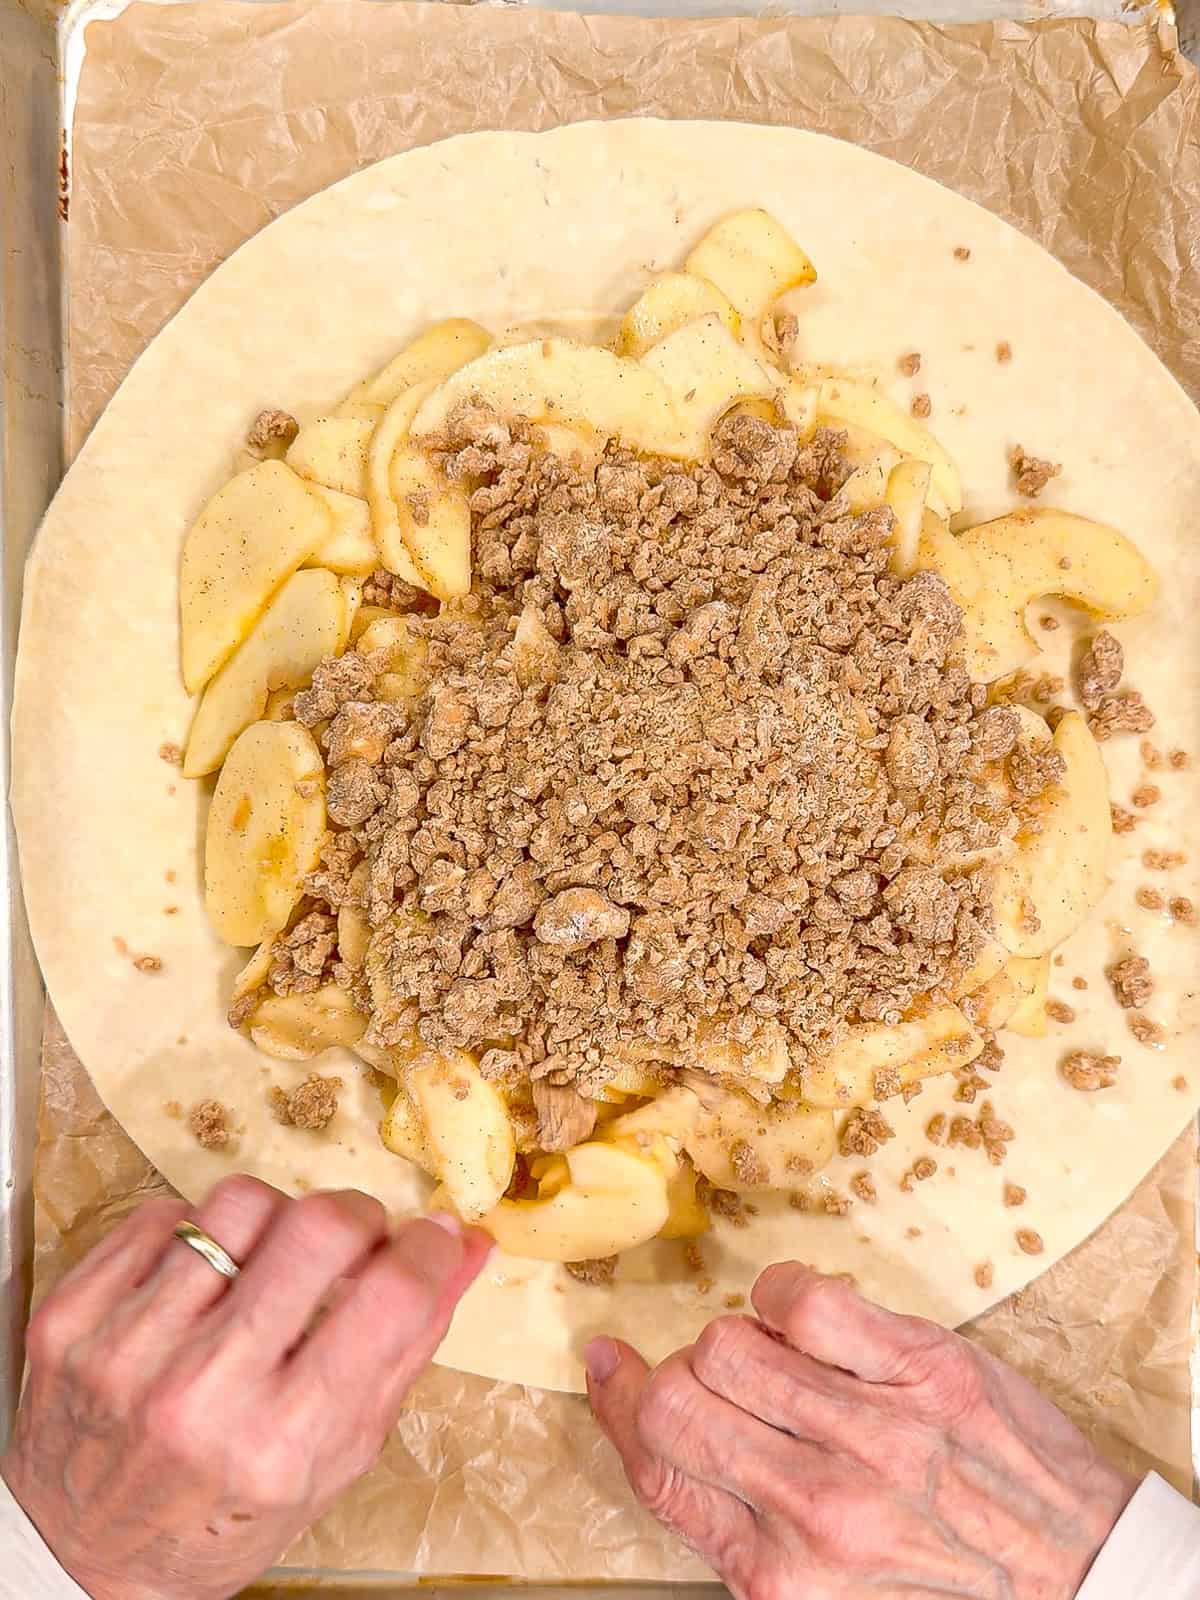
Step 11: Sprinkle the cold streusel generously over the apples.
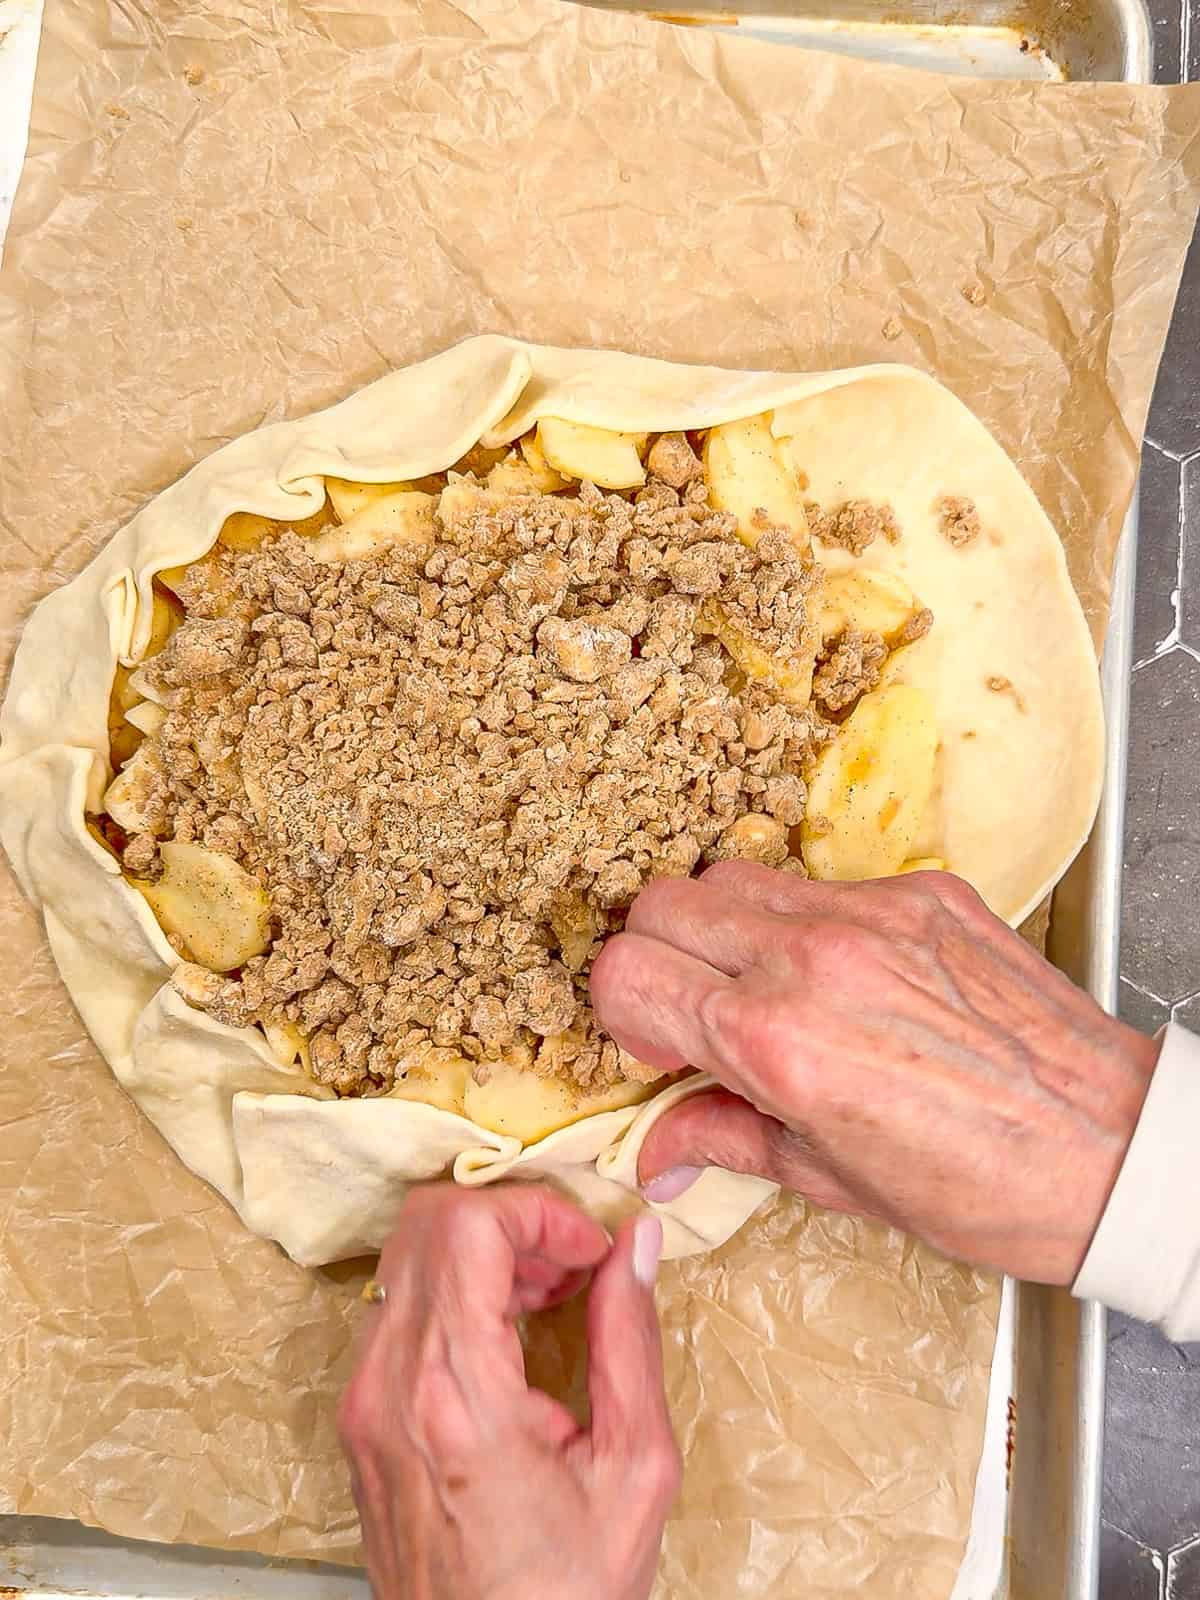
Step 12: Bring the outside edge of the dough up and partially over the apples, overlapping the pastry as you work your way around.
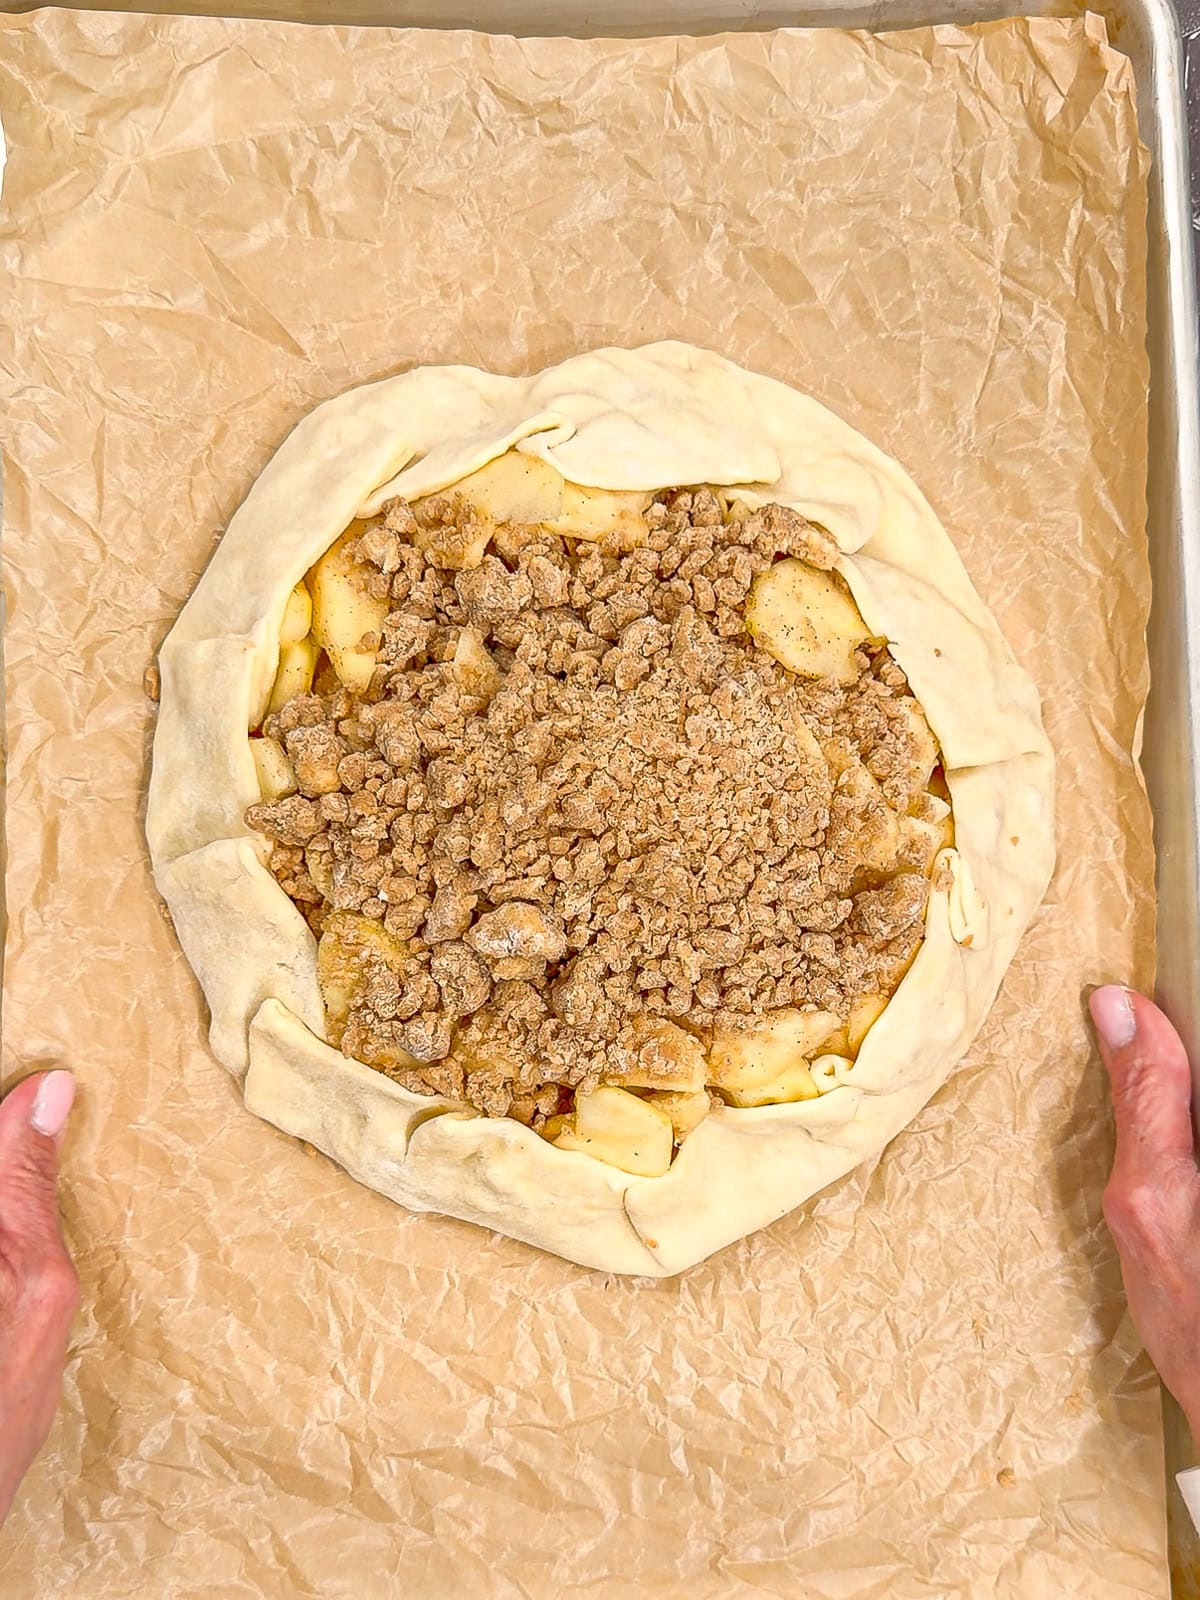
Step 13: Place the entire galette in the refrigerator for 15 minutes while you preheat your oven to 400°F.
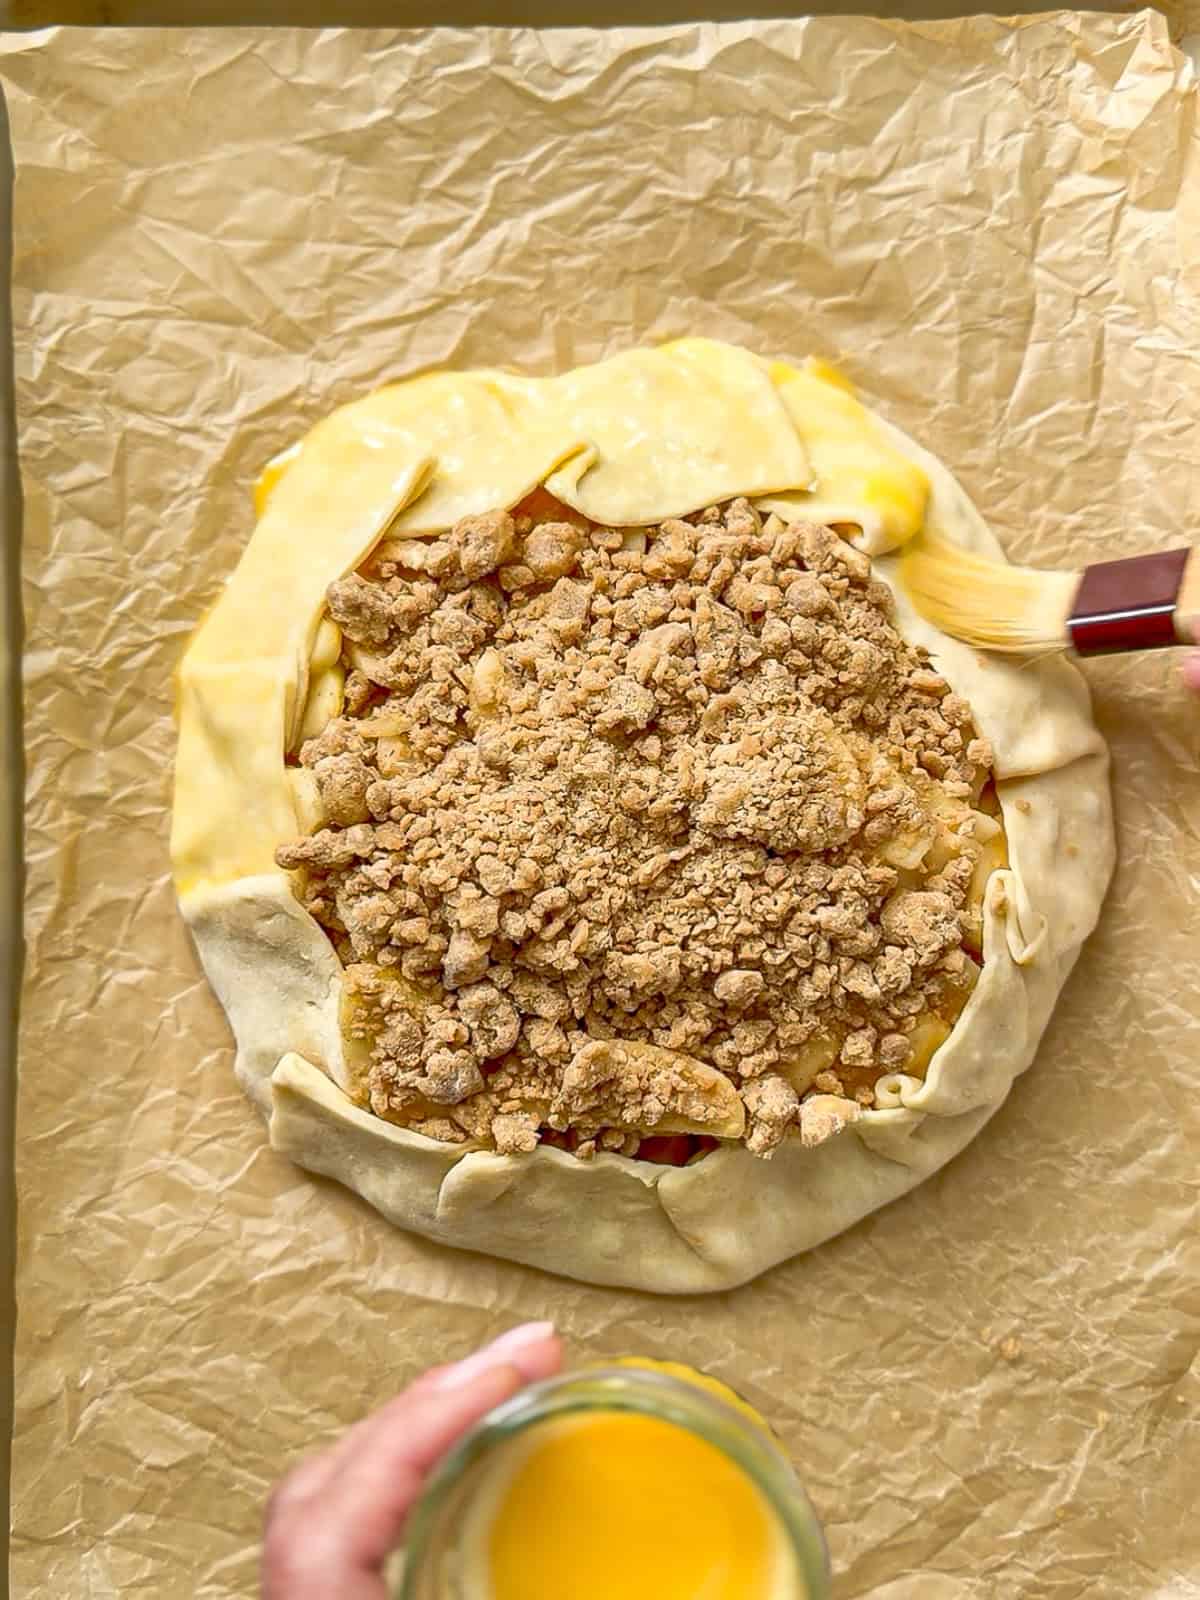
Step 14: Whisk 1 large egg with 1 teaspoon water. Brush the exposed crust with the egg wash. Bake at 400°F for 45 minutes to 1 hour, or until the crust is deeply golden and crisp, the apple filling is bubbling, and the apples are tender when pierced with the tip of a knife.
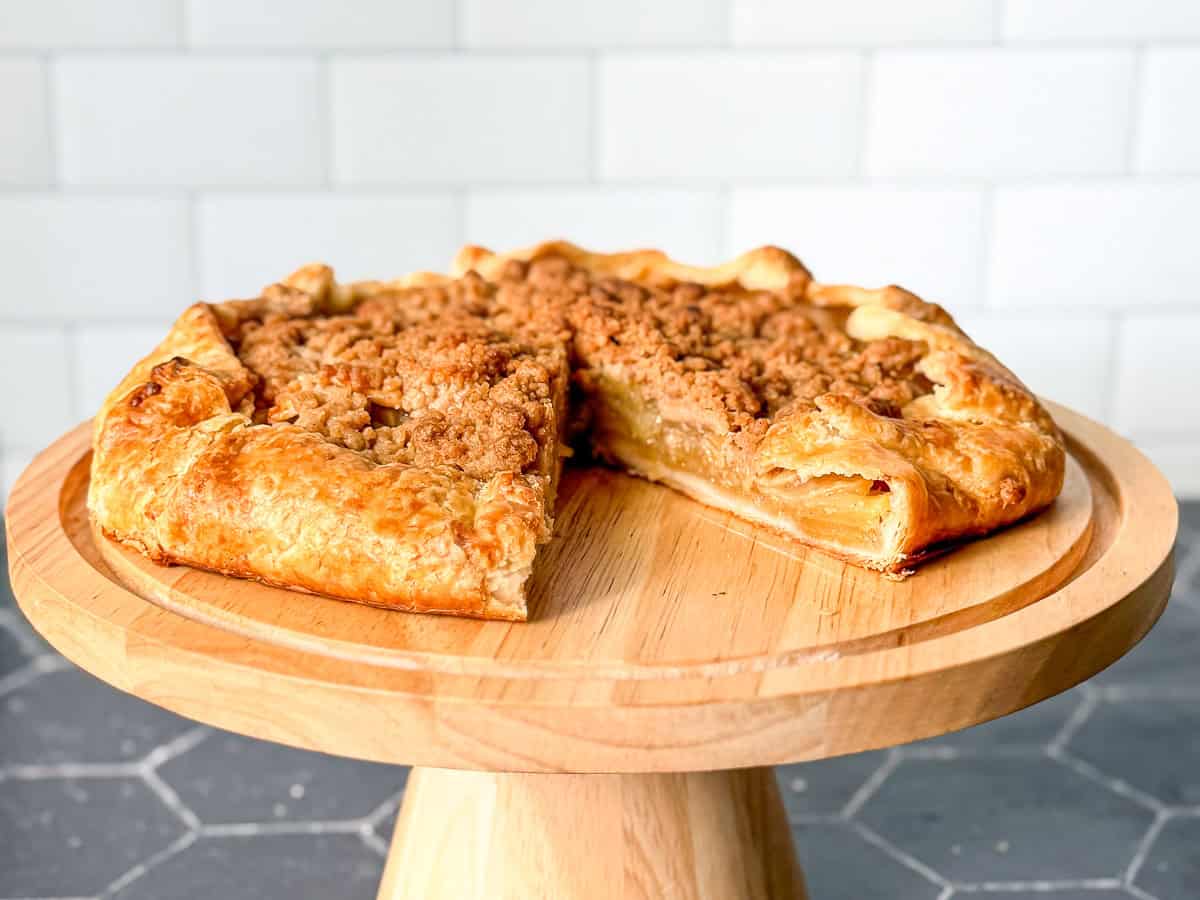
Enjoy: Allow the galette to cool for at least 15 to 30 minutes before slicing. Serve it warm or at room temperature as it is, or dollop with a bit of sweetened yogurt to firmly place it in the breakfast category. Add vanilla ice cream or softly whipped cream and you'll easily move in a dessert direction.
How to prevent a soggy galette
- A soggy bottom usually comes down to too much liquid, pastry that has gotten too warm, or simply not baking the galette long enough.
- The cornstarch in this filling thickens the juices released by the apples, and chilling the assembled galette helps keep the butter in the crust cold until it reaches the oven.
- Most importantly, make sure your oven is completely preheated and bake until the bottom and edges of the crust are well browned and the apple juices are visibly bubbling.
- Finally, give the galette at least 15 minutes to cool before slicing it. Cutting it immediately lets all those hot juices run before they have a chance to thicken and settle.
Cynthia's Helpful Tips
- Keep everything cold - Cold butter makes flaky pastry. If the dough starts to feel soft or greasy while you're working with it, put it back in the refrigerator for 10 minutes.
- Slice evenly - Aim for apple slices about ¼ inch thick so they become tender without disappearing into applesauce.
- Don't skip the final chill - Refrigerating the assembled galette for 15 minutes gives the butter another chance to firm up before it hits the hot oven.
- Use the cornstarch - It thickens the apple juices as they bake and helps keep those juices in the galette rather than underneath it.
- Bake until really done - Don't pull your galette just because the edges have a little color. Look for a deeply golden crust, tender apples, and bubbling juices in the center. It's OK if some juices bubble over the sides. That's the pie life.
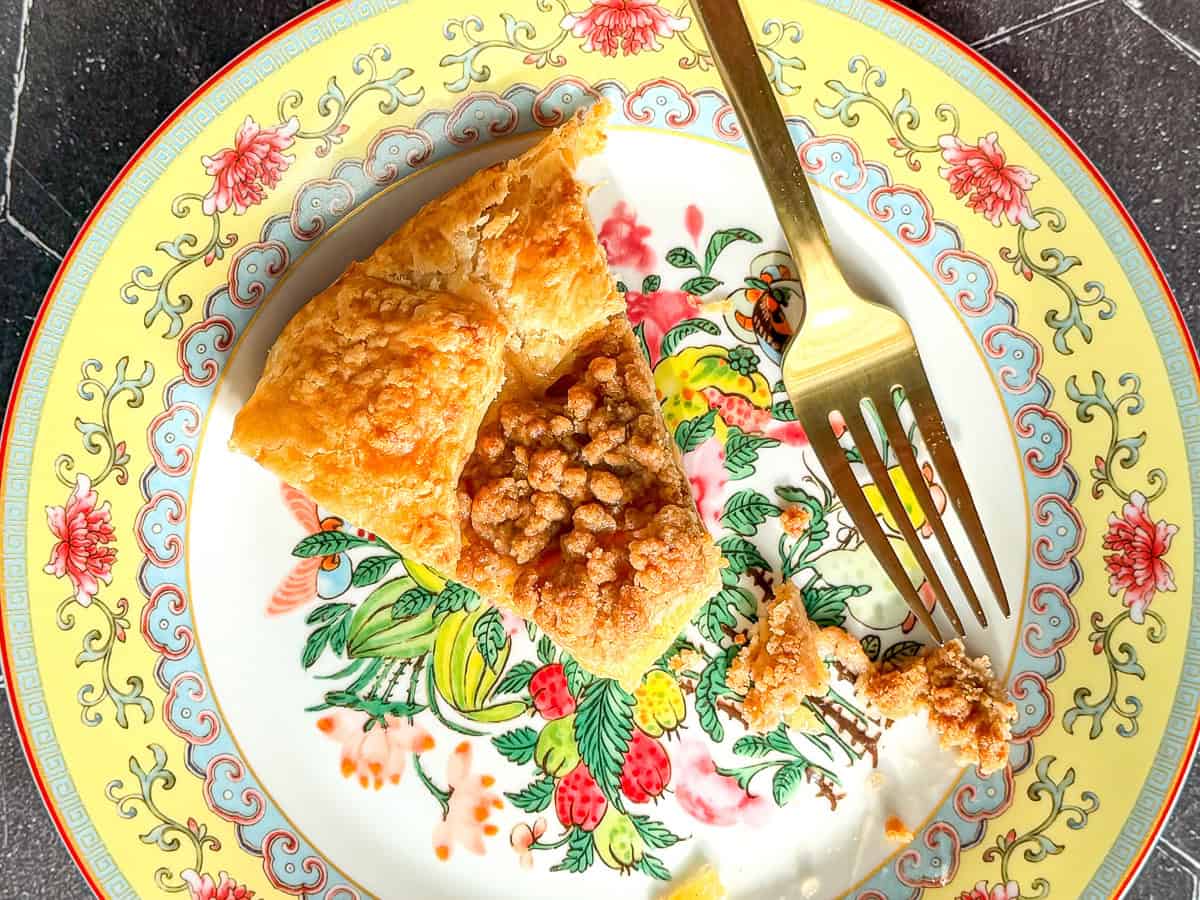
Troubleshooting an apple galette
- The filling is running out - A little juice escaping is not a disaster, but make sure you leave a full 2-inch border so there is enough dough to contain the fruit. If your apples seem exceptionally juicy, you can add an extra ½ teaspoon of cornstarch.
- The crust cracks when I fold it - The dough may be slightly too cold. Let it sit at room temperature for 2 to 3 minutes and try again. Small cracks can just be pinched together or patched with another bit of dough.
- The crust is getting soft while I work - Stop and refrigerate it for about 10 minutes. Warm butter will melt into the flour instead of creating flaky layers.
- The streusel is melting into the apples - Keep the finished streusel refrigerated until you're ready to use it. Cold butter gives you better crumbs and clusters.
- The apples are still crunchy - They may have been sliced too thickly, or the galette may simply need more baking time. Cover particularly dark edges loosely with foil if necessary and continue baking until the apples are tender.
Recipe FAQs
I wouldn't assemble it ahead of time, but the dough can be made up to 2 days ahead and kept tightly wrapped in the refrigerator. The streusel can also be prepared ahead and kept refrigerated.
On the day you're serving it, slice and spice the apples, roll the dough, assemble, chill, and bake. This gives you the convenience of getting most of the work out of the way without sacrificing the crisp crust.
Absolutely. Unroll refrigerated pie crust onto parchment paper and continue with the recipe starting with the apple filling and assembly. Your galette will be slightly smaller depending on the size of the crust, so don't overfill it.
No. You can make the crust by hand with a pastry cutter or your fingers. Work quickly so the butter stays cold, add water a little at a time, and stop mixing once the dough will hold together when pressed.
Yes. Assemble the galette completely through the folding step and then place the whole galette on its parchment-lined sheet pan and freeze until solid, then wrap it well and freeze for up to 1 month.
Bake it straight from frozen. Brush the crust with egg wash, sprinkle with sugar if using, and bake at 400°F. It will likely need about 10 to 15 extra minutes beyond the usual baking time. Look for a deeply golden crust, bubbling filling, and tender apples rather than relying only on the clock.
Once completely cool, cover the galette or wrap it well. It can be kept at room temperature for 2 to 3 days or refrigerated for 3 to 5 days.



Did you try this recipe?
Please consider leaving a comment with a ⭐️ rating below and tell me all about it! It helps me to continue to improve my content and lets others know what you think!
I appreciate it so much!
-Cynthia
📖 Recipe

Easy Apple Galette with Streusel
Recommended Equipment
Ingredients
Crust
- 1 ½ cups (180 g) all-purpose flour
- 1 ½ teaspoons granulated sugar
- ¼ teaspoon kosher salt
- 10 tablespoons (140 g) very cold unsalted butter cut into small pieces
- ⅓ cup (80 g) ice water
- 1 teaspoon lemon juice or apple cider vinegar
Streusel
- ⅓ cup (40 g) all-purpose flour
- ¼ cup (50 g) granulated sugar
- 2 tablespoons (24 g) brown sugar
- ½ teaspoon ground cinnamon
- Tiny pinch kosher salt
- 4 tablespoons (56 g) cold unsalted butter
Apples
- 400 g apples Honeycrisp, Envy, Granny Smith, Pink Lady, or other firm baking apples
- 2 tablespoons (24 g) granulated sugar
- 1 tablespoon cornstarch
- ½ teaspoon ground cinnamon
- ⅛ teaspoon kosher salt
- 2 tablespoons (28 g) unsalted butter cut into small pieces
Egg wash
- 1 large egg
- 1 teaspoon water
Instructions
Make the crust
- Add the flour, sugar, salt, and very cold butter to a food processor.
- Pulse about 5 or 6 times, or until the mixture looks crumbly with small pieces of butter still visible.
- Mix the ice water with the lemon juice or apple cider vinegar.
- With the food processor running, slowly drizzle in the cold water mixture until the dough just begins to clump together, about 10 seconds. You may not need all of the water.
- Transfer the dough to a piece of plastic wrap. Gather it together, shape into a disc, wrap tightly, and refrigerate for at least 30 minutes.
Make the streusel
- Combine the flour, granulated sugar, brown sugar, cinnamon, and salt in a small bowl.
- Add the cold butter and use a pastry cutter or your fingers to work it into the dry ingredients until the mixture forms coarse, crumbly pieces.
- Refrigerate until ready to assemble the galette.
Make the apple filling
- Peel, halve, and core the apples.
- Slice the apples crosswise about ¼ inch thick.
- Toss the apples with the sugar, cornstarch, cinnamon, and salt.
Assemble
- Place a large piece of parchment paper on your work surface. Lightly flour the parchment, rolling pin, and top of the chilled dough.
- Roll the pastry into approximately a 14-inch circle.
- Transfer the parchment and pastry together onto a large rimmed sheet pan.
- Arrange the apples over the pastry, leaving approximately a 2-inch border around the outside.
- Dot the apples with the pieces of butter.
- Sprinkle the cold streusel evenly over the apples.
- Fold the pastry edge up and partially over the apples, overlapping and pleating the dough as needed.
- Refrigerate the assembled galette for 15 minutes while you preheat the oven to 400°F.
Bake
- Whisk the egg with 1 teaspoon water.
- Brush the exposed pastry with the egg wash and sprinkle lightly with granulated sugar, if desired.
- Bake at 400°F for 45 minutes to 1 hour, or until the crust is deeply golden and crisp, the apple filling is bubbling, and the apples are tender.
- Transfer the pan to a wire rack and cool for at least 15 to 30 minutes before slicing.
- Serve warm or at room temperature.
Save this recipe
We'll email it to you.Notes
- Keep the butter and dough cold for the flakiest crust. Slice the apples approximately ¼ inch thick so they cook evenly.
- If the dough becomes soft while rolling or assembling, refrigerate it for 10 minutes before continuing.
- Keep the streusel refrigerated until you're ready to add it to the apples.
- Don't judge doneness by the color of the outside edge alone. The apple filling should be bubbling and the bottom and edges of the crust should be well browned.
- Allow the galette to cool for at least 15 minutes before cutting so the filling has time to set.
- Store covered at room temperature for 2 to 3 days or refrigerated for 3 to 5 days.
- Reheat at 350°F until warmed through and crisp.
- Freeze the fully cooled galette, tightly wrapped, for up to 2 months.
- Or freeze unbaked galette for up to one month. Bake from frozen, adding an extra 10 to 15 minutes to the bake time.


I made this for Thanksgiving dessert and it was a crowd favorite! I ate leftovers straight from the fridge and it was just as good as it was warm from the oven. I’ve always been intimidated by pie crust but Cynthia’s method is foolproof. This recipe will be added to my “forever favorites” file for its ease and resulting outcome! I also added about 1/3 cup rolled oats to the streusel for added texture, which I highly recommend 🙂
I’m so thrilled that you love it so much! And the oats in the streusel sound amazing ❤️
Why does this have no comments? It is soooo good. I never make pie and I was worried I would fail with the crust but it is amazing. I impressed myself. The whole thing is a little sweet for me (I’m just particular) and next time I might just use half the topping. Even being too sweet, it is delicious and I have already had two pieces. Yum!
I’m so happy that you enjoyed it! It’s one of my favorites ❤️
Made this for thanksgiving dessert this year. Was super delicious and a hit with the group!
I'm comfortable baking & cooking usually, but pie crust always makes me a little nervous. Followed the instructions step by step and had no issues.
Will definitely make again in the future!
I’m so glad you liked it! I try to write my recipes as though I’m teaching my daughters, so welcome to the family! 💕