






If you are looking for easy homemade biscuits that really delivers on flavor, these Ham and Cheese Biscuits are it. Made with buttermilk, filled with chopped ham and melty Swiss cheese, and ready in about 35 minutes, they bake up tall, flaky, and packed with savory goodness. Perfect for using leftover ham or making a quick brunch feel a little more special.

Save This Recipe! 💌
These Ham and Cheese Biscuits are new and improved! I loved the flavors but felt that I needed to simplify a more complicated version that just was not working for some readers. Instead of trying to layer ham and cheese on top and stack it into the dough, everything gets mixed in right from the start. The result is better texture, better flavor, and a much easier process.
These savory biscuits are both flaky and fluffy, crisp on the edges, and full of little pockets of cheesy, salty goodness. Think classic buttermilk biscuits, but upgraded into something that can stand on its own as a grab and go breakfast.
Jump to:
Why you'll love this recipe
- Simple process - Everything gets mixed right into the dough, no layering or fussing required.
- Flaky texture - The cut and stack method creates those beautiful biscuit layers.
- Big flavor - Every bite has ham and melty cheese baked right in.
- Fast to make - From bowl to oven in less than 15 minutes.
- Flexible - Works with different cheeses or leftover meats. Swap ham for crispy bacon and cheddar cheese!
Once you try these biscuits, you will never go back to canned biscuits again.
Ingredients & Substitutions
The photo below shows everything you need to make these ham and cheese biscuits. I'll go over the key ingredients and how you can swap them if needed. To be honest, sometimes I use any bits of leftover meat and scraps of cheese and still make a delicious biscuit.
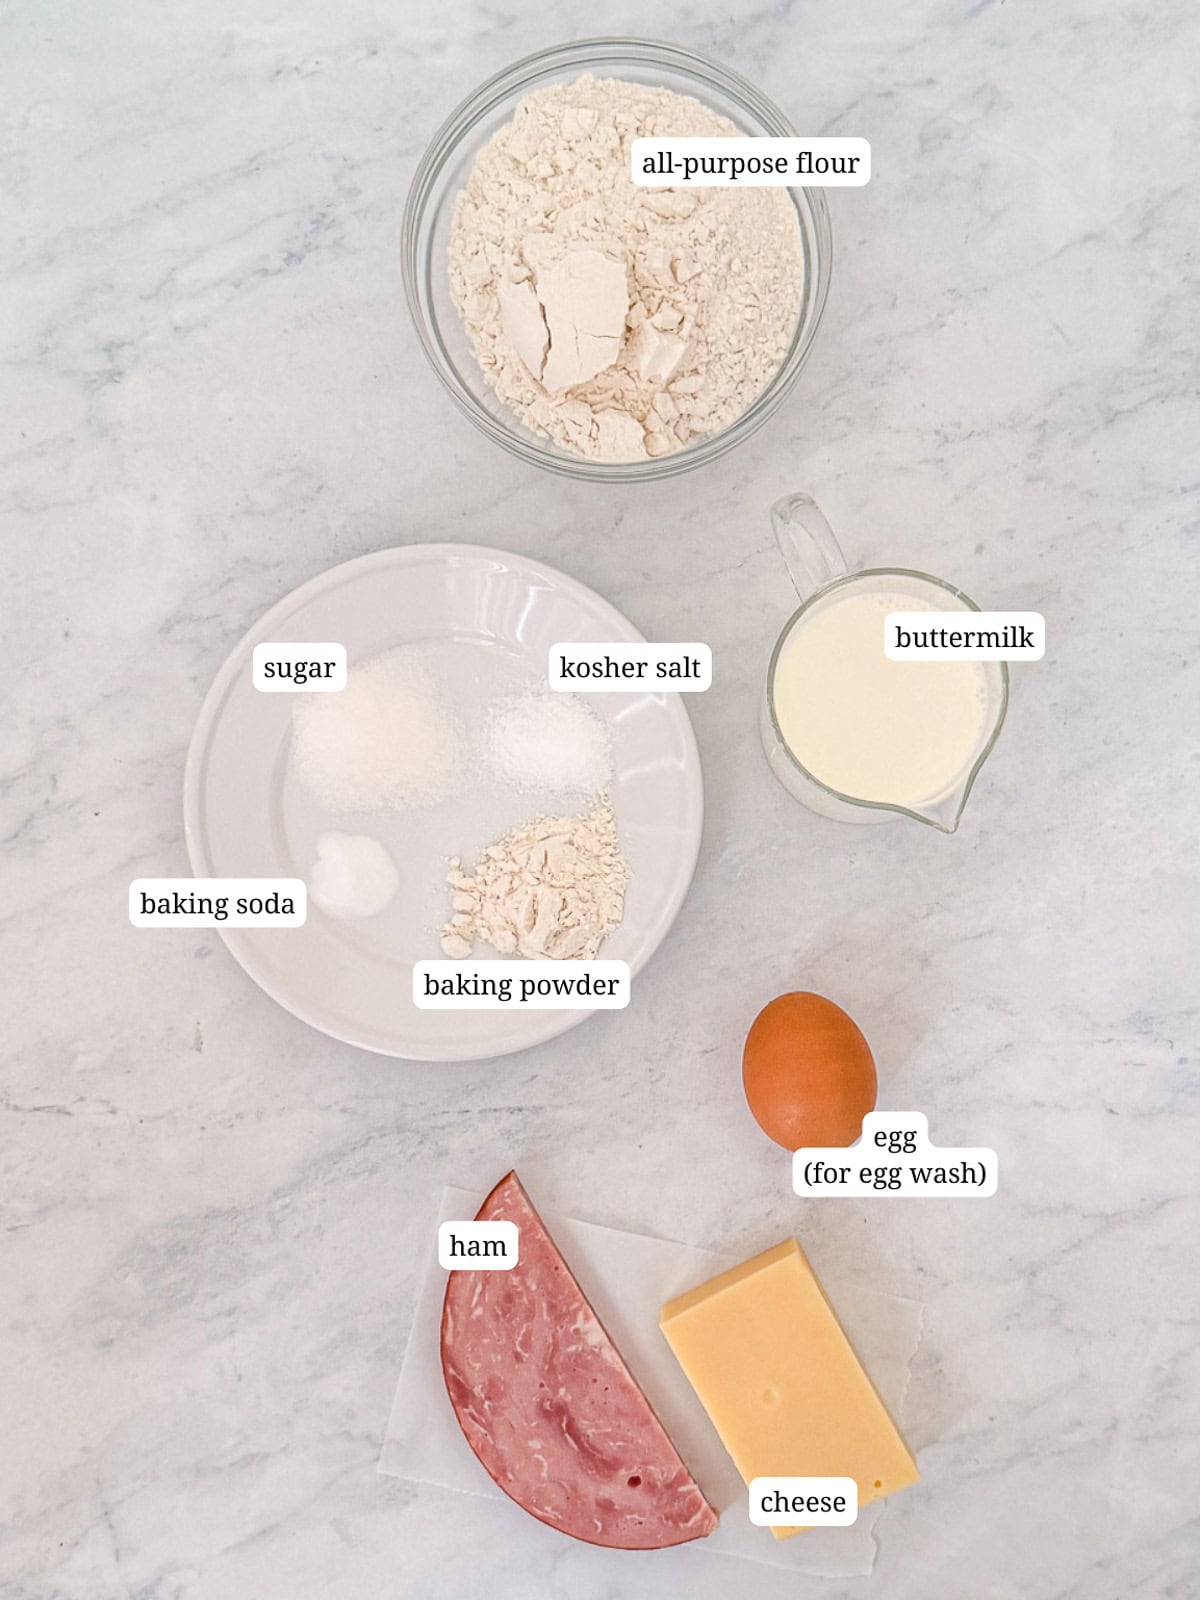
- All-purpose flour - Can use self rising flour, just omit baking powder and salt.
- Buttermilk - Use kefir, yogurt, or thinned sour cream if needed.
- Swiss cheese - Swap with cheddar, Gruyere, or Monterey Jack.
- Ham - Any cooked ham works, including leftover holiday ham or deli ham.
- Butter - Must be cold for flaky layers, but don't go crazy. We will be popping our biscuits into the freezer to chill the butter before baking.
- Egg - The egg doesn't go into the biscuit dough (these aren't scones) but is whisked with 1 tablespoon of water to brush on the tops of each biscuit. You could also brush with more buttermilk, heavy cream, or milk.
See recipe card below for a full list of ingredients and measurements.
Variations
This recipe is a great base for all kinds of savory biscuits.
- Cheddar ham biscuits - Swap Swiss for sharp cheddar for a more classic combo. Add garlic powder and onion powder for more flavor.
- Ham and jalapeno biscuits - Add finely diced jalapenos for a little heat. Swap swiss for pepper jack.
- Breakfast biscuit sandwiches - Slice and fill with eggs for a full breakfast biscuit sandwich.
- Everything bagel topping - For my cream cheese biscuits, I add cream cheese along with the grated butter and sprinkle everything seasoning before baking .
- Turkey and cheese biscuits - Great way to use leftover turkey.
- Drop biscuits - You can make these into easy drop biscuits by adding a couple more tablespoons of buttermilk and mixing thoroughly. Use a spoon or a scoop to drop dough onto the pan and bake.
Cynthia's Recipe Review
One of my family's favorite recipes, these are the ham and cheese biscuits I reach for when I want something fast but still filling. They are flaky, cheesy, and honestly better than anything you are grabbing on the way out the door.

Quick Recipe Video
Step-by-Step Instructions
This easy recipe comes together quickly, and the process photos will walk you through each step. Don't be nervous. I got you.
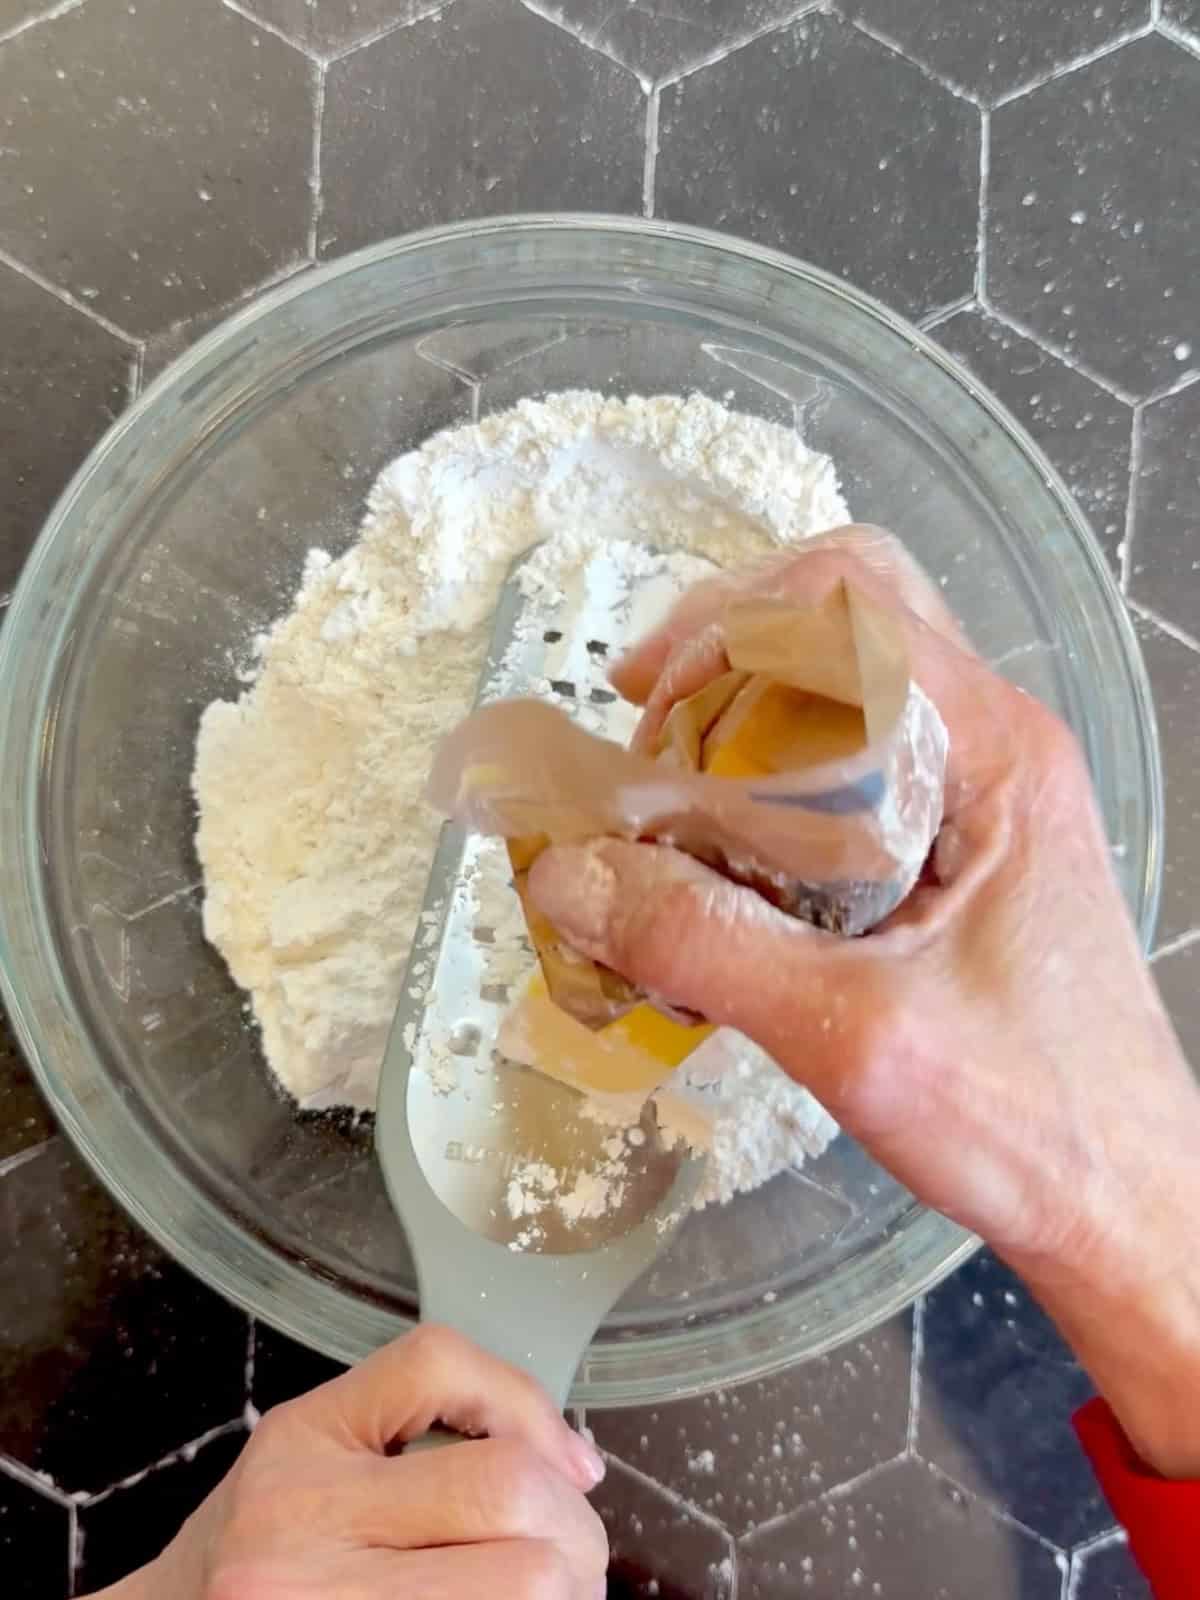
Step 1: Add flour, baking powder, baking soda, salt, and sugar to a large bowl and whisk together. Grate cold butter into the dry ingredients.
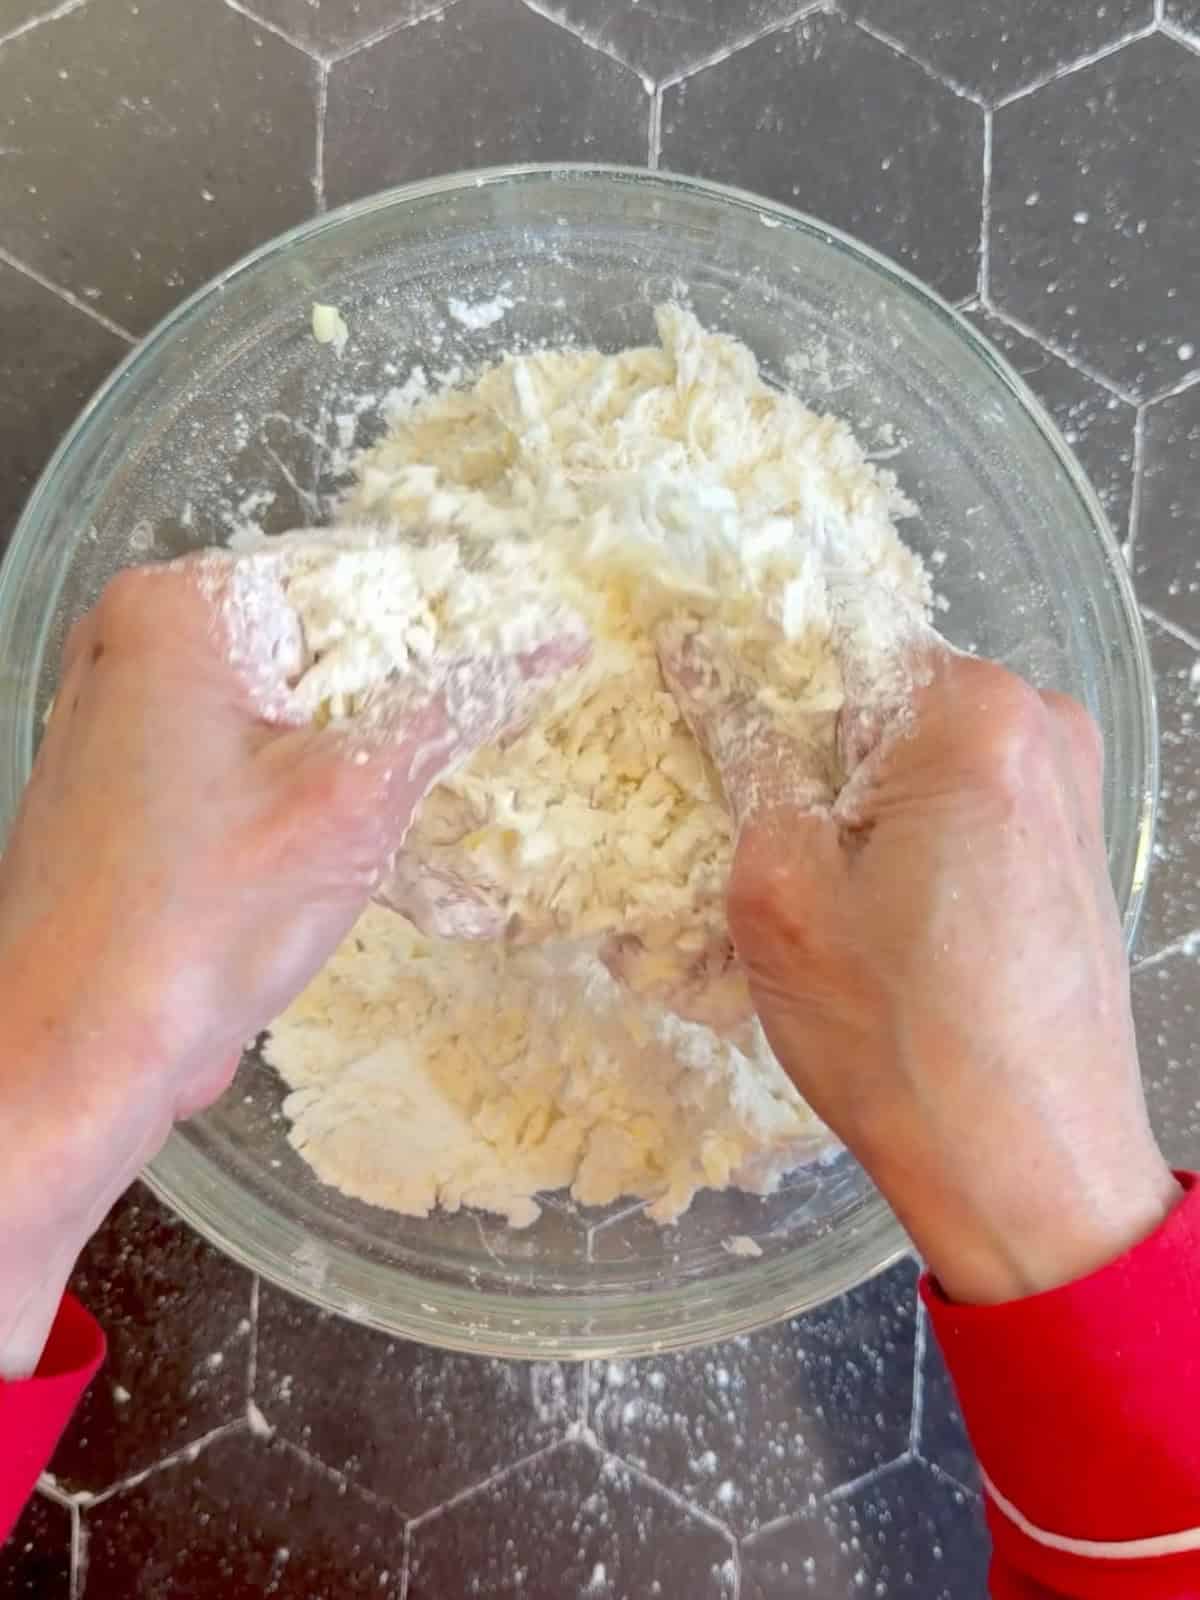
Step 2: Use your fingers to work the butter into the flour, coating it in fat. When done you should have small flat pieces of butter, little tiny bits, and a coarse flour mixture.
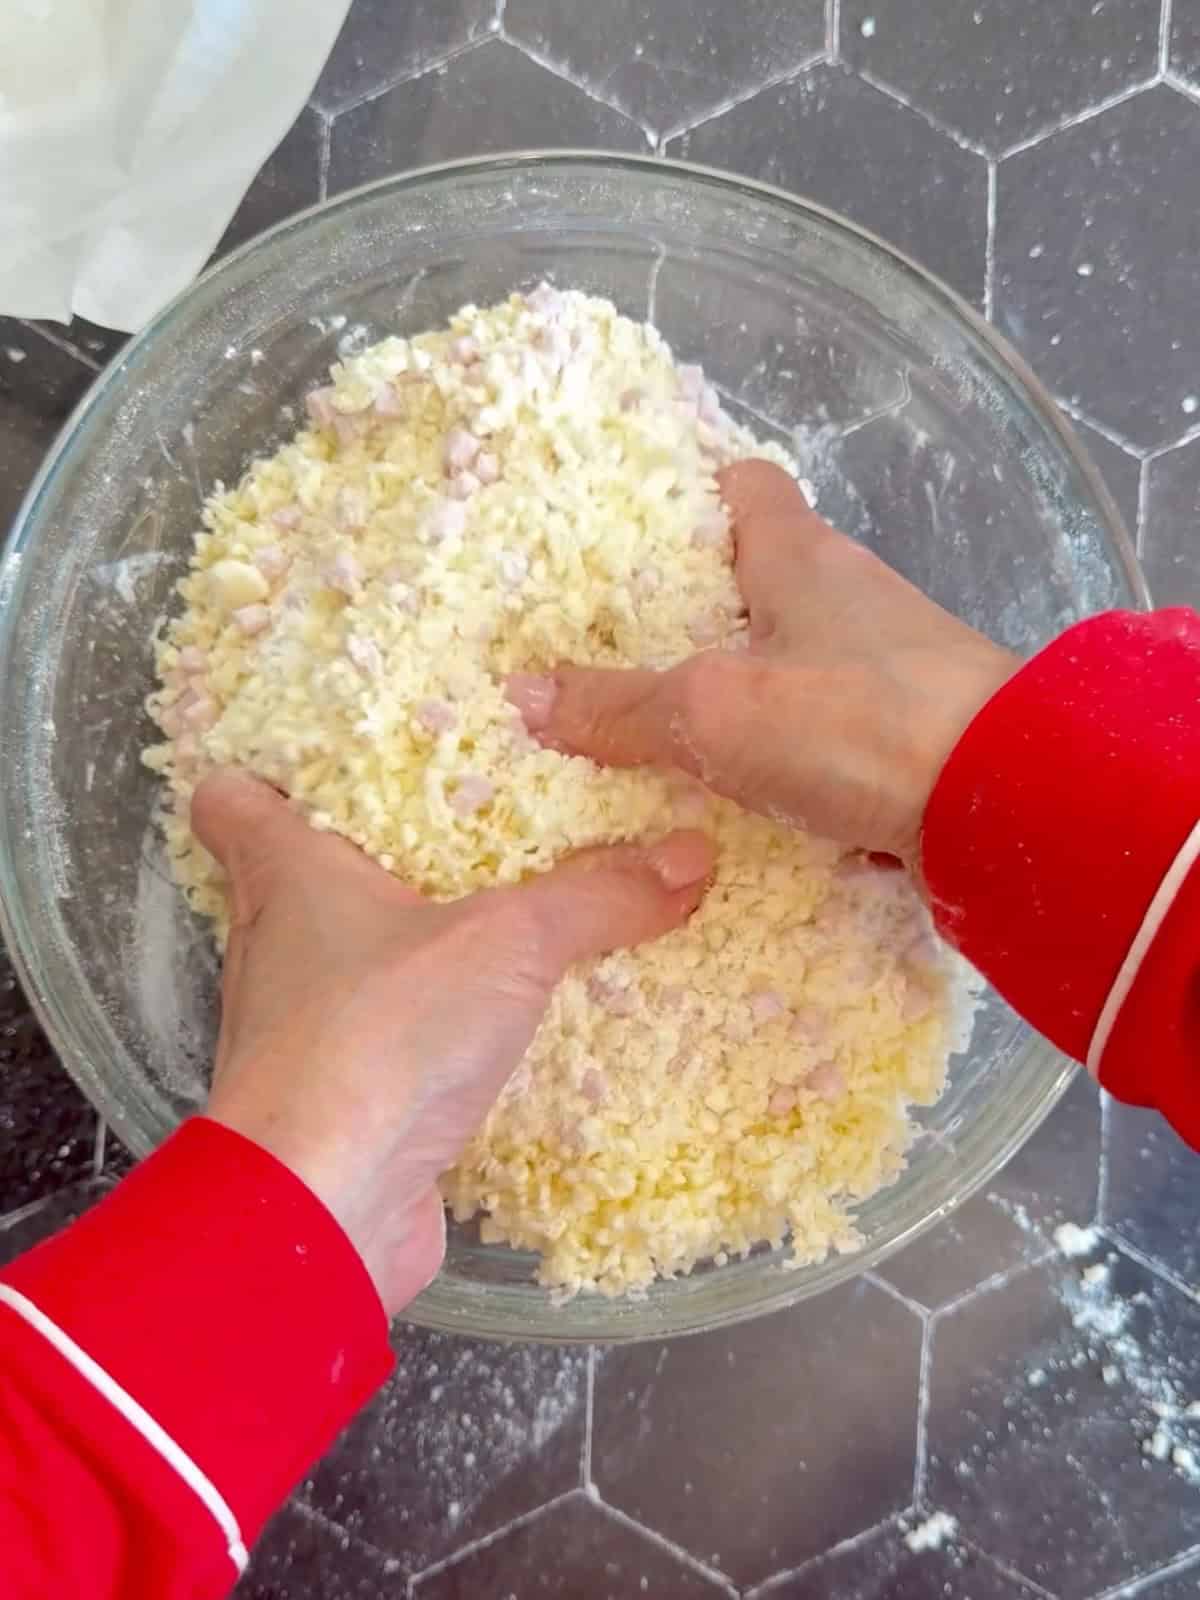
Step 3: Add chopped ham and shredded cheese and toss to coat in the flour.
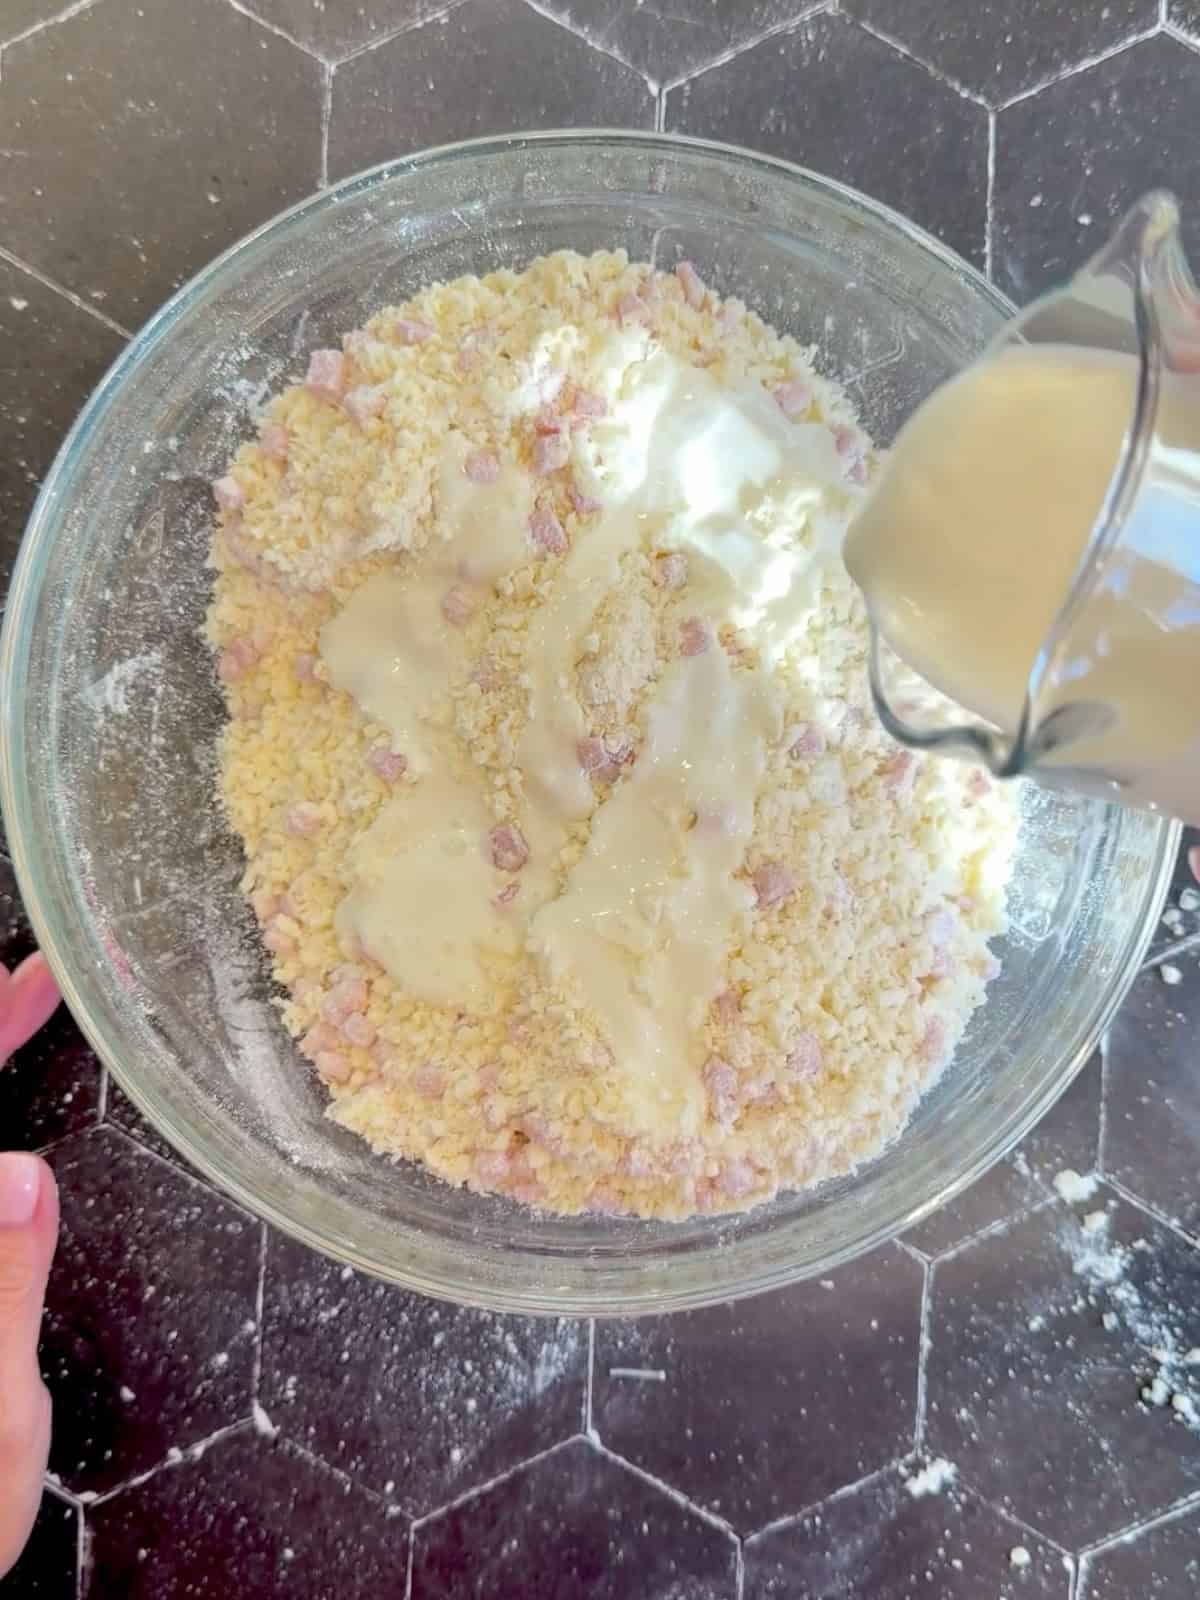
Step 4: Pour in buttermilk and mix with a spatula or a fork until a shaggy dough forms.
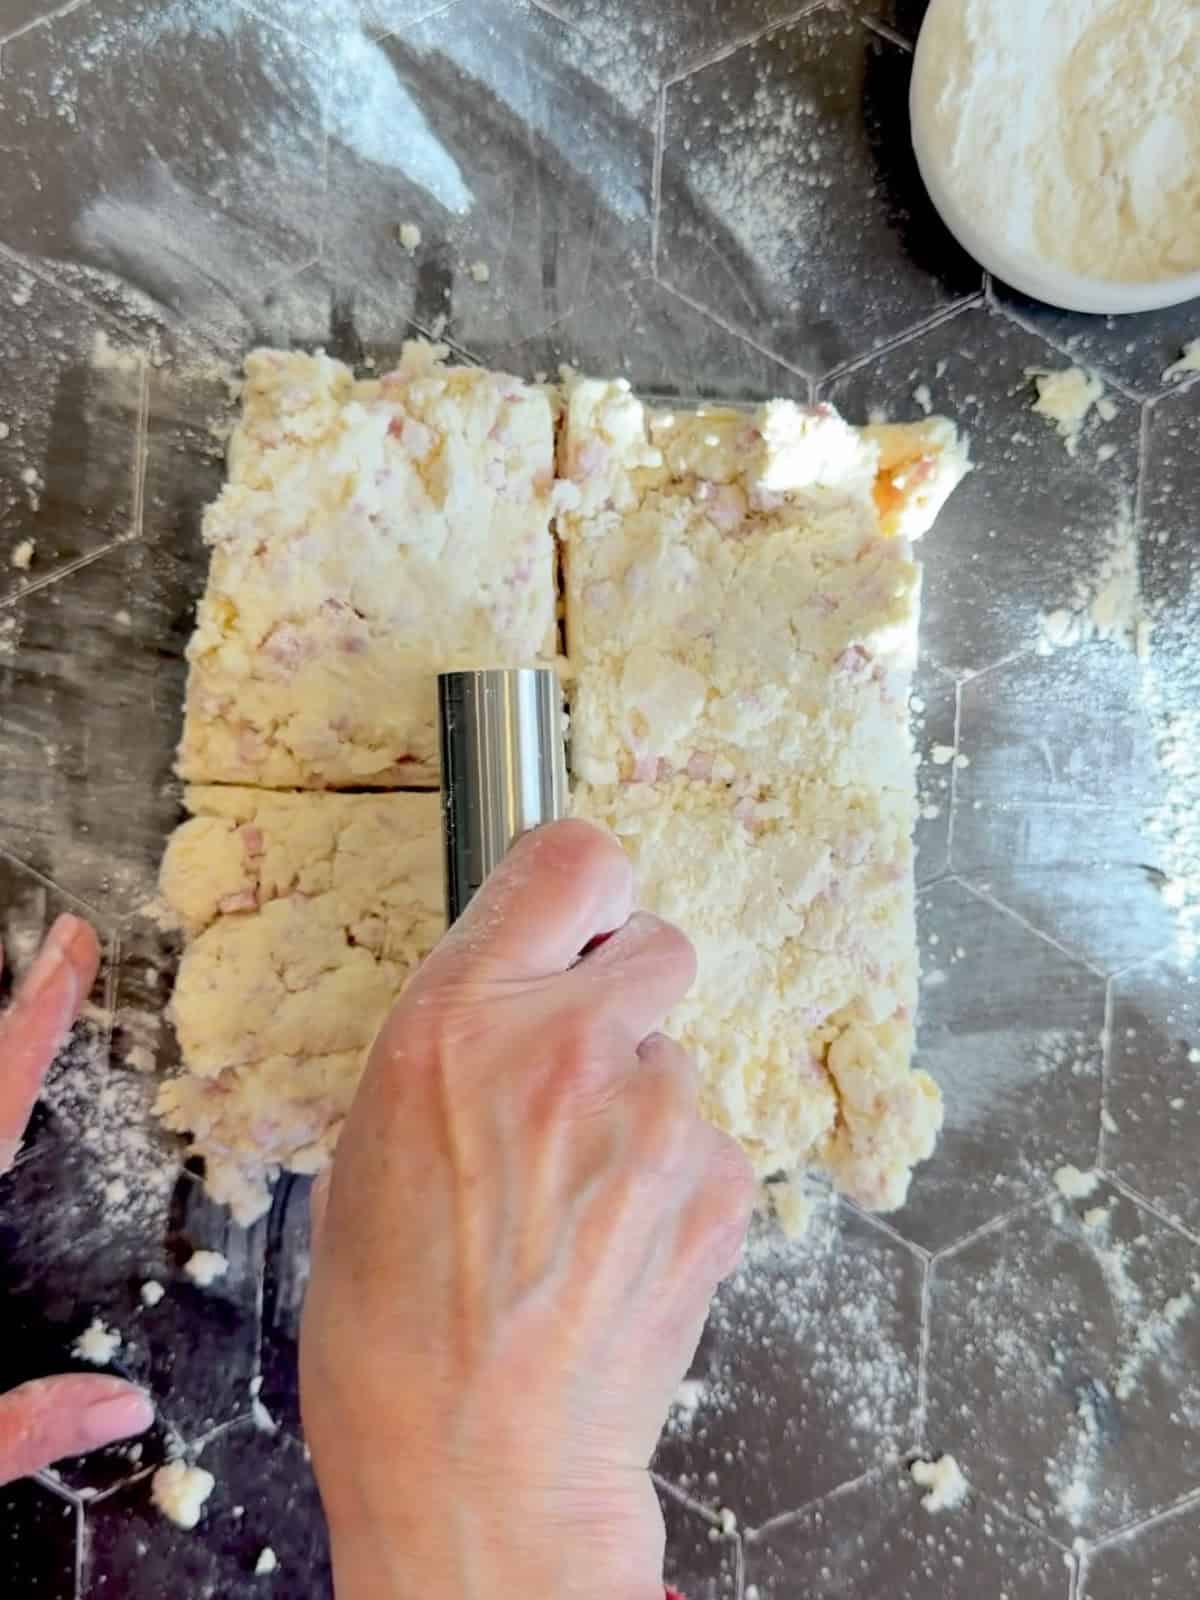
Step 5: Turn the dough out onto a lightly floured surface and use your hands, and a bench scraper or flat edge, to shape into a rough square. Cut into four pieces.
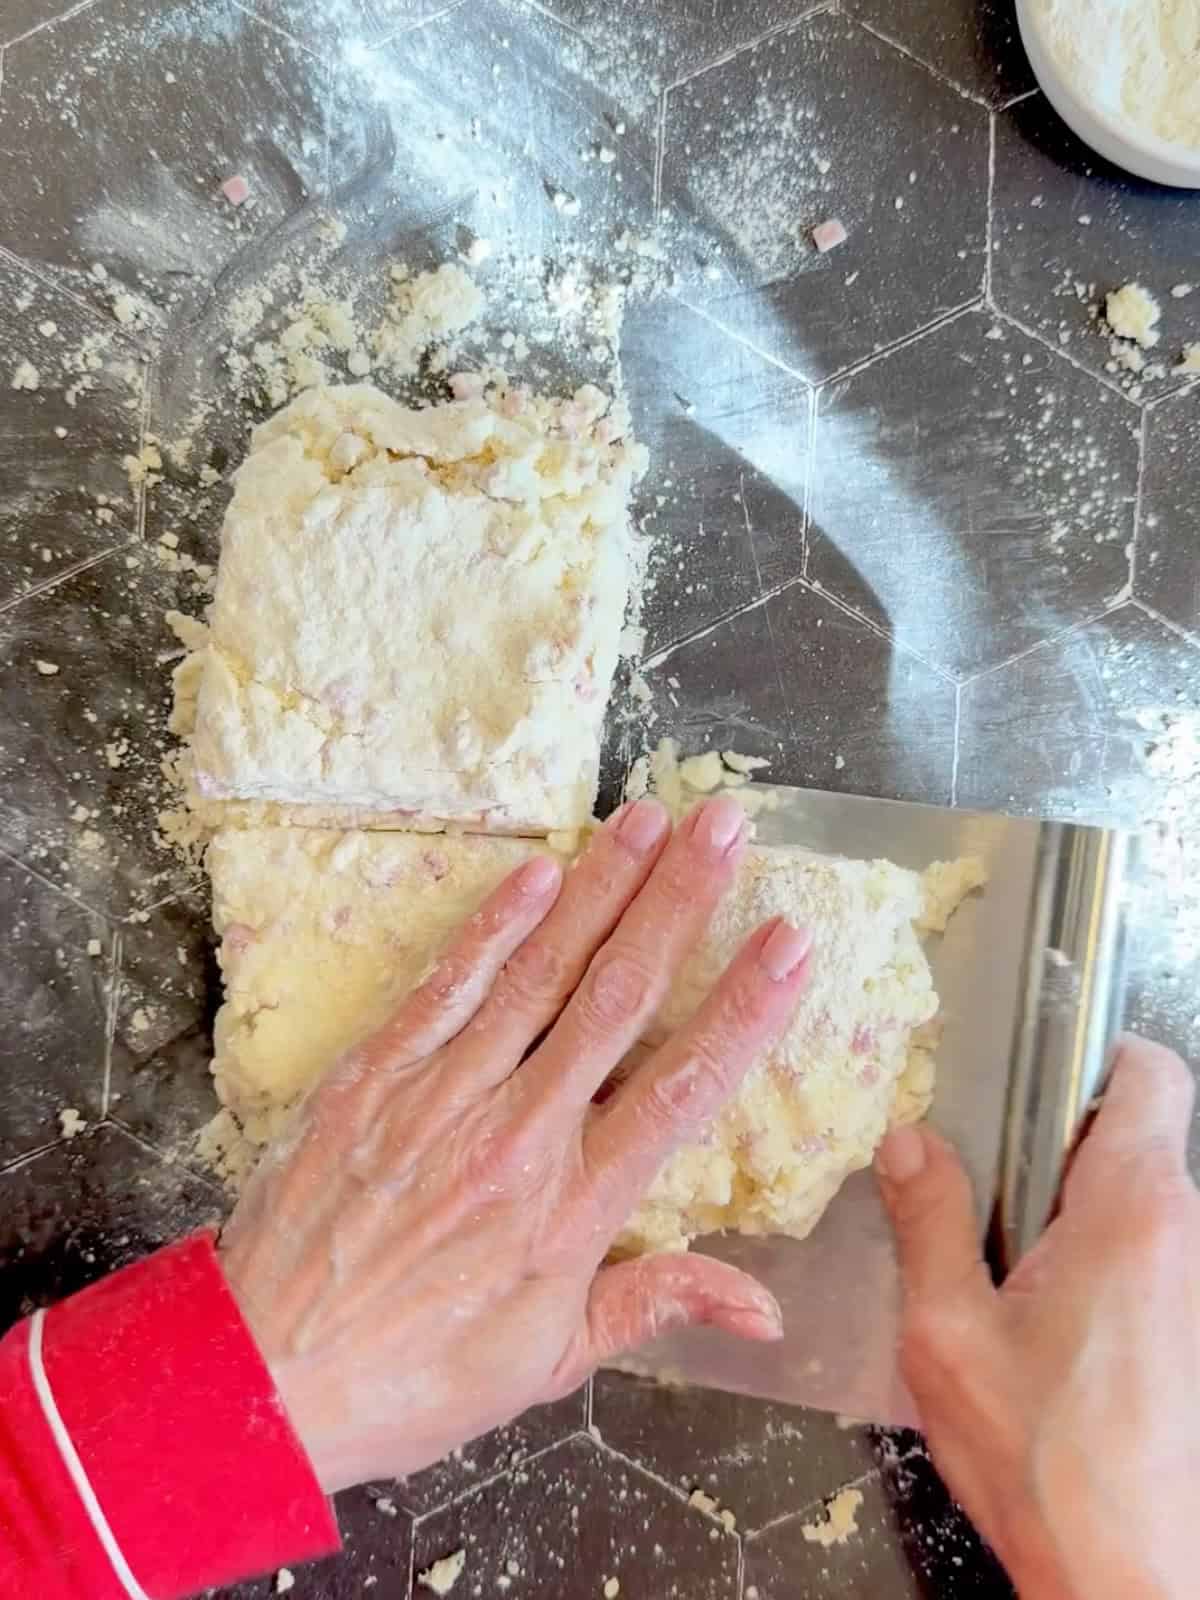
Step 6: Stack the pieces on top of each other and press down. Repeat the cut and stack process two more times to build layers.
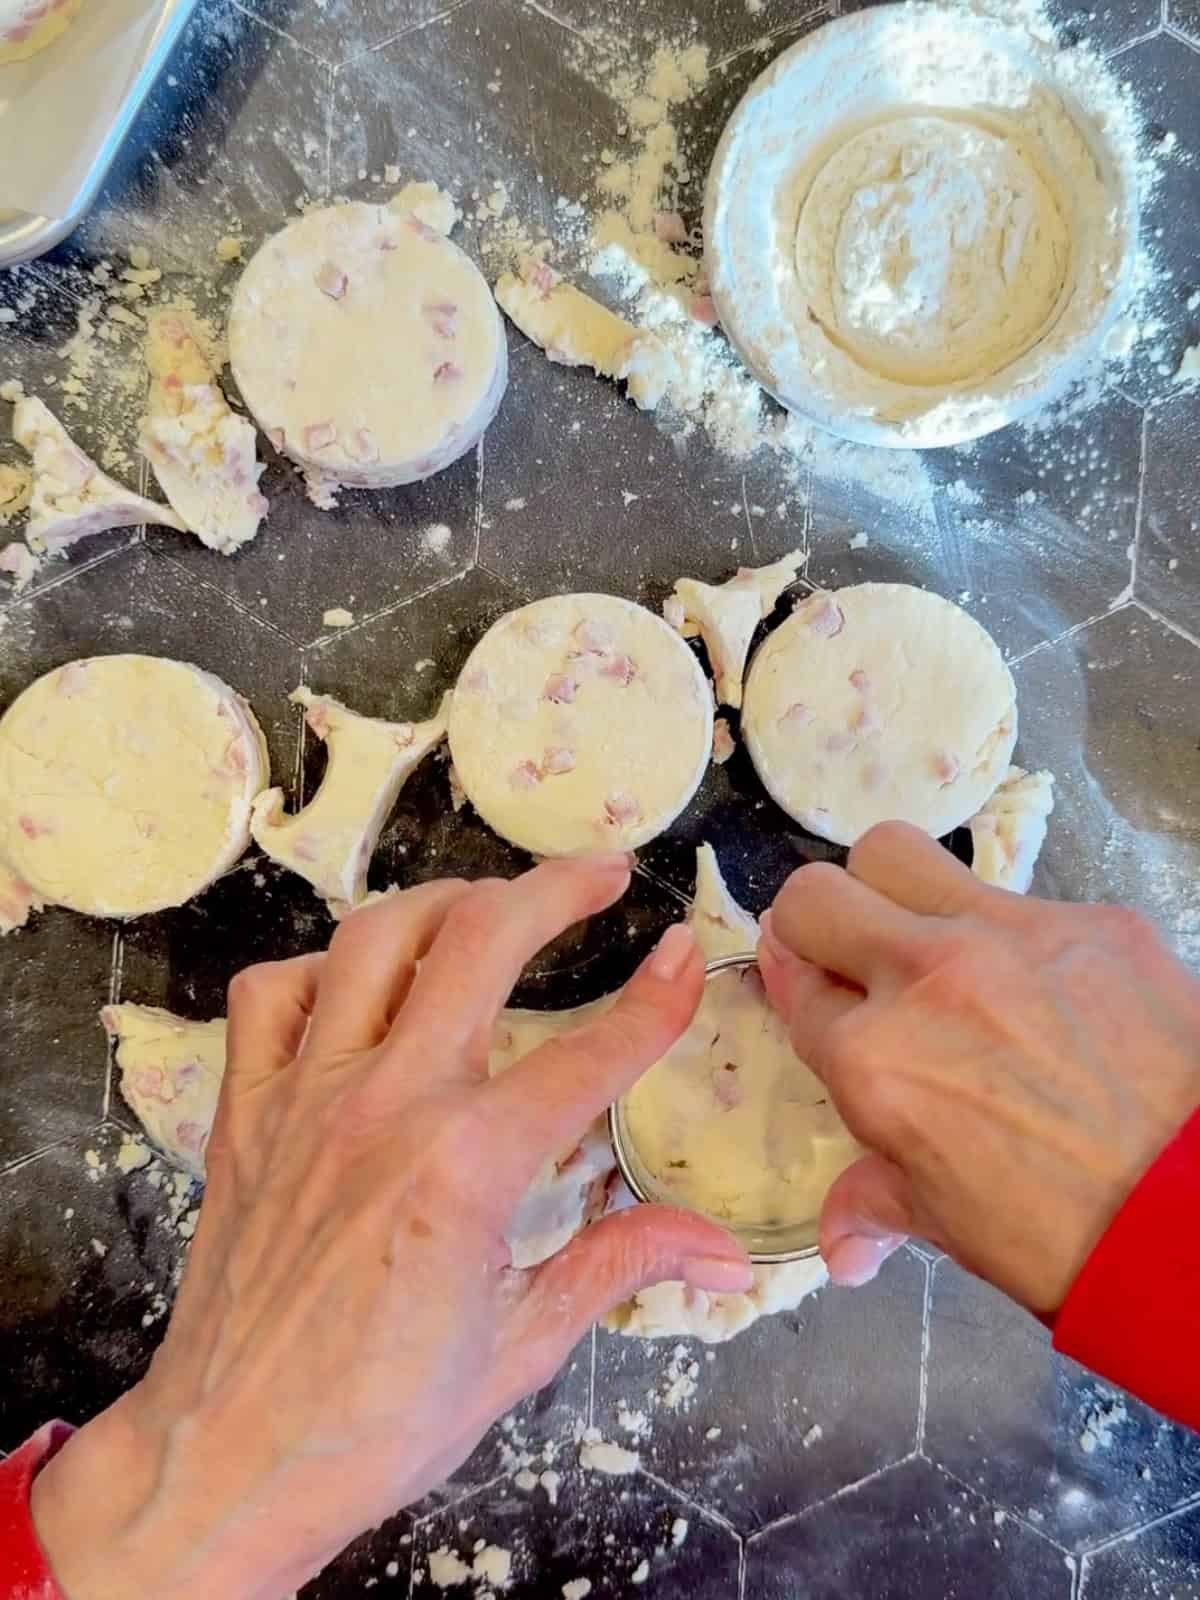
Step 7: Roll to about ¾ inch thick and cut out biscuits. Gently re-roll scraps as needed to get as many biscuits as you can. Place on a parchment paper lined sheet pan and freeze for 15 minutes while preheating the oven to 450°F.
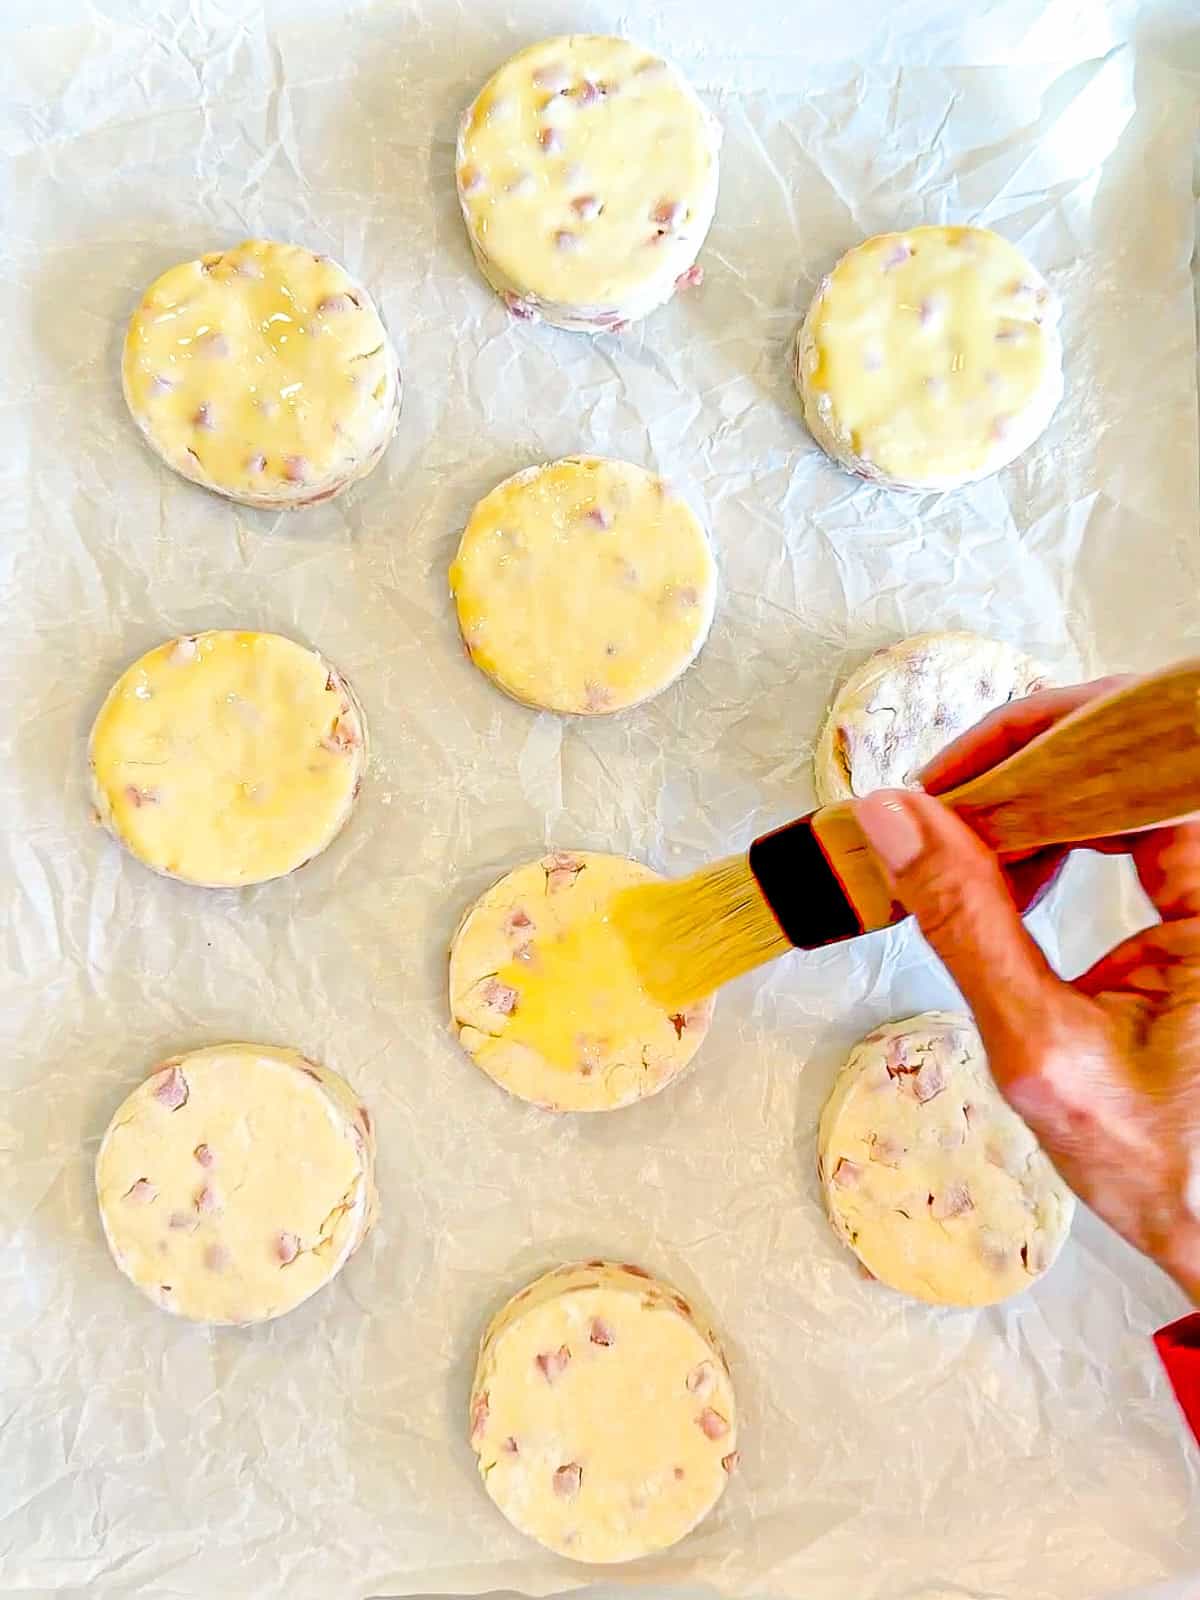
Step 8: Brush with egg wash and reduce oven to 425°F.

Finish: Bake for 18 to 20 minutes until golden brown. Serve warm with butter, more ham, or split and fill for a breakfast sandwich.
Why Use a High Temp to Start?
I have you preheat your oven to 450°F and then reduce the temperature to 425°F when you place the biscuits into the oven. This is so that when the cold butter hits the heat of the oven it will release its water content as steam, popping open those flaky layers and giving you taller biscuits.
Turning the temperature down to 425°F before baking allows the inside of the biscuits to cook thoroughly without overcooking the outside. If you are afraid you might forget to turn the temperature down, just preheat your oven to 425°, leave it there, and bake for 20 to 25 minutes.
Cynthia's Helpful Tips
- Start cold - Start with cold butter and buttermilk, but don't overthink it. We will take time to chill everything back up before baking.
- Do not overmix - Stop as soon as the dough comes together. There will still be some pockets of dry at the bottom of your bowl, but they will come together as we do our cut and stacks.
- Layering - Do not skip the stacking step, that is where the flakiness comes from.
- Sharp cuts - Use a cutter and press straight down for tall biscuits. If you don't have a biscuit cutter or cookie cutter, use a knife and cut out square biscuits.
- Freeze before baking - Helps them rise taller and hold their shape.

Recipe FAQs
Yes, you can prep and refrigerate or freeze before baking. Check out my freezer biscuit recipe for more information on how to freeze and bake your biscuits.
Because these contain meat, I would recommend storing leftovers in an airtight container in your refrigerator for up to two days.
Warm in a 350°F oven for about 10 minutes.
Yes, add a bit more buttermilk, so the dough comes completely together, skip rolling out, and scoop directly onto the pan. Bake as directed.
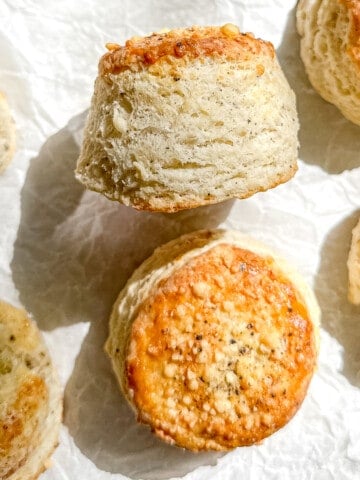
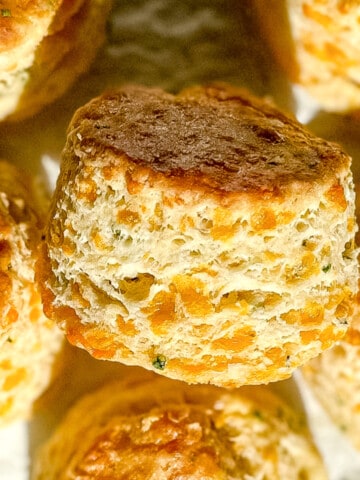
More flavor-filled biscuits



Did you try this recipe?
Please consider leaving a comment with a ⭐️ rating below and tell me all about it! It helps me to continue to improve my content and lets others know what you think!
I appreciate it so much!
-Cynthia
📖 Recipe

Ham and Cheese Buttermilk Biscuits
Recommended Equipment
Ingredients
- 2 cups (240 g) all-purpose flour
- 1 tablespoon baking powder
- ¼ teaspoon baking soda
- 2 teaspoons granulated sugar
- 1 teaspoon kosher salt
- ½ cup (113 g) unsalted butter cold
- ¾ cup (183 g) buttermilk cold
- 4 ounces (113 g) Swiss cheese shredded
- 4 ounces (113 g) ham finely chopped
- 1 large egg + 1 tablespoon water for egg wash
Instructions
- Preheat oven to 450°F and line a baking sheet with parchment paper.
- In a large bowl, whisk together flour, baking powder, baking soda, sugar, and salt.
- Grate cold butter into the flour mixture and work it in until crumbly.
- Stir in ham and cheese until evenly distributed.
- Add buttermilk and mix until a shaggy dough forms.
- Turn dough out onto a surface and gently shape into a square.
- Cut into four pieces, stack, and press down. Repeat two more times.
- Roll to about ¾ inch thick and cut out biscuits.
- Place biscuits on baking sheet and freeze for 15 minutes.
- Brush with egg wash, reduce oven temperature to 425°F, and bake 18 to 20 minutes until golden.
Save This Recipe! 💌
Video
Notes
- Keep ingredients cold for best texture
- Do not overwork the dough. Mix until just combined, with some dry bits at the bottom of the bowl.
- Freeze while preheating the oven for taller biscuits
- Storage: Store in an airtight container in the fridge for up to 2 days.
- Reheating: Warm in a 350°F oven for 8 to 10 minutes.


These are SO delicious! I've made a lot of biscuits before, but never with this method (cutting the dough in quarters, stacking, pressing together, and repeating) and it's a game changer! I used sharp white cheddar instead of swiss (my kids don't love swiss) which was a delicious, easy switch!
Awesome! Thanks for choosing my recipe!
Hi
I made your drop biscuit version at 450 degrees. I see in your instructions a baking temperature at 425 as well as 450! Can you clarify which temperature is accurate!? Thank you
Still in the oven…
So sorry about the confusion! The temperature should be 425° on these. Whenever I add up ingredient to the actual biscuit dough I’d like to drop the temperature down to make sure that everything cooks completely. I will make the correction on the blog post and thank you for your eagle eye!
Thank you for gram measurements. I am making these this morning!
Wow! I hope you love them as much as I do!
First time mint
First time making biscuits. A bit too labor-intensive for me. But absolutely delicious!! My husband, who is not a biscuit eater, absolutely devoured these. Trying to figure out how to make these from canned biscuits.
I’m glad you and your husband loved them! I get it that trying a new recipe for the first time, it can be a lot! It was for me to at first. But now I can get these in the oven in 10 minutes. I hope you’ll try a few more times; I think it’s worth it! If not, there’s no shame in canned biscuits. They just won’t be quite as good.