


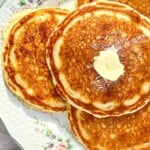
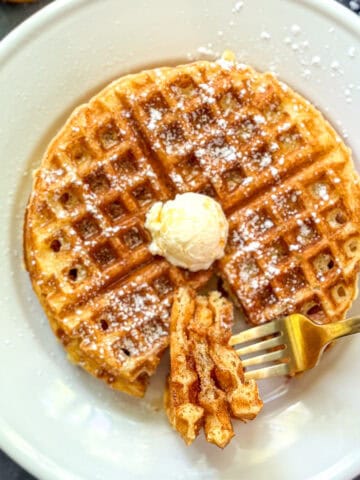
If you are looking for the Best Fluffy Buttermilk Pancakes, you can stop looking. Made with simple pantry ingredients and ready in about 30 minutes, they are perfect for classic weekend breakfasts or brunch with the family. No complicated techniques, no box mix, just truly fluffy pancakes that actually taste like something.

Save This Recipe! 💌
This really is the Best Buttermilk Pancake Recipe ever because it is a recreation of the one my father made for me almost every Sunday morning. When I had my own family, I wanted nothing more than to replicate my Dad's recipe, and I finally figured out exactly how he created his tall, fluffy buttermilk pancakes.
After a lot of recipe testing, to the joy of my husband, I can finally say I make the best pancakes! I use the right ingredients, in the perfect ratio, along with techniques that bring me light and fluffy pancakes every time, just like Dad's.
Now I can add my Dad's perfect pancakes to our family's favorite breakfast recipes with pride. We love them so much, that even when we've made something else, we often make a small batch of pancakes for everyone to share!
Time-saving Tip: In a hurry? Forget the store-bought mix! Keep a large batch of my Simple Pancake Mix in your pantry and cut your prep time in half! Just add milk or buttermilk, egg, and butter and you'll have amazing pancakes ready in no time!
Jump to:
What Makes These The Best Fluffy Buttermilk Pancakes?
If you tried to make the best buttermilk pancakes and still ended up with flat, dense, or rubbery results, here is exactly what sets my Dad's recipe apart:
- Perfect rise - The balance of baking powder and baking soda works with the acidity of buttermilk to create maximum lift without tasting metallic or bitter.
- Thick but tender texture - This is a slightly thicker batter that produces tall pancakes with soft, airy centers instead of thin, limp ones.
- Rested batter - Letting the batter sit for at least 15 minutes, up to an hour, hydrates the flour and allows the leavening to activate for better structure.
- Proper heat control - Cooking on medium-low ensures golden brown outsides and fully cooked, fluffy interiors every time.
- Classic American pancake flavor - A touch of vanilla and real butter gives these that diner style pancake taste people expect from the best buttermilk pancake recipe.
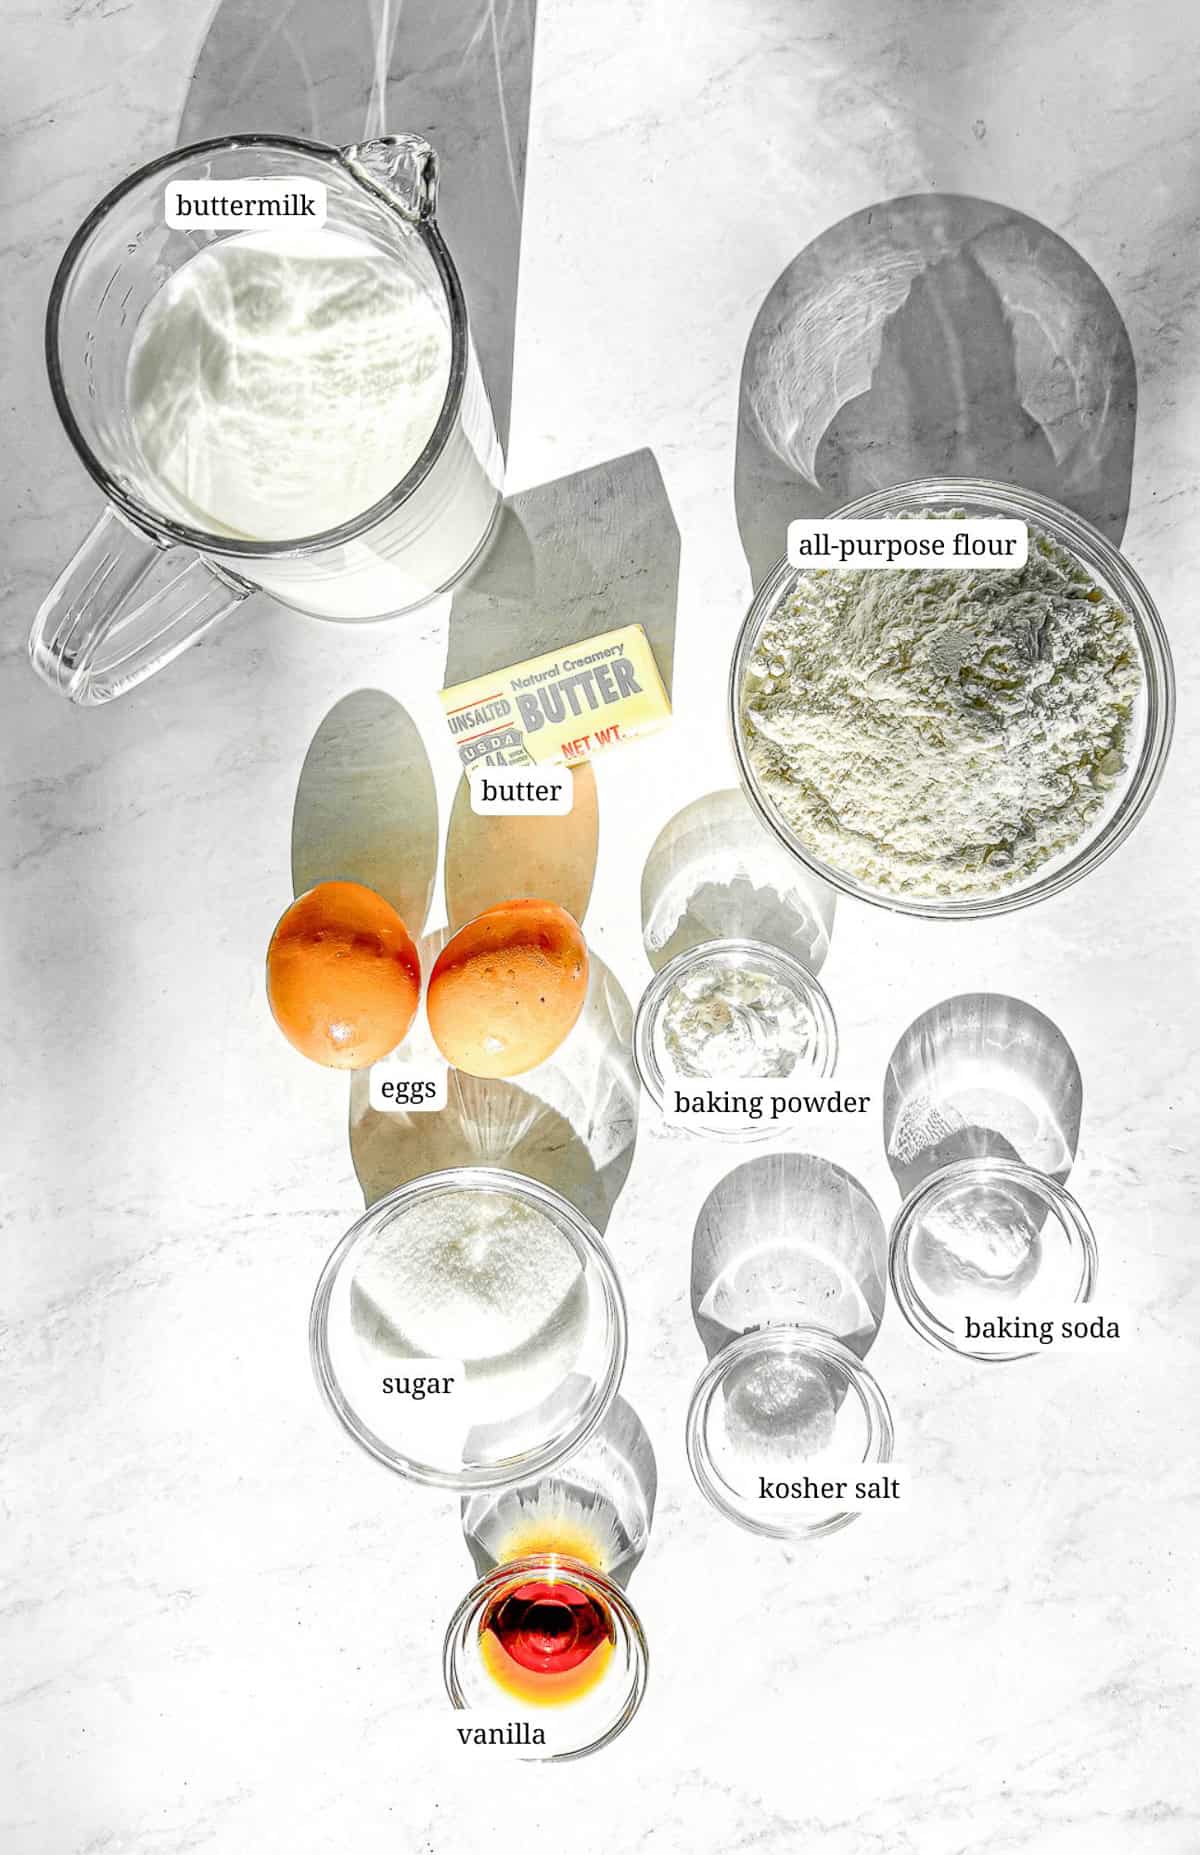
Ingredients & Substitutions
Simple ingredients are all you need to make this easy pancake recipe. Below is a bit of info on each one and a few swap outs you can make in a pinch.
- All-purpose flour I've seen some complicated pancake recipes that call for bread flour, or pastry flour, or even cake flour, but for me all-purpose flour makes perfect buttermilk pancakes. If you have self-rising flour leftover from making my cream biscuits, you can use that. Just eliminate the baking powder and salt, as it is included in this flour.
- Sugar You can reduce the sugar to one or two tablespoons, but you should have at least one tablespoon to get the moisture and browning that you want.
- Baking powder and baking soda These rising agents give you the lift you need to be able to call these fluffy, otherwise you're making homemade crepes, which is great, but not this.
- Buttermilk If you don't have buttermilk, you can try my yogurt pancake recipe, if that's what you have on hand. What I ask, what I beg, is that you not try the "make your own buttermilk" hack of adding lemon juice or vinegar to milk. The flavor, and the texture it makes in the pancakes, is absolutely not the same. If you really want to use milk, try my pancakes made with milk. They're delicious!
- Eggs Two eggs are just enough to give the pancakes structure and help them rise, without making them custardy. If you don't have eggs, try my no egg pancake recipe.
- Butter I love the flavor that butter brings to pancakes, but you can replace half, or all of the butter with your preferred neutral oil. If using salted butter, reduce added salt by half.
See recipe card below for a full list of ingredients and measurements.
Short on time or ingredients? Shortcut your way to pancakes with my 3-Ingredient Pancakes! Made with self-rising flour, eggs, and sweetened condensed milk, they are unbelievably fluffy and delicious!
Why Buttermilk Matters
If you have ever wondered why buttermilk tastes so sour, but fluffy buttermilk pancakes taste better than any other pancakes, here is why. The acid in buttermilk reacts with baking soda to create extra carbon dioxide bubbles. That leads to a lighter and softer texture. The acid also adds a subtle, savory tang and rich flavor profile that prevents the pancakes from tasting boring. No one wants a flat boring pancake.
Variations
One of my favorite things about pancakes is they practically beg for you to add to them. Here are a few ways we love to play with our pancakes:
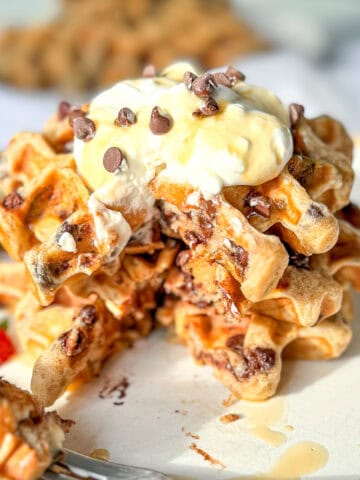
- Kid friendly - Forget the kids, my in-laws will knock you down trying to be the first in line for pancakes loaded with chocolate chips! Use the leftover chips to make my chocolate chip yogurt muffins!
- Citrus - My Lemon Ricotta Pancakes are melt-in-your-mouth delicious, with a nice tang from fresh lemon juice and zest. Add blueberries or your favorite fresh fruit for a bright pop of flavor.
- Fuss free - For the simplest homemade pancakes, try making my Strawberry Sheet Pan Pancakes that bake all in one pan, for easy cleanup, and no stove time!
- Griddle it - For a delicious change of pace, try adding some cornmeal to your batter and cooking it in a hot cast iron pan. My Southern Hoecakes are a treat to make for breakfast or as a savory side.
- Holiday - Give these pancakes a complete Holiday makeover by adding eggnog in place of the buttermilk. Eggnog pancakes are here and I'm obsessed!
Cynthia's Recipe Review
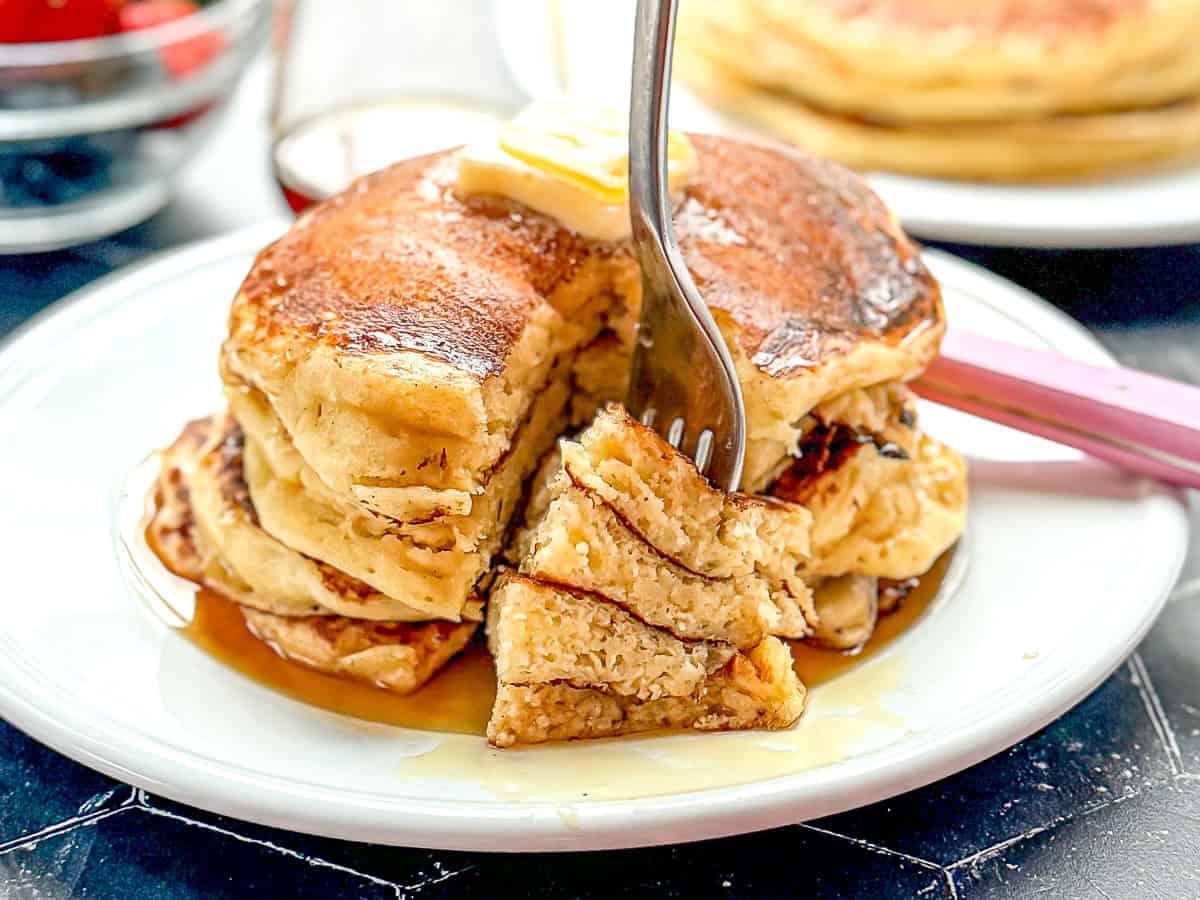
These are the pancakes I think of when I think of Sunday mornings with my dad. Thick, fluffy, buttery, and stacked high. If I could bottle that memory, it would taste exactly like this.

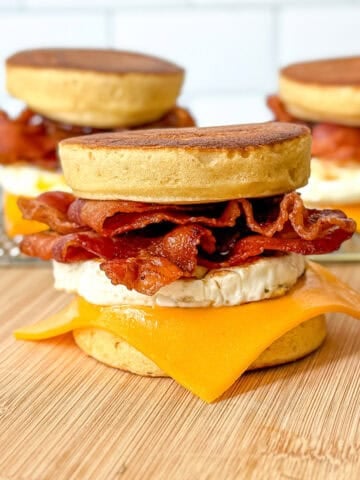
Make extra batter If you love pancakes and you love bacon, why not combine them in my Bacon Pancakes? Crispy bacon cooked into sweet pancake batter is perfect for dipping into maple syrup. Give it a try!
Quick Recipe Video
Instructions
Don't fear the pancake. Follow my simple instructions and great pancakes are practically guaranteed.
- To start, melt 4 tablespoons of butter and set aside to cool. If your eggs and buttermilk are not at room temperature, place your eggs in a cup of warm water for 10 minutes and microwave your buttermilk for 30 seconds.
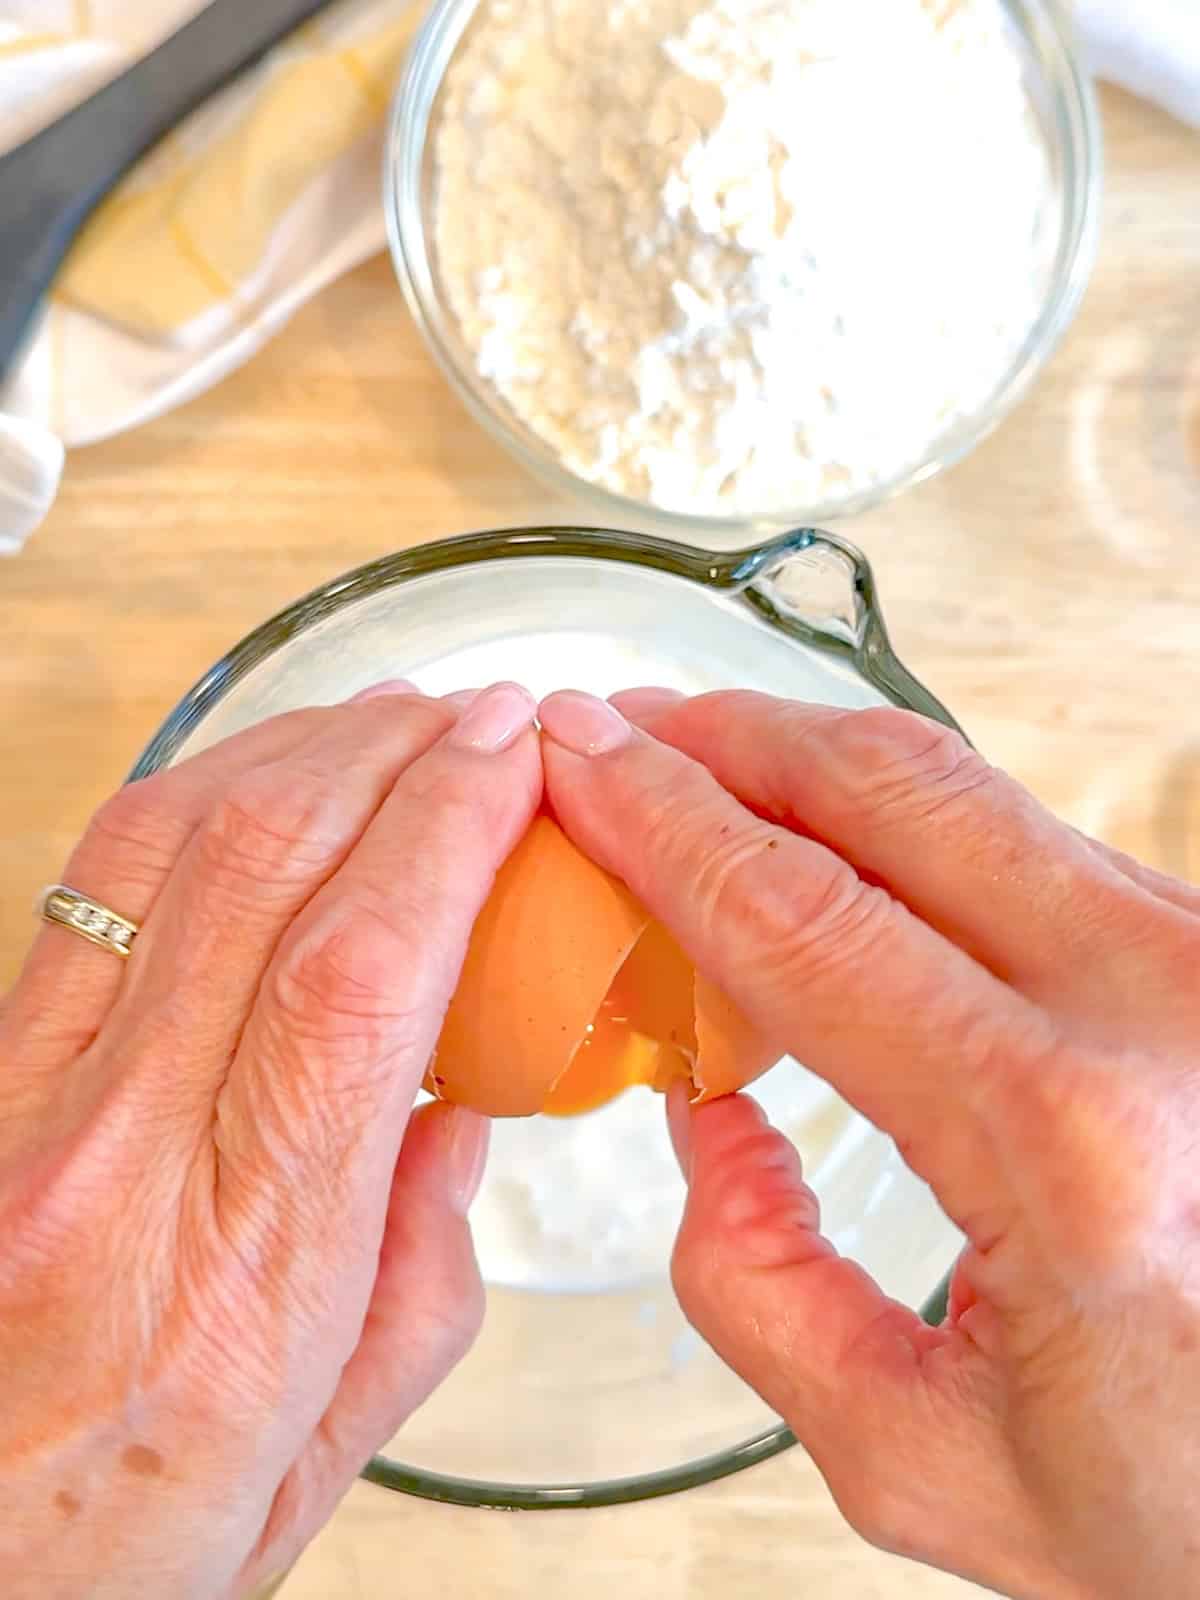
Step 1: In a medium bowl, whisk the dry ingredients together; flour, sugar, baking powder, baking soda, and salt. In a separate bowl, or a large measuring cup, whisk the buttermilk, eggs, and vanilla extract.
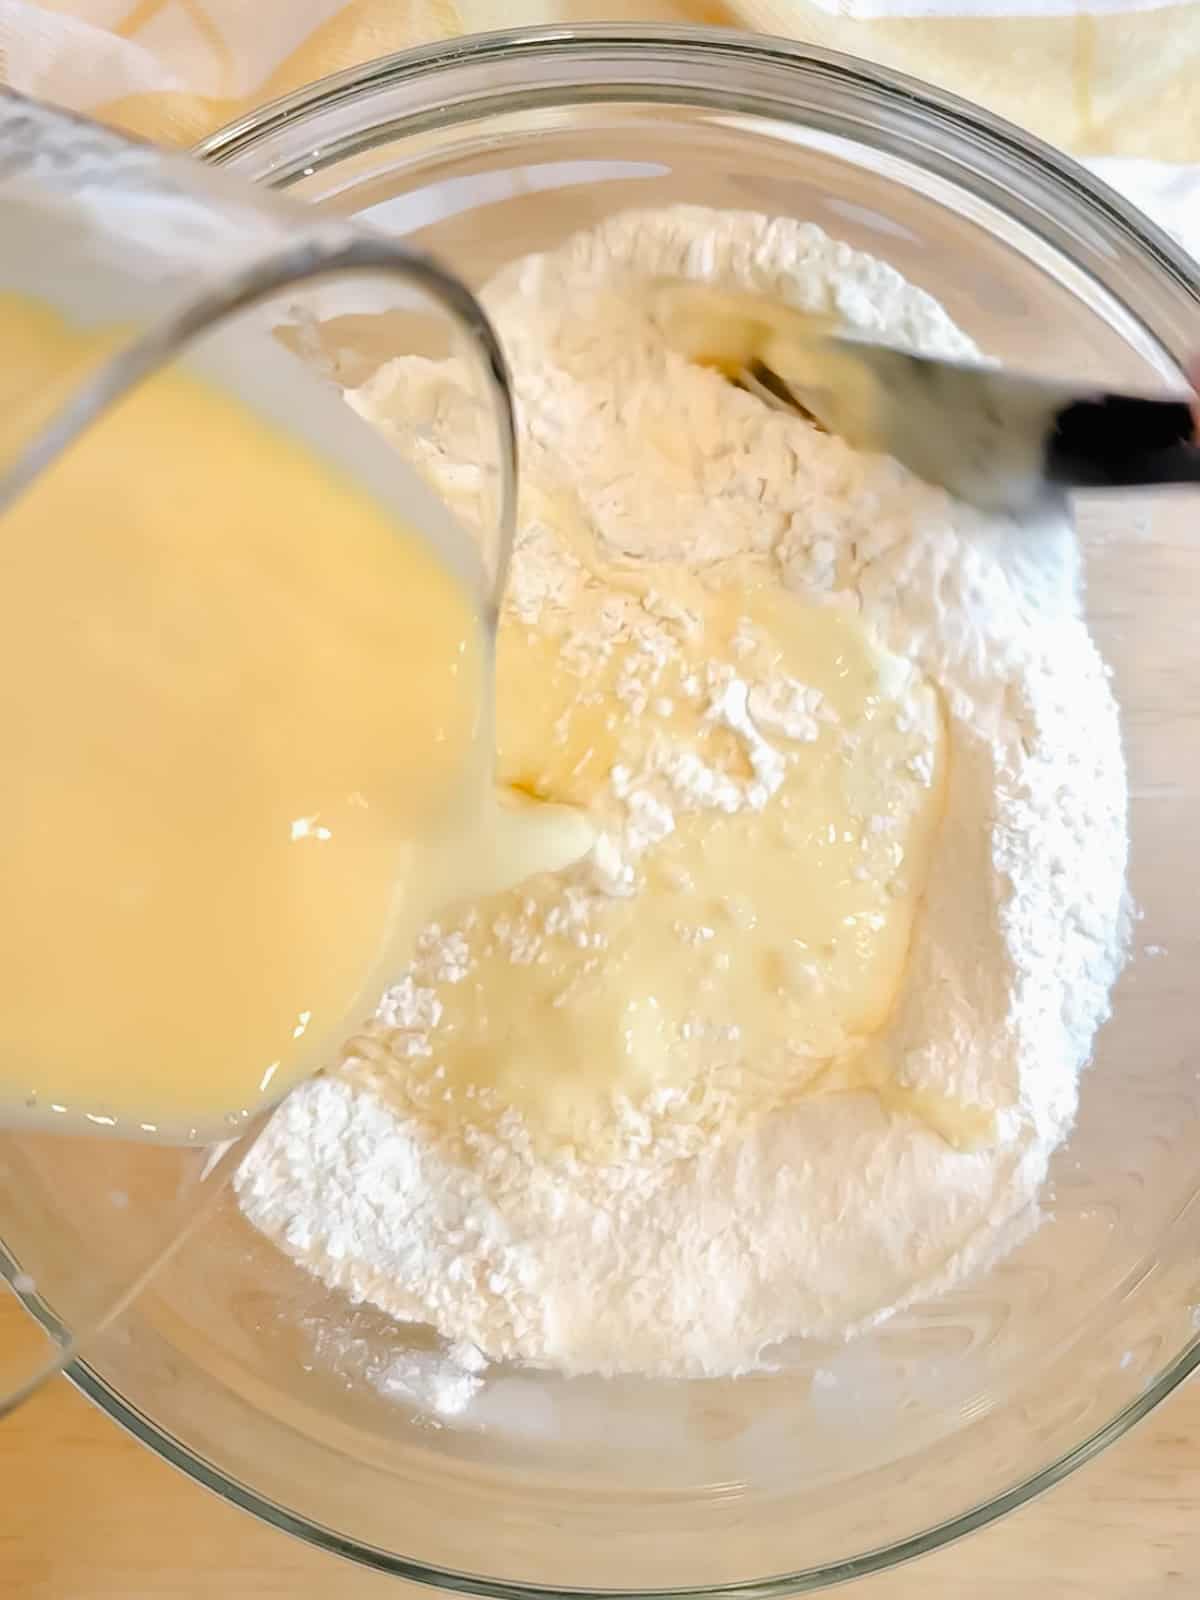
Step 2: Pour the wet ingredients into the flour mixture and fold together until mostly combined, but some dr flour is still visible.
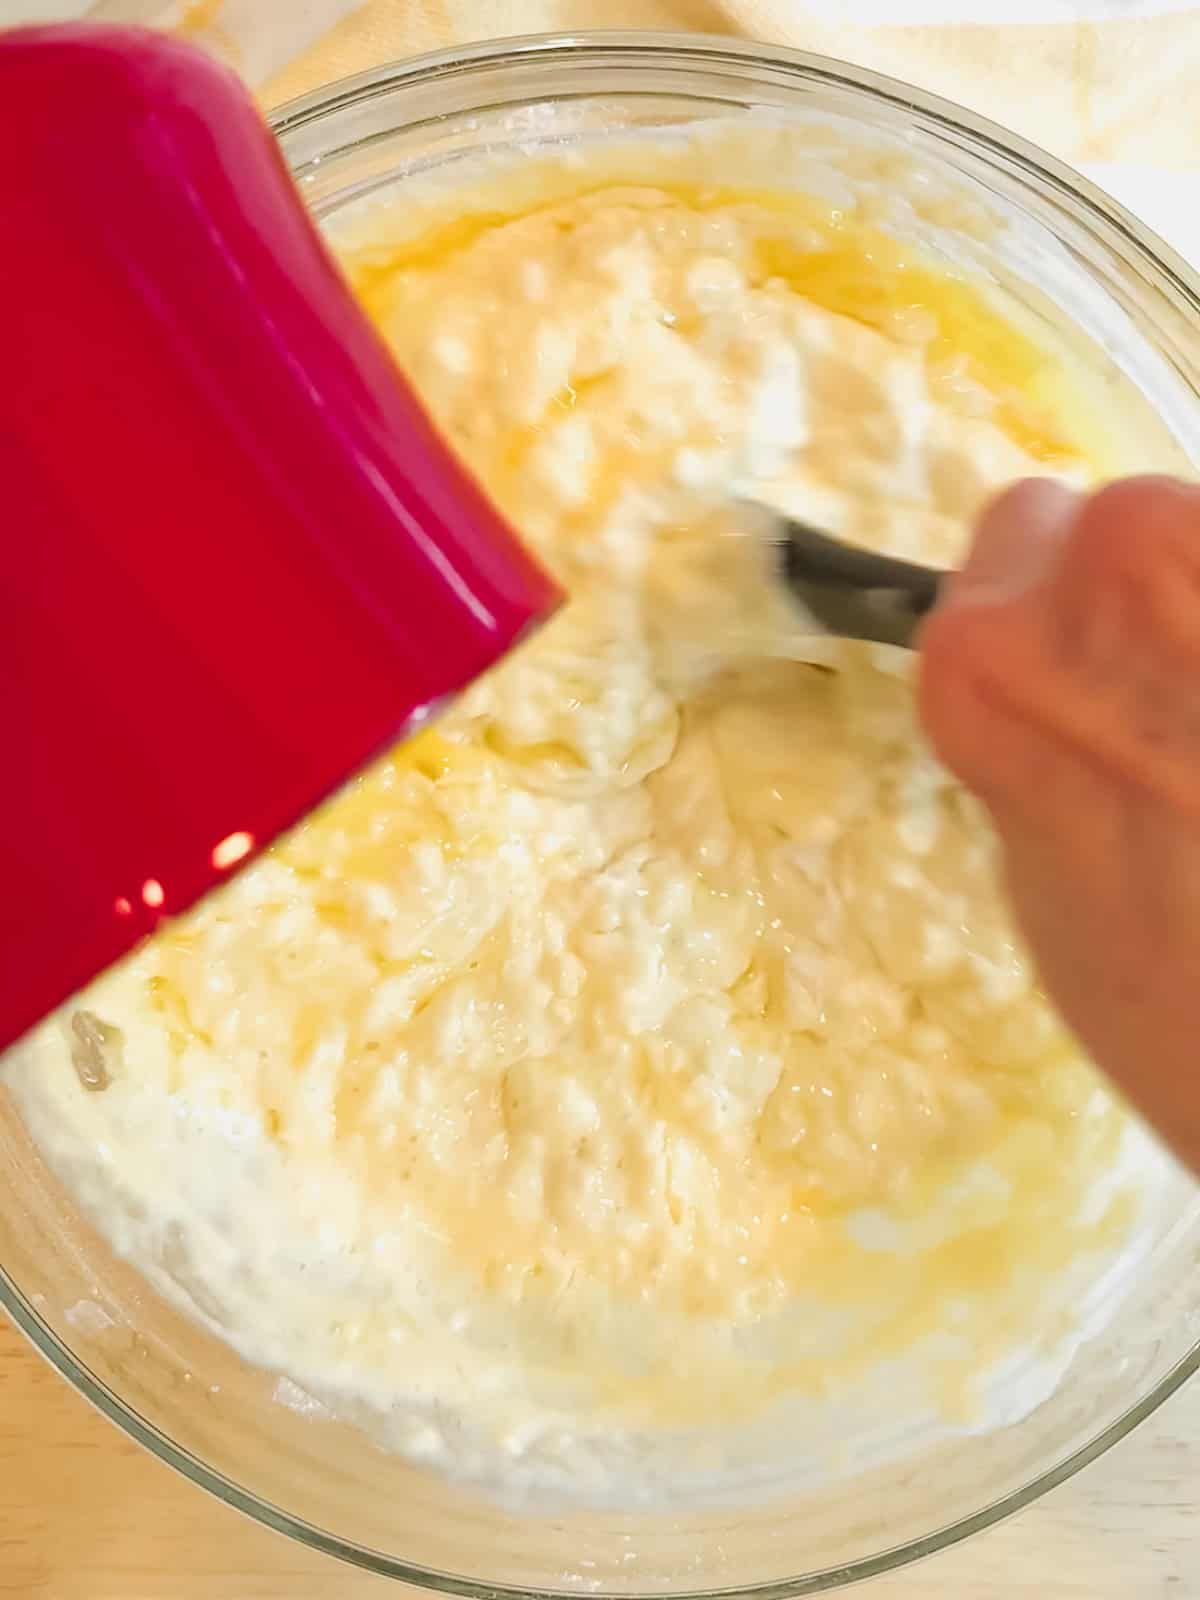
Step 3: Finish mixing while drizzling in your melted and cooled butter. You should still see some small lumps. Set aside to rest for 15 minutes.
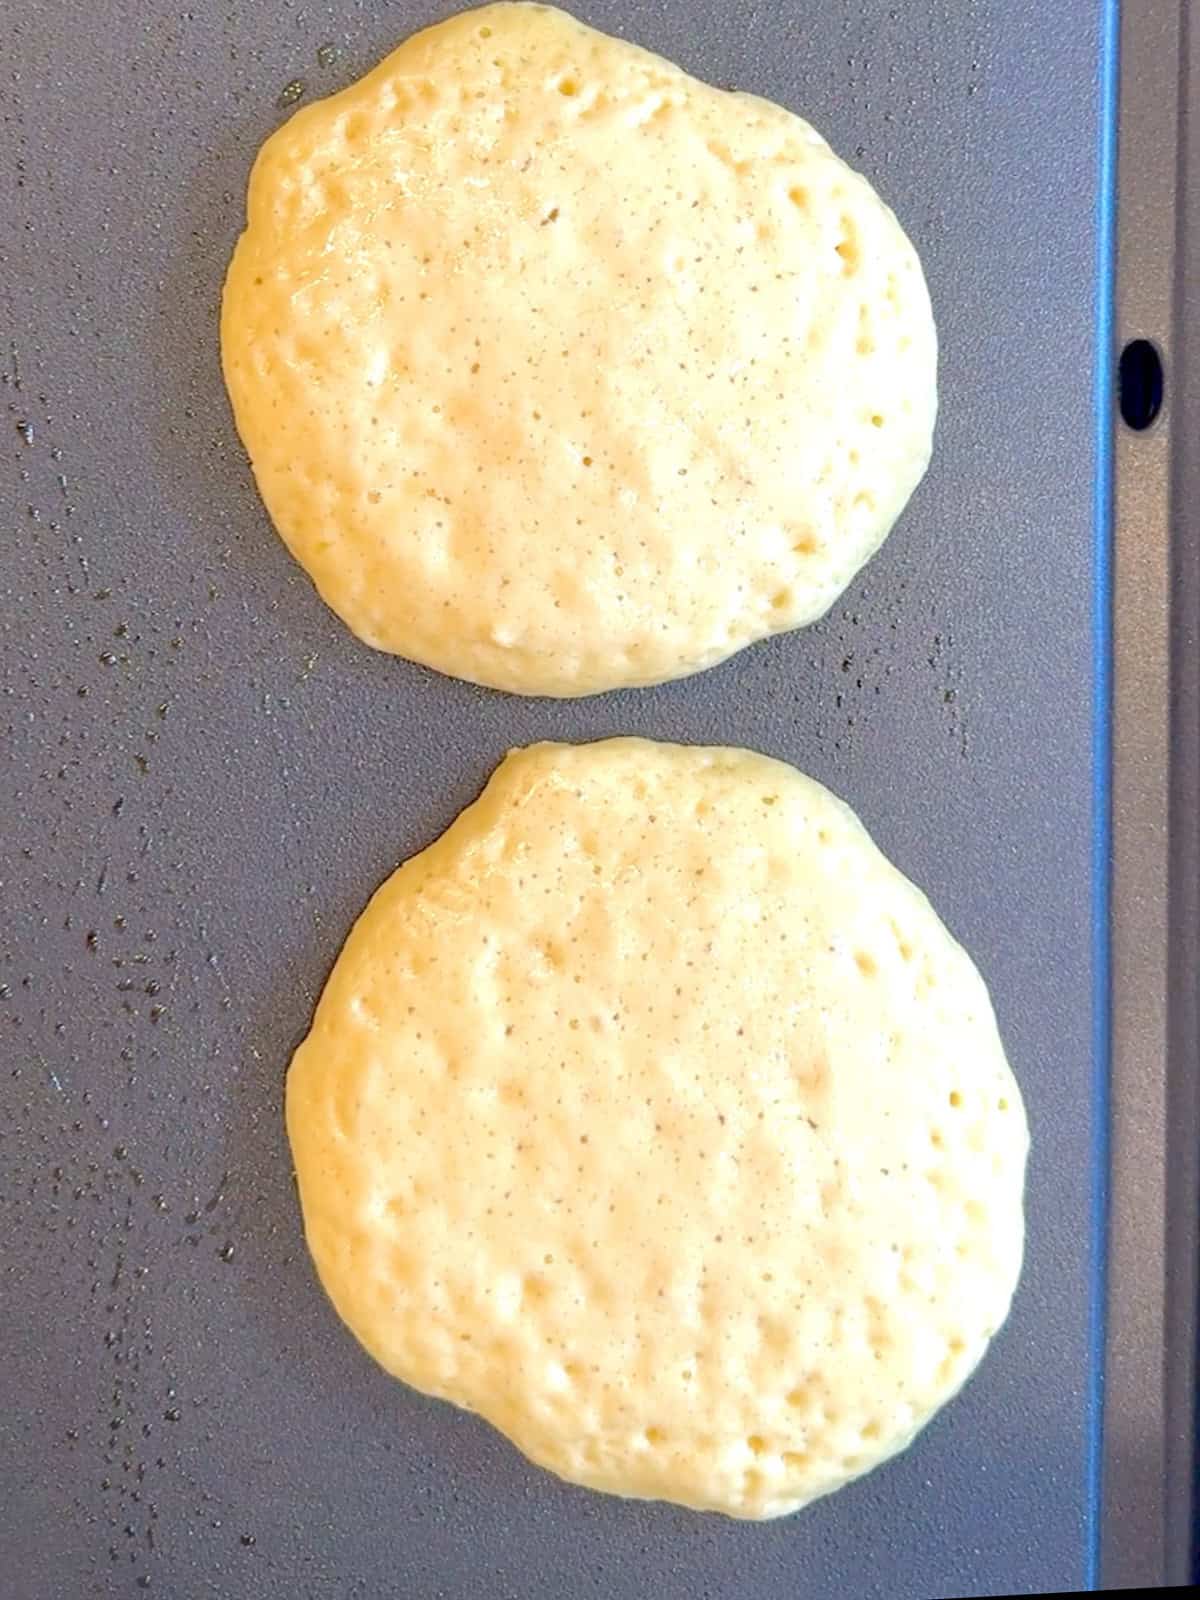
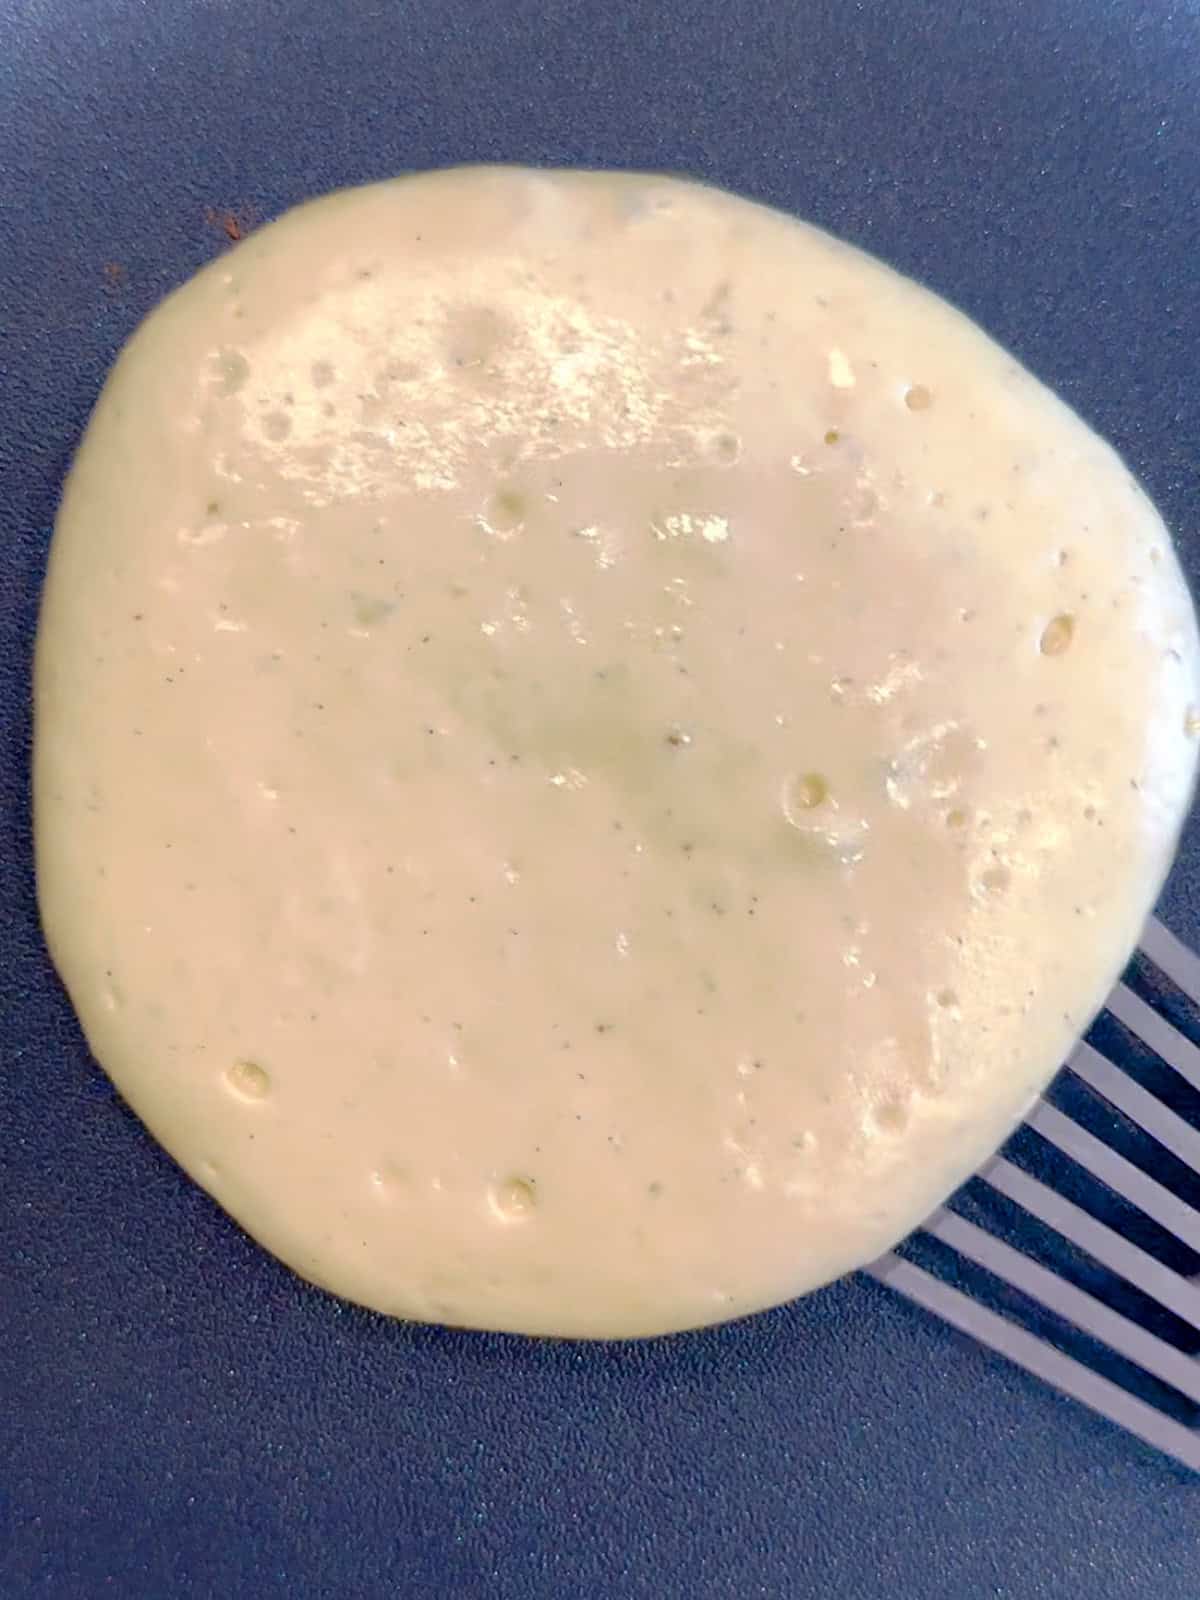
Step 4: Heat a large skillet, or electric griddle, over medium-low heat. When warm, add a teaspoon or so of butter or oil. Drop ¼ cup scoops of pancake batter into the melted butter. It will spread out a bit. After 2 to 3 minutes, bubbles will start to form and pop on the surface of the pancake.
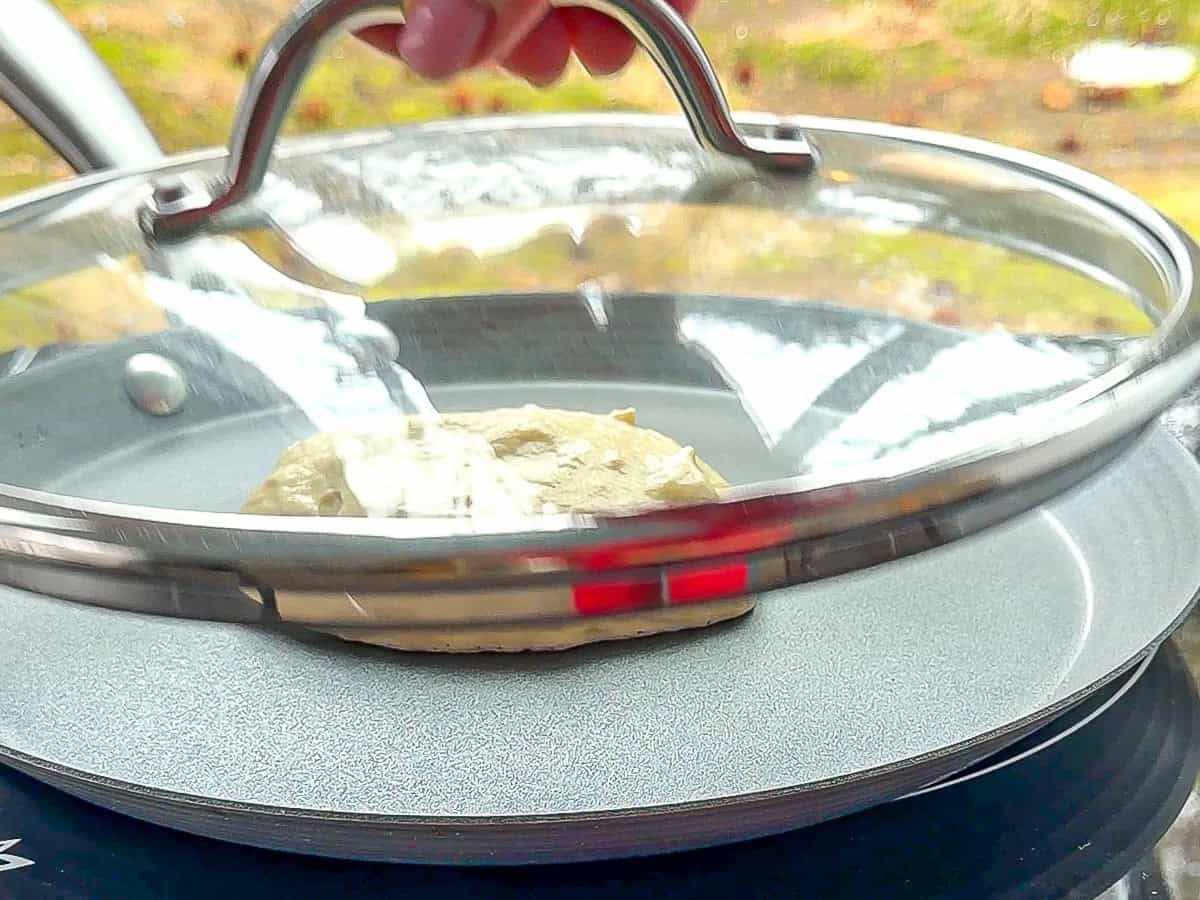
Hint: If your batter is very thick (which I love) you can place a lid on the pan while the pancakes are cooking to ensure that they cook all the way through. Flip and then place the lid again, checking for browning on each side at about 2 minutes.
Step 5: When the bubbles on the edges look dry and airy, use a thin spatula to gently lift one side and peek underneath. If the pancake is golden brown, flip and cook on the other side for another 2 to 2 ½ minutes, or until the bottom of the pancake is golden brown.
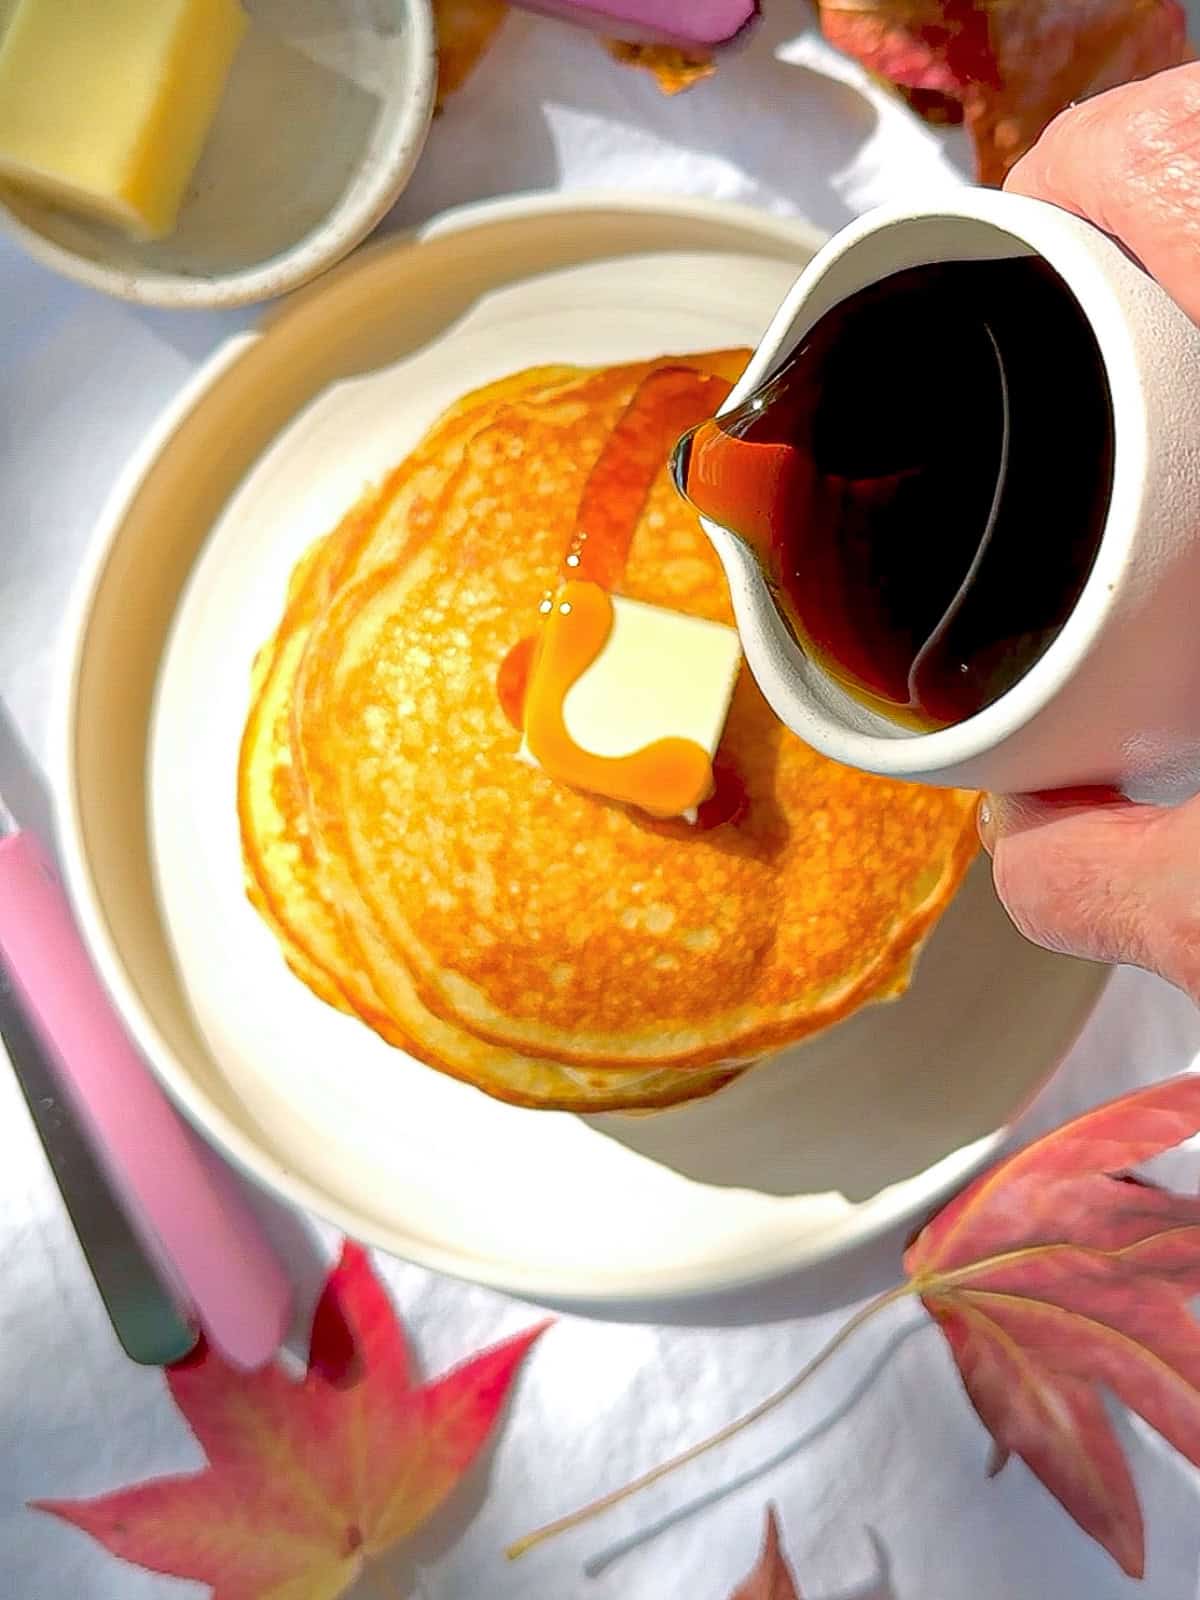
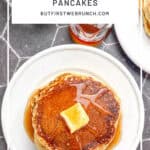
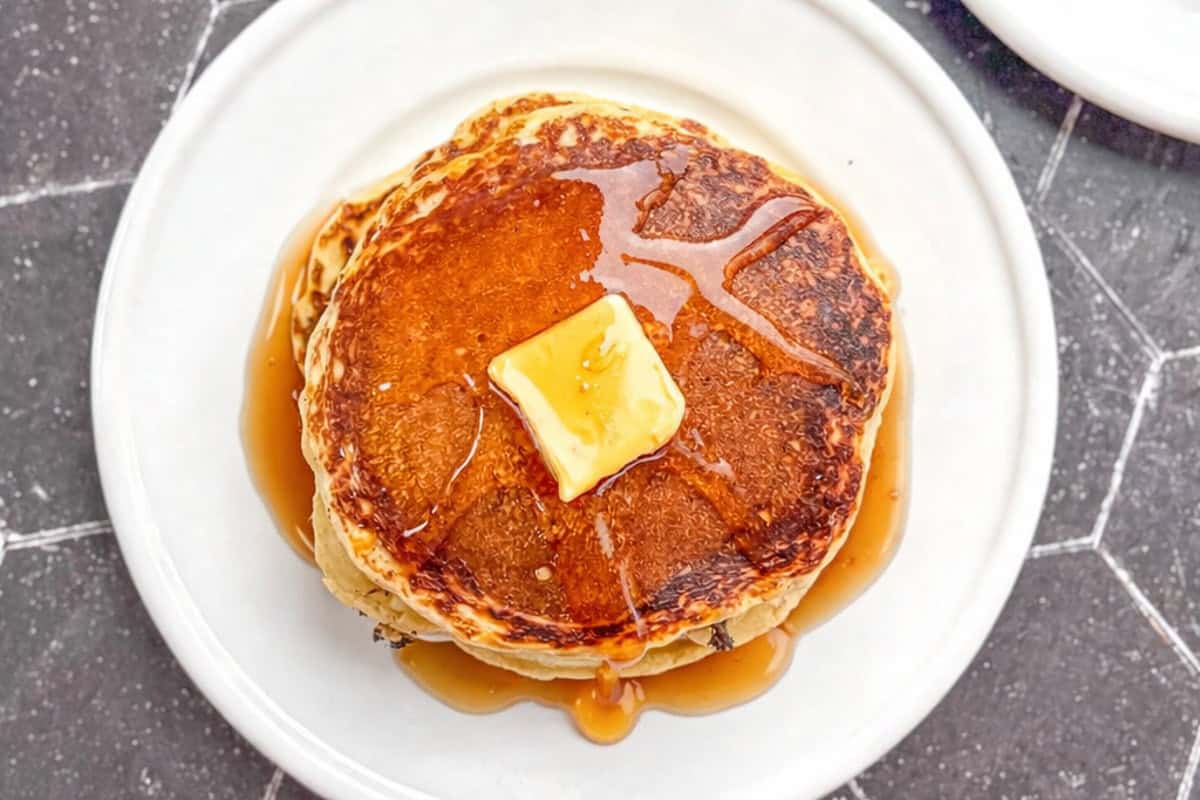
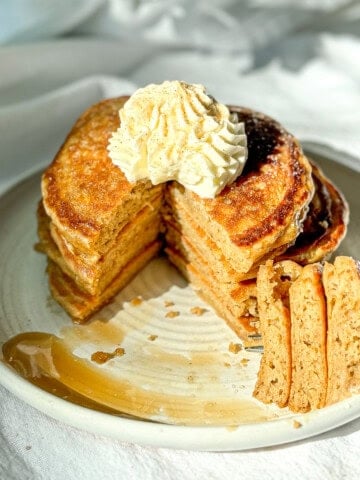
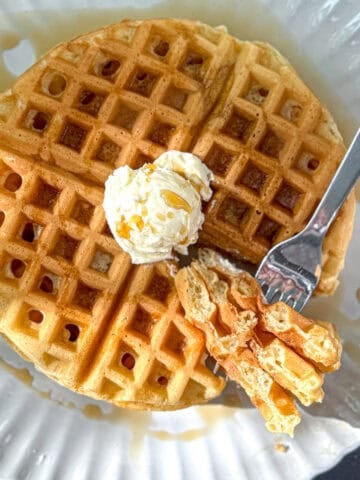
Step 6: Stack them up and serve with butter, warm pure maple syrup, or your favorite pancake toppings.
Tip: This is a thicker batter that makes nice fluffy pancakes. If you prefer a thinner batter, add a couple more tablespoons of buttermilk, up to ¼ cup, until you get the consistency you prefer.
On a roll Combine the best parts of fluffy pancakes and gooey cinnamon rolls with my Cinnamon Roll Pancakes. The cream cheese glaze is literally the icing on top!
Cynthia's tips for flawless pancakes
- Resting - Letting the batter sit for at least 15 minutes makes taller pancakes.
- Heat control - Medium-low heat prevents burnt outsides and raw centers.
- Put a lid on it - If you prefer thick pancakes, like I do, place a lid on the pan while they are cooking.
- Do not overmix - Lumps are fine and most will absorb during the rest period. Overmixing makes tough pancakes.
- Flip once - Wait for dry edges and set bubbles before flipping.
- Keep warm - Hold cooked pancakes in pancake warmer or a plate with a large bowl turned over on it.
- Clean up - Between each batch of pancakes, wipe out your pan with a paper towel. You might not notice it, but the residual butter or oil left from each pancake will start to burn. This could lead to your later pancakes tasting bitter.
The perfect side! For the perfect accompaniment to this buttermilk pancake recipe, try my sweet and spicy Millionaire's Bacon or my Crispy Oven Bacon!
Recipe FAQs
Overmixing or expired baking powder are common causes, although just adding too much liquid will also thin your pancakes.
This is a thick batter by design. My Dad used to make his batter thick enough for a spoon to stand up in it. Add up to ¼ cup more liquid if you prefer thinner pancakes.
If you have leftover pancakes, congratulations. You are stronger than I am. Moisture is the enemy of pancakes, so be sure to allow pancakes to cool completely then place in an airtight container in the refrigerator for up to 3 days.
Let cool completely before individually wrapping each pancake in plastic wrap. Store in a freezer-safe bag for up to 3 months.
If frozen, allow to thaw in the refrigerator overnight, or on the counter for 30 minutes. Reheat in the microwave for 1 minute, or until warm, or try popping them in the toaster for a crispy outside, fluffy inside treat.

Did you try this recipe?
Please consider leaving a comment with a ⭐️ rating below and tell me all about it! It helps me to continue to improve my content and lets others know what you think!
I appreciate it so much!
-Cynthia
📖 Recipe

Fluffy American Buttermilk Pancakes
Recommended Equipment
- Nonstick pan ~OR~
Ingredients
- 2 cups (240 g) all-purpose flour
- 3 tablespoons (36 g) sugar
- 2 teaspoon (8 g) baking powder
- ¾ teaspoon baking soda
- ½ teaspoon salt
- 2 cups (480 g) buttermilk room temperature
- 2 large (100 g) eggs room temperature
- 1 ½ teaspoon vanilla
- 4 tablespoons (56 g) unsalted butter melted and cooled
Instructions
- Melt 4 tablespoons of butter and set aside to cool. If your eggs and buttermilk are not at room temperature, place your eggs in a cup of warm water for 10 minutes and microwave your buttermilk for 30 seconds.
- Whisk the flour, sugar, baking powder, baking soda, and salt together in a large bowl. In a large measuring cup, whisk the buttermilk, eggs, and vanilla.
- Pour the wet ingredients into the flour mixture and fold together until mostly combined. Finish mixing while drizzling in your melted and cooled butter. Set aside to rest for 15 minutes.
- Heat a large nonstick skillet, or electric griddle, over medium-low heat. When warm, add a teaspoon or so of butter or oil. Drop ¼ cup scoops of pancake batter into pan. It will spread out a bit. After 2-3 minutes, bubbles will start to form and pop on the surface of the pancake.
- When the bubbles on the edges look dry and airy, use a thin pancake spatula to gently lift one side and peek underneath. If the pancake is golden brown, flip and cook on the other side for 2 to 2 ½ minutes, or until the bottom of the pancake is golden brown.
- Serve with butter and warm maple syrup or your favorite toppings
I’ve used so many pancake recipes in the past and these are the best, flavor and texture are perfect. Easy recipe, I double the recipe and freeze for my girls for the week!
Very simple recipe! Very quick to do. I ended up not putting vanilla and substituting with brown sugar and making my own buttermilk at home. 10/10 will make again!
Sounds great!
Turned out perfectly!
They are so light and fluffy and so good! My daughter and husband loved them.
Thank you!
These are so amazing, light and fluffy!!! Our new favorite pancakes!!
I’m so glad you loved them!
Your recipe is similar to my buttermilk pancake recipe. I love the extra vanilla and melted butter. Added to the flavor and richness. They came out great, melted in my mouth.
I'm so happy to hear this!
Thank you for this fluffy and delicious pancake recipe!! I made a batch and wish I tripled or quadrupled it. My family ate it faster than the time it took to make it. Definitely the best buttermilk pancakes I've ever made!
Yay! This makes me so happy to hear!
I’m trying these out today and so excited! Question - could I substitute whole wheat flour for the all purpose?
Yes, you can! Let me know how it comes out!
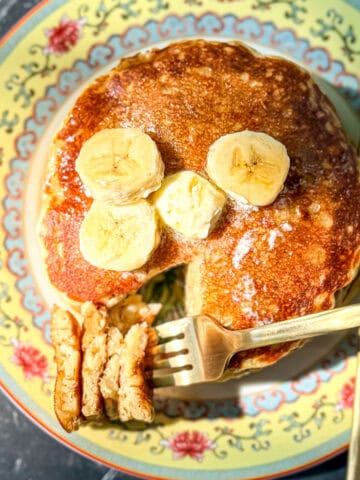
It turned out really good! I did 1 c. All purpose and 1/2 whole wheat. I also topped it with homemade granola and bananas. Family was obsessed!
What a great idea! I’m so glad they were such a hit ❤️
Way better than the Test Kitchen pancakes I usually make. These have more flavor and fluffiness 🤩.
Wow! Huge compliment! Thank you 😊
I have made this recipe a few times. This is the BEST pancake recipe I have ever made! Thank you so much for this recipe!
So glad you enjoyed them as much as my family does!
I love this recipe. Just a question , can I make the batter in advance and let it sit overnight in the fridge
You can but take it out of the refrigerator and allow it to come to room temperature for about 15 to 30 minutes before making pancakes. They might not rise quite as much as it would fresh made, but the baking powder should get you a nice rise anyway.
These are delicious! I found the batter unevenly thin in some places and lumpy in others so they were super ugly but I’m pretty sure that’s something wrong with my mixing technique and it at fault with the recipe. Ugly delicious pancakes > pretty bland ones any day though!
I’m sure you just need to mix the batter more until the consistency is even. There will be lumps but they will hydrate as you let the batter sit.
So delicious and fluffy!! I love the addition of vanilla, makes for a melt in your mouth flavor
Thank you! I feel like vanilla gives you that authentic diner/IHOP taste of a pancake!
just made this recipe again and subbed out the buttermilk for oat milk (all i had on hand) and my god they are GREAT! this recipe is spectacular. i've never had such soft homemade pancakes in my life, they feel like suede or something. i'd like a pillowcase made of these pancakes please.
Oh wow that’s fantastic! I think the pillow case idea might be a little sticky, but I appreciate your enthusiasm!
The best pancakes! This knocked my previous go-to recipe off this pedestal. Thank you for sharing your recipe.
Thank you so much! I’m so thrilled you like them!
this recipe is seriously awesome. i've never made such fluffy and delicious pancakes before in my life!! instant classic recipe.
Yay! I’m glad you like it!
hi there- just to confirm, is it one-tablespoon or one-teaspoon of baking powder?
It’s one tablespoon. I was wondering if I should write out all the measurements, like teaspoon and tablespoon, in my recipes. Maybe I’ll do that moving forward! Thanks for the question!
I’ve actually revised the recipe to make it 2 teaspoons. I felt I could taste the baking powder, and this is just the right amount fur fluff and taste!
Every cook should learn the difference between w tisp - tsp-teaspoon and a tibble- tbs - tablespoon. I was fortunate to have a mother who was and excellent cook with a sense of humor!
You’re so right!
OMG! Gorgeous! I can't wait to try this recipe!
I hope you love it as much as we do!!