



You can never have too many biscuit recipes. These Gruyere and Chive Biscuits are a super savory twist on my classic buttermilk biscuit. Buttery, cheesy, full of fresh herbs, they are perfect for a breakfast sandwich, brunch spread, or as a side at dinner. I also love to serve these alongside the turkey on Thanksgiving!

Save This Recipe! 💌
These tender and flaky Gruyère Biscuits with Chives are packed full of flavor with the addition of nutty Gruyère cheese and fresh chives. Starting with the base of my buttermilk biscuits these have all the flavor I'm looking for, all wrapped up in my signature flaky layers.
I love to add mix-ins to my biscuit recipes, as in my Ham and Swiss and Cacio e Pepe Biscuit versions, kind of like a savory scone. Unlike British scones, American biscuits usually use buttermilk, which not only tenderizes these biscuits, but adds to their magnificent flavor!
Jump to:
In This Post You'll Learn
- What to pair these biscuits with for the ultimate brunch spread ro side dish.
- How to make tall, flaky biscuits using my cut and stack method.
- Ways to add cold butter for perfect layers.
- Easy swaps to make this recipe work in your kitchen.
- Common biscuit mistakes and how to avoid them.
Get back to basics: If you've never made Crispy Bacon in the Oven, this post will give you all the tips and tricks to make sure you're doing it all the right way, saving you time and a messy stovetop!
Why you'll love this recipe
- Big Flavor - Gruyere and chives add richness and big flavor to every bite.
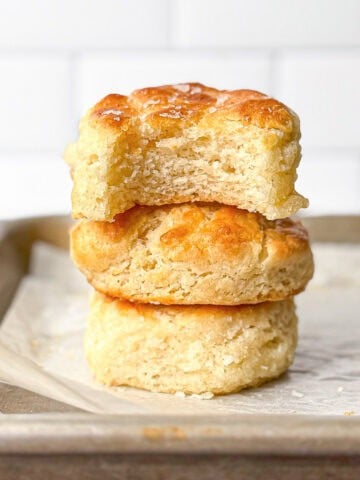
- Flaky Layers - The cut and stack method gives that signature bakery-style height.
- Quick and Simple - Mix and bake in about half an hour.
- Make It Your Own - Add bacon, herbs, or spices to switch things up.
- Brunch Ready - These pair perfectly with eggs and coffee with soups and stews. They're also the perfect quick bread for your Thanksgiving dinner or Holiday table!
Ingredients & Substitutions
The photo below shows what you'll need to make these biscuits. Here are a few ways you can make substitutions if needed:
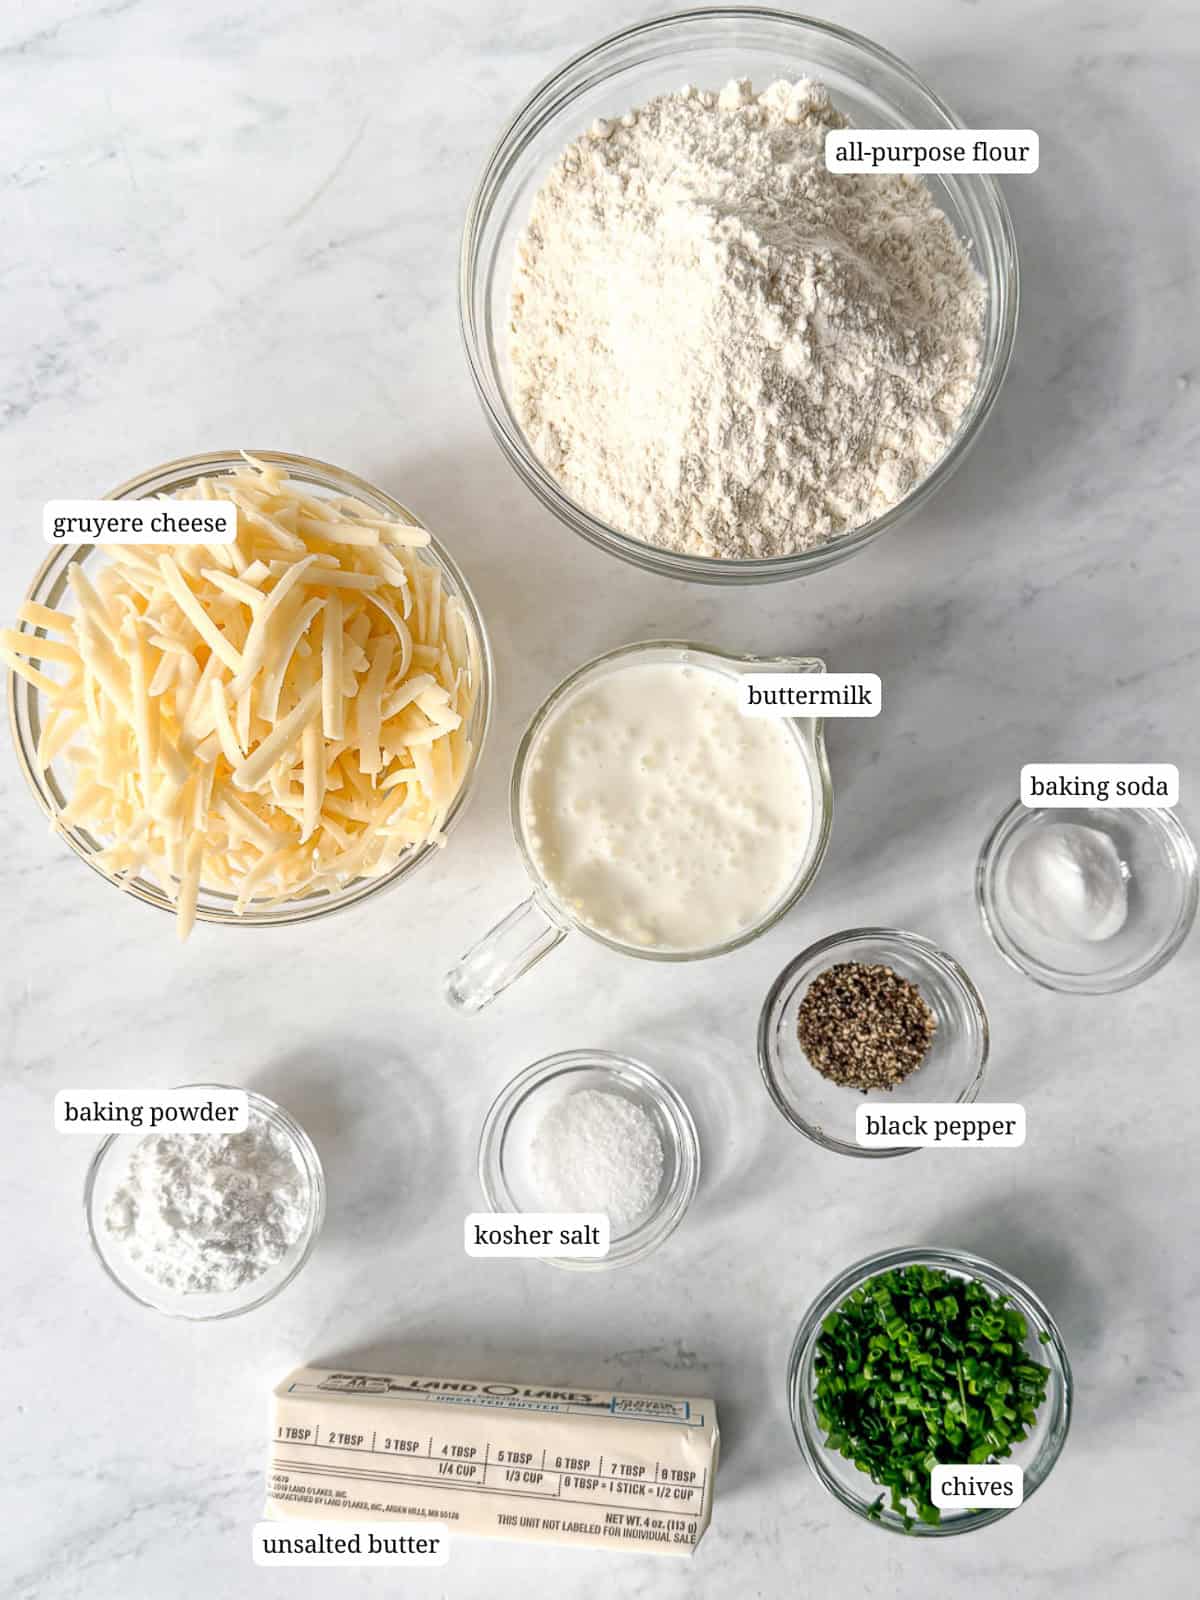
- Flour - Stick with all-purpose for a tender crumb. Half all-purpose and half cake flour will work for an even more tender biscuit.
- Butter - Cold grated butter gives the best layers, but cold cubed works too. The goal is cold butter all the way, but don't get caught up in thinking you have to freeze your butter. We are going to place these biscuits back into the freezer to chill while the oven preheat, so we're not too worried about it.
- Gruyere Cheese - Swap with sharp cheddar, Swiss, or Emmental cheese. Adjust the salt if your cheese is extra salty.
- Chives - Green onions or scallions can stand in. For dried chives, use half as much and add it to your buttermilk about 5 minutes before mixing into your dry ingredients.
- Buttermilk - If you don't have any, you can use kefir or sour cream or yogurt that has been thinned with a little bit of milk. You can also use milk in place of buttermilk, but you will probably need to start with ¾ cup, and then see if you need more.
See recipe card below for a full list of ingredients and measurements.
Variations
Biscuits are a culinary playground and can be customized to whatever inspiration or ingredients you have:
- Bacon and Gruyere Biscuits - Add 4 ounces of cooked, chopped bacon for a smoky variation.
- Herb Garden Biscuits - Swap the chives for 2 tablespoons each of chopped thyme and rosemary.
- Spicy Cheddar Biscuits - Use cheddar instead of Gruyere and add a pinch of cayenne or smoked paprika.
- Mini Brunch Sliders - Cut smaller rounds and use for breakfast sandwiches or sliders.
- Drop Biscuits - Add a couple more tablespoons of buttermilk for a dough that can be scooped in mounds and baked up fluffy and cheesey.
- Breakfast Biscuit Base - Gently knead your dough a few times before doing the cut and stack technique. This helps build strength to allow you to split and fill your biscuits with scrambled eggs, ham, or creamy ricotta eggs for a next-level brunch sandwich.
Cynthia's Recipe Review
I am obsessed these biscuits. They puff up so tall, turn so perfectly golden, and the cheesy layers pull apart like a dream. They're the kind of biscuit you bake once and then find yourself looking for any excuse to make again. And I don't need any excuse 🤪

Quick Recipe Video
Step-by-Step Instructions
The instructions are the same as for all my biscuit recipes - simple, straightforward, and fun! Your biscuit skills will improve every time you make these, and I even include food processor instructions, so I guess you're gonna be a biscuit person now!
- Step 1: Line a baking sheet with parchment paper.
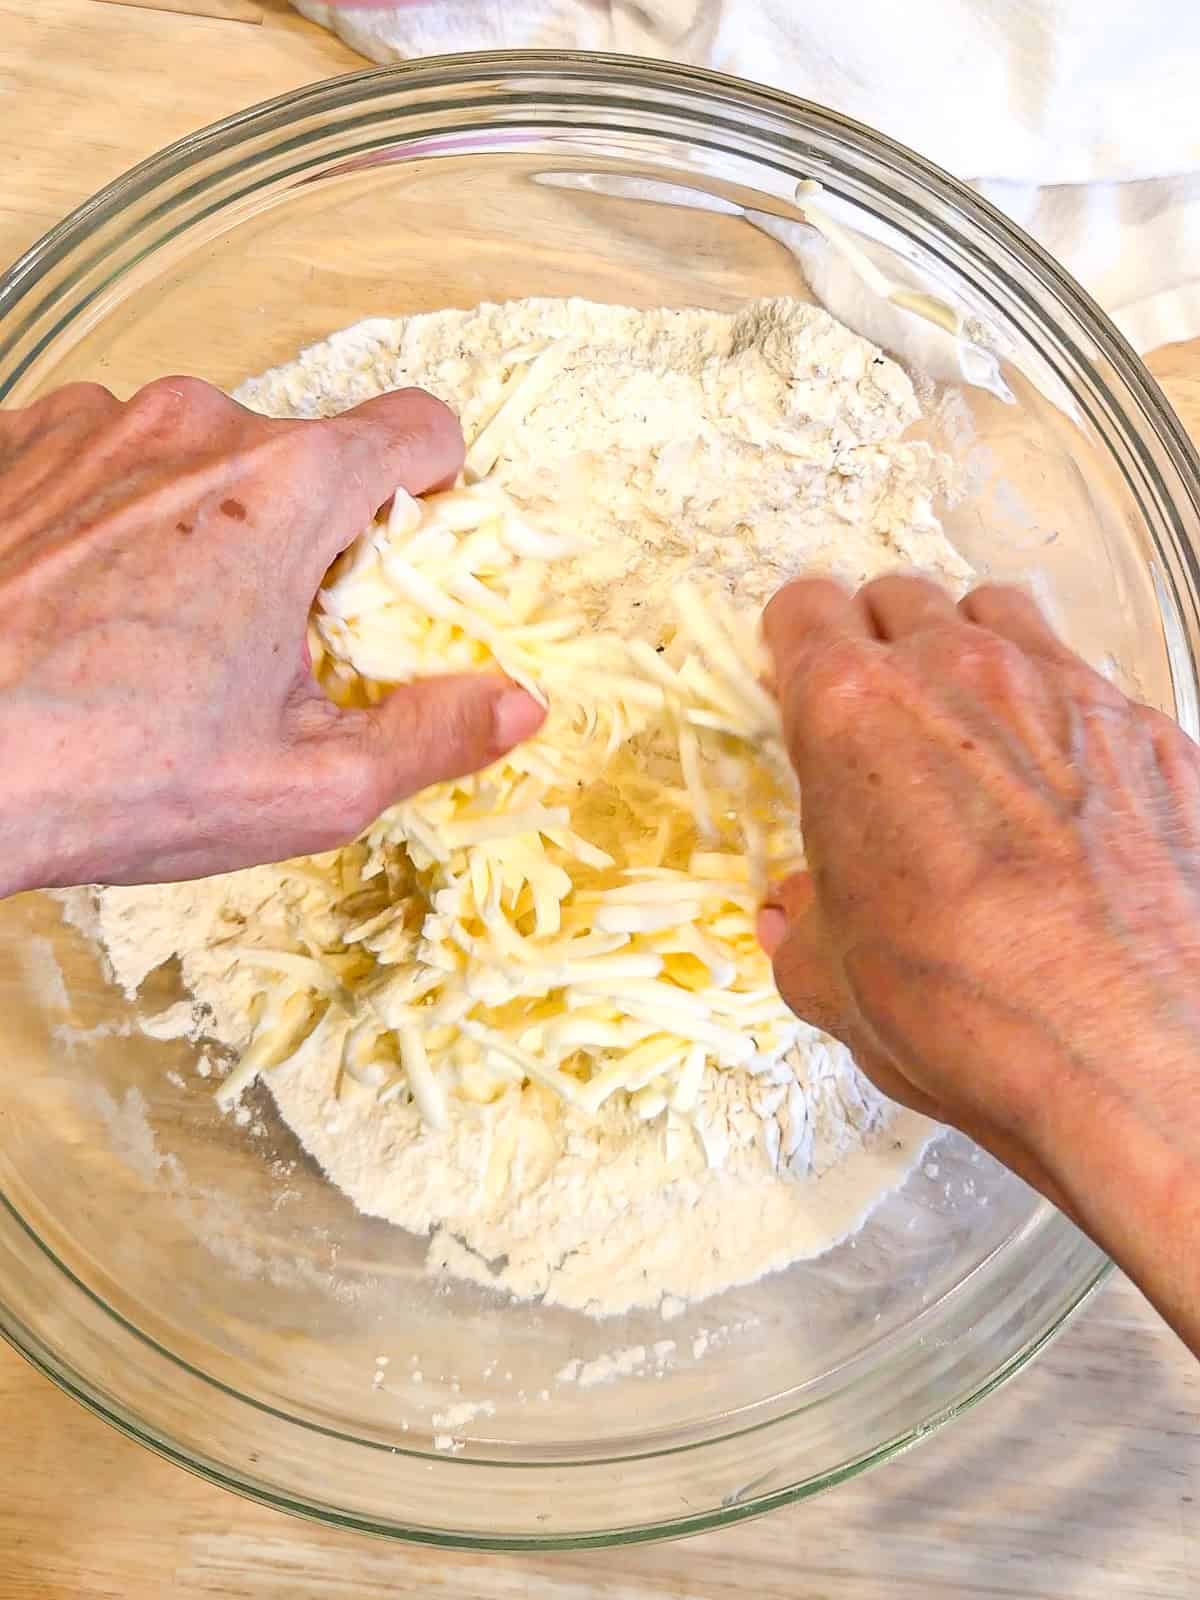
Step 1: In a large bowl, whisk together flour, baking powder, baking soda, salt, and pepper. Grate cold butter right into the dry ingredients or use cubed butter.
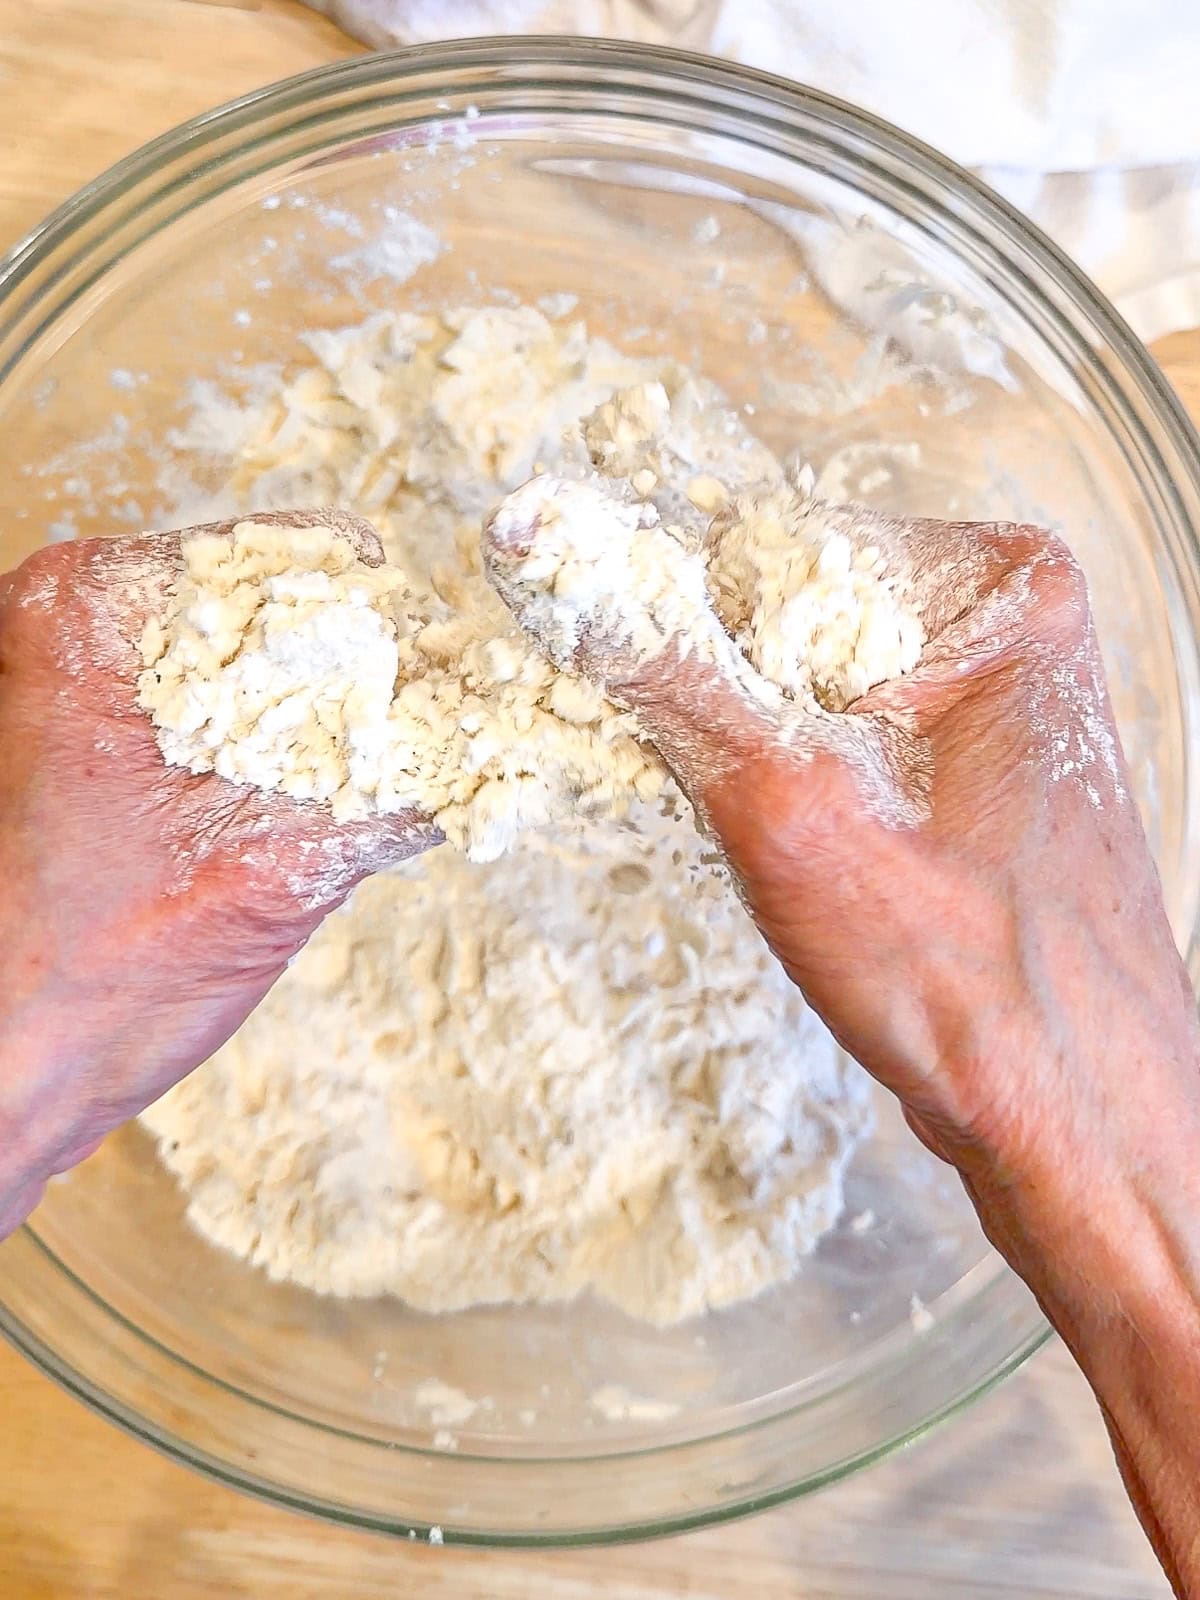
Step 1: Use your fingers, or a pastry cutter to rub the butter into the dry ingredients. You can also pulse the butter into the flour in a food processor, using about 5 to 6 pulses. You should end up with small pieces of butter, no larger than the size of a pea, and a lot of smaller pieces and flat pieces.
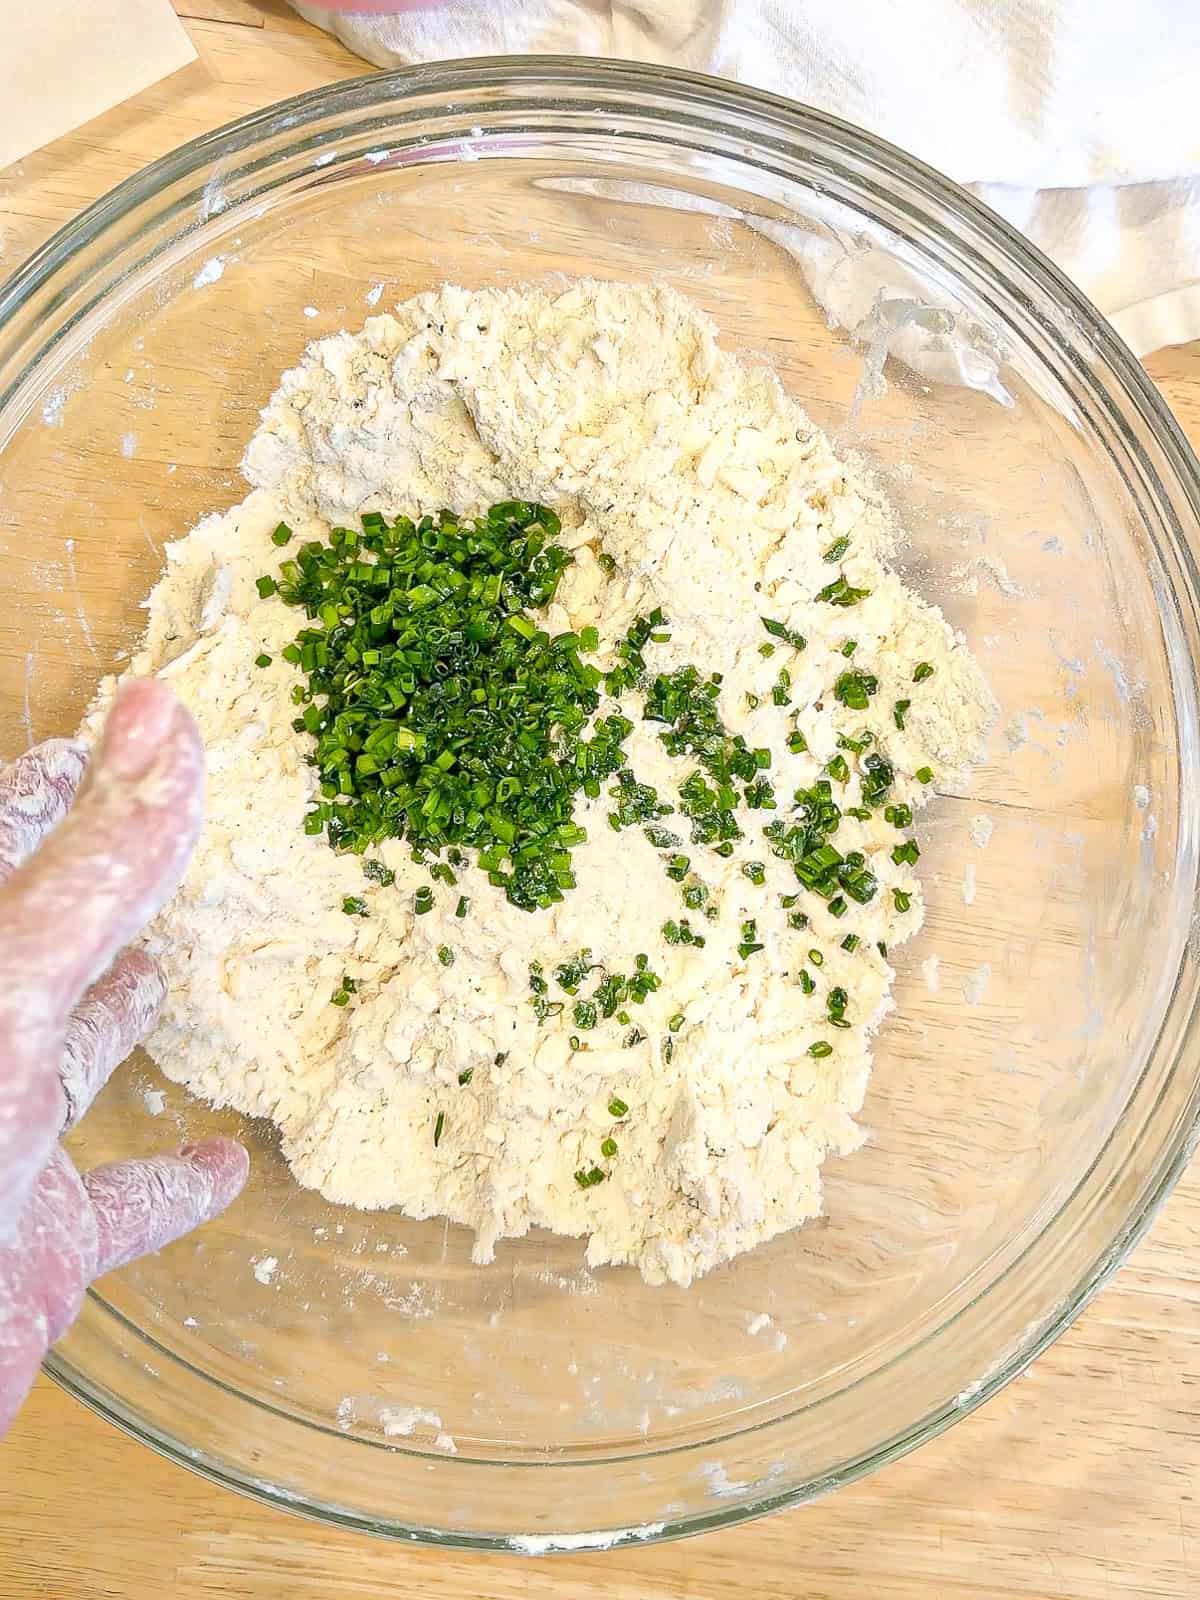
Step 1: Add your fresh chopped chives and a toss in the dry ingredients.
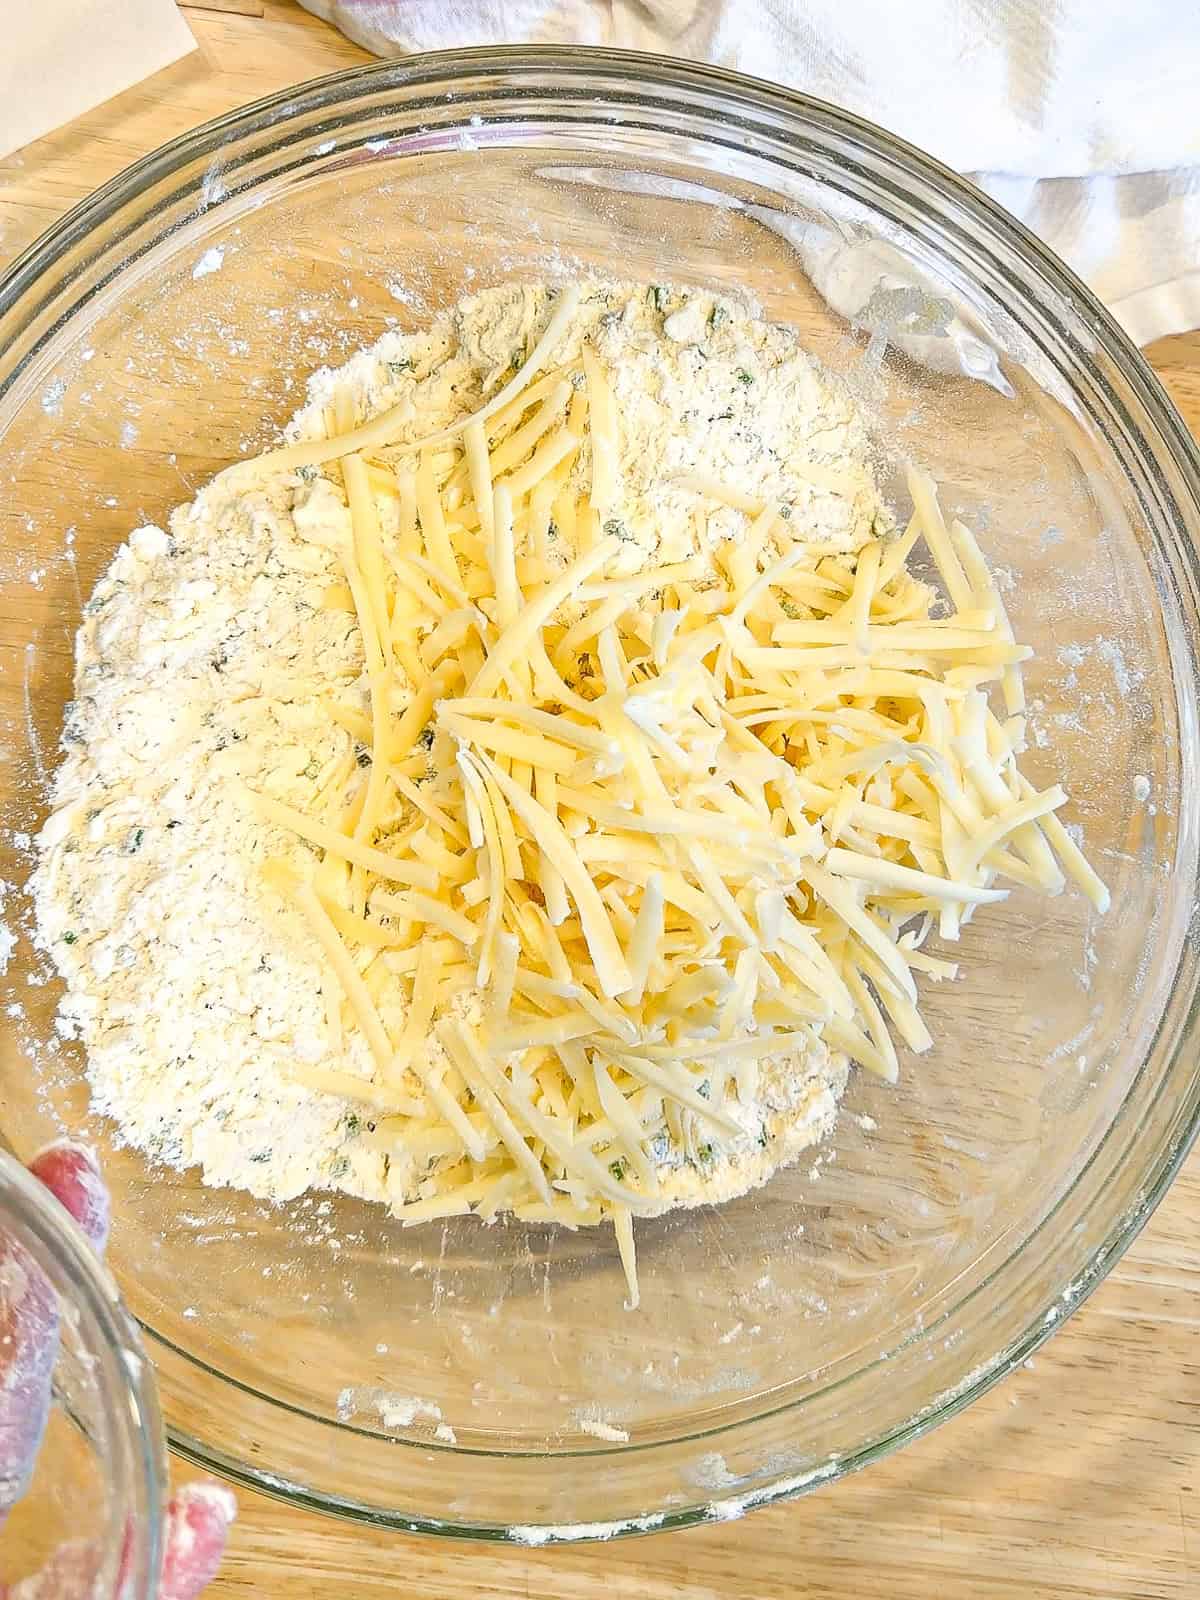
Step 1: Stir in the shredded Gruyere until evenly distributed.
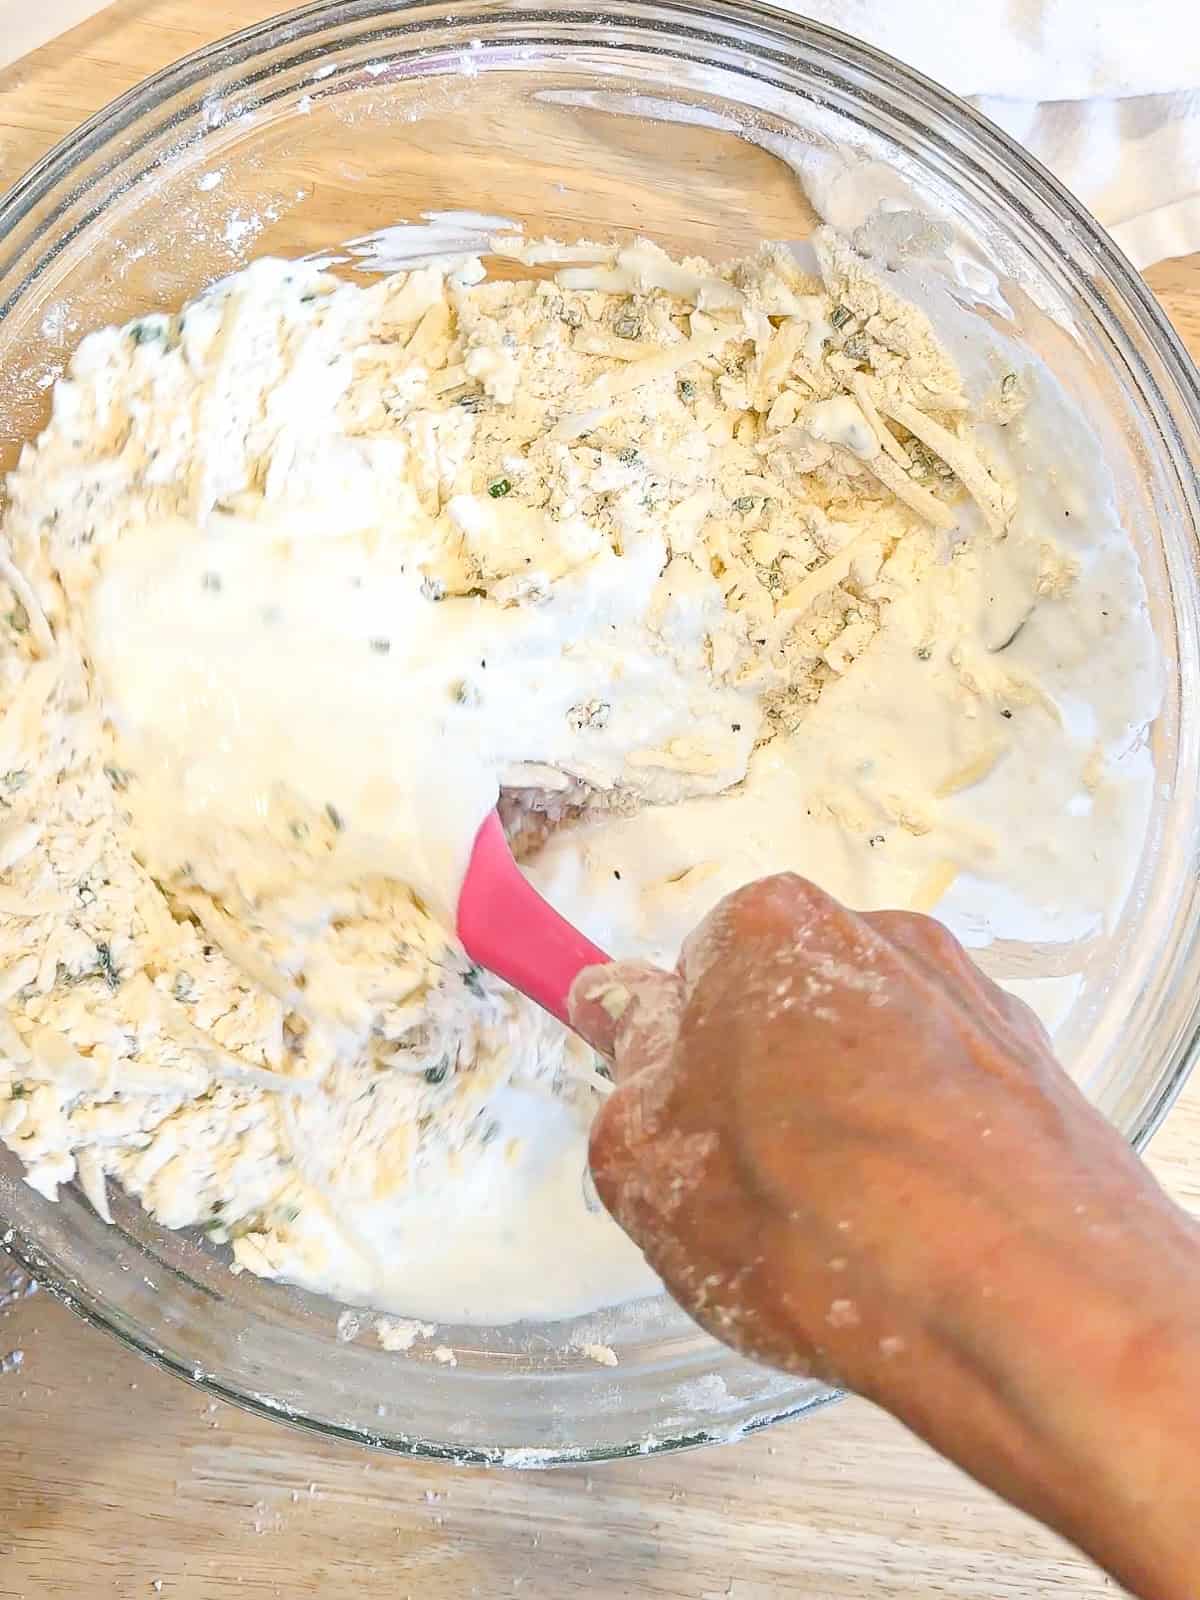
Step 1: Pour in the cold buttermilk and stir just until the dough comes together. It should look shaggy and soft, not overmixed.
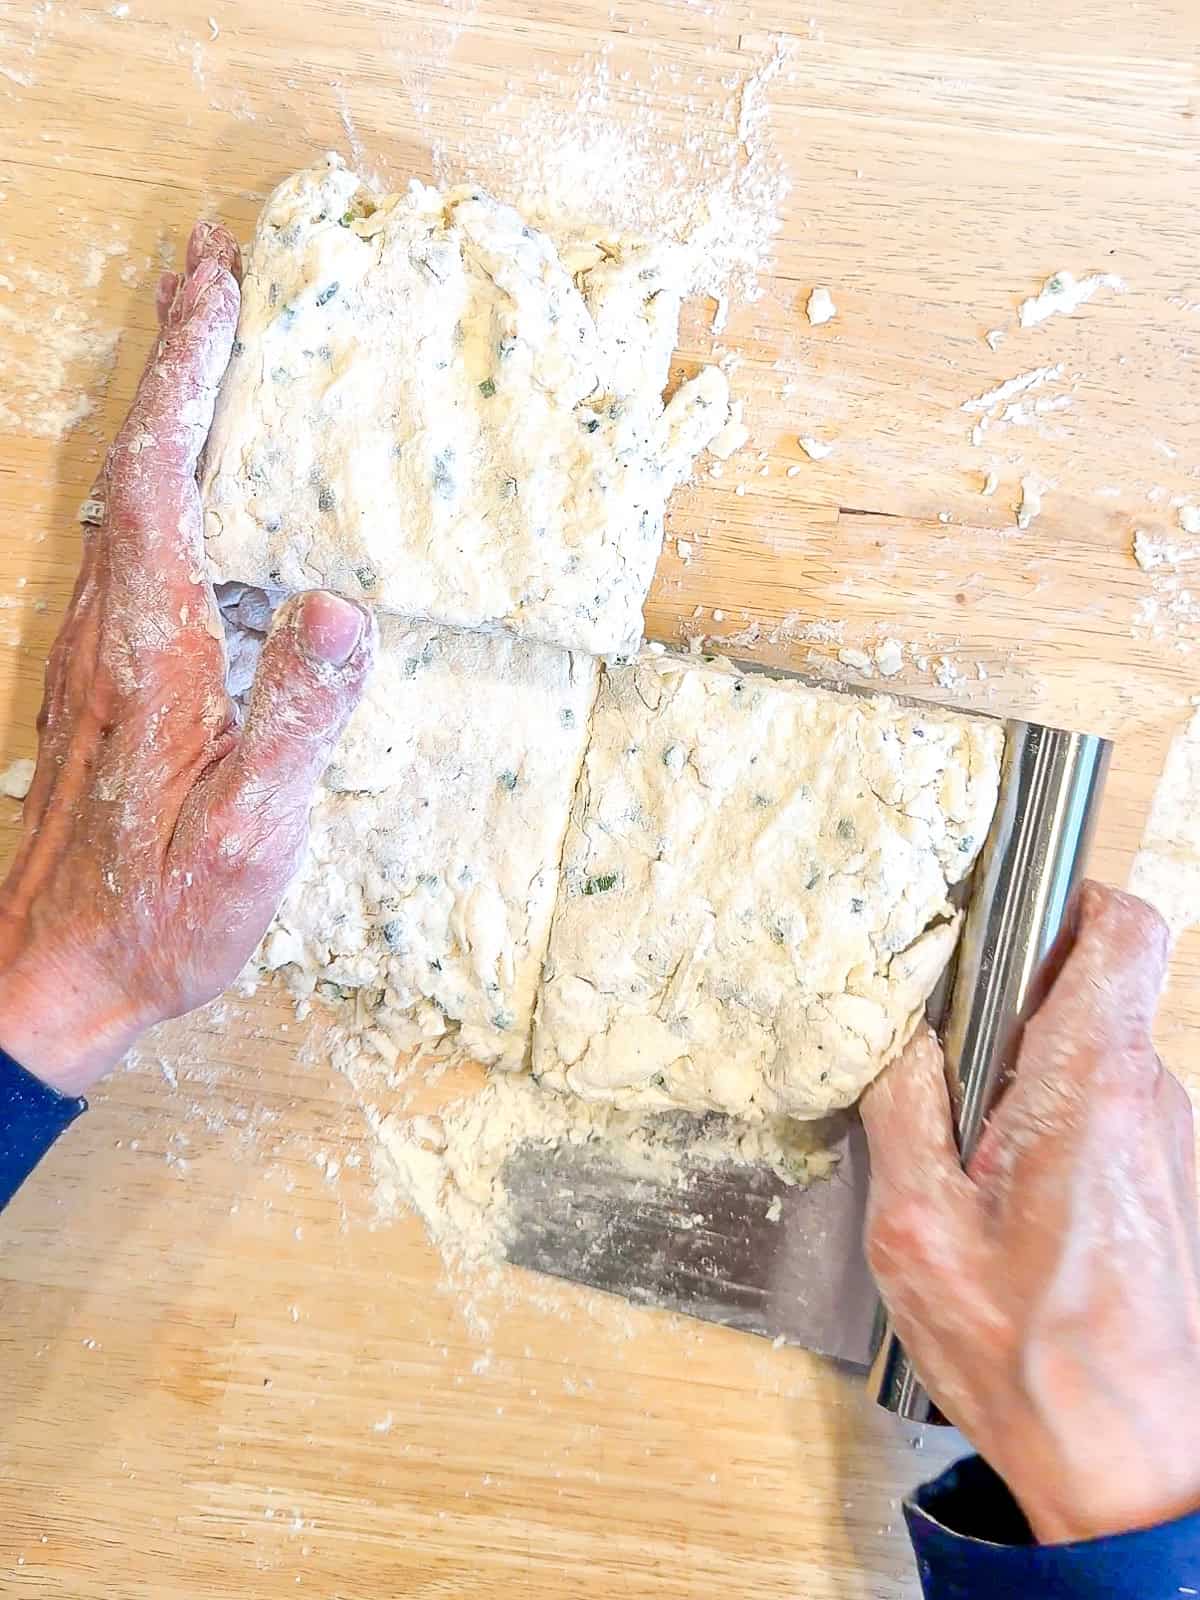
Step 1: Dump the dough onto a lightly floured counter. Gather into a rough square, about ½ inch tall and use a bench scraper or knife into cut into four pieces. Stack them on top of each other and press back down. Repeat two more times.
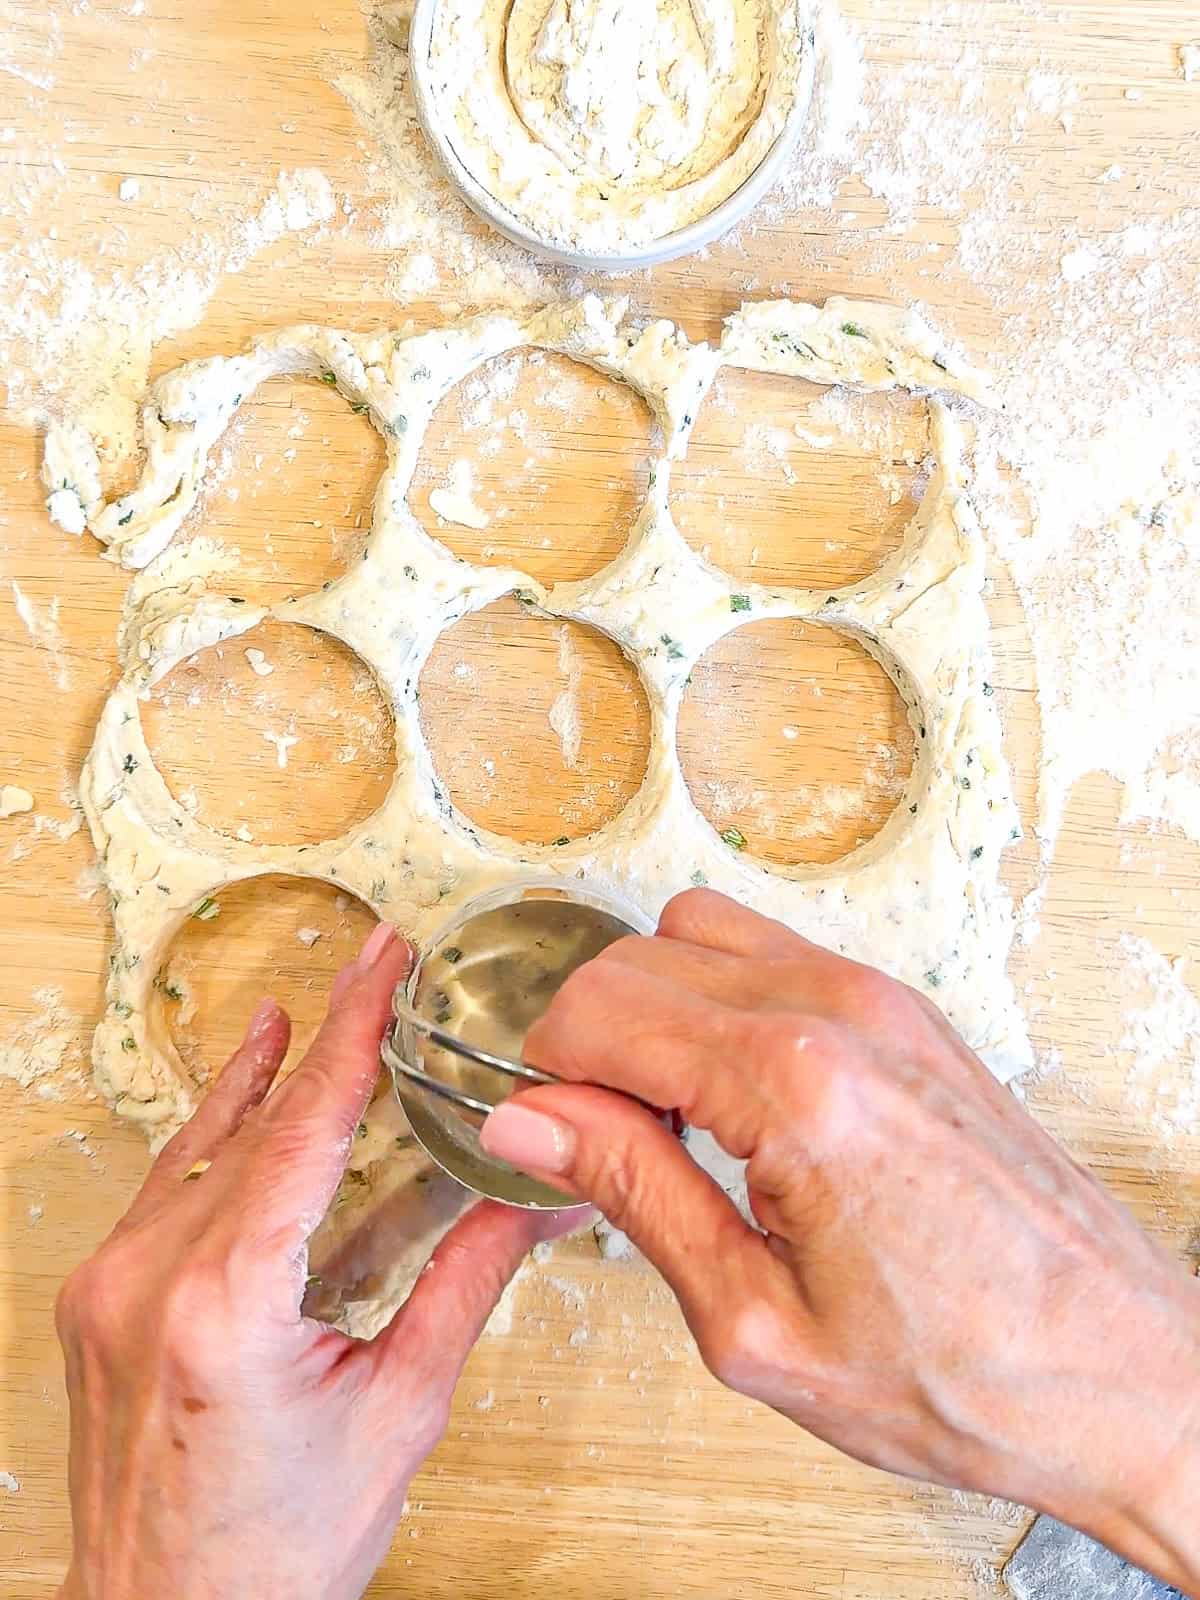
Step 1: Roll out to about ½ to ¾ inch thick, then cut into biscuits with a biscuit cutter or sharp knife. Place on your baking sheet. Press together any scraps and cut as many biscuits as you can and place into the freezer (or fridge) to chill while you preheat your oven to 425°F.
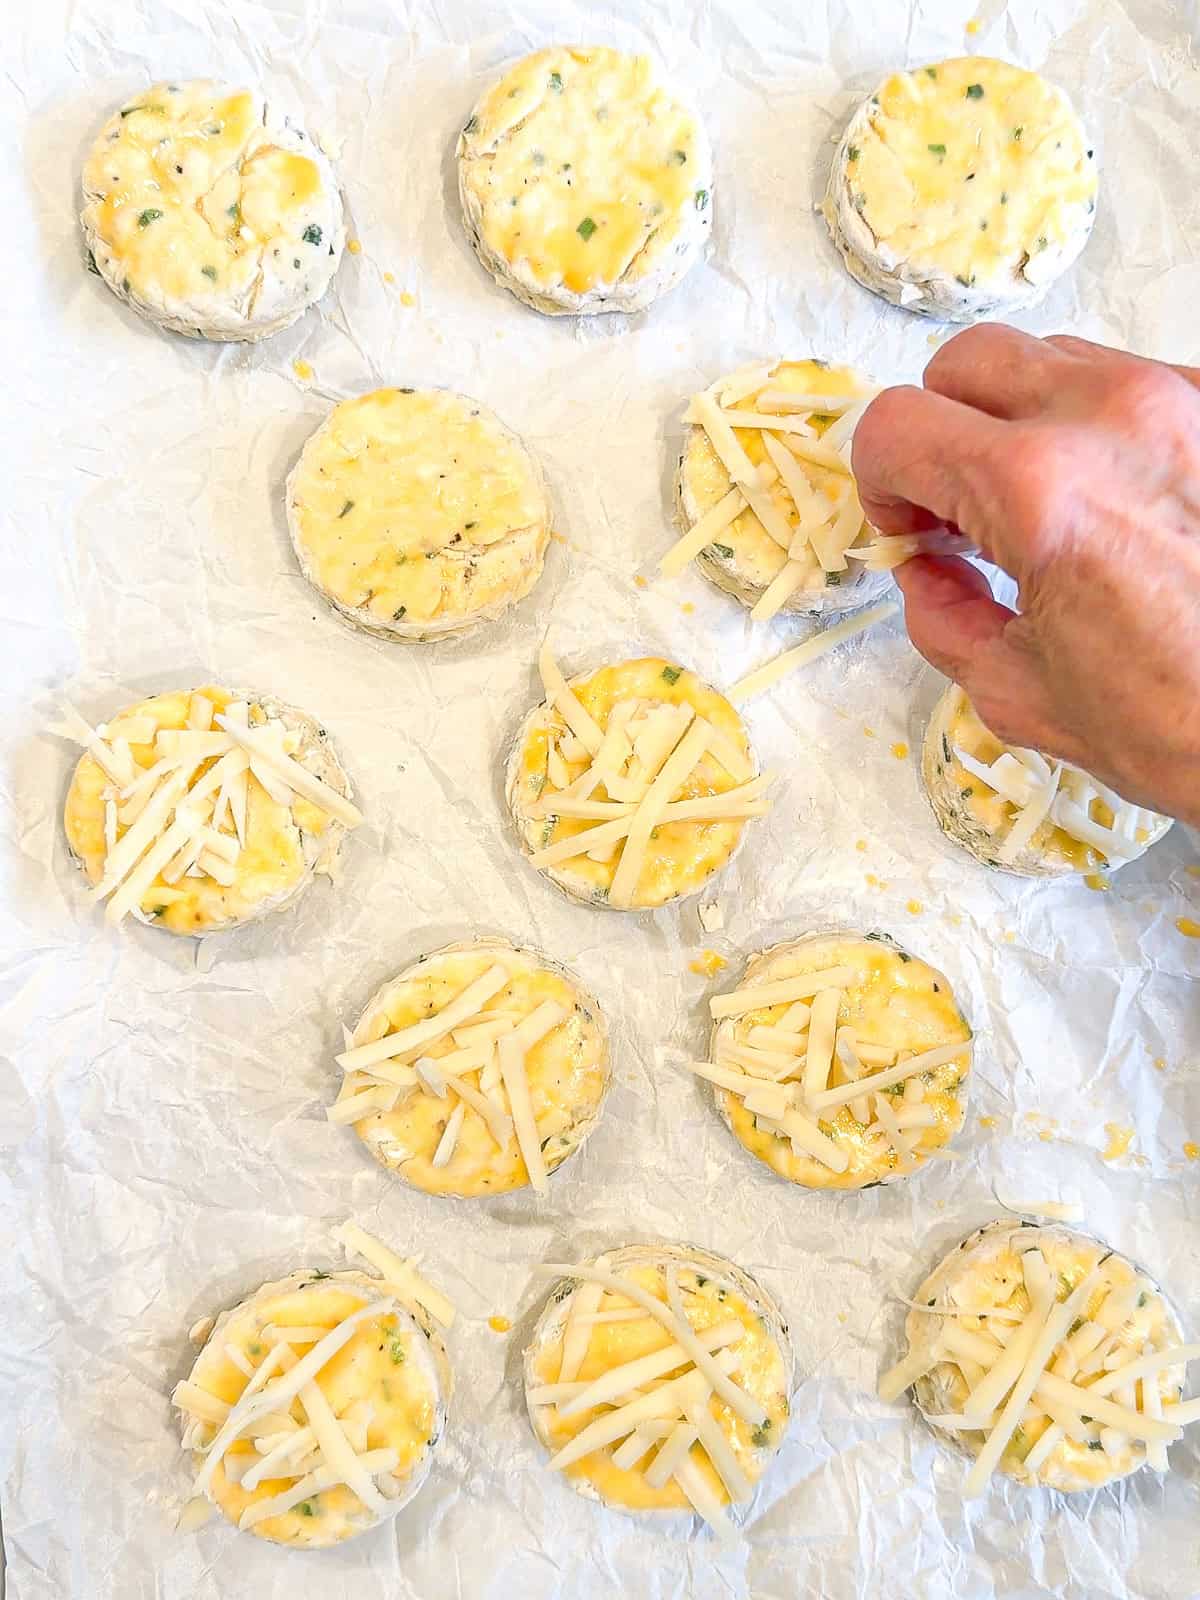
Step 1: Brush the tops with egg wash and sprinkle a little extra Gruyere on top. Bake for 14 to 18 minutes, until tall, golden, and they smell irresistible.
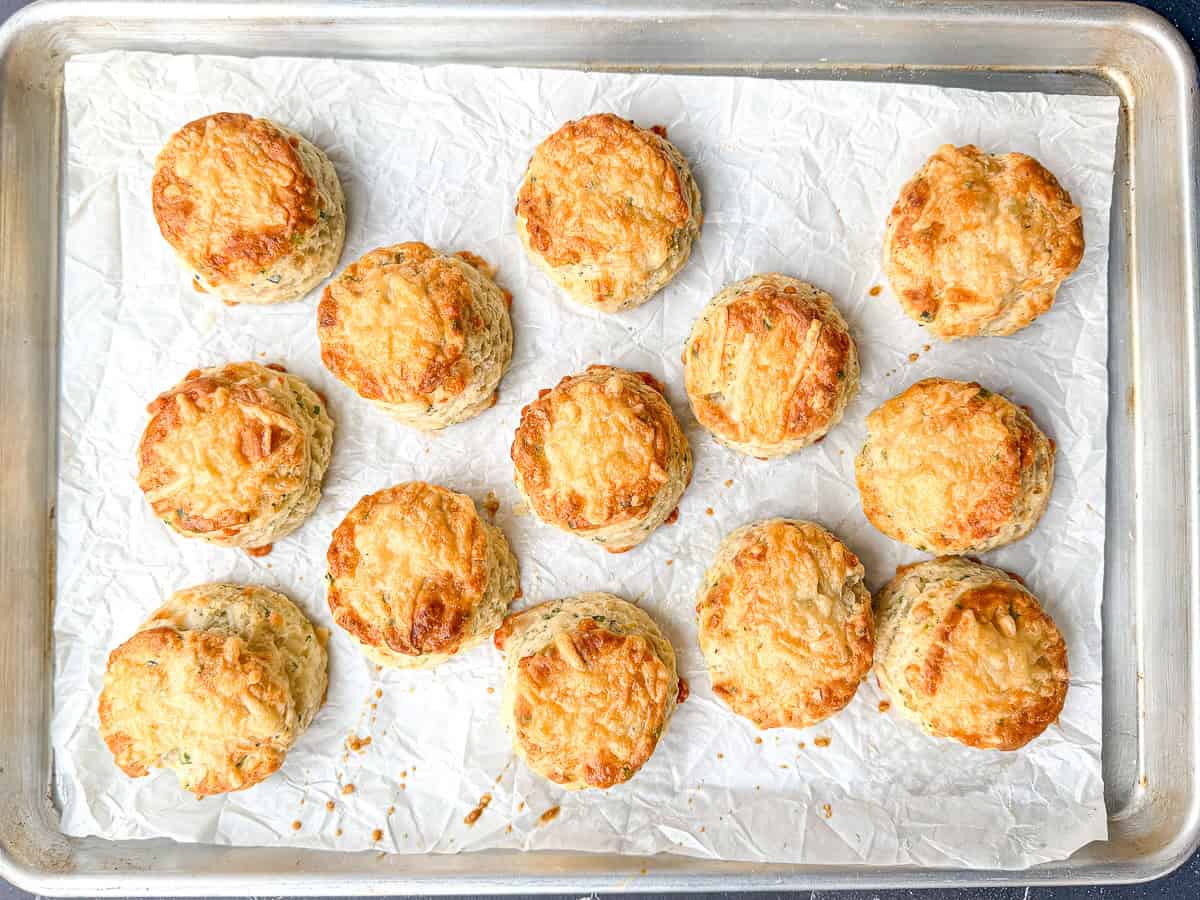
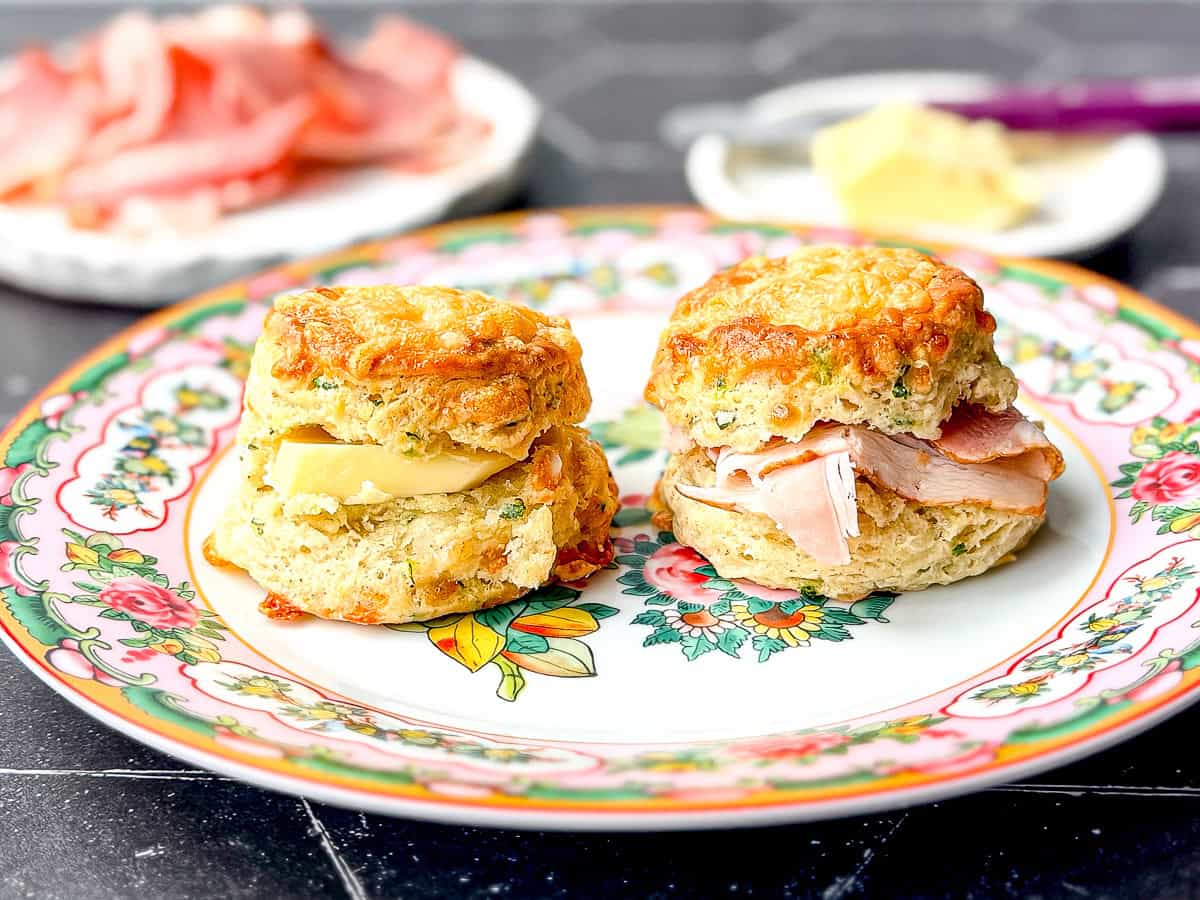
Finish and serve: Let cool on the sheet pan for a couple of minutes, then serve warm with butter, honey, or your favorite accompaniments.
Have leftover chives? Don't let them go to waste, try my Breakfast Smashed Potatoes.
Cynthia's Helpful Tips
- Cold butter rules - The colder the butter, the higher the lift. Keep butter and buttermilk chilled until the last second and then chill your biscuits again while your oven preheats.
- Handle with care - Mix only until the dough comes together. Less mixing equals more tender biscuits. The shaggy dough will come together when you do your three sets of cut and stacks.
- Cut Straight Down - Press the cutter straight down without twisting, which seals the edges of your biscuits, preventing them from reaching their tall potential.
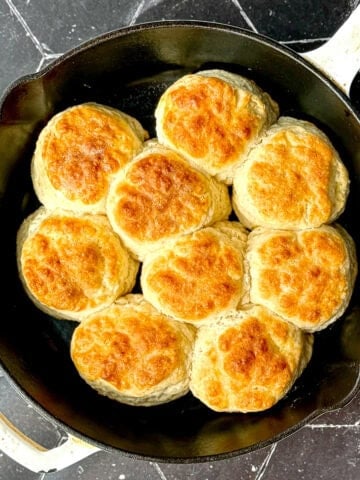
- Crispy or Soft - Arrange biscuits so they just touch for extra rise and soft sides or place them at least one inch apart so they have crispy edges..
Common Biscuit Mistakes (and How to Fix Them)
- Butter Got Too Warm If the butter melts before baking, biscuits will spread instead of rise. Start with cold ingredients and chill your biscuits before baking to get the best results.
- Overmixed Dough Too much mixing develops gluten and makes biscuits tough. Stop as soon as the dough comes together and use my cut and stack technique to bring the dough together and build layers.
- Flour Bomb Adding too much flour while rolling will dry the dough. Use just enough to prevent sticking to your hand and your counter. I use a flour duster to add just a light amount when needed.
- Twisting the Cutter Twisting seals the biscuit edges and prevents a tall rise. Press straight down and lift straight up. If you don't have a biscuit cutter, use a sharp knife and make square biscuits.
- Wrong Baking Temperature Too low of a temperature makes biscuits spread instead of lift. Always bake biscuits at 425°F to 450°F for the best pop.
Recipe FAQs
Yes. Cut and freeze them and bake straight from frozen. See my freezer biscuit recipe for all the info you need to do this.
Store fully cooled biscuits in an airtight container at room temperature for up to 2 days.
Reheat in a 350°F oven for 5 to 7 minutes until warm.
Yes. Freeze individually wrapped biscuits for up to 3 months, then reheat from frozen for 10 to 15 minutes at 350°F.


Did you try this recipe?
Please consider leaving a comment with a ⭐️ rating below and tell me all about it! It helps me to continue to improve my content and lets others know what you think!
I appreciate it so much!
-Cynthia
📖 Recipe

Gruyere and Chive Biscuits
Recommended Equipment
Ingredients
- 2 ¼ cups (270 g) all-purpose flour
- 4 teaspoons baking powder
- ½ teaspoon baking soda
- 1 teaspoon kosher salt
- 1 teaspoon black pepper
- 8 tablespoons (112 g) unsalted butter
- 4 ounces (120 g) Gruyère cheese shredded + extra for tops
- ¼ cup chives finely chopped
- 1 cup (250 g) buttermilk
- 1 large egg + 1 tablespoon water for egg wash
Instructions
- Line a baking sheet with parchment paper.
- Whisk dry ingredients in a large bowl.
- Add grated or cubed butter and use your fingers to mix until crumbly. You should end up with small pieces of butter, no larger than the size of a pea, and a lot of smaller pieces and flat pieces.
- You can also pulse the butter into the flour in a food processor, using about 5 to 6 pulses.
- Stir in cheese and chives.
- Add buttermilk and mix just until a shaggy dough comes together.
- Dump the dough onto a lightly floured counter. Gather into a rough square, about ½ inch tall and use a bench scraper or knife into cut into four pieces.
- Stack them on top of each other and press back down. Repeat two more times.
- Roll out to about ½ to ¾ inch thick, then cut into biscuits with a biscuit cutter or sharp knife. Place on your baking sheet. Press together any scraps and cut as many biscuits as you can.
- Place on your sheet pan and put in the freezer (or refrigerator) to chill for 15 minutes while you preheat the oven to 425°F.
- Remove from freezer and brush with egg wash and top with reserved cheese.
- Bake 14 to 18 minutes, until golden and tall.
- Allow to cool for at least five minutes on the pan before serving.

I made these they were awesome. If I wanted to leave out the cheese, bacon and chives will I need to adjust the recipe?
Absolutely! They are essentially my Flaky Buttermilk Biscuits with add-ins. You can definitely leave them out or try something different!
Hi! I love this recipe and have made it once before, but I was wondering if I could freeze the biscuits at any part of the process and continue it later if I don't have enough time?
Thank you!
Absolutely! Just like with my large batch freezer biscuits, you can make these ahead and then freeze them for later.
Place biscuits on a parchment paper lined cookie sheet and place in freezer until hard. Transfer to a zip top bag labelled with baking instructions. Freeze for up to 3 months.