


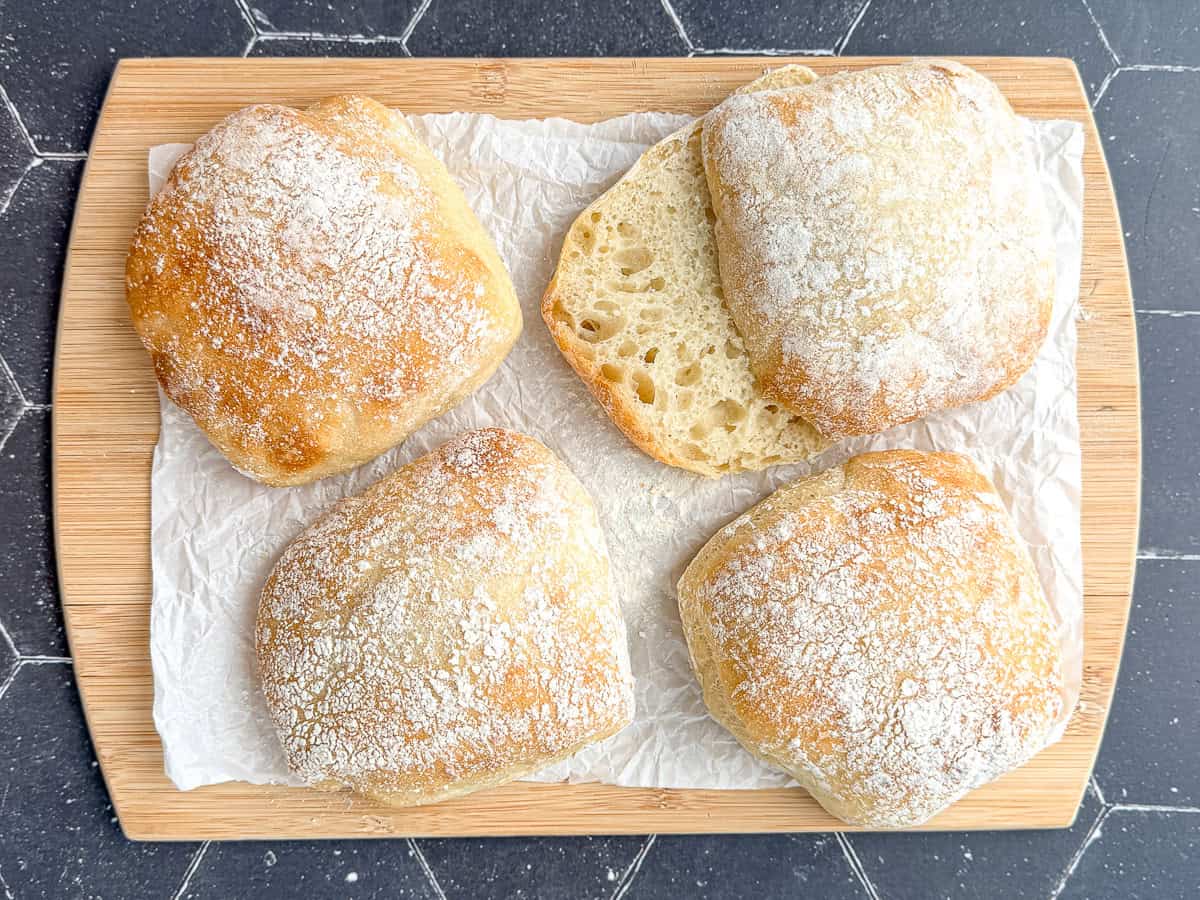
Mornings are hectic, but good bread doesn't have to be. This small batch of Easy Overnight No-Knead Ciabatta Rolls mixes up in minutes, rests overnight in the refrigerator, and and bakes up fast, giving you fresh, delicious rolls with almost no morning work.
Save this recipe for later
Enter your email and I'll send this recipe straight to your inbox.
This Easy Ciabatta Roll recipe was developed using my no knead focaccia dough and shaped into individual rolls that feel special without adding extra steps. The cold overnight rest slowly builds flavor and structure, while keeping the process simple enough for both weekday mornings and relaxed weekends.
If you are after a more traditional open crumb, I include an optional stretch and fold step before the overnight rest. It is completely optional, but it gives you more air pockets without turning this into a complicated bread project. Whether you keep it ultra simple or take the extra few time, this individual sized no-knead ciabatta bread delivers bakery-style results without having to leave the house.
Jump to:
Why you'll love this recipe
- Minimal effort - The dough mixes in minutes with no kneading required.
- Overnight magic - A long cold rest builds flavor while you sleep.
- Small batch - Makes just enough rolls without leftovers languishing on the counter.
- Breakfast ready - Perfect size and structure to build the perfect breakfast sandwich.
- Flexible method - Optional stretch and folds let you choose your crumb style.
This is the kind of bread recipe that feels impressive but fits easily into real life. Professional bakery results with minimal effort giving you fresh bread exactly when you want it.
Ingredients & Substitutions
The photo below shows the very minimal ingredients you need to make this recipe and how they can be adjusted if needed:
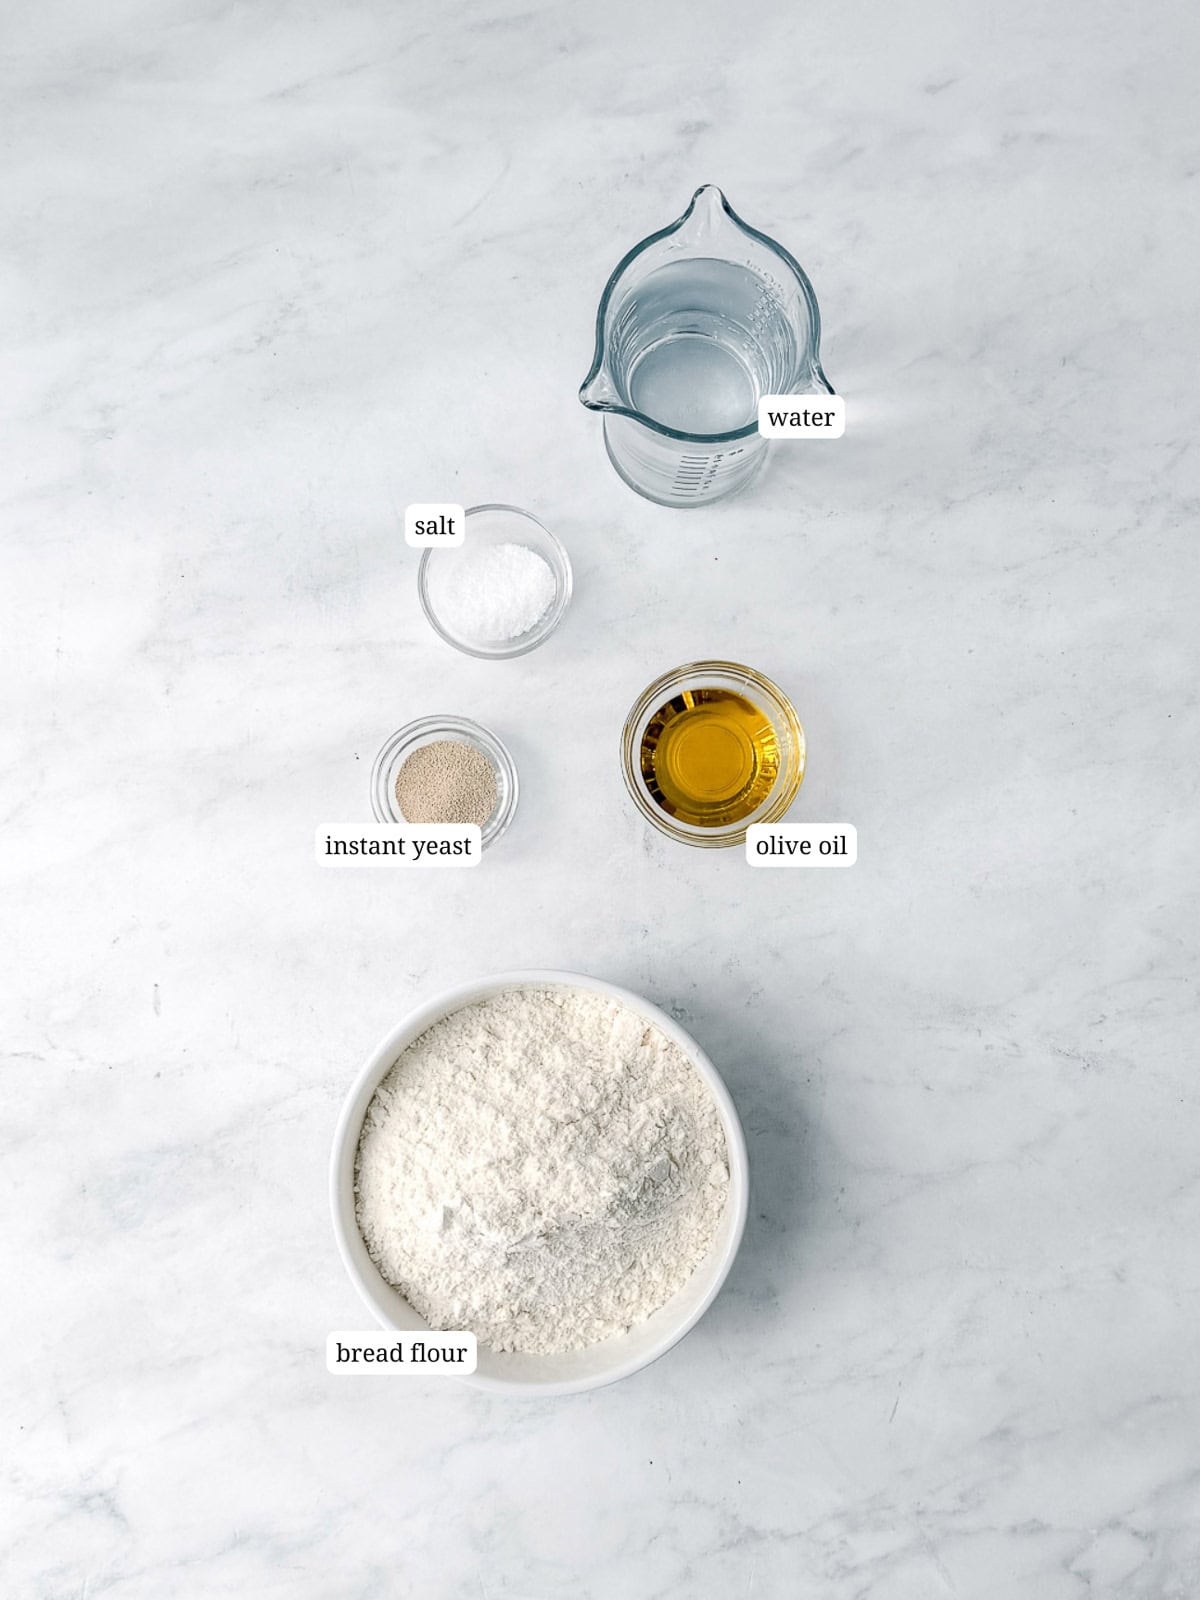
- Bread flour - All purpose flour can be used for a slightly less chewy roll, but bread flour gives you the texture you expect from ciabatta rolls.
- Instant yeast or active dry yeast - Either works here, but I prefer instant dry yeast since it does not need to be bloomed first. To proof active dry yeast, stir it into warm water (about 110°F) with a teaspoon of sugar or honey and let it sit for 5 to 10 minutes. Once it looks foamy and bubbly it is ready to add to the dry ingredients.
- Olive oil - Adds flavor and softness. Another neutral oil can be used if needed.
- Kosher salt - Table salt can be substituted, but because it actually tastes saltier, use half the amount called for in the recipe.
- Warm water - Aim for warm(110°F to 115°F), not hot, to activate the yeast without killing it.
See recipe card below for a full list of ingredients and measurements.
If you like the easy overnight method of these ciabatta rolls but want something with a crisper crust and a more defined shape, try my no-knead crusty bread rolls. They use just four ingredients and bake with steam for a golden, crisp exterior and soft, airy center.
Variations
This dough is a great base. Here are a few easy ways to change it up.
- Slider rolls - Divide the dough into six or eight smaller pieces for breakfast sliders or mini sandwiches.
- Ciabatta loaf - Bake the dough in one loaf of fluffy Italian bread, or divide into two loaves.
- Everything-style rolls - Lightly mist the rolls and sprinkle with everything seasoning before baking.
- Same-day bake - Skip the overnight rest and let the dough rise on the counter for a few hours. Details below.
Same-Day Ciabatta
If you want to bake these the same day, mix the dough in the morning and let it rise covered at a warm room temperature for 3 to 4 hours, until doubled and bubbly. Proceed with shaping and baking as written. The flavor will be slightly milder, but the rolls will still be light and delicious.
Cynthia's Recipe Review
This is the kind of bread that makes people think you worked way harder than you did, which is always my favorite kind of recipe. It is my favorite to use as a breakfast roll smeared with fresh ricotta and a piece of crispy prosciutto. Total Italian breakfast vibes!

Quick Recipe Video
Step-by-Step Instructions
This is a very sticky, but ultimately forgiving dough. Follow along with the process photos, trust in your bench scraper and the flour on your counter, and remember that rustic is part of the charm here.
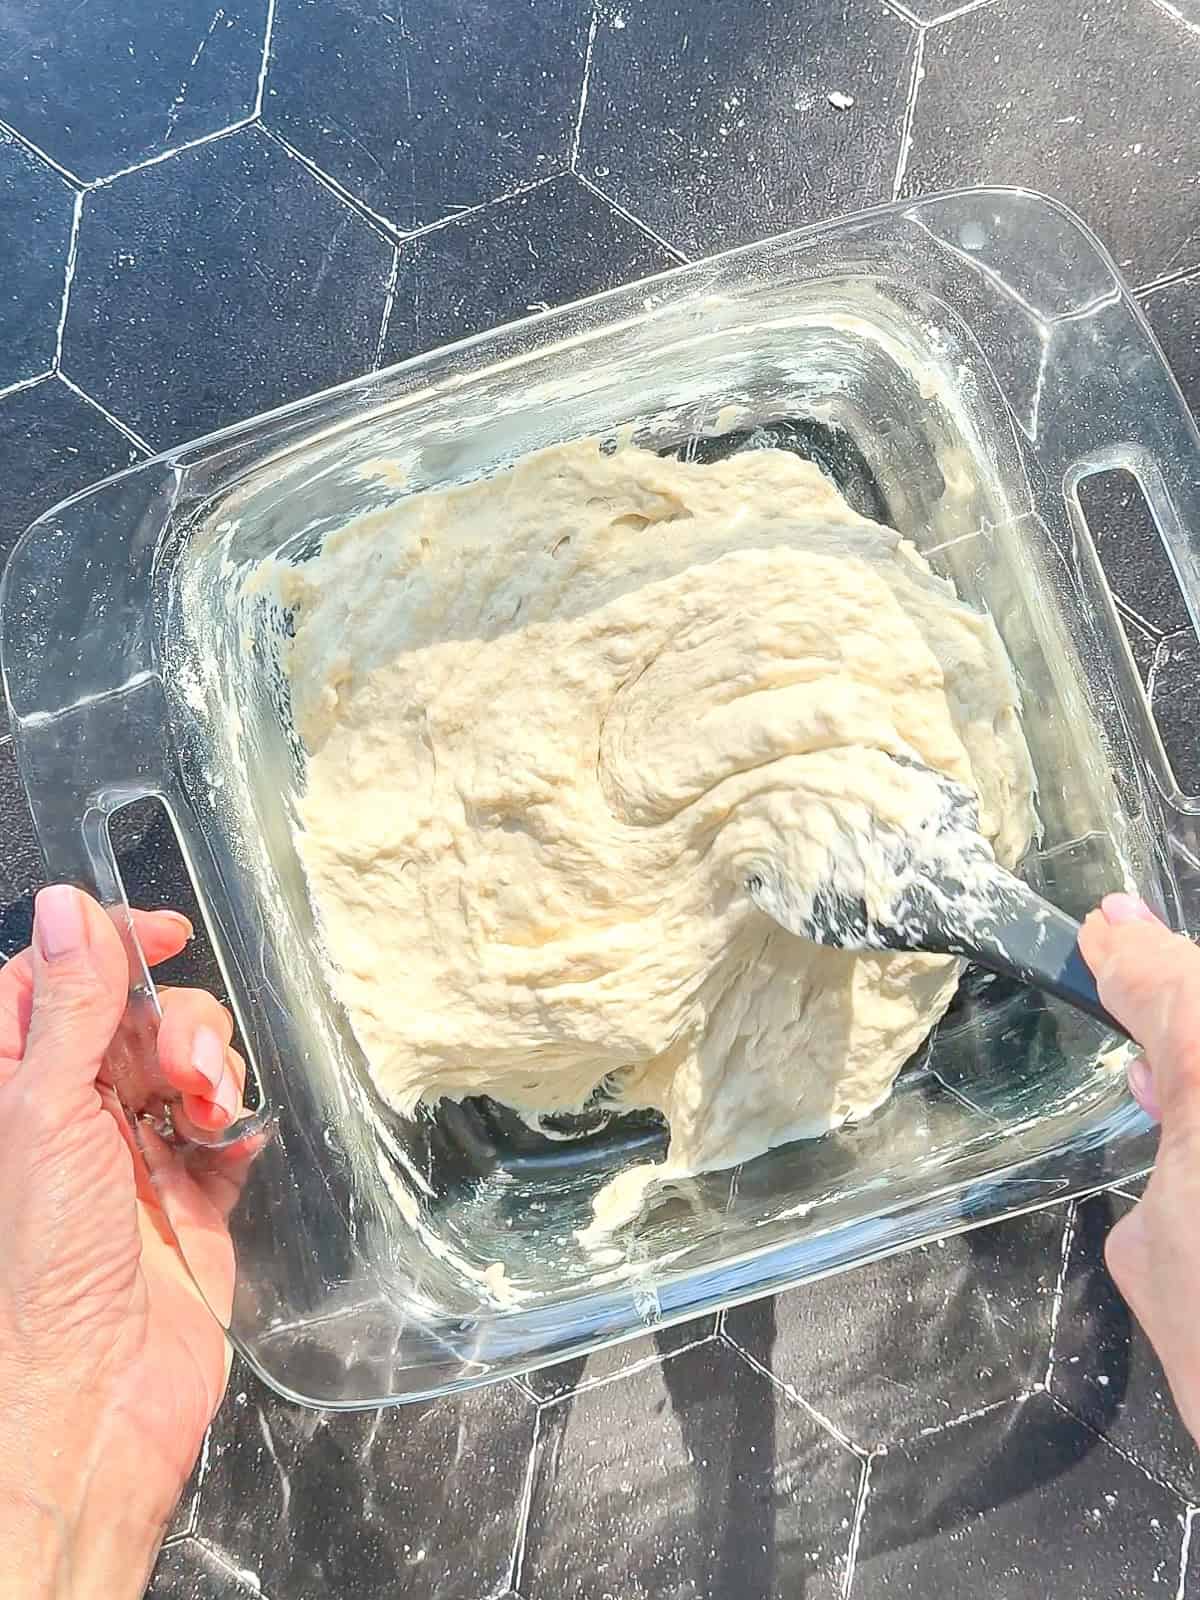
Step 1: Mix the flour, salt, and yeast in a large bowl until combined. Add the warm water and olive oil and mix thoroughly until no dry pockets remain. The dough will be sticky and wet. Cover the bowl and place it in the refrigerator for at least 8 hours and up to 24 hours.
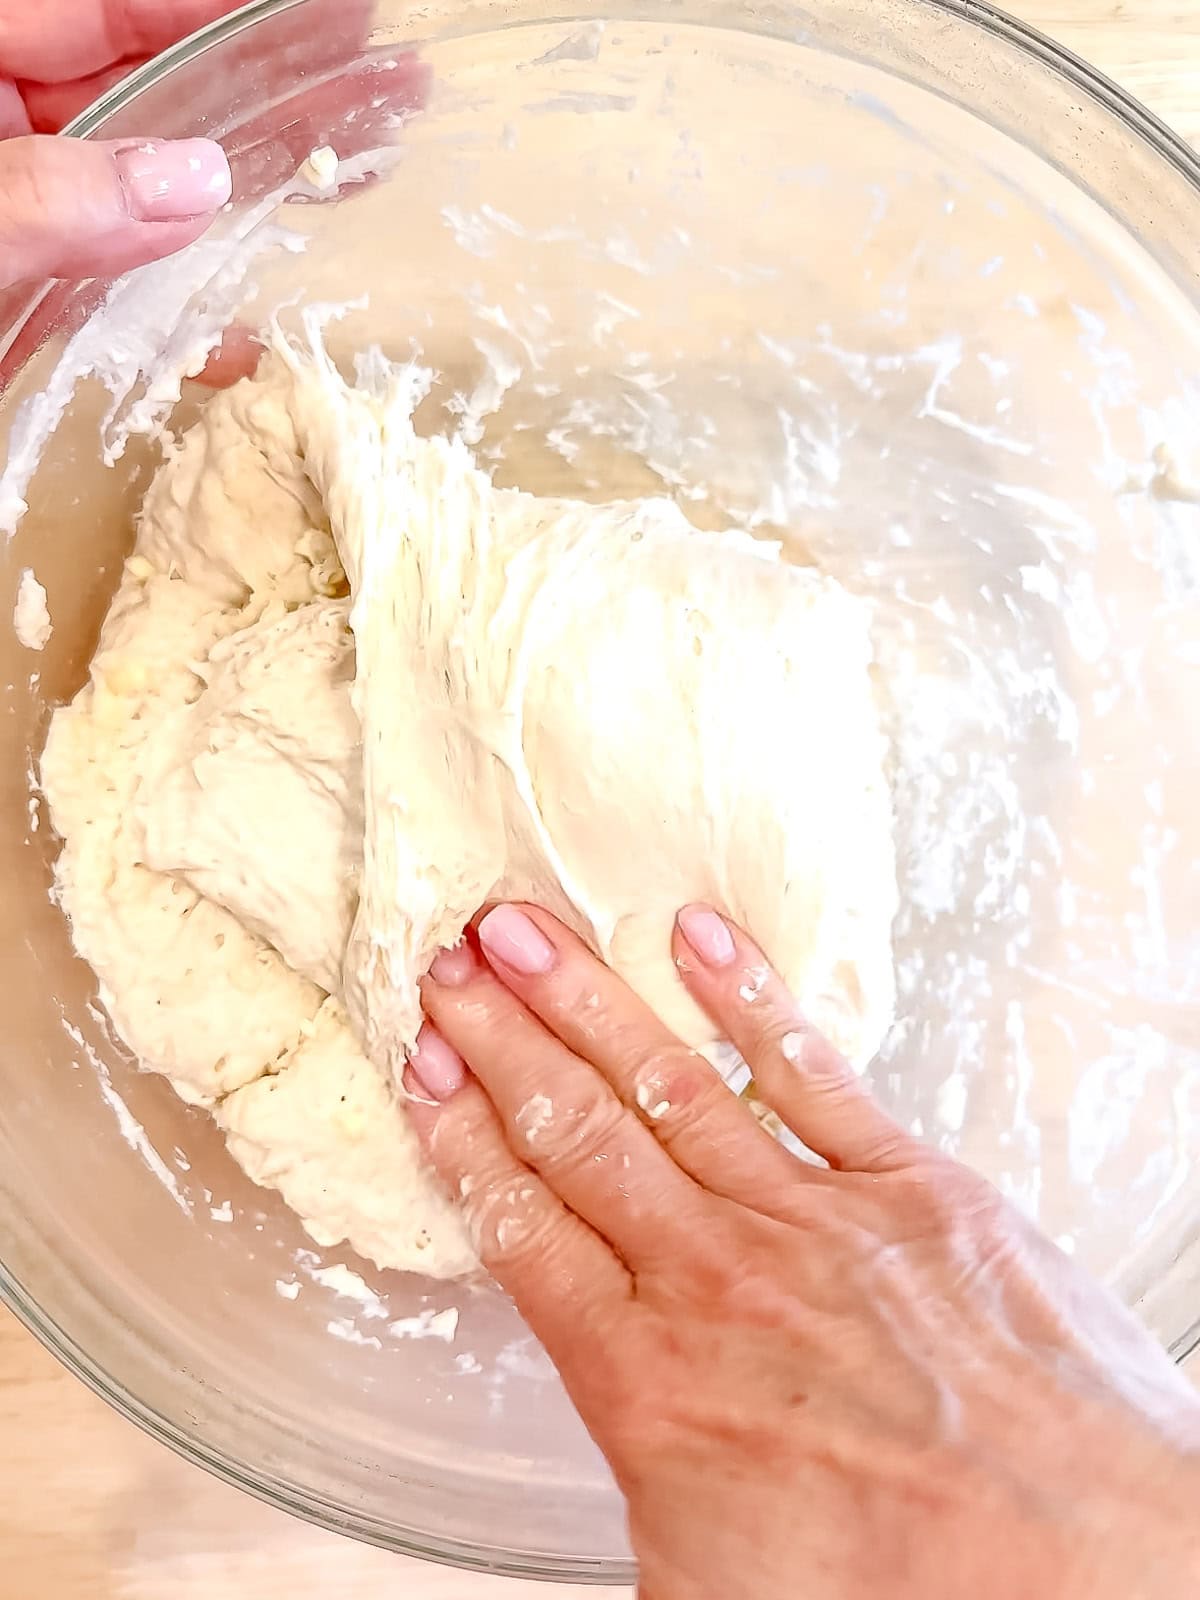
Step 2: (Optional stretch and folds for a more open crumb):
Cover the bowl and let the dough rest at room temperature for 30 minutes. With a lightly damp hand, grab one side of the dough, stretch it upward and fold it over the center. Rotate the bowl and repeat until you have done four folds. Rest 30 minutes and repeat. Do this a third time, then cover and refrigerate as directed.
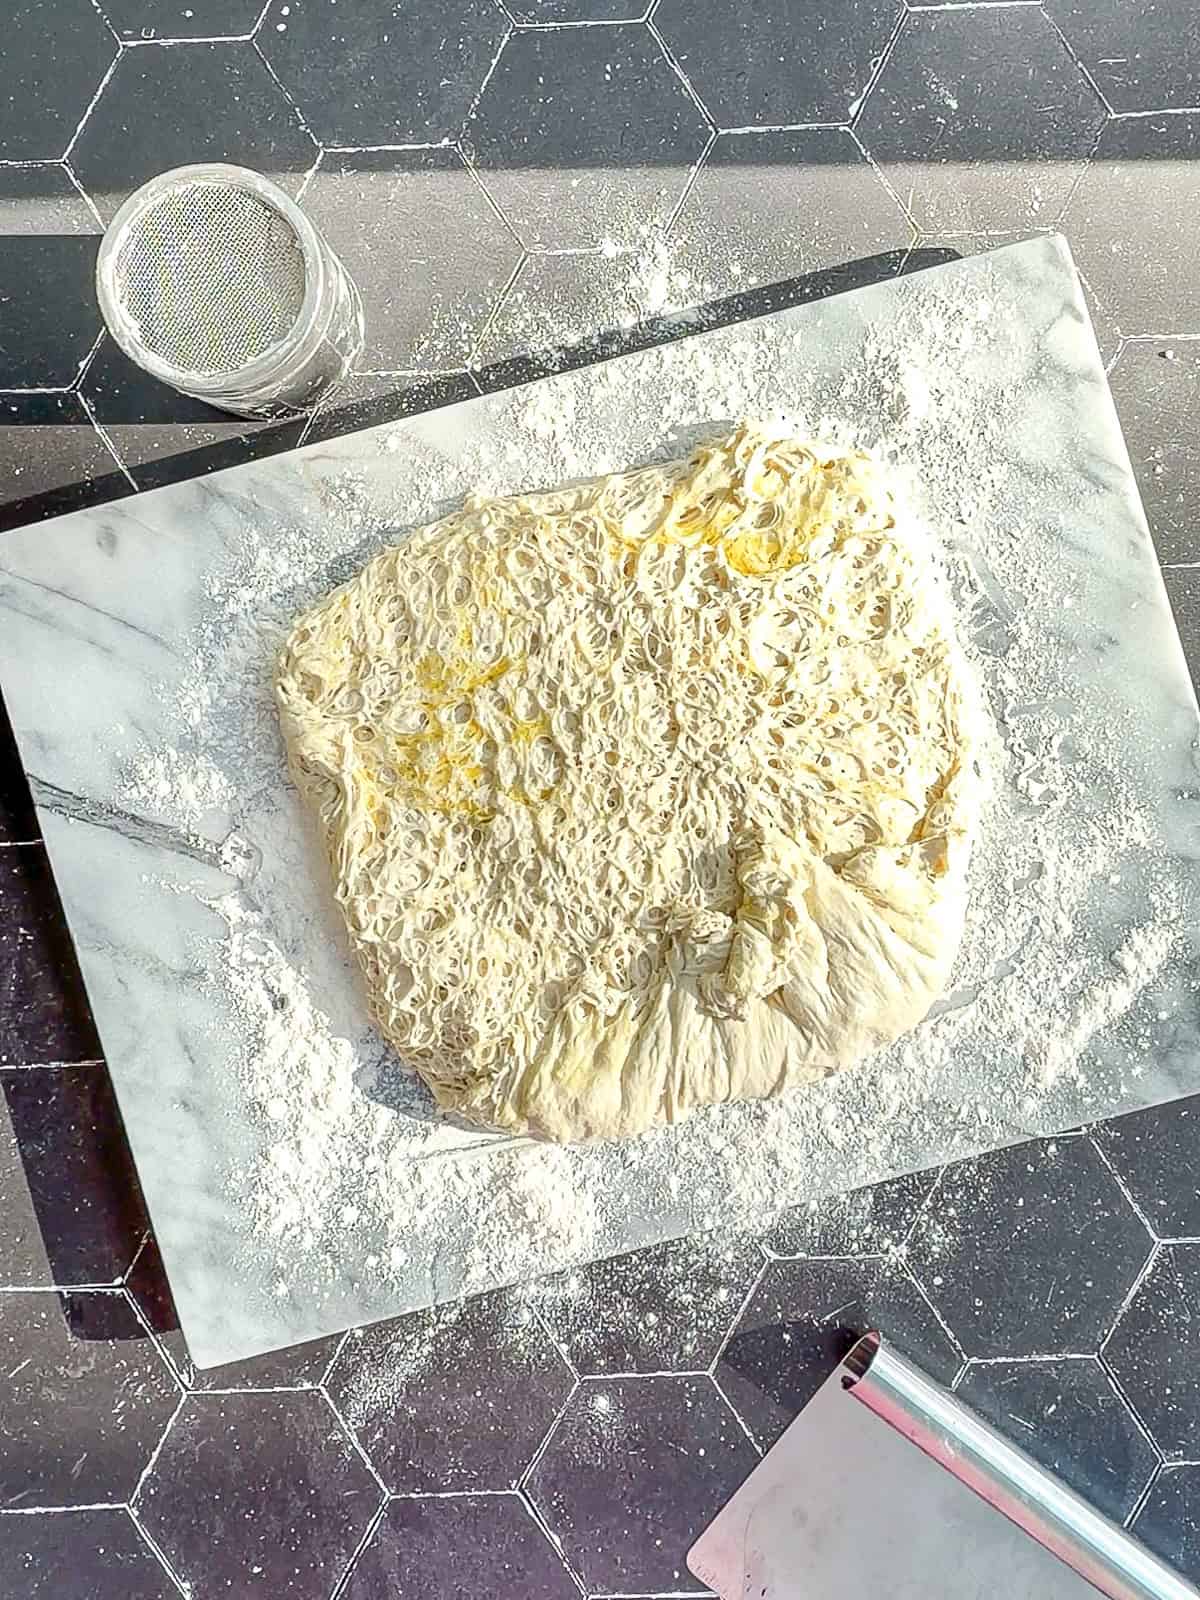
Step 3: Liberally flour your counter. Turn the bowl upside down and let the dough release naturally onto the surface. Do not pull it out.
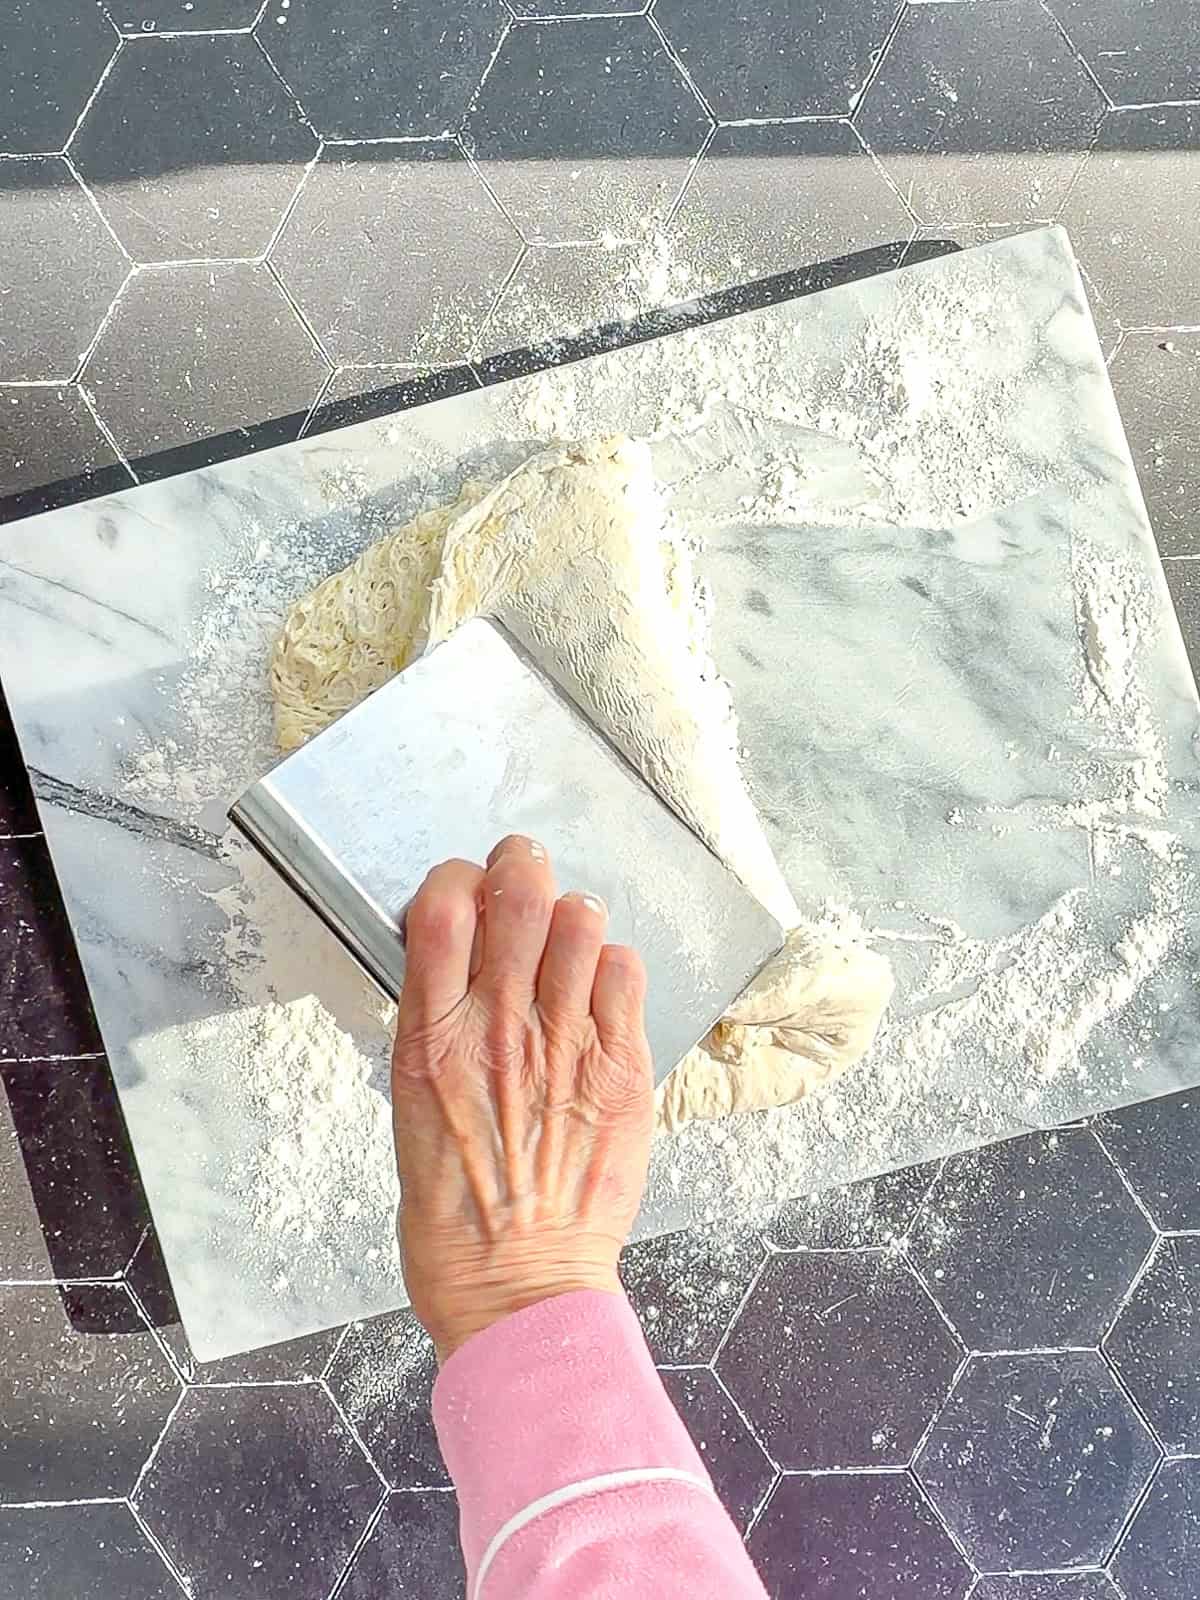
Step 4: Using a bench scraper, gently fold each side of the dough toward the center.
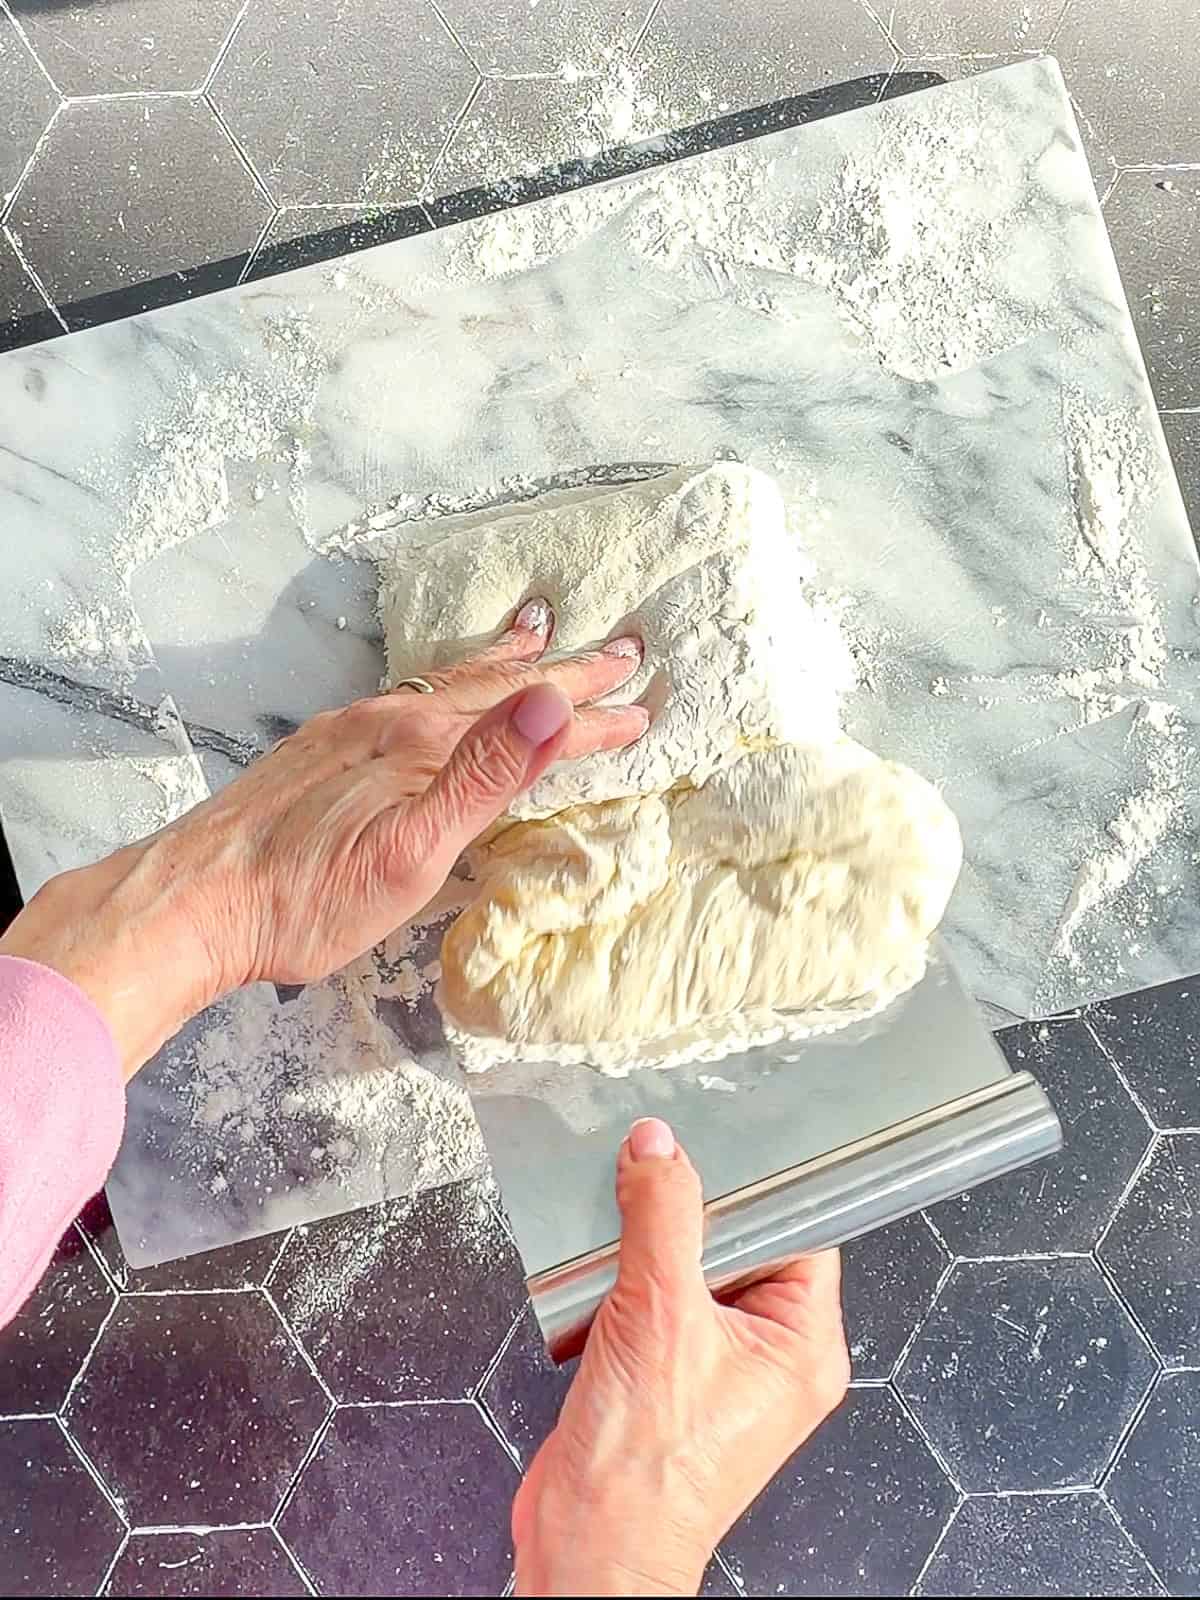
Step 5: Then fold the top and bottom toward the center as well, forming a loose square. The stickiness of the dough will help it adhere to itself, and you can keep your hand on the floured dough to hold it in place.
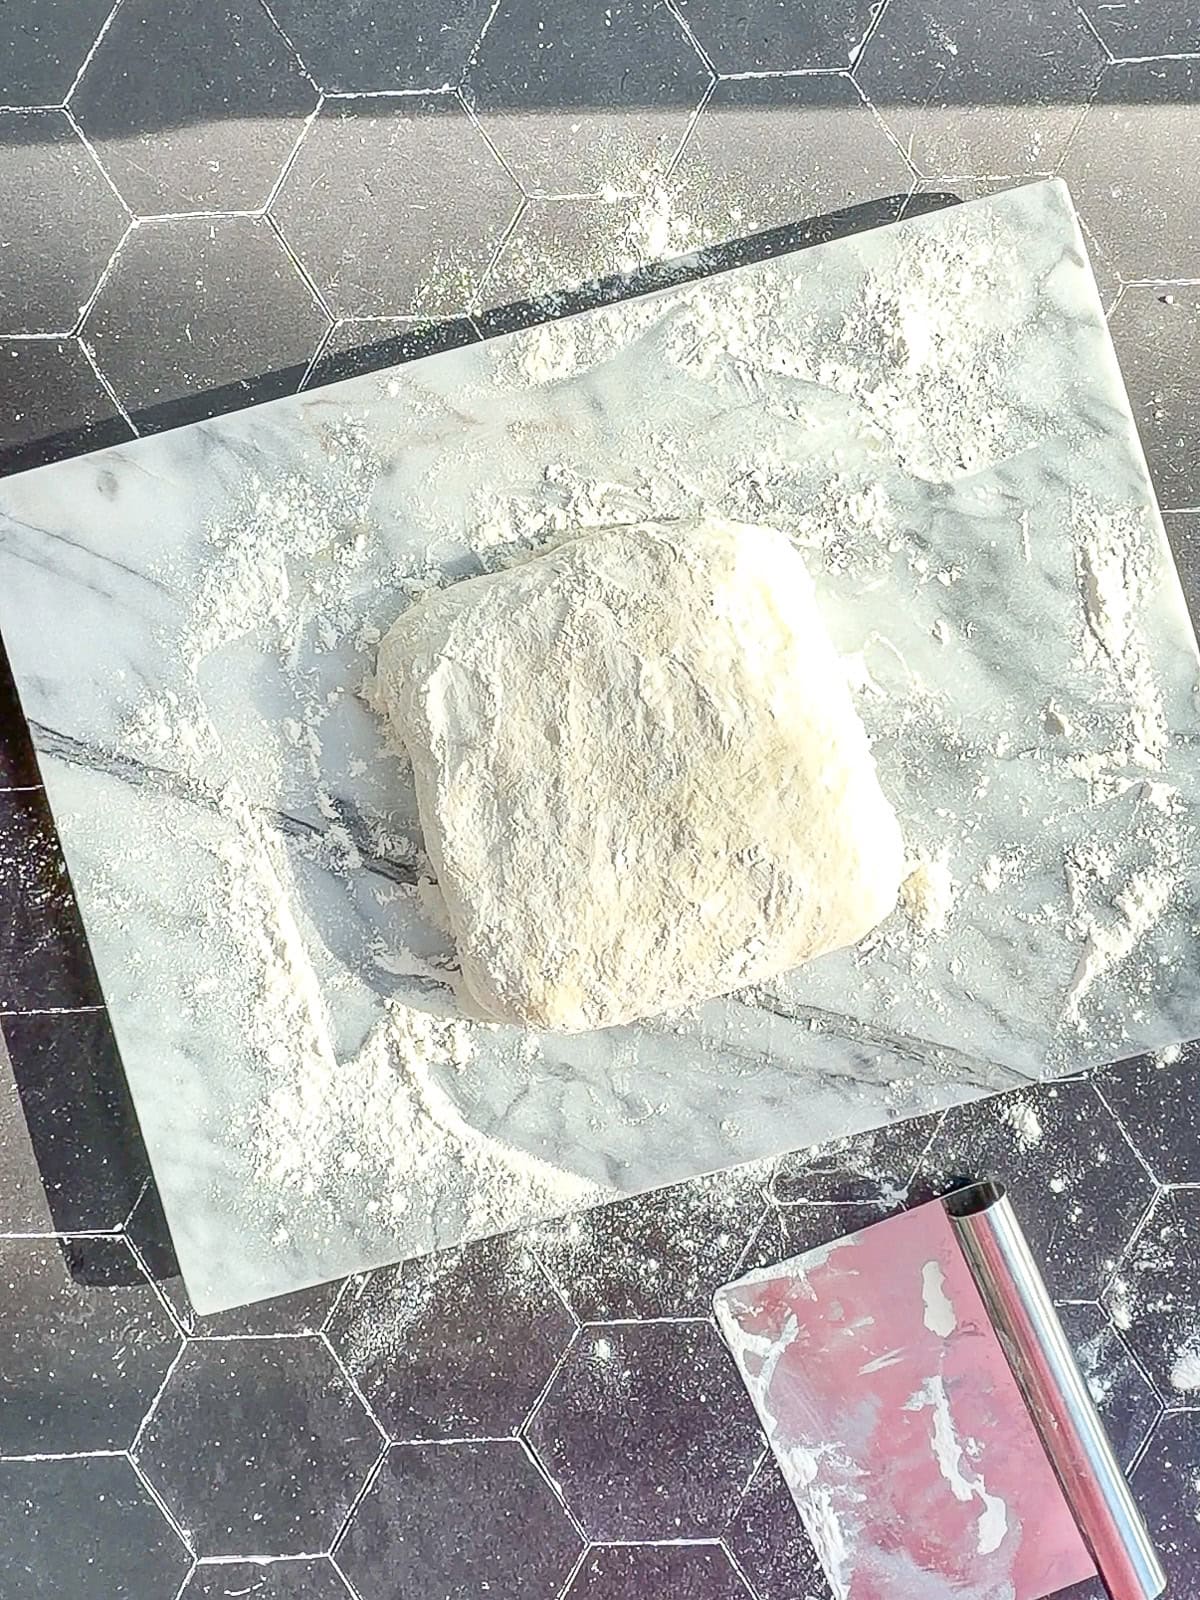
Step 6: Keeping your hand on top, and scooting the bench scraper underneath, flip the dough so that the seam side is down. Lightly pat the sides to shape into a square. Do not press hard on top or you will deflate the dough.
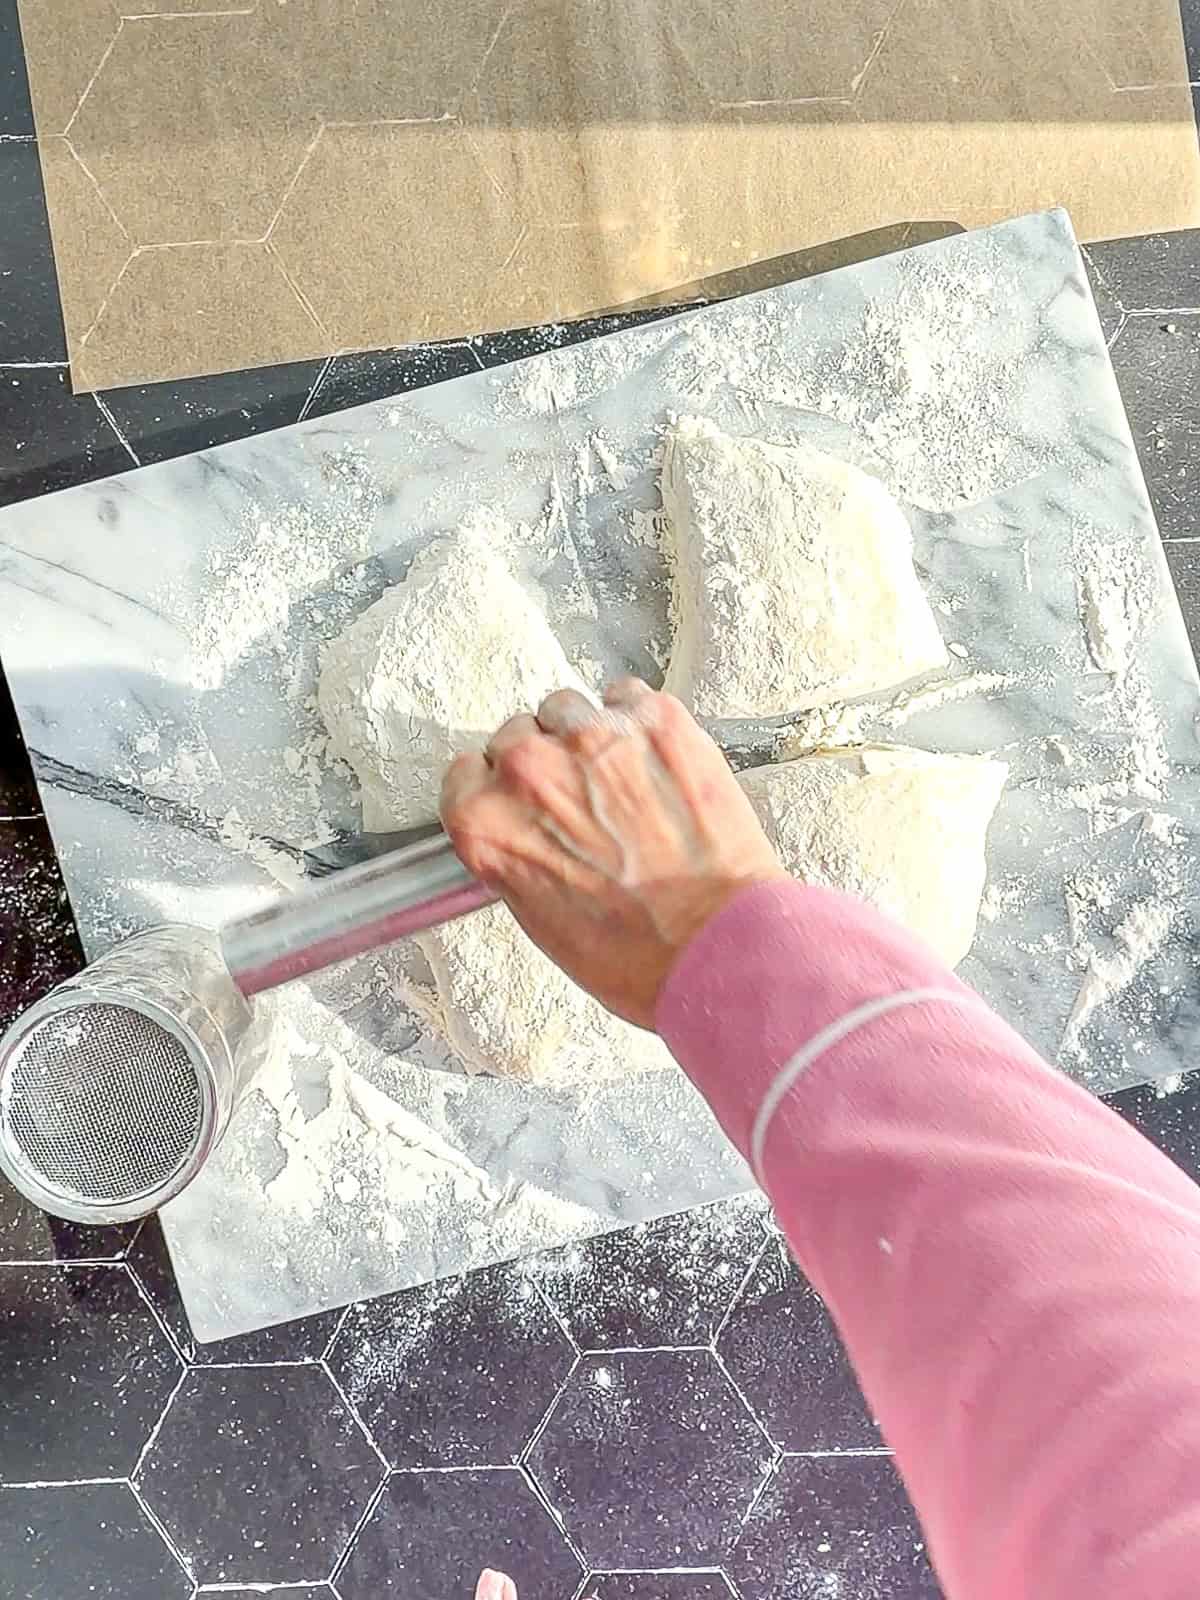
Step 7: Use the bench scraper to cut the dough in half, then cut each half in half again, gently pushing the pieces apart as you go. Flour the scraper between cuts.
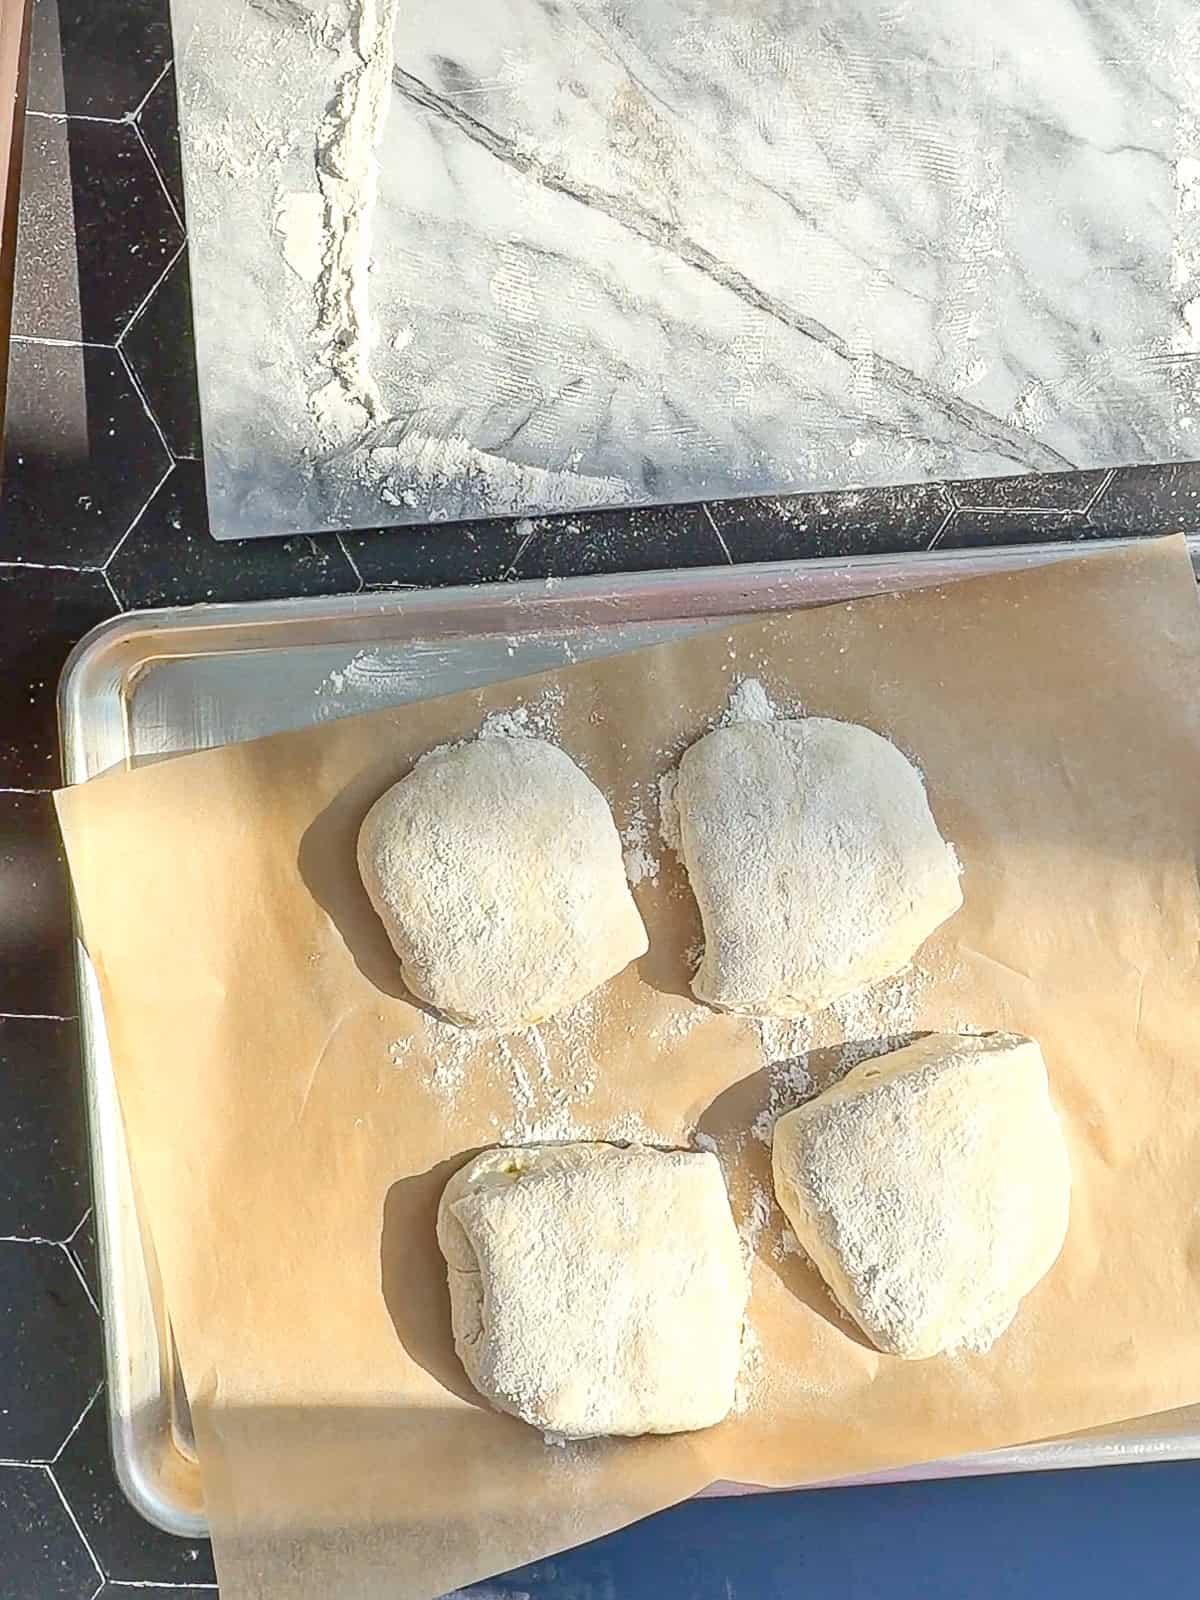
Step 8: Transfer each roll to a parchment-lined baking sheet using the bench scraper. Cover with a floured kitchen towel and rest for 30 minutes while the oven preheats to 450°F. Place one oven rack at the bottom of the oven and one rack near the top.
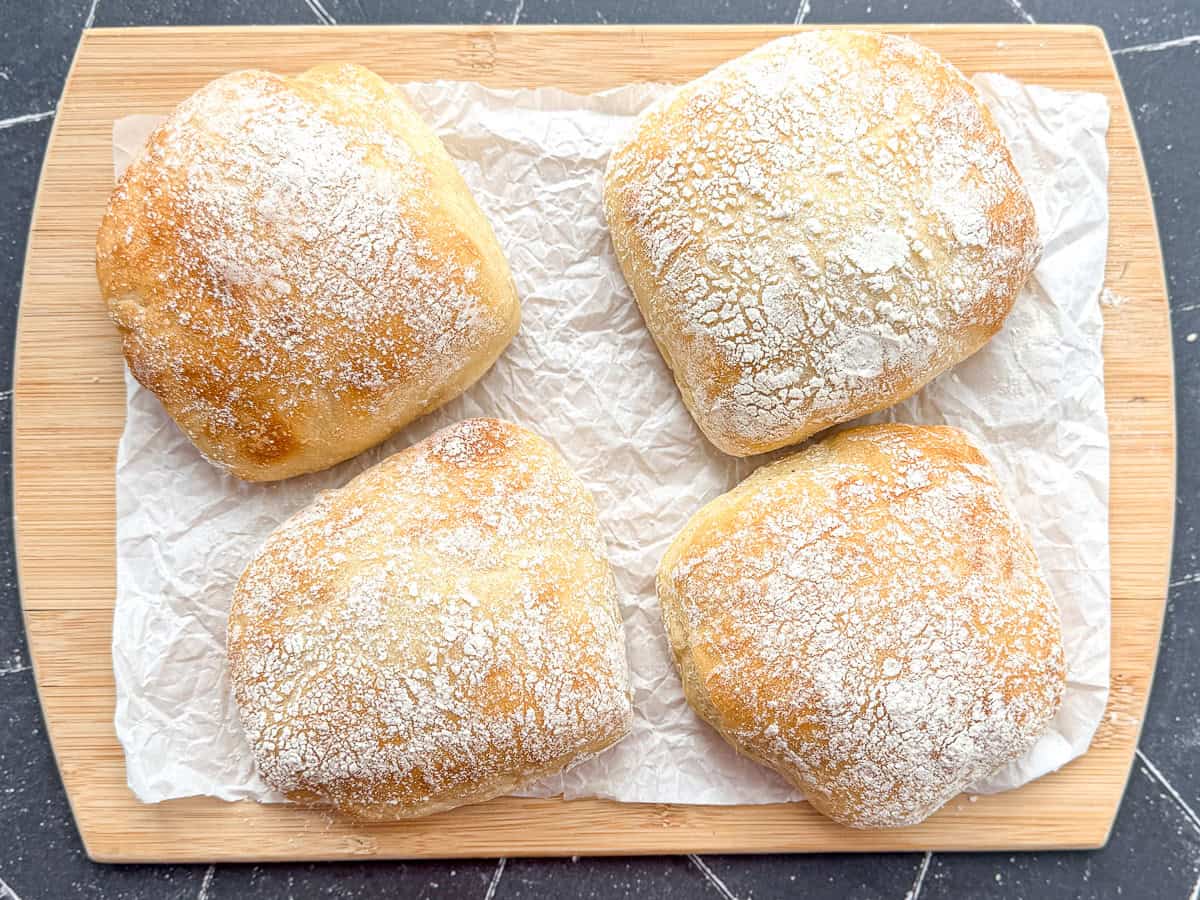
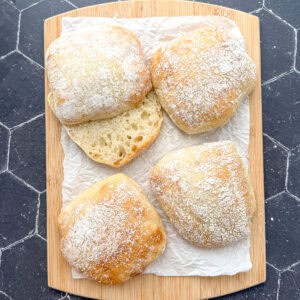
Bake: Bake in preheated oven on the lowest rack for 10 minutes. Rotate the pan and move it to an upper rack. Bake another 8 to 10 minutes, until puffed and golden with streaks of flour.
Finish: Let the rolls cool completely before slicing. Load them up with eggs, sausage, or your favorite sandwich fillings, or serve with my favorite bread dipping oil from my friend Rebecca!
Cynthia's Helpful Tips
- Cold dough is easier - Straight from the fridge dough is easier to fold over, cut, and shape into rolls.
- Use a bench scraper - The sharp edge cuts cleanly and the wide surface makes transferring dough easy. I have at least 5 bench scrapers as they are a must-have in my kitchen, used in making almost all of my biscuit recipes, for transferring chopped vegetables into a pan or bowl, and for literally scraping my counter clean after cooking.
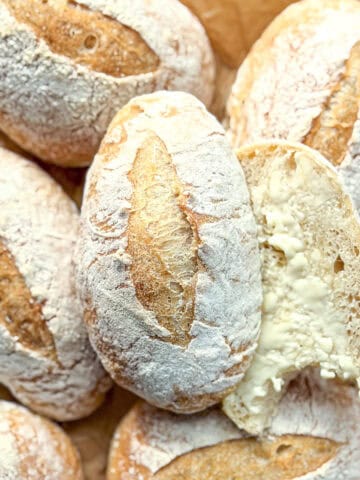
- Flour generously - This is a VERY sticky dough and you need a lot of flour on the counter. You won't be incorporating the flour into the dough, but it is necessary to manipulate and shape your rolls. You do not need to brush it off of the rolls before baking because the flour streaks are a traditional characteristic of ciabatta rolls.
- Do not deflate - Gentle handling keeps those air pockets intact.
- Bake hot - High heat gives you the big rise that ciabatta is known for.
Serving Suggestion
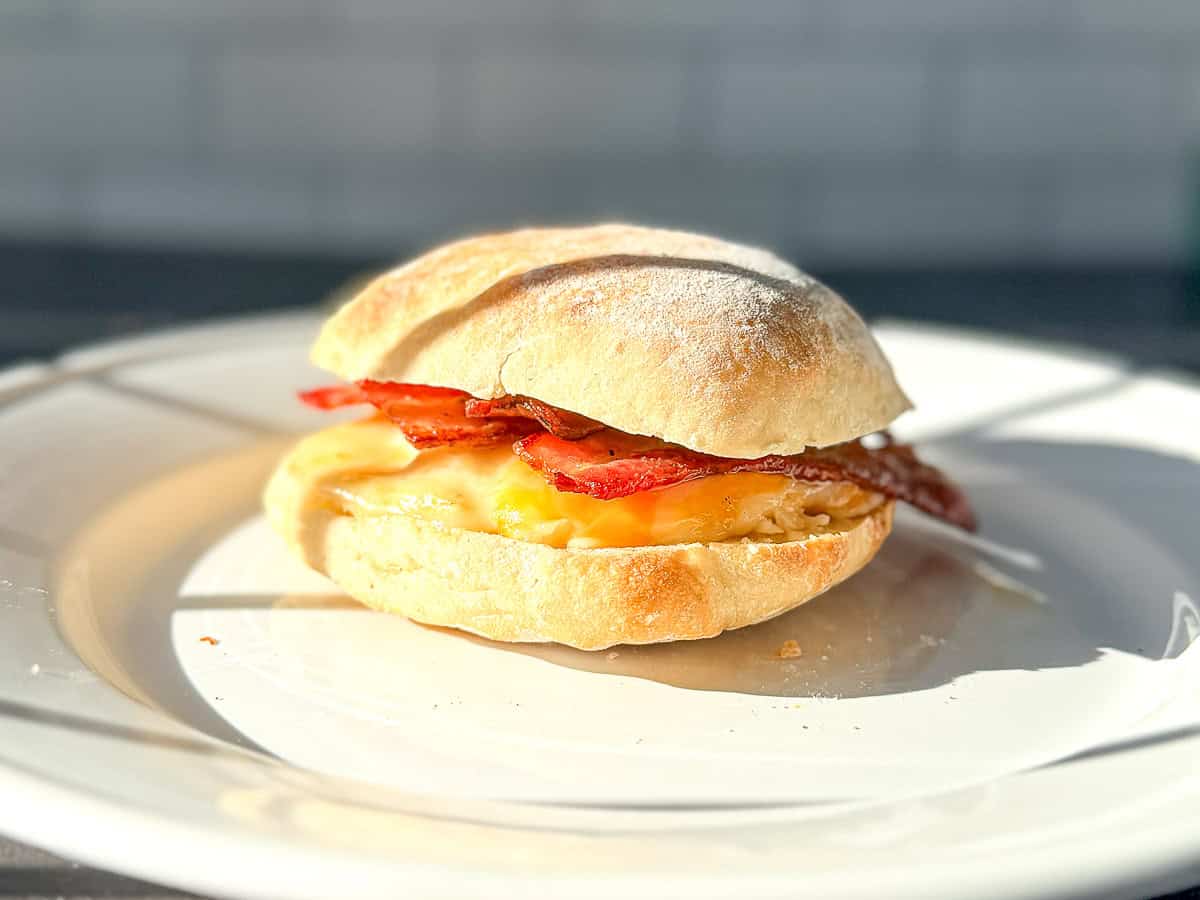
Every time I make these ciabatta rolls I use at least one to make myself an easy breakfast sandwich that reminds me of the ones I used to order almost on the daily when we lived in Hood River, Oregon. I slice and lightly toast my ciabatta roll, add an over medium fried egg, loads of extra sharp white cheddar cheese, and thick cut pepper bacon. Flavor perfection.
Recipe FAQs
A bench scraper is strongly recommended, but in a pinch, you can use a sharp knife to cut the dough and a piece of cardboard wrapped in foil to flip the dough and then lift and transfer the rolls to parchment paper.
You can rest them longer, but they won't rise too much more and could over-proof. I found 30 minutes to be the sweet spot, although you could rest them up to an hour after shaping.
Up to 24 hours is best for structure and flavor without overproofing and weakening the dough, which would lead to flat rolls when they bake. That's sad.
Store at room temperature in a paper bag for one day, or wrap individually in plastic wrap and foil and freeze for longer storage.

Did you try this recipe?
Please consider leaving a comment with a ⭐️ rating below and tell me all about it! It helps me to continue to improve my content and lets others know what you think!
I appreciate it so much!
-Cynthia
📖 Recipe
Small Batch Overnight Ciabatta Rolls
Recommended Equipment
Ingredients
- 2 ¾ cups (330 g) all-purpose flour
- 1 teaspoon kosher salt
- 1 ½ teaspoons (9 g) instant yeast
- 1 ¼ cups (300) warm water
- 2 tablespoons (28 g) olive oil
Instructions
- Mix the dry ingredients together. Add the warm water and olive oil and mix very thoroughly until there are absolutely no dry pockets and no lumps of flour or yeast.
- Cover the bowl and place into the refrigerator for at least 8 hours, up to 24 hours.
- Very liberally dust your counter or work surface with flour. Turn the bowl of dough over the surface and let the dough slowly fall out of the bowl on its own.
- Use your bench scraper to gently fold each side of the dough into the center, forming a puffy square.
- Use the bench scraper to gently flip the dough over so that the seam side is down. Pat into a square shape. Do not press down hard or you will lose the air bubbles.
- Use a bench scraper to cut into half, push pushing each half apart on the floury surface. Flour the scraper between each cut.
- Cut each of those in half, scooting them apart.
- Use your bench scraper to transfer each of them to a piece of parchment paper on a large sheet pan. Cover with a floured dry kitchen towel and let rest at least 30 minutes while you preheat your oven to 450°F.
- When the oven is fully heated, transfer your pan of ciabatta rolls into the oven on the lowest rack. Bake for 10 minutes then rotate the pan and place it on an upper rack for another 8 to 10 minutes, or until the ciabatta rolls are very puffy and golden brown.

Thank you Cynthia, for this amazing small batch recipe!
I just baked this morning and it turned out perfect!
I added the pull and fold method and the warm climate here in Singapore helps the dough to rise nicely too!
Now I can bake these beauties anytime I like without having too much left overs.😊
I'm so glad you love the recipe!
Thank you for your recipe. I`m happy to see small batch recipes, so much easier than having to do the math to decrease a recipe and even then it's not always the best. That being said, next time I make these rolls I will decrease the yeast. I'm at 4000 ft and very dry. My rolls really exploded. I did do the s&f, but will try 1 or 1 1/4 teaspoon of yeast. Any advice from you is welcome.
Happy baking!
PattiAnn
Gosh I wish I had some kind of experience with higher altitude baking, but I know for sure there are resources online to help you to hone in on the correct amount of yeast and everything you need to do to cook in your environment. Let us know how it goes!
Loved how simple these were to make. Instructions were easy to follow, and it literally takes no time at all! The results are a perfectly crispy and chewy bun, perfect for sandwiches! Will definitely be making again.
I'm so glad you tried - and liked - the recipe!