


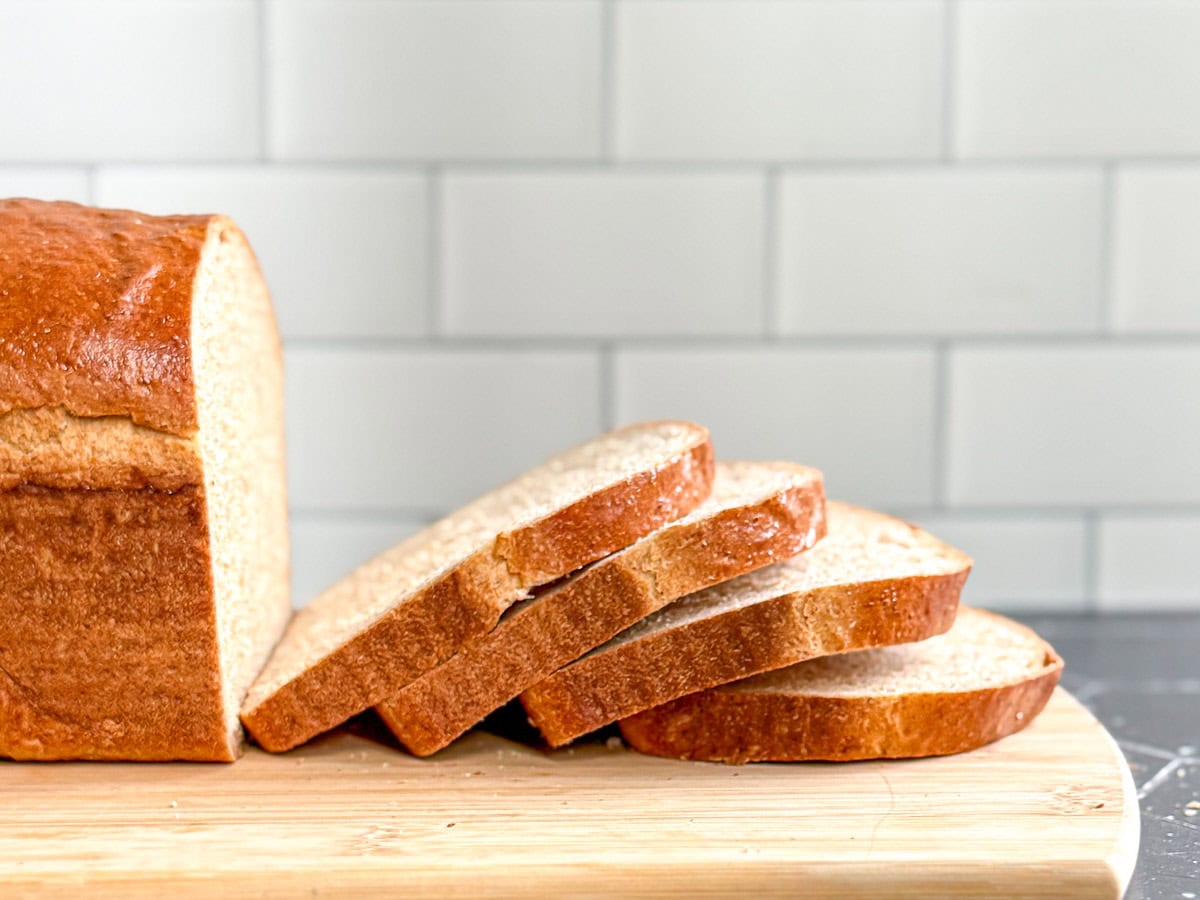
Looking for a quick and easy homemade bread recipe? Look no further! This 90 Minute Honey Whole Wheat Bread recipe requires only 8 ingredients and is perfect for a last-minute bake.
Save This Recipe! 💌
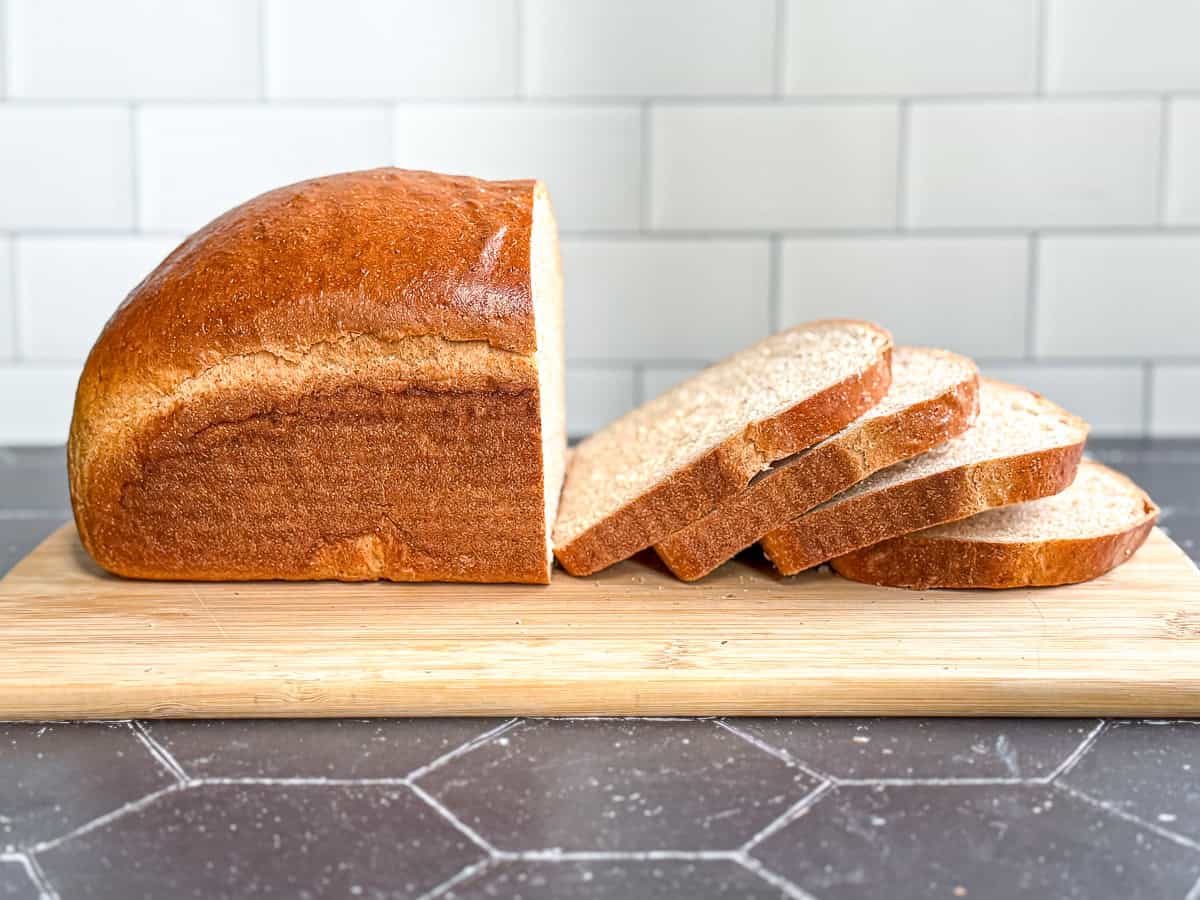
If you love the idea of fresh bread but do not want to spend all day in the kitchen, this 90 Minute Honey Whole Wheat Bread is the perfect solution. With a soft and lightly sweet crumb, a wholesome whole wheat base, and just enough chew from bread flour, this loaf is hearty yet tender. Just typing that sentence makes me want to make a breakfast sandwich immediately.
Homemade bread is one of the most satisfying things you can bake. There's just such a feeling of accomplishment when you're holding a loaf of bread that you made yourself. This recipe was inspired by my one hour sandwich bread but because whole wheat flour takes longer to hydrate, and slows down rising, this loaf needs just a little extra time, but the payoff is a tender, hearty bread ready in about an hour and a half.
Jump to:
Why you'll love this recipe
- Quick - A fresh loaf in less than 2 hours from start to finish.
- Wholesome - Whole wheat flour brings flavor, fiber, and nutrition.
- Easy - A stand mixer with a dough hook does most of the kneading work.
- Customizable - Simple substitutions and variations let you make it your own.
- Everyday bread - Perfect for sandwiches, toast, or just spread with my addictive apple butter.

Ingredients & Substitutions
In the photo below you can see everything you need to make this bread. Here are the major ingredients and some ways you can adapt them:

- Whole Wheat Flour - Provides nutty flavor and nutrition. You can use white whole wheat flour for a lighter taste.
- Bread Flour - Adds chew and structure. All-purpose flour can be substituted if needed.
- Instant yeast - If you only have active dry yeast, use the same amount, but dissolve it first in the warm milk and water with one tablespoon of your honey. Let it sit for 5 to 10 minutes until foamy, then add the oil, add it to the flour mixture, and continue with the recipe.
- Milk - Whole milk makes a richer loaf, but any milk or even unsweetened oat or almond milk will work.
- Honey - Adds natural sweetness. Maple syrup or agave are fine substitutes.
- Vegetable Oil - Keeps the bread moist. Olive oil or melted butter can be used in its place.
See recipe card below for a full list of ingredients and measurements.
Variations
Once you have mastered the base recipe, try changing it up:
- Seeds - For a little flavorful texture, sprinkle untoasted sesame or sunflower seeds, or whole oats on top after the egg wash.
- Cinnamon Raisin - Add ½ cup raisins and 1 teaspoon cinnamon to the dough.
- Herbed Bread - Mix in 2 teaspoons fresh herbs such as rosemary or thyme.
- Multigrain - Replace ½ cup of whole wheat flour with rolled oats or a multigrain blend.
- Sandwich Buns - Divide dough into 8 equal pieces, shape into rounds, let rise, and bake for 20 minutes.
Cynthia's Recipe Review
It literally took all of my willpower to stop myself from slicing into my Honey Whole Wheat Loaf as soon as it came out of the oven. The smell of baking bread filled the house and literally woke my husband up. I managed to hold off on slicing in until it was time to make breakfast and then we I ate half a loaf with breakfast. Sorry not sorry.

Equipment
Using a stand mixer takes most of the effort out of kneading, but if you prefer the hands-on feel of bread making, I also include simple instructions for kneading by hand.
Unlike my simple sandwich bread, this whole wheat bread dough cannot be made in your food processor. Adding the honey, and the extra liquid needed to hydrate this dough, makes it too sticky. Let's just say there may have been a little smoke coming from my food processor when I tested it 😳
Quick Recipe Video
Step-by-Step Instructions
Making bread at home should feel approachable. Watch the video above and follow these step-by-step directions, using the photos for guidance. You are going to be pulling a golden loaf of bread out of the oven in no time.
🔥 HOT TIP: Using your oven as a proofer
If your oven has a "Proof" setting, turn that on before starting your dough. If your oven does not have this setting, turn your oven on to 300°F for two minutes then turn it off. This will create a warm environment for your dough to complete its first rise.

Step 1: Combine the whole wheat flour, bread flour, kosher salt, and instant yeast in the bowl of your stand mixer, or a large mixing bowl.
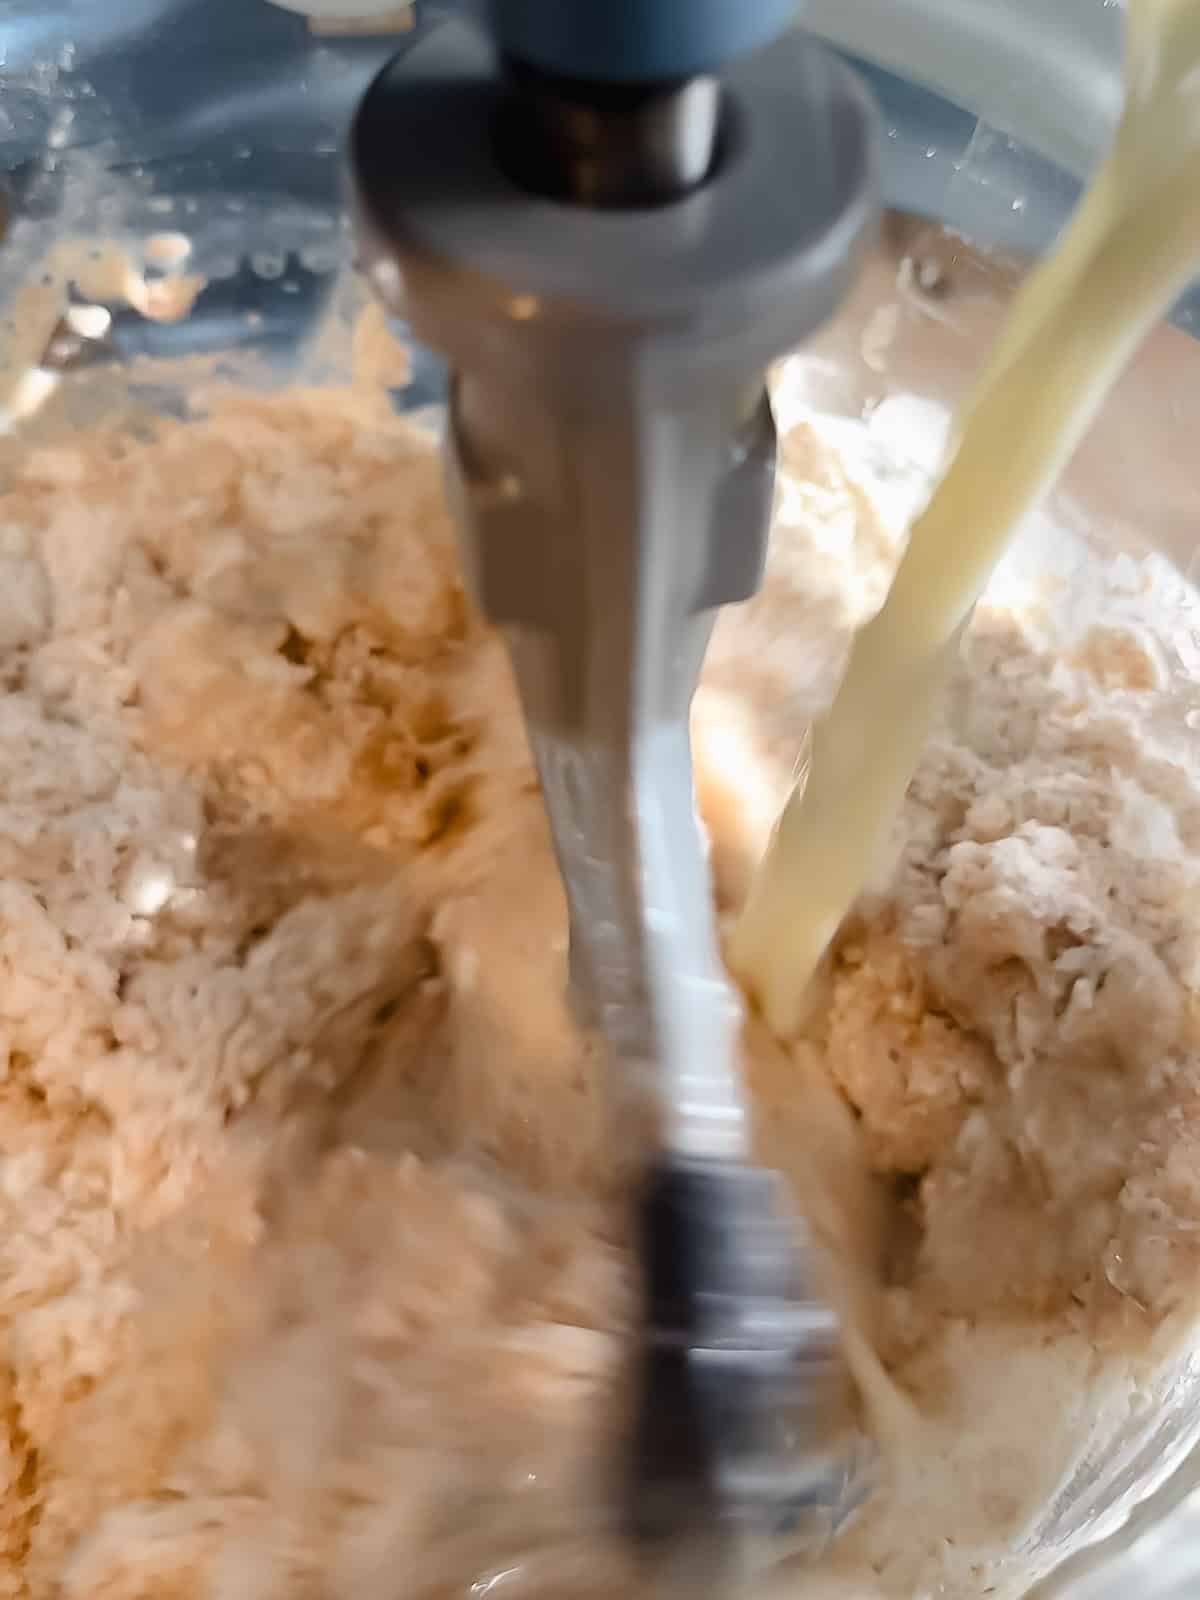
Step 2: Whisk together warm milk, warm water, warmed honey, and oil. Pour into the flour mixture. Mix with your mixer's paddle attachment, or a dough whisk or large spoon until a shaggy dough forms.
Kneading with stand mixer
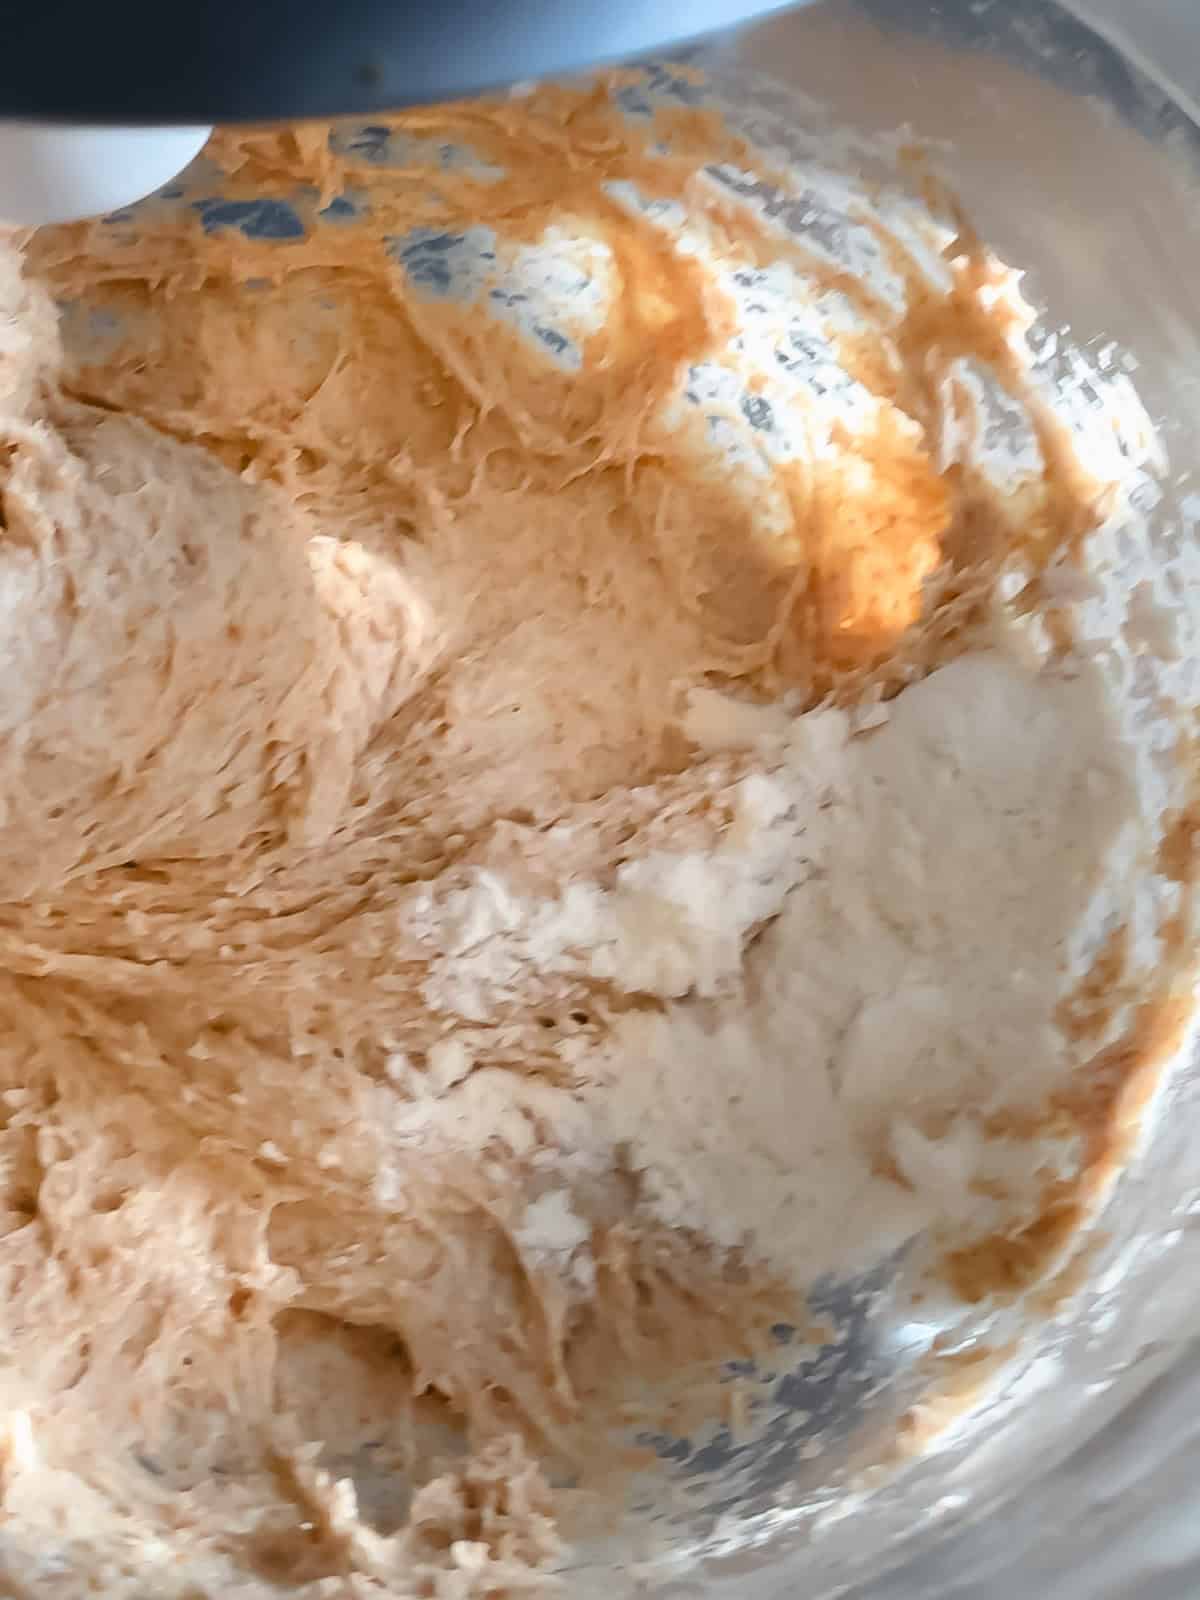
Step 1: Attach the dough hook and knead on medium speed for 5 to 8 minutes, adding up to 2 tablespoons flour if the dough continues to stick to the sides of the bowl halfway through the mixing time.
(What to look for: when it is done kneading the dough should have pulled away from the sides of the bowl and only be attached by a small circle of dough at the bottom. When you poke the dough with a finger it should quickly spring back.)
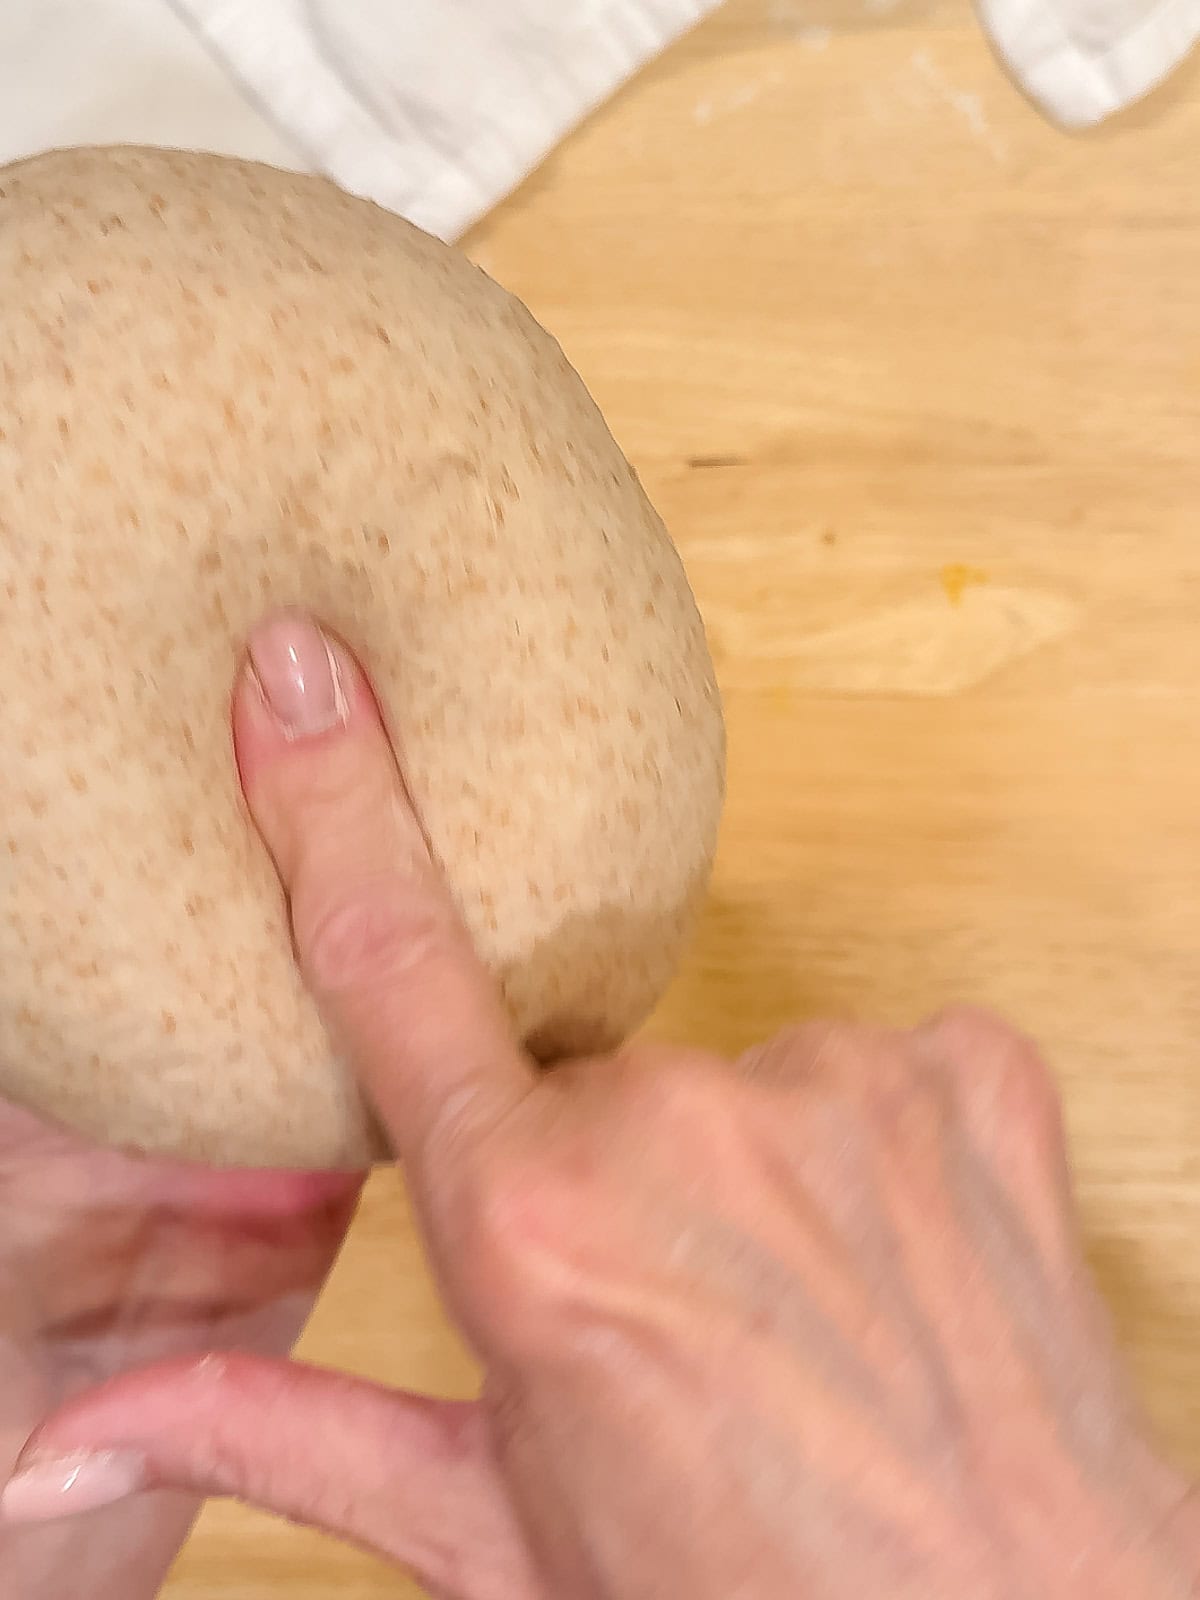
Step 2: Shape the dough into a ball, place in an oiled bowl, cover, and let rise in a warm spot for 20 to 30 minutes or until doubled.
(What to look for: when poked with your finger, the indentation should spring back slowly, filling in about halfway, without fully disappearing. If it springs back quickly, let it rise another 10 minutes.)
🔥 HOT TIP: Proofing on top of the stove
Most ovens have a warm spot where the oven vents hot air and steam. During the second rise, try to place you loaf near (not directly on or under) that spot. The additional heat will help your loaf to rise more quickly.
Kneading by hand
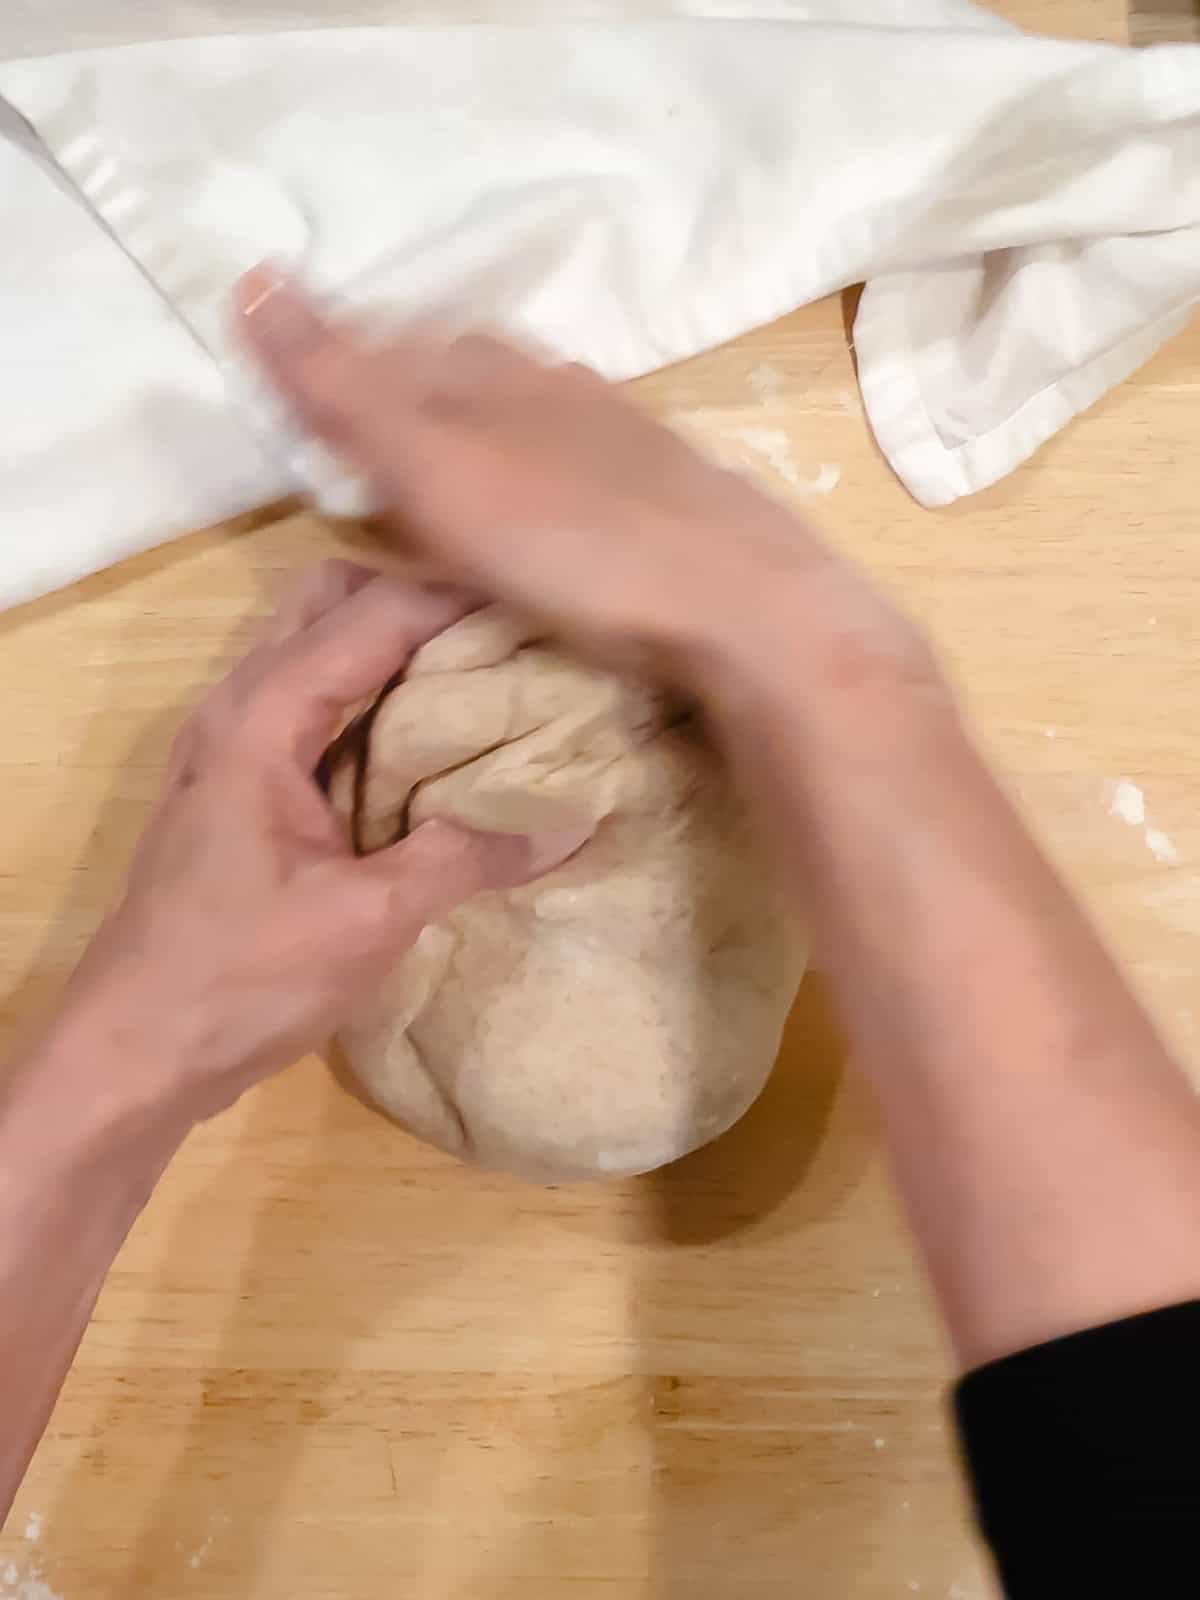
Step 1: Place the dough on a lightly floured surface and fold it over onto itself.

Step 2: Using the heel of your hand, push the dough away from you in a rocking motion, while also turning it about 90 degrees. Add up to 2 tablespoons of flour if it sticks to your surface or your hands. Repeat this fold/push/turn process until the dough is smooth, elastic, and springs back quickly when you press it.
Shaping your loaf
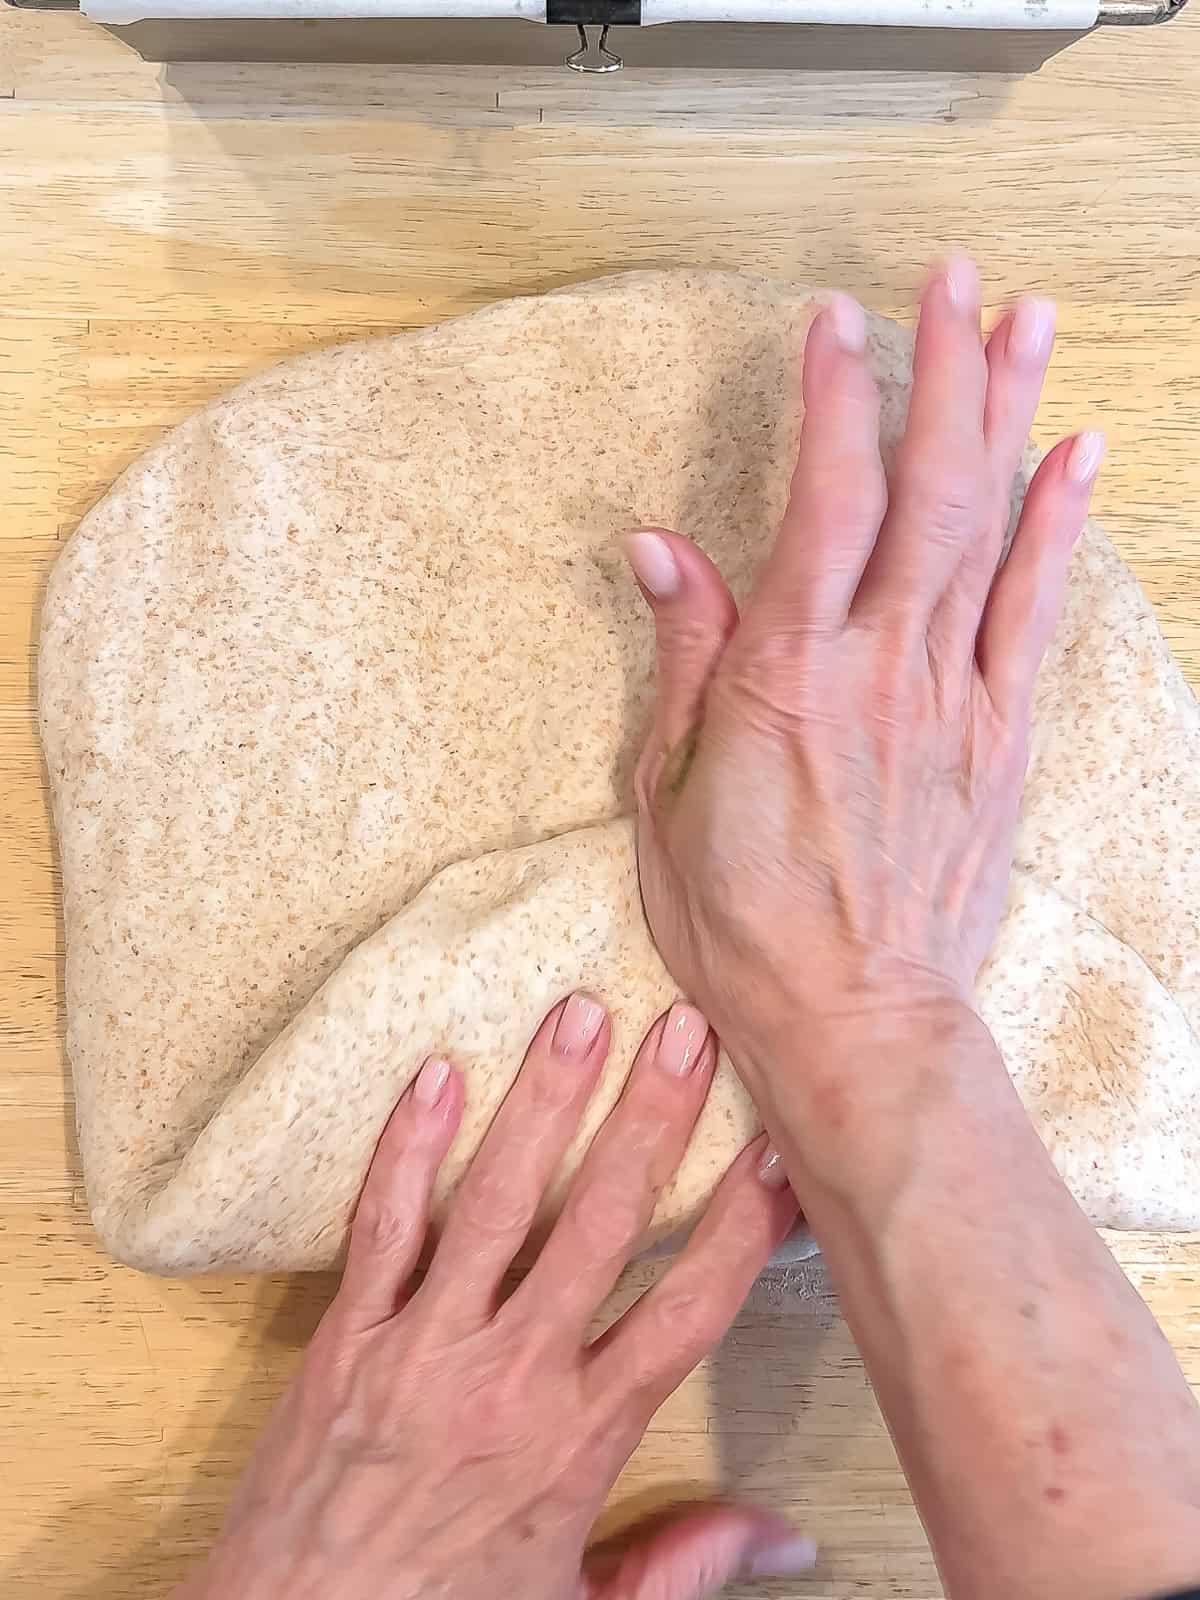
Step 1: Turn your proofed dough out onto the counter, smooth side down. Press into a rectangle where the short side is about the same width as your loaf pan.
Fold the bottom of the dough up towards the middle and use the heel of your hand to press and secure that in place
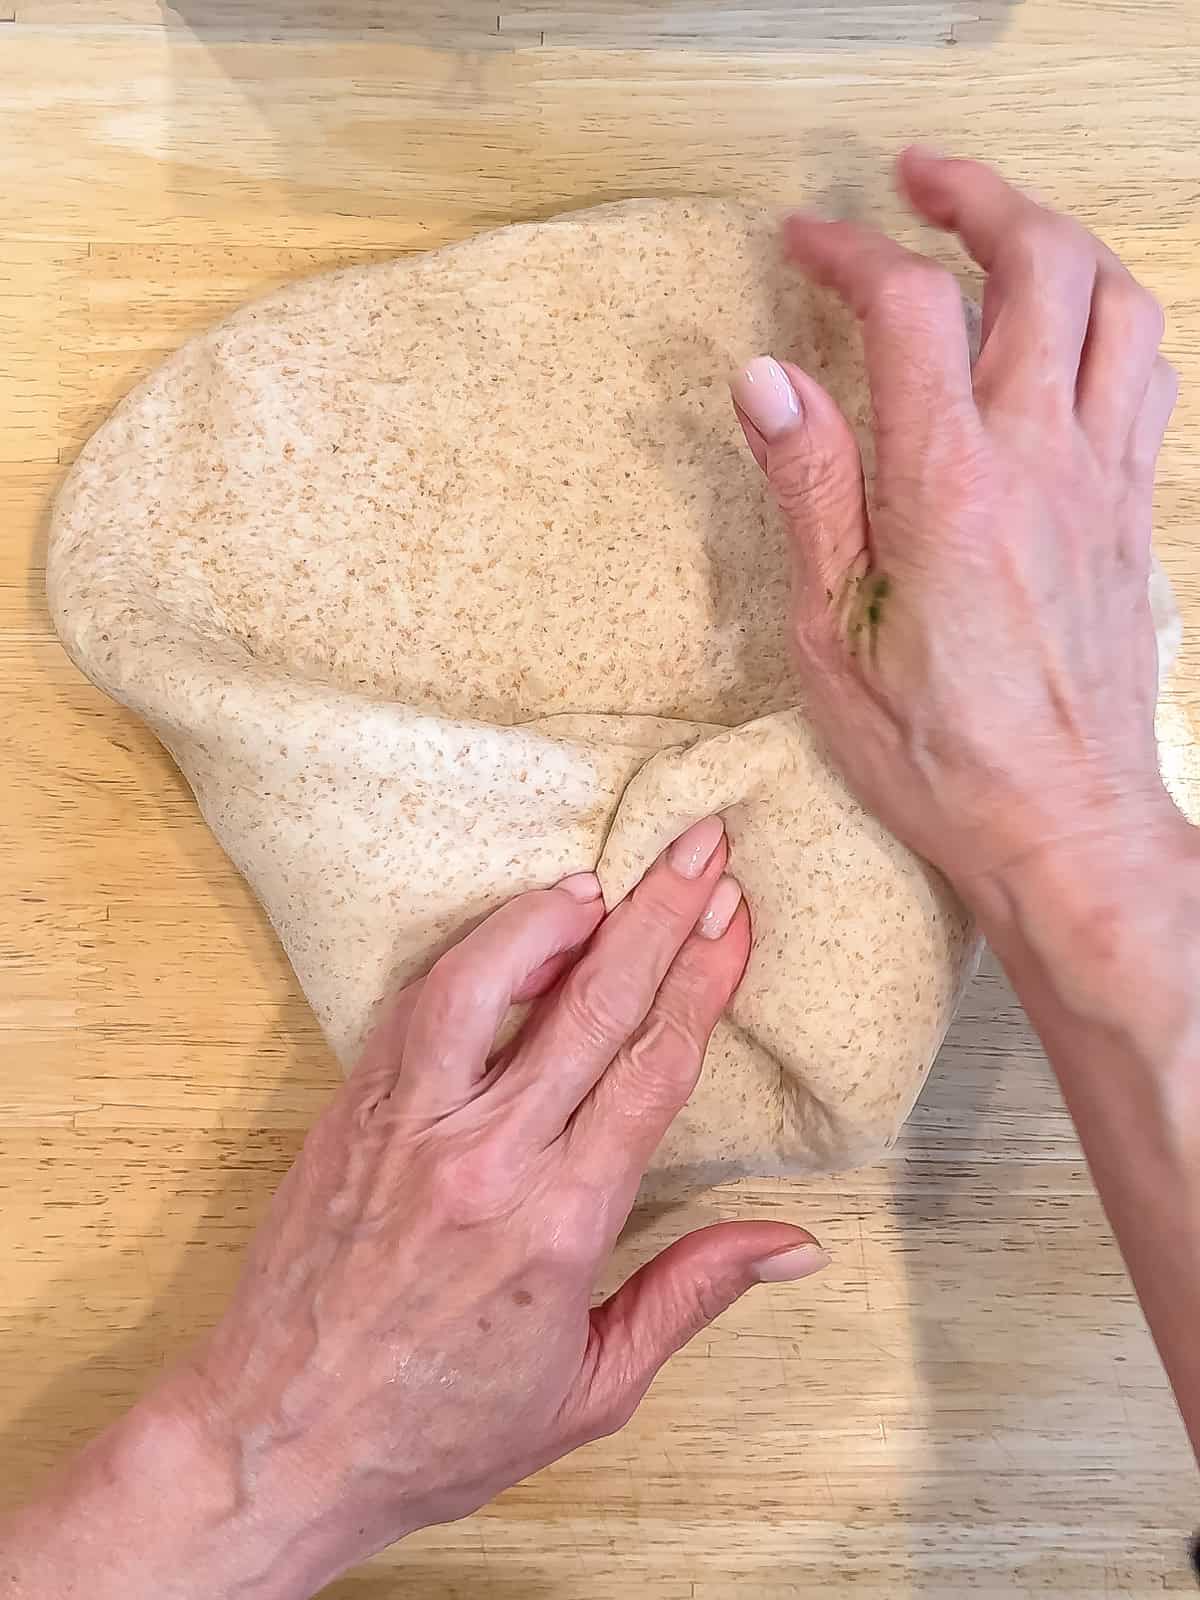
Step 2: You will have formed two "wings". Pull those in towards the center and press with the heel of your hand to secure them as well.
Step 3: Repeat by pulling the top down towards the center and using the heel of your hand to secure the flap. Secure your new "wings" as well.
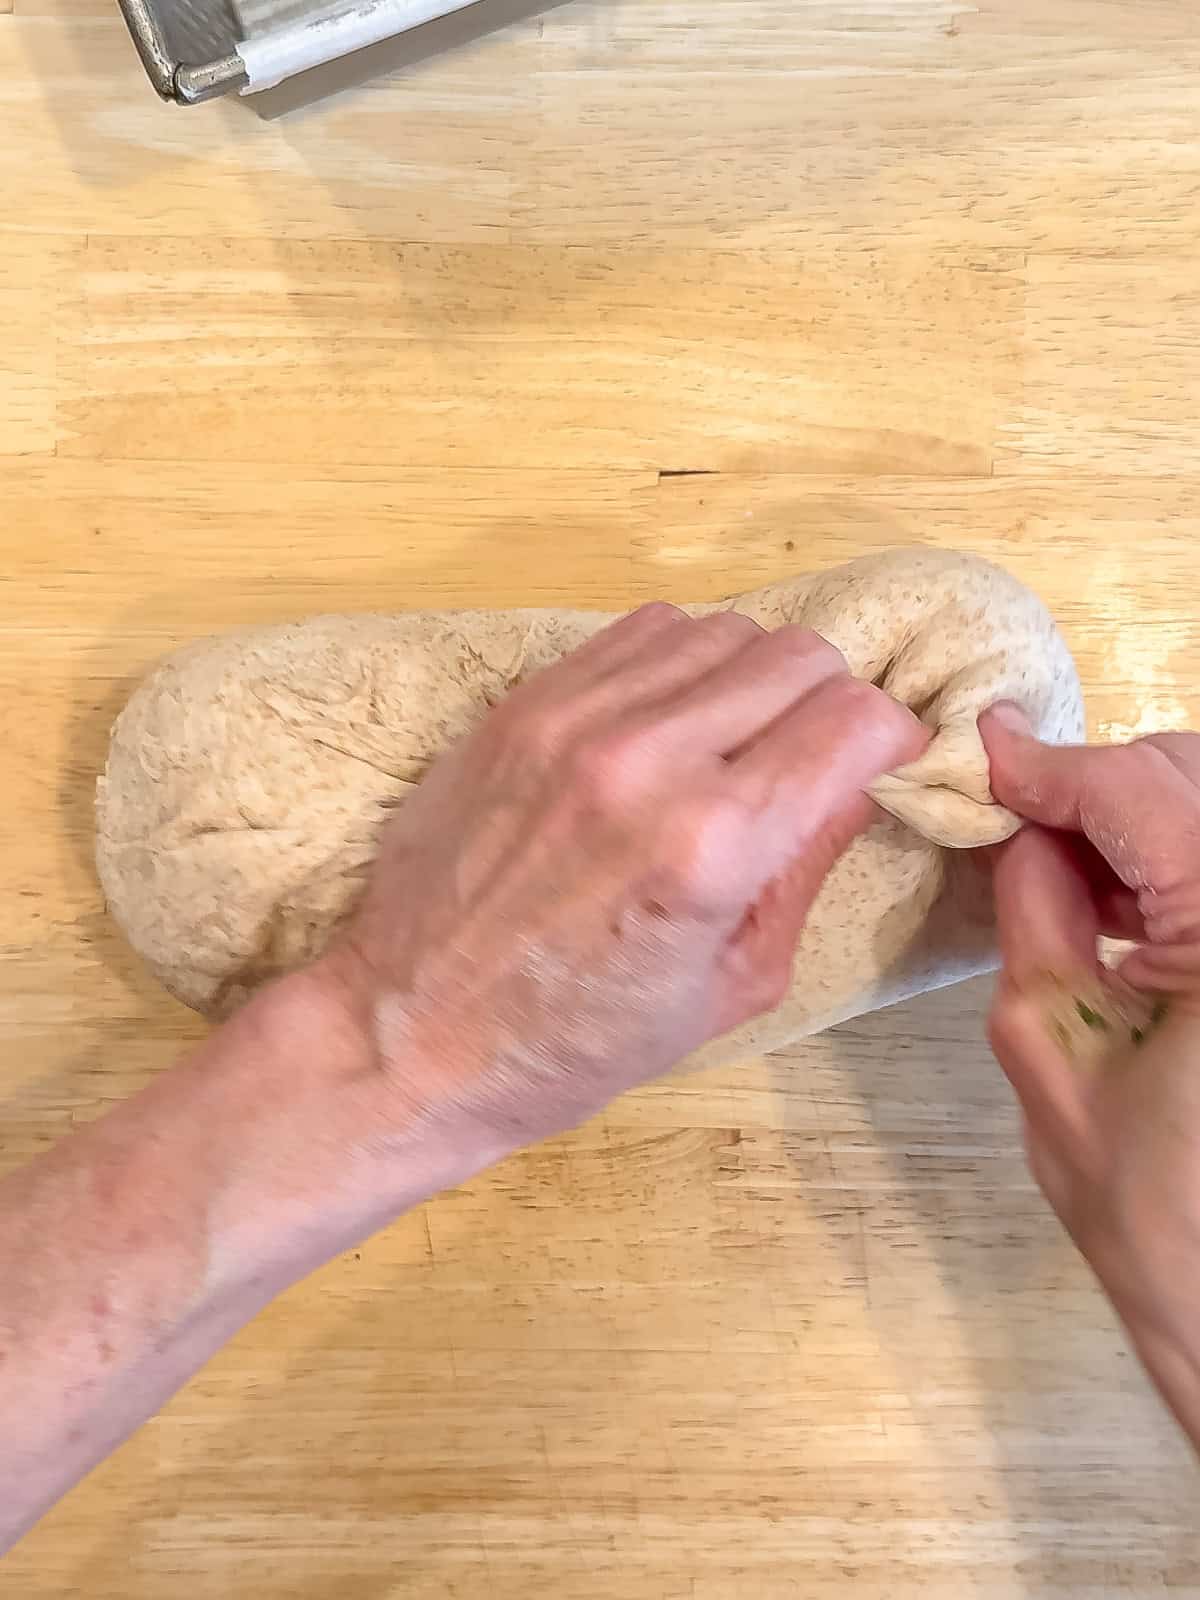
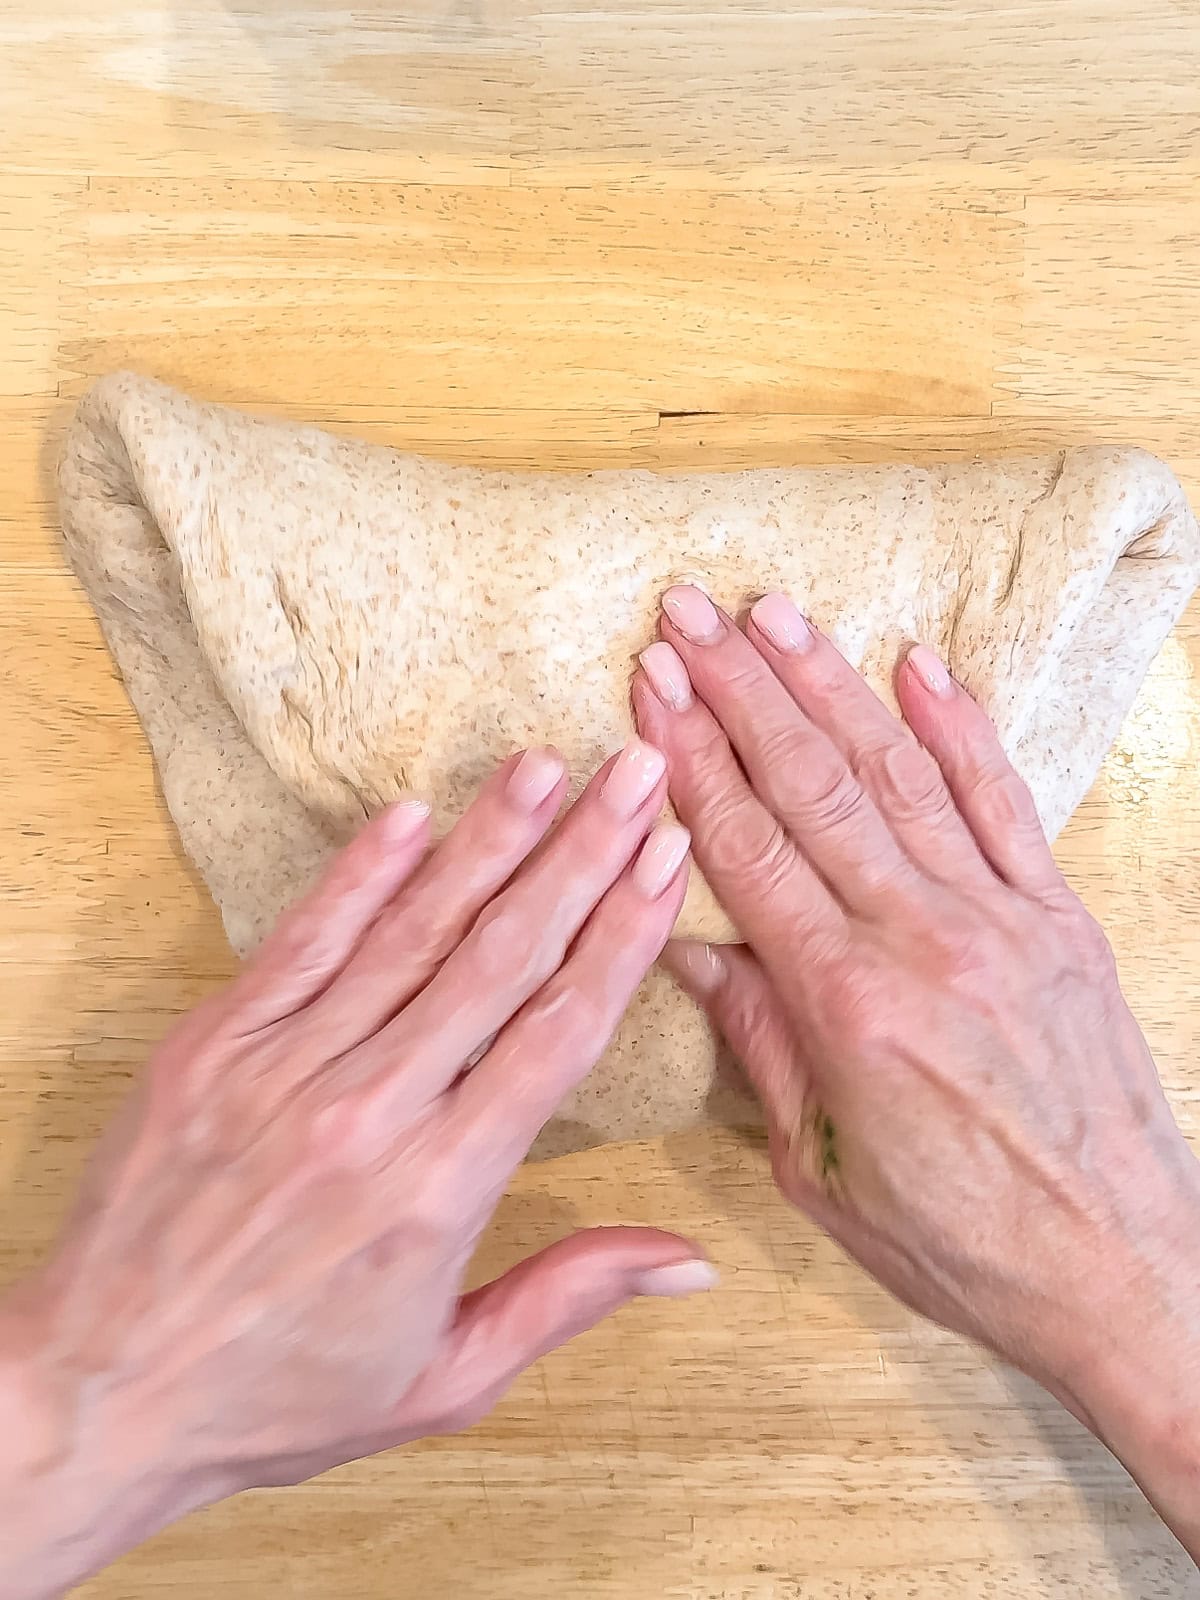
Step 4: Roll the dough into a log shape. Flip over and use your fingers to pinch the seam shut all the way across and on the ends.
Final steps

Step 1: Place the log seam-side down into your greased loaf pan. Cover loosely with plastic wrap and place on top of your stove and allow to rise at least another 20 to 30 minutes while you preheat your oven to 375°F.
Step 2: When ready to bake, your dough should fill the loaf pan and peek over the top by about ½ inch. If needed, you can allow to proof for another 10 minutes, but no longer.
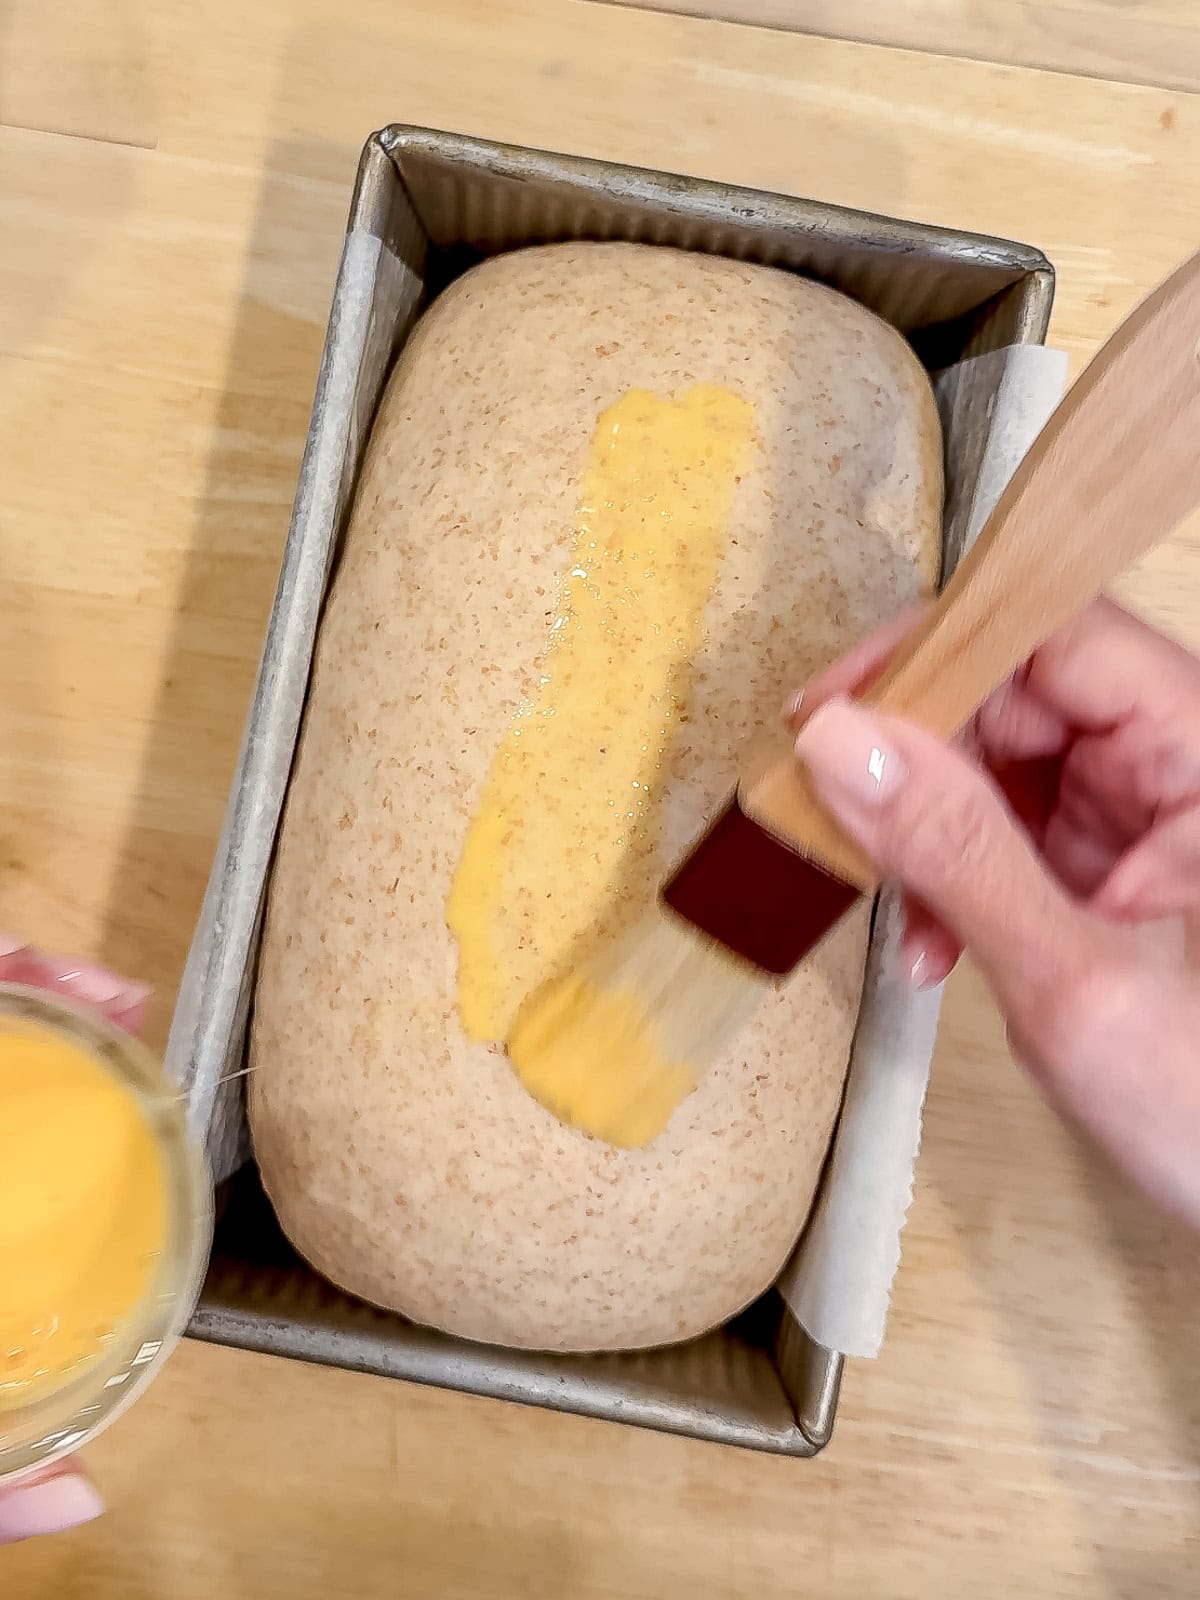
For a shiny top, I like to lightly brush the top of the loaf with an egg wash made from one egg whisked with 1 tablespoon of water before baking.
Finish: Bake at 375°F for 30 to 35 minutes, or until it is golden brown and sounds hollow when gently tapped. If you have an instant read thermometer it should register between 190 to 205°F.
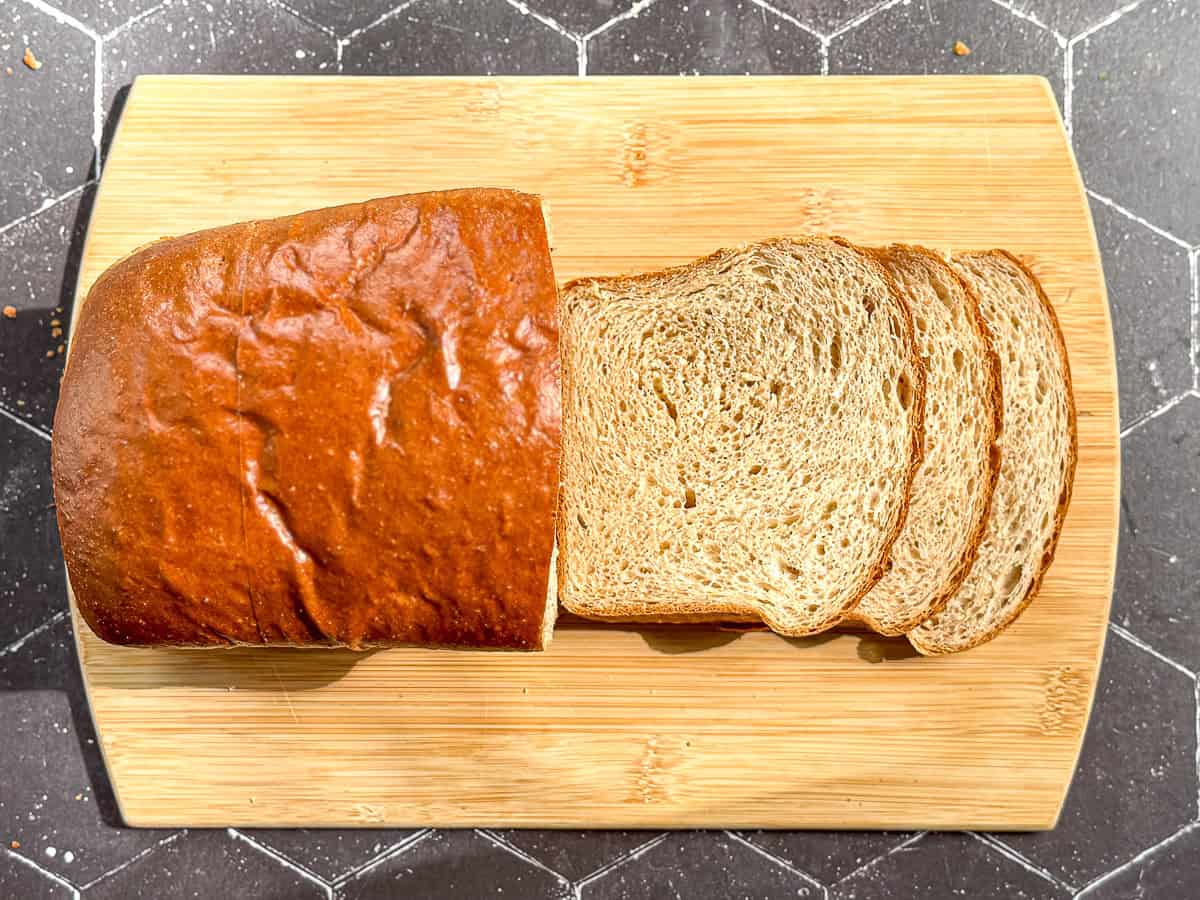
Let your beautiful honey whole wheat bread cool for five minutes in the pan and then gently tip it out and place it on a cooling rack to cool completely before slicing. I know you want to cut into it when it's warm, but please wait at least 20 minutes (the bread is technically still baking when it first comes out of the oven). I know. Doing things like a grown-up is hard.
Slicing Your Bread
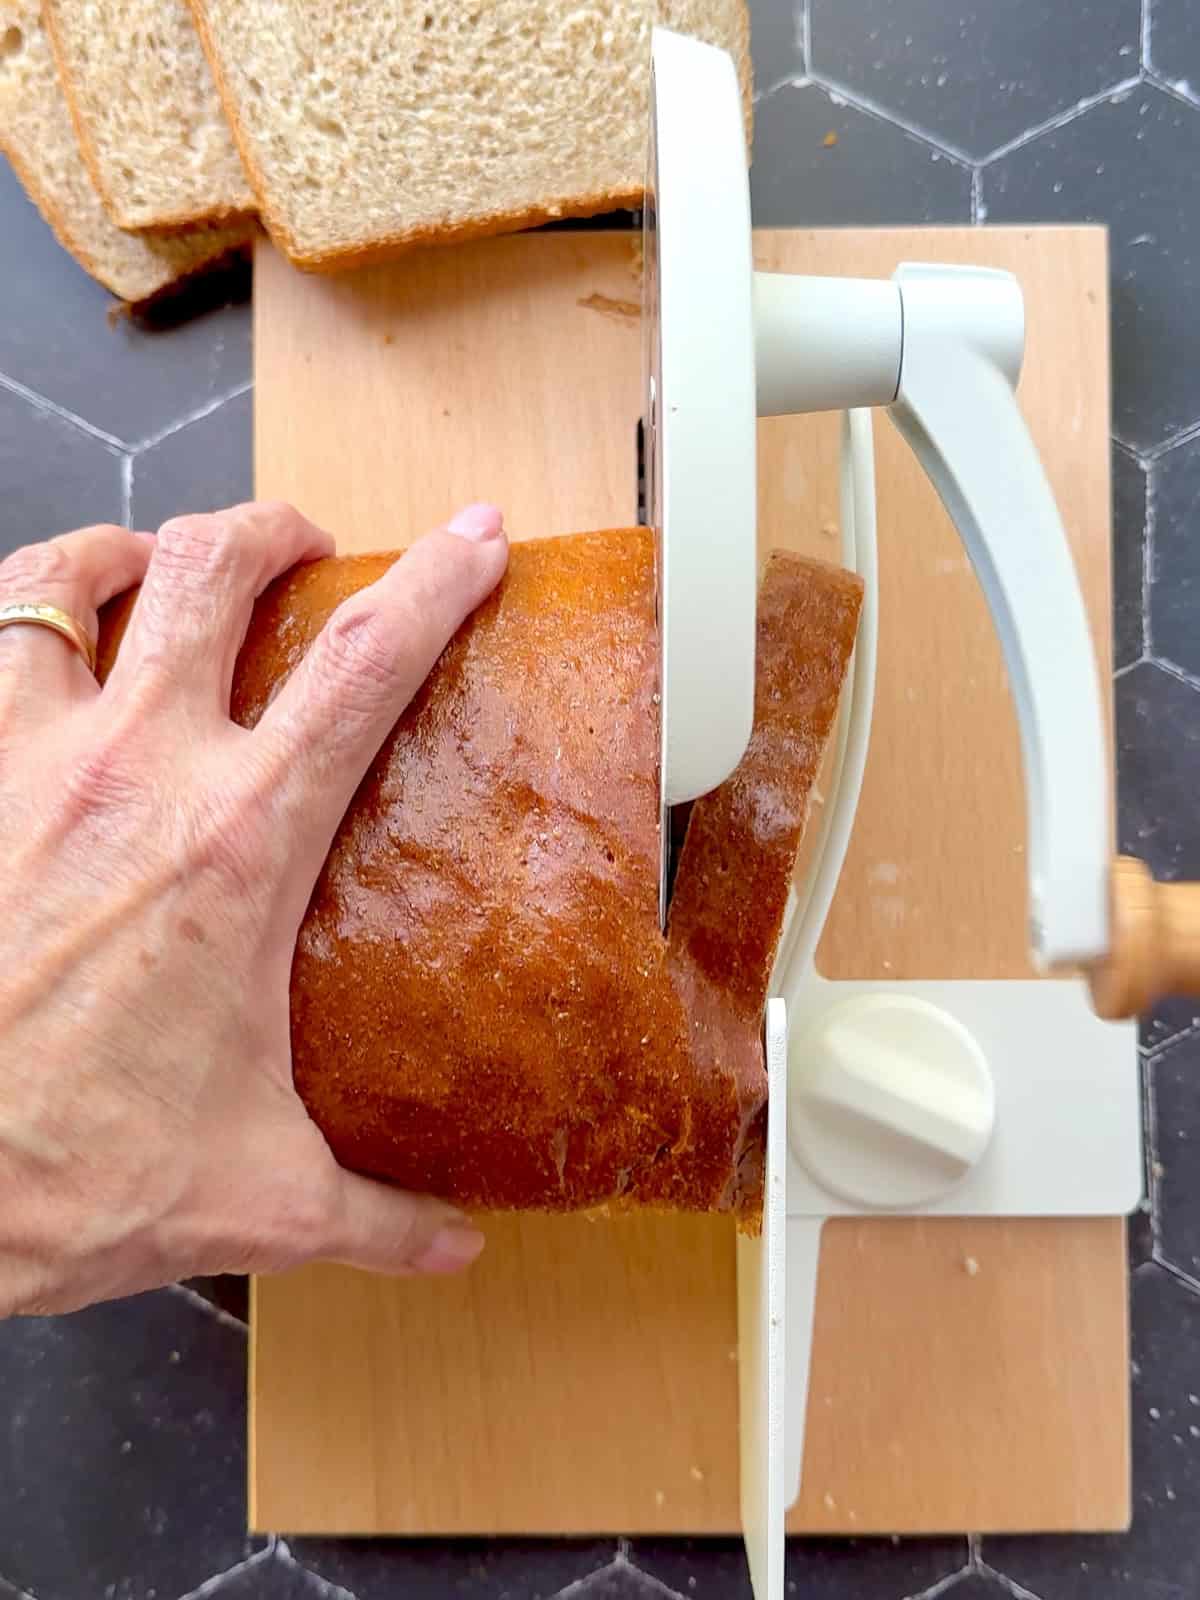
You can use any sharp knife to slice your loaf, but for beautiful clean slices, I like to use a long bread knife that is not serrated, but a serrated one will also do the job. My new obsession is for my hand crank bread slicer. It will make clean even slices of everything from soft pretzel bagels, to my crusty no-knead bread, and even this whole wheat bread.
Cynthia's Helpful Tips
- Temperature - Make sure your honey is warm enough for it to flow easily. Also be sure your milk and water are around 110 F to activate the yeast properly.
- Kneading - The dough should be slightly tacky but not sticky. Add flour sparingly. You shouldn't need more than 2 tablespoons of extra flour.
- Proofing - A warm spot helps the dough rise quickly. I like to use my "Hot Tips" from the instructions, or placing near a sunny window works great.
- Loaf Pan - Grease your pan well and line with parchment paper to prevent sticking and help the loaf release cleanly.
- Check Doneness - An instant-read thermometer is the best way to make sure the bread is baked through.
Recipe FAQs
Yes, though the loaf will be a bit softer and less chewy, it will still be delicious!
You can knead the dough by hand in about 8 to 10 minutes.
I have found that storing it on a wire rack and then covering the rack and the bread with a large disposable shower cap allows the bread to breathe while not drying it out. Otherwise place in a breathable container like a paper bag or bread box for a few days. Do not refrigerate your bread as this tries it out more quickly
Yes, wrap tightly in plastic and then aluminum foil and freeze for up to 3 months. Thaw at room temperature.


Did you try this recipe?
Please consider leaving a comment with a ⭐️ rating below and tell me all about it! It helps me to continue to improve my content and lets others know what you think!
I appreciate it so much!
-Cynthia
📖 Recipe

The Easiest Honey Whole Wheat Bread
Equipment
- Thermometer instant read, optional but recommended
Ingredients
- 2 cups (240 g) whole wheat flour
- 1 ¾ cups (210 g) bread flour plus up to 2 tablespoons if needed
- 1 ½ teaspoons (5 g) kosher salt
- 1 tablespoon (9 g) instant yeast
- ¾ cup (180 g) milk warmed to 110 F
- ½ cup (120 g) water warmed to 110 F
- ¼ cup (80 g) honey warmed until pourable
- ¼ cup (56 g) vegetable oil
Instructions
- In the bowl of a stand mixer, combine whole wheat flour, bread flour, kosher salt, and instant yeast.
- Whisk together milk, water, honey, and oil. Add to dry ingredients and mix using the pad attachment until a shaggy dough forms.
- If mixing by hand, use a stiff wooden spoon to mix the wet and dry ingredients together until you have a shaggy dough.
- Knead with a stand mixer using the dough hook on medium speed for 5 to 8 minutes, adding up to 2 tablespoons of bread flour if the dough continues to stick to the sides of the bowl. Continue until dough is elastic and springs back when pressed.
- For hand kneading: Knead on a lightly floured surface for 8 to 10 minutes. Fold the dough over onto itself, use the heel of your hand, push the dough away from you in a rocking motion, while also turning it about 90 degrees. Add up to 2 tablespoons of additional bread flour if it sticks to the surface or your hands.
- Repeat this fold/push/turn process until the dough is smooth, elastic, and springs back quickly when you press it.
- Shape dough into a ball, place in a greased bowl, cover, and let rise in a warm spot for 20 to 30 minutes or until doubled in size and it brings back slowly when poked with your finger.
- Turn dough out onto a clean surface, shape into a loaf, and place in a greased 9x5 loaf pan. Cover loosely and let rise while preheating oven to 375°F, until dough is peeking over the edge of the pan.
- Bake for 30 to 35 minutes, until an instant-read thermometer registers 190 to 205°F. Tent with foil if browning too quickly.
- Cool in pan 10 minutes, then transfer to a wire rack to cool completely.
Save This Recipe! 💌
Video
Notes
If your oven has a "Proof" setting, turn that on before starting your dough. If your oven does not have this setting, turn your oven on to 300°F for two minutes then turn it off. This will create a warm environment for your dough to complete its first rise. Proofing on top of the stove
Most ovens have a warm spot where the oven vents hot air and steam. During the second rise, try to place you loaf near (not directly on or under) that spot. The additional heat will help your loaf to rise more quickly. For best results, slice after the loaf has cooled fully to maintain texture. Bread keeps at room temperature in an airtight container for 2 to 3 days or can be frozen for up to 3 months. Do Not refrigerate.


Raquel E. says
Cynthia’s easy to follow recipe was my first attempt at making whole wheat bread. It won’t be my last! Tastes great
Cynthia Christensen says
I’m so glad you liked it!