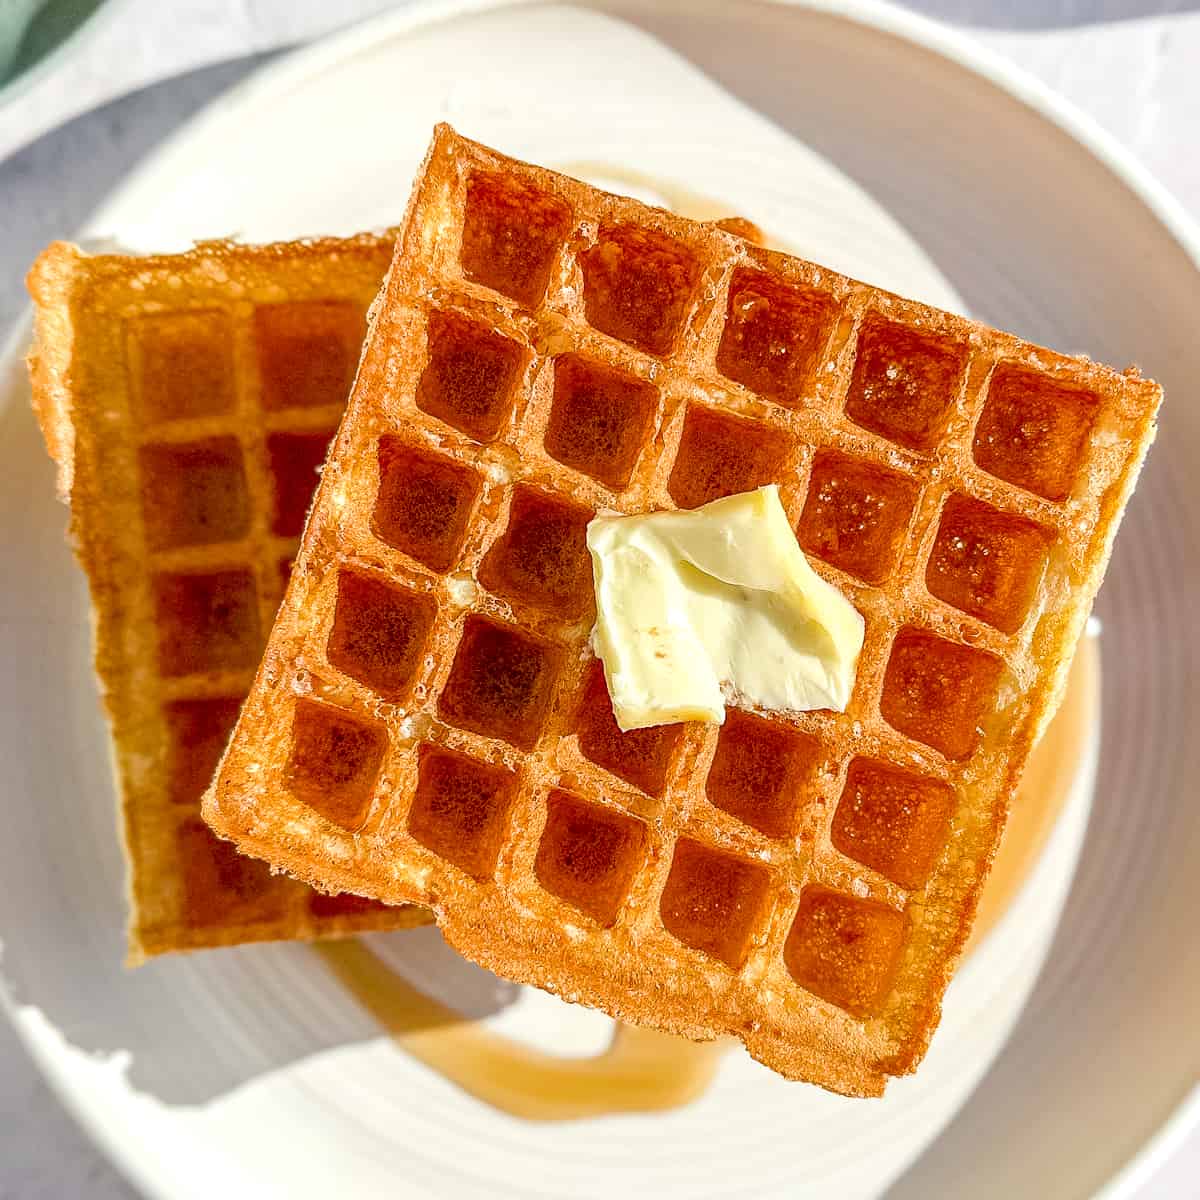
These Light and Crispy Yeast Waffles take only 5 minutes prep the night before, for a quick and delicious breakfast the next morning. Their incredibly airy texture will have you keeping your waffle maker on the counter full time!
Save This Recipe! 💌
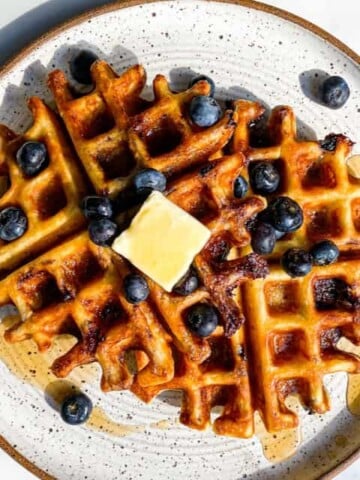
I am team waffles. As much as I adore my buttermilk pancakes, I will always choose waffles. I love their crispy outsides and their fluffy insides. I love the way their little holes catch syrup and blueberries in them like little pockets of yum. My Light and Crispy Yeast Waffles are just the next natural progression in my obsession.
I have this memory of going to Disney World with my husband and kids. While they were on the Tower of Terror (no way I was going on that thing) I sampled a yeasted Belgian waffle at a waffle stand that haunts me to this day.
It was so light it was like holding air in my hands. And the crunch. Oh my goodness. So fluffy on the inside with a gentle tang from the yeast. I swoon. It took a lot of testing, but I have that waffle, and you're going to want it too. Let's do this!
Jump to:
Ingredients
If you bake with yeast, you probably already have everything you need to make these waffles. If not, go buy some yeast, because you are going to make these overnight waffles on repeat all the time. They're that good!
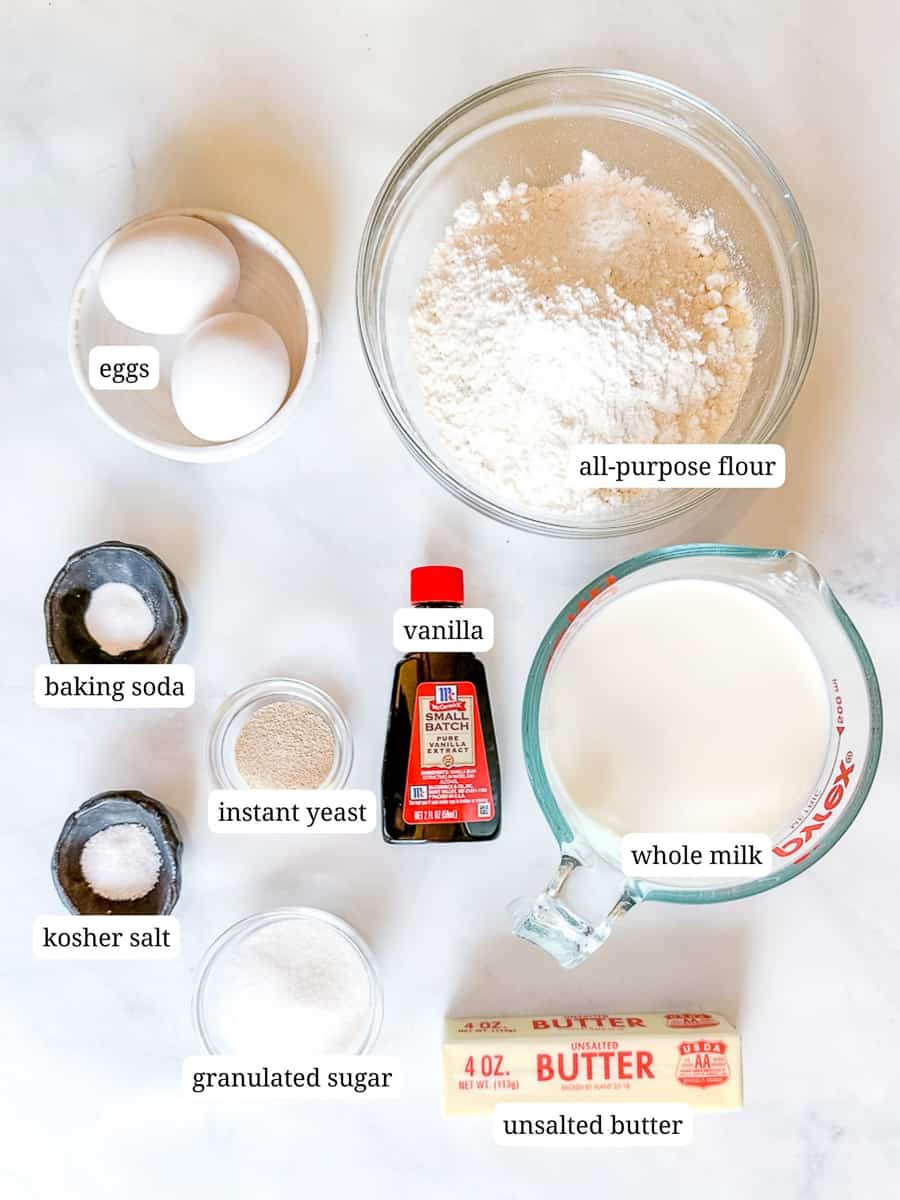
See recipe card for quantities.
Substitutions
I have to tell you, I think these yeast waffles are pretty perfect the way they are. It took a whole lot of waffles to get them to do exactly what I wanted every time, so substitutions are tricky. Here are a few that have been tried.
- Gluten free - King Arthur Baking Company makes a great gluten free flour that you can substitute one-to-one with the all-purpose flour.
- No processed sugar - I have tried this with honey with excellent results.
- Vegan - You can use an alternative milk. A friend tested with almond milk, and said it worked great.
- Egg free - I haven't tried without eggs, but I have looked into vegan yeast waffle recipes and they just omit the eggs. I imagine they won't be quite as rich and may rise less, but they looked delicious.
Variations
Feel free to give this your own spin, if you like. Add in some add-ins. Go nuts. Or fruity.
- Fruit - plop some blueberries on top of the batter before you close the lid.
- Banana nut - Add a few banana chunks and some toasted walnuts to the batter. Don't mash the bananas or they will add too much liquid. Just a rough chop.
- Chocolate chips - Duh. I mean, chocolate chips is a no brainer, right?
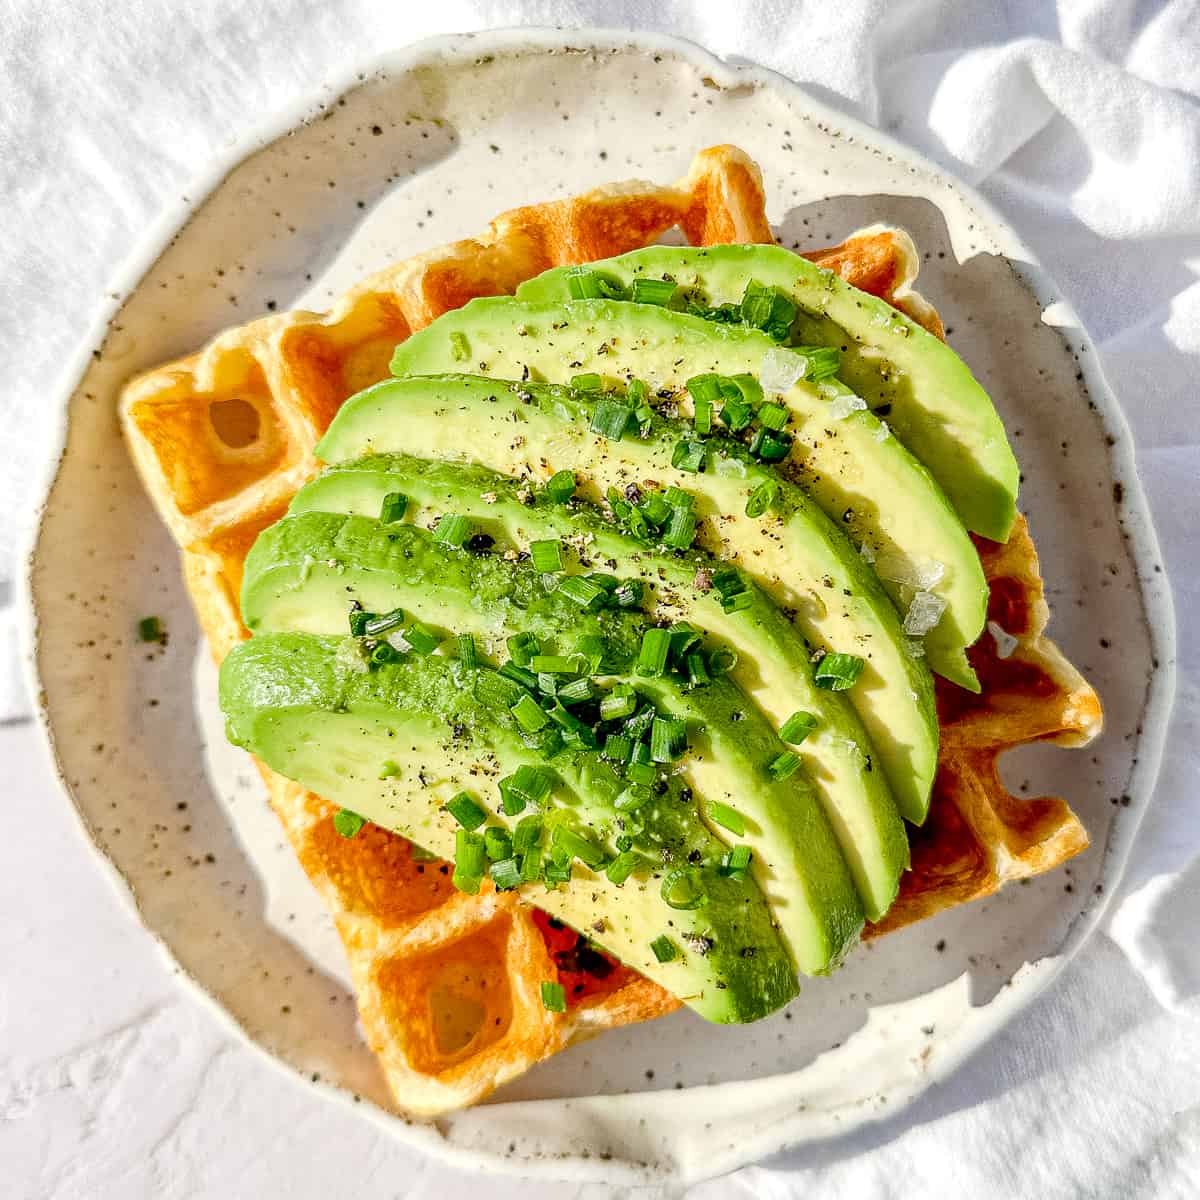
- Go savory - These overnight waffles have just a hint of sweetness, that you enhance with toppings, so they can totally go savory. Try a schmear of cream cheese and some smoked salmon or go wild with a waffly play on Avocado Toast!
Instructions
These yeast waffles just couldn't be simpler. The night before, you will spend maybe five minutes mixing the batter. In the morning, another five minutes to add two simple ingredients. Breakfast is ready before you know it!
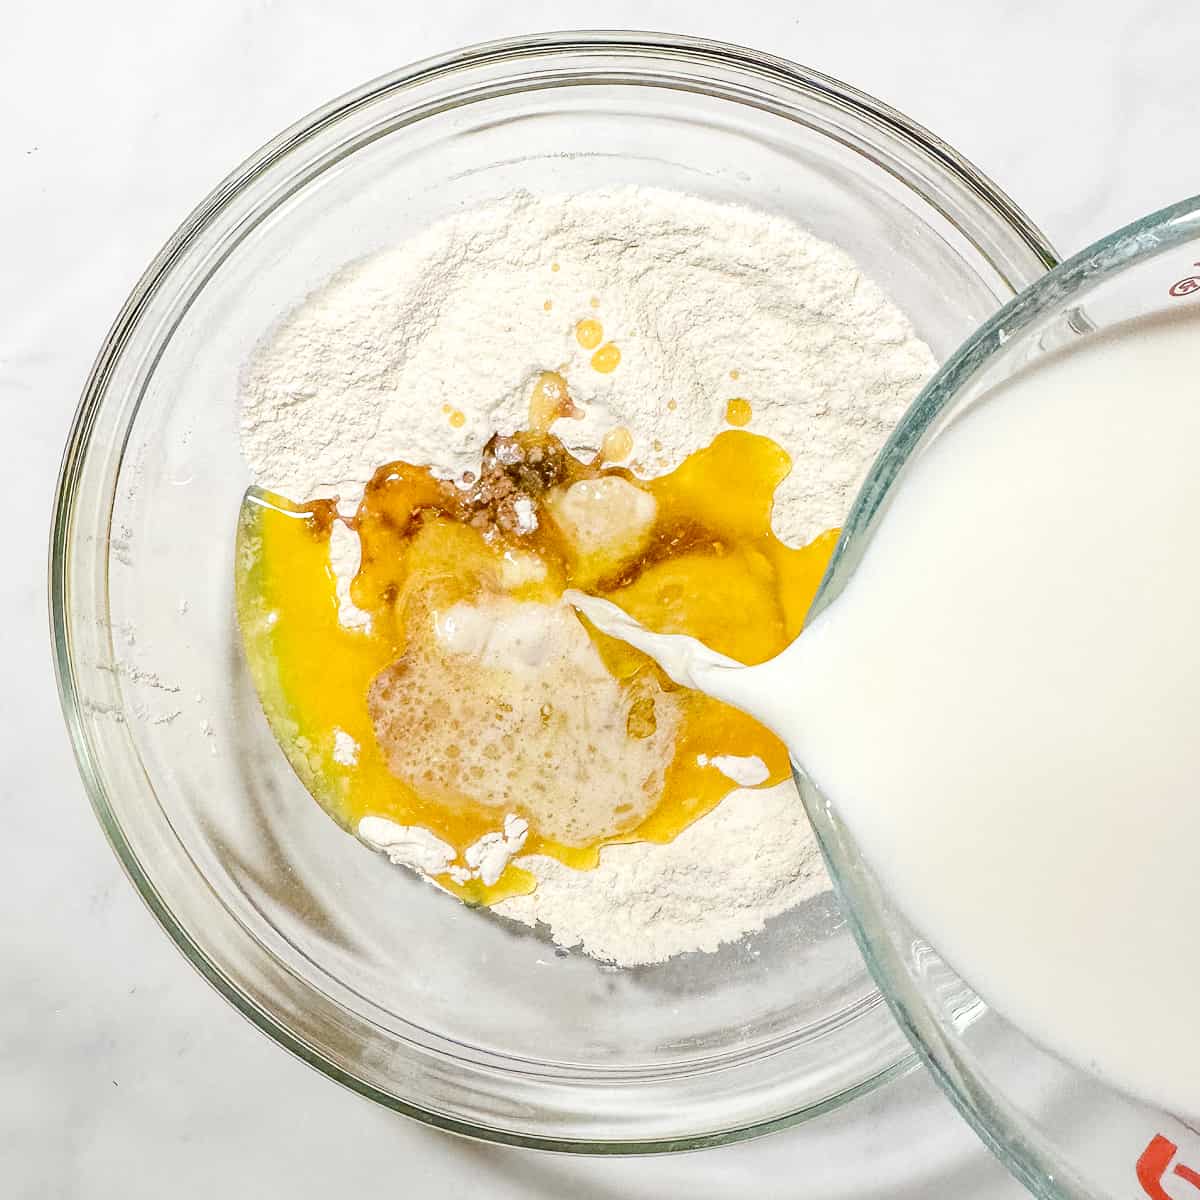
Combine dry ingredients in a large bowl. Add warm milk, cooled melted butter, and vanilla. Whisk and cover. Leave on counter until morning, or up to 2 days in the refrigerator.
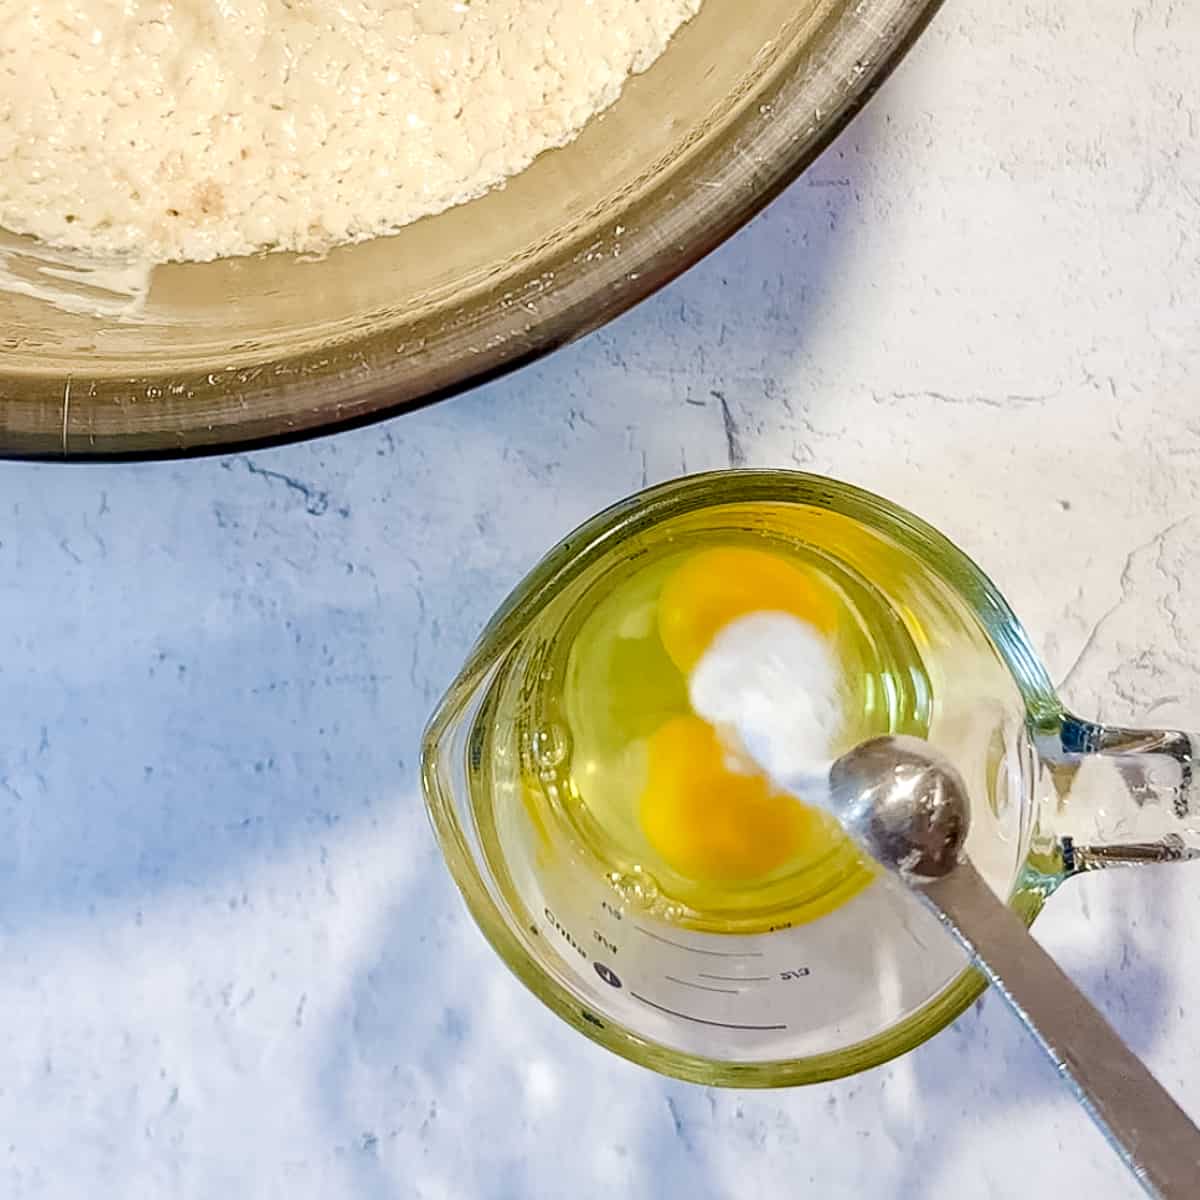
The next morning, place a wire rack into a large sheet pan and place in a 250°F oven. Whisk ¼ teaspoon of baking soda with 2 large eggs.
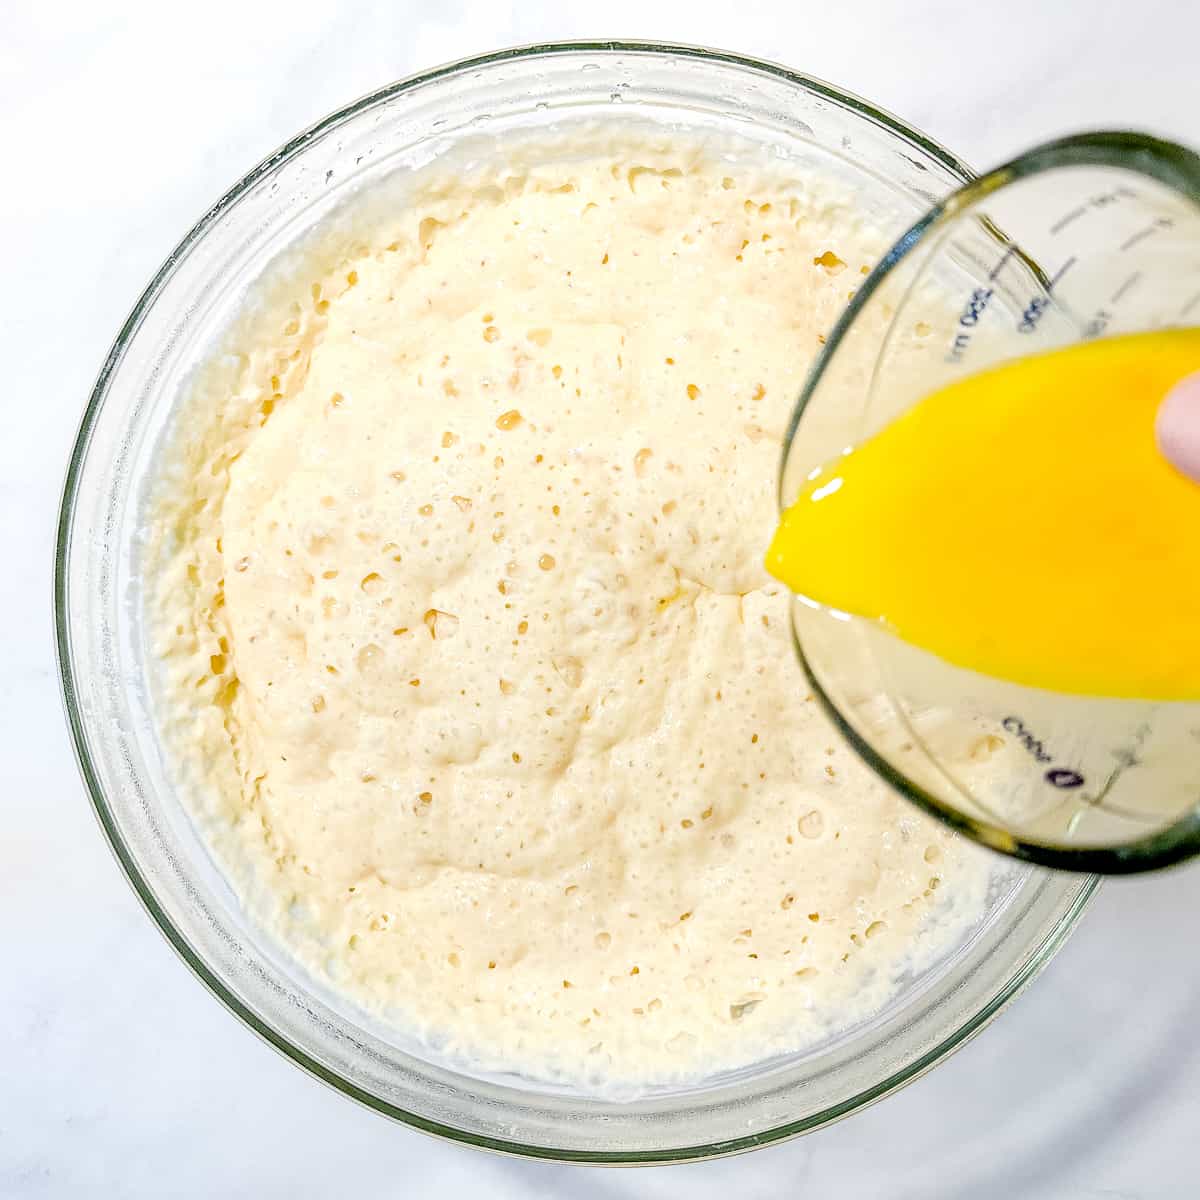
Add the eggs to the risen batter.
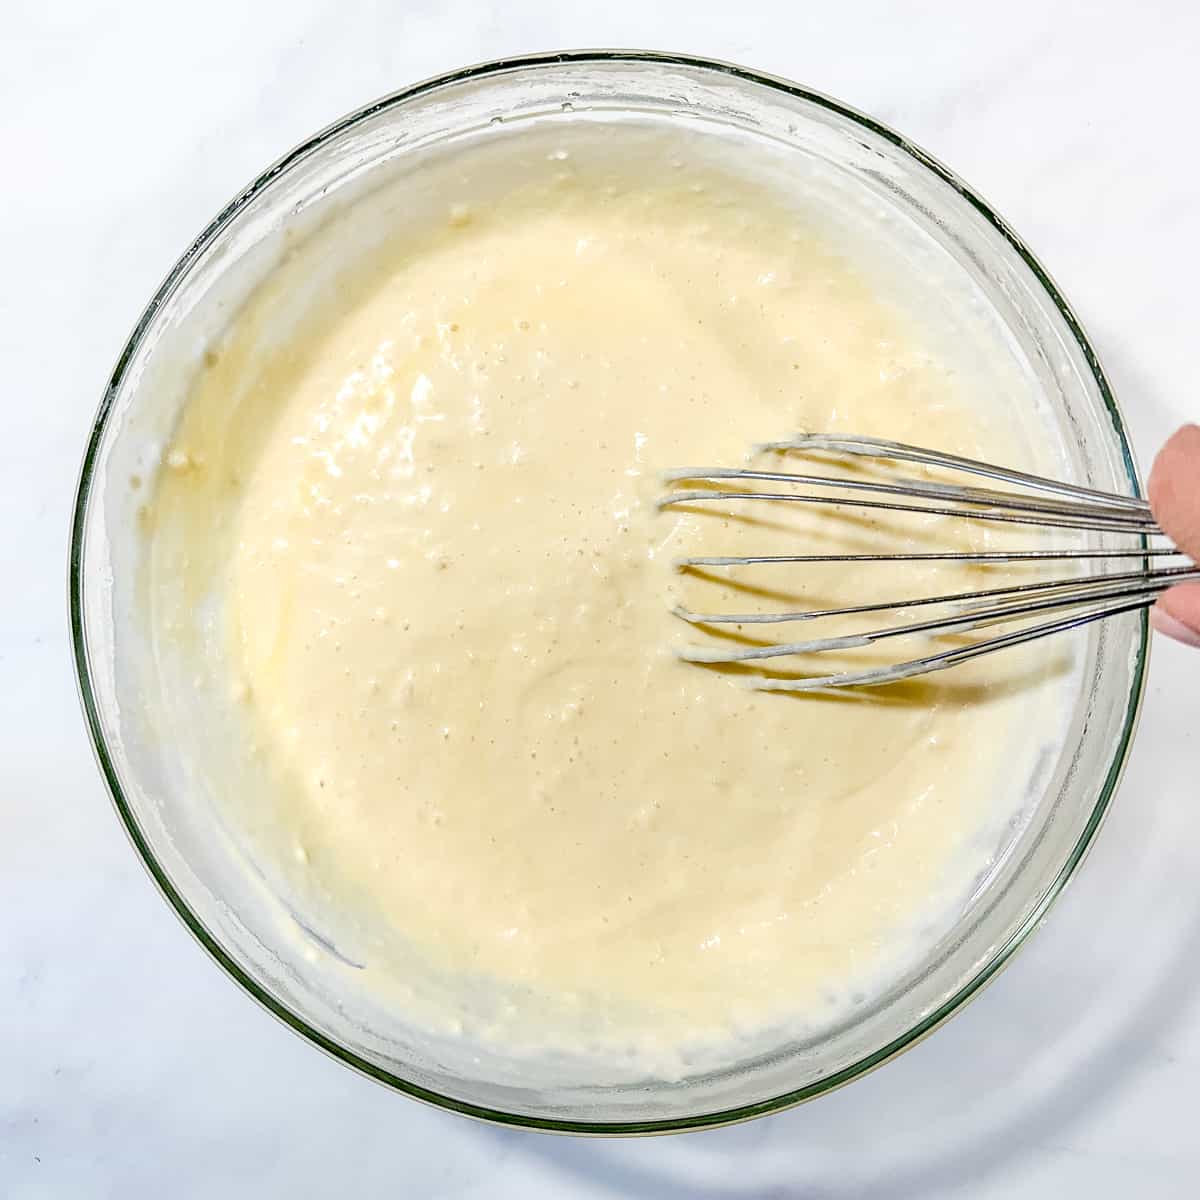
Whisk to combine. Heat waffle maker.
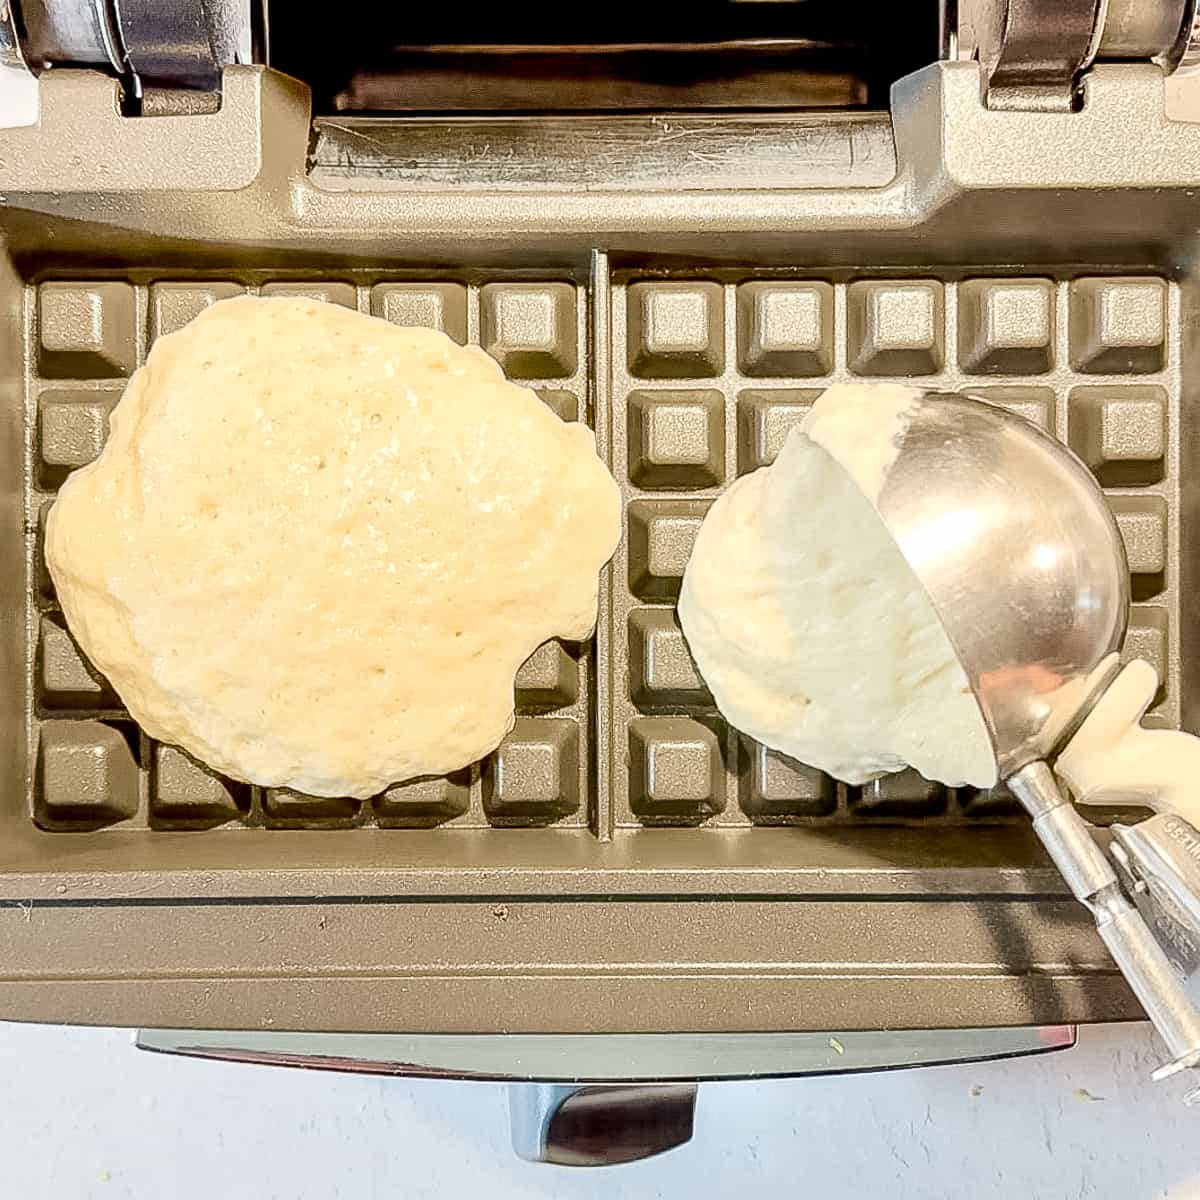
Portion between ⅓ and ½ cup of batter into each well, or the amount recommended for your waffle maker.
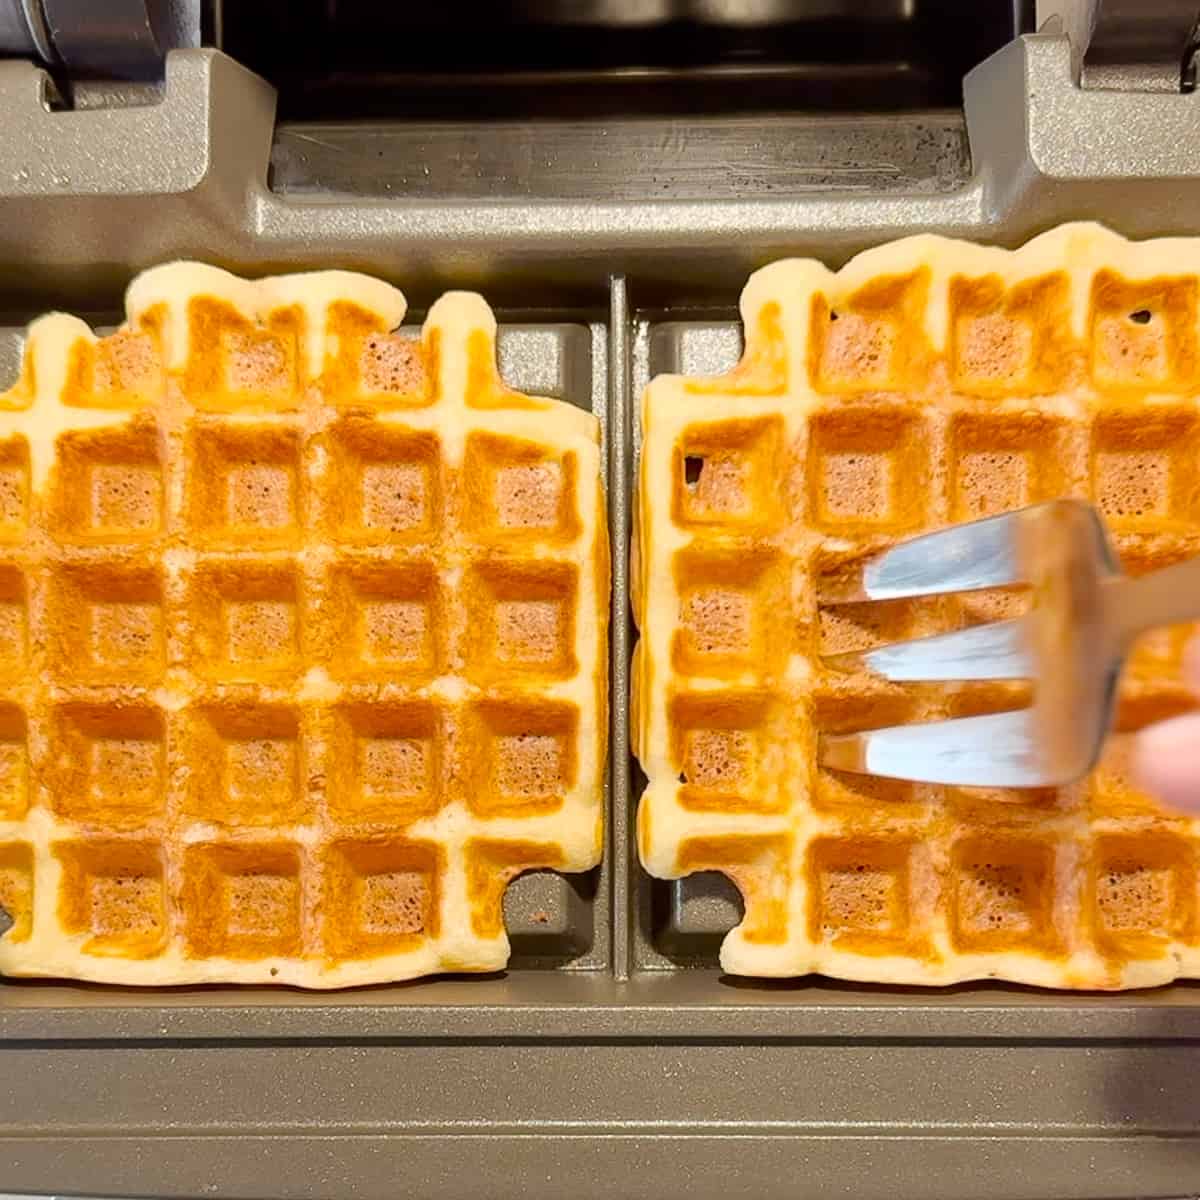
Cook for about 5 minutes, or until your indicator says they're done. Remove and place in oven to keep warm.
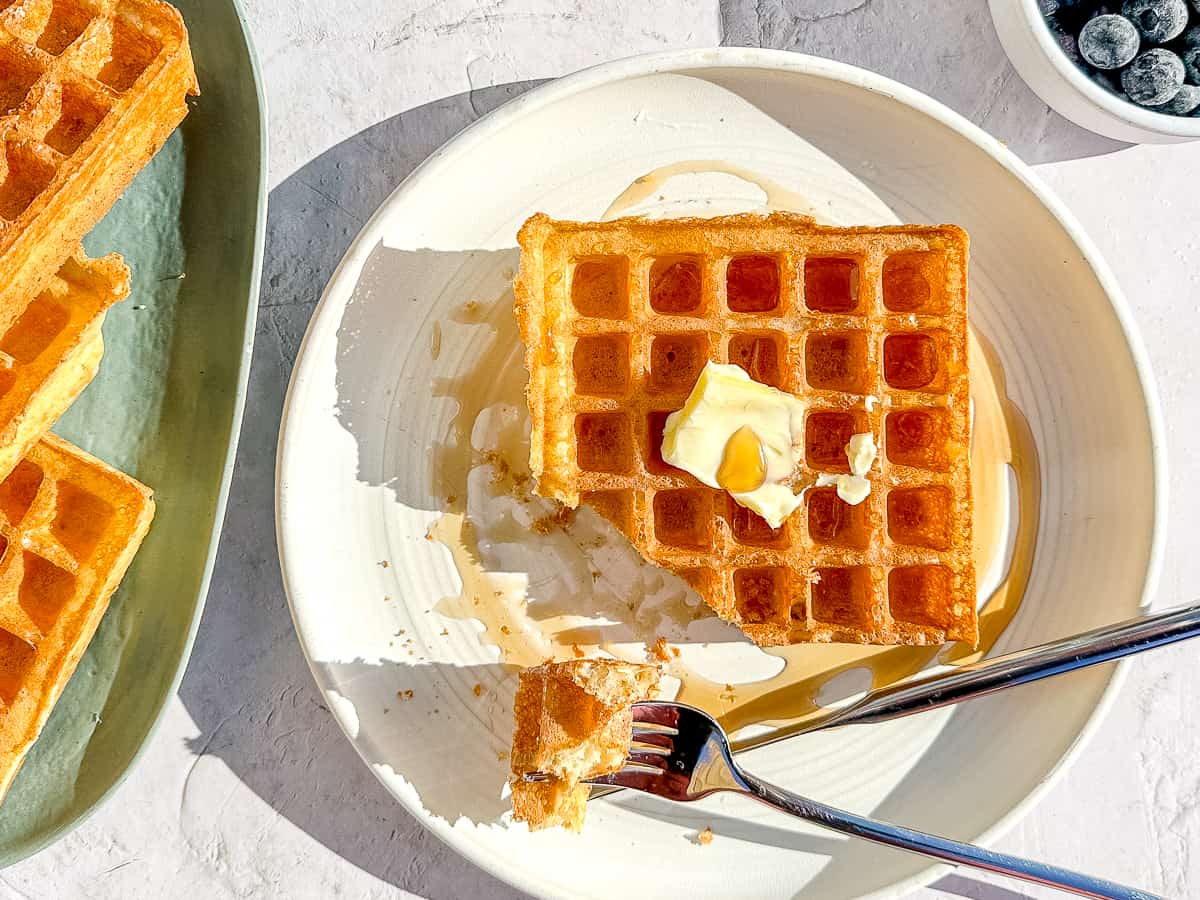
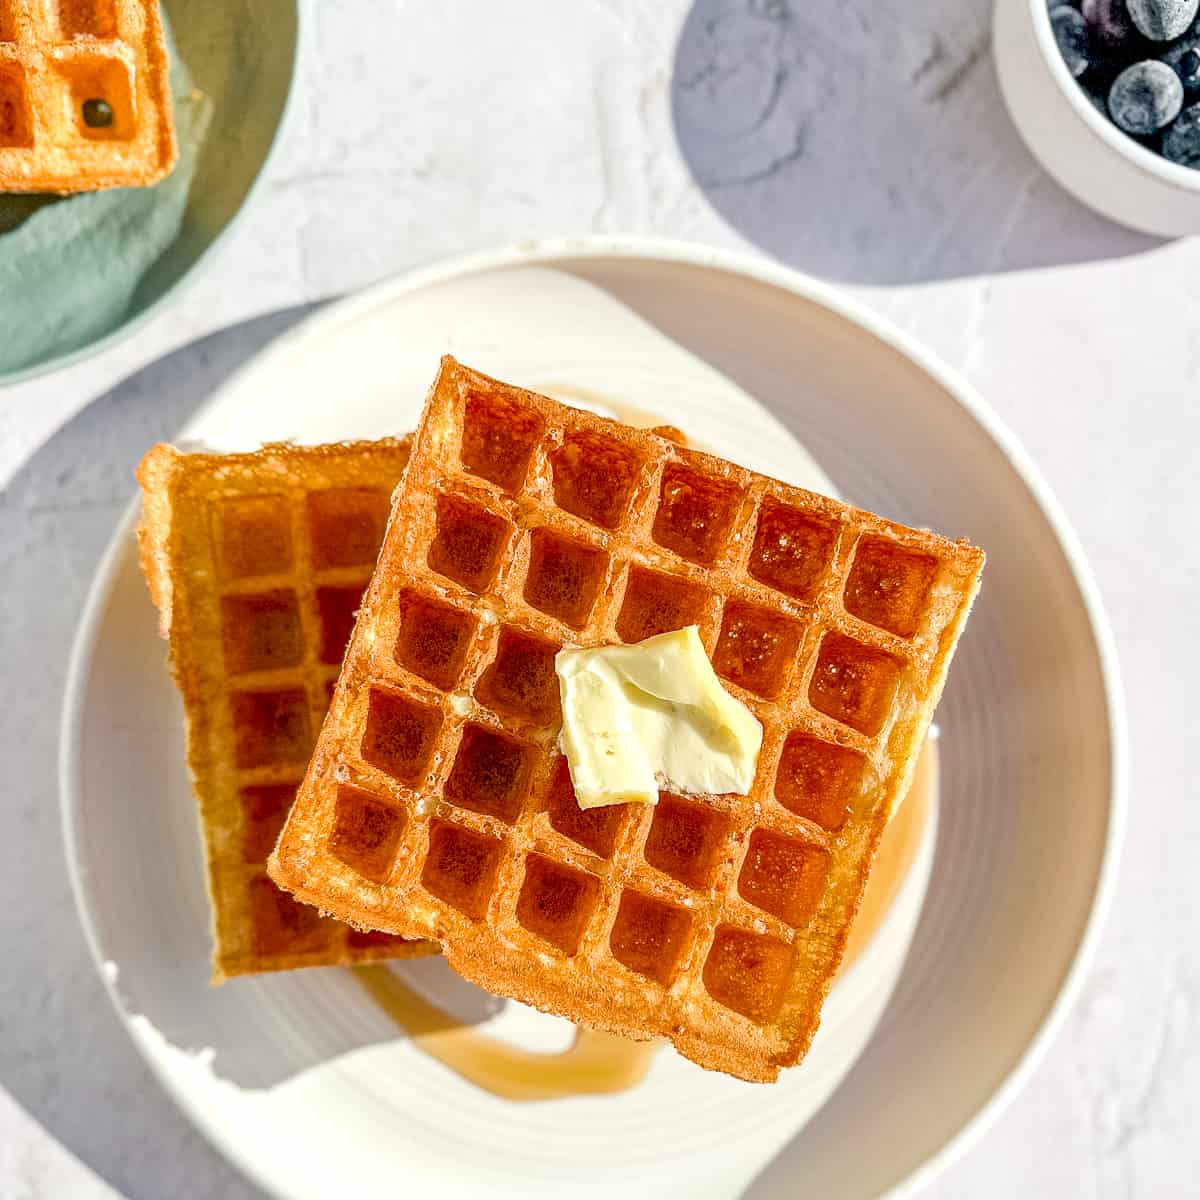
Serve with fruit, yogurt, whipped cream, syrup... whatever your heart desires. The world is your waffle!
Equipment
One thing to remember about waffles... you need a waffle maker. For years I had great luck, and great waffle memories, with my old reliable Black and Decker Waffle maker. It's less than $25 and really gets the job done.
That being said, seeing as I am a waffle connoisseur, an expert at waffles, after about 20 years I upgraded to the big guns. I got an All Clad Stainless Steel Belgian Waffle Maker that I absolutely adore. Your choice, but both are great. And with all the recipes on my blog for waffles, you'll definitely use them!
Expert tip
What's better than these light and crispy yeast waffles? Leftover waffles in the freezer for future you to enjoy! This recipe makes about eight waffles, but we can usually only eat four. I don't halve the recipe though. I cook four of them lighter and freeze them for up to a month. When I want last minute waffles, I just place them back into the waffle maker for a few minutes to heat them up. Yay me!
Try this side dish! For the perfect accompaniment, try my sweet and spicy Millionaire's Bacon, with maple syrup and the best warming spices!
Recipe FAQ's
Absolutely you can. Although the yeast flavor won't fully develop, they will still be delicious. After mixing your milk, butter, and vanilla into the batter, let it rise in a warm spot in your kitchen for about an hour. Proceed with the recipe as written after that.
Wrap each waffle individually in plastic wrap and then place all of them into a large zip top bag for up to a month.
Reheat by placing them in a toaster or back into the waffle maker for a few minutes.
More waffle recipes

Did you try this recipe?
Leave a comment with a ⭐️ rating below to tell me all about it, and don't forget to tag me on Instagram!
I appreciate you!
-Cynthia
📖 Recipe

Light and Crispy Yeast Waffles
Equipment
Ingredients
- 2 cups (240 g) all-purpose flour
- 2 tablespoons (24 g) granulated sugar
- 2 teaspoons (7 g) instant yeast
- ½ teaspoon kosher salt
- 1 ¾ cups (420 g) whole milk 90 to 100 degrees (lukewarm)
- 1 stick (113 g) unsalted butter melted and cooled
- 1 teaspoon vanilla extract
- 2 large large egg
- ¼ teaspoon baking soda
Instructions
- Warm milk to lukewarm or about 100° to 110°F. Combine flour, sugar, salt and instant yeast. Add milk, butter, and vanilla to the dry ingredients and whisk until smooth. Cover the bowl with plastic wrap and let stand overnight at room temperature.
- Just before cooking the waffles, whisk together the eggs and ¼ teaspoon of baking soda. Add to the batter and stir until well mixed.
- Preheat oven to 250°. Place a wire rack into a large sheet pan.
- Scoop or pour about ⅓ to ½ cup batter (or the amount recommended by your waffle maker manufacturer) into a preheated waffle iron. Cook the waffles until they are golden and crisp, about 4 to 6 minutes.
- Remove from the waffle maker and keep warm on the prepared sheet pan in the oven.




MT says
10/10 seriously! Making these again within 72 hours of the families introduction
Cynthia Christensen says
I’m so glad you loved them!