





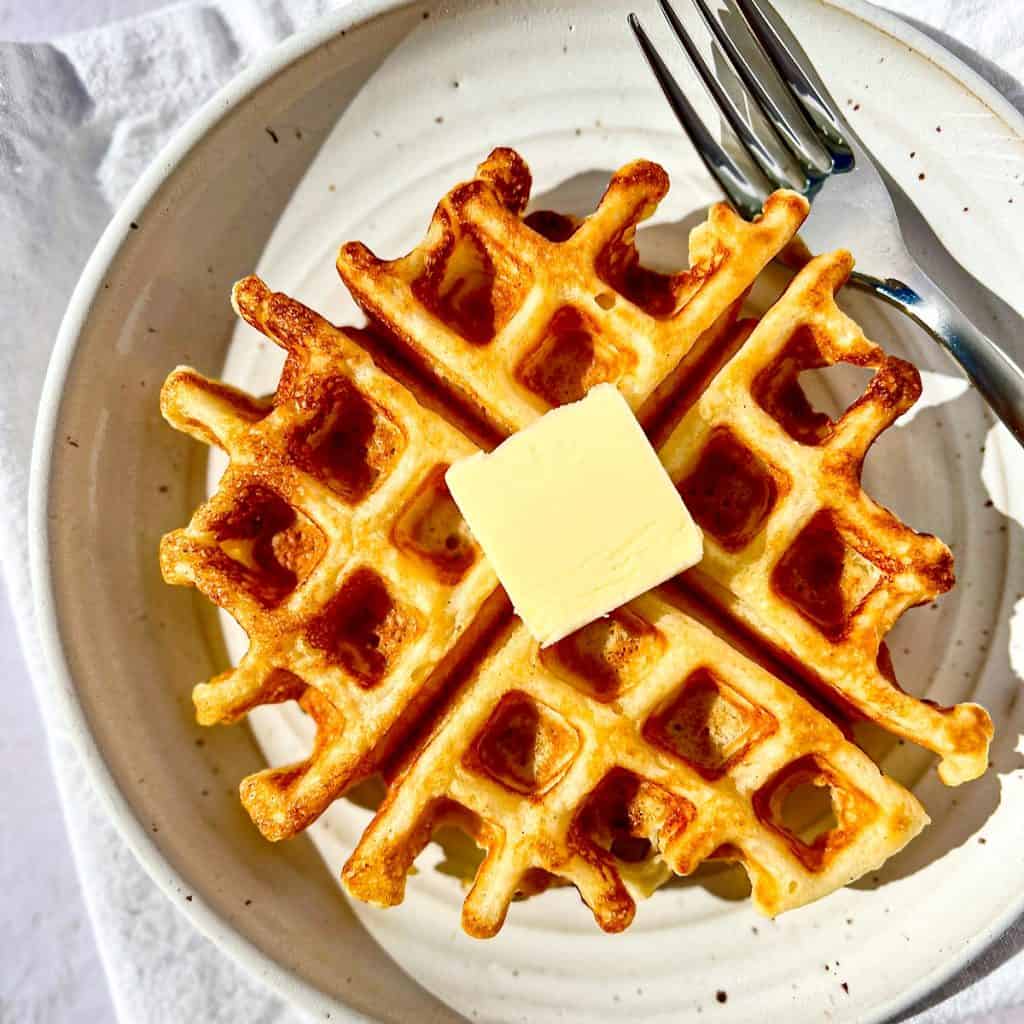
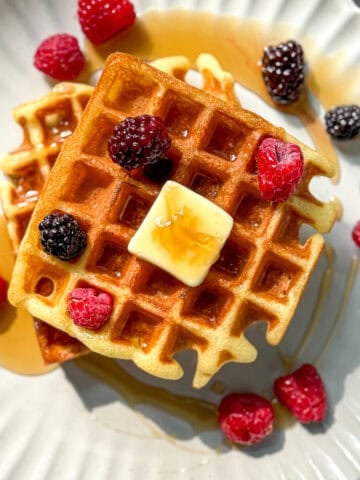
Crispy on the outside and fluffy on the inside, these Crispy Buttermilk Waffles are the best ever! Using pantry staples and your imagination, you can make an endless variety of waffles to start any day off right!
Save This Recipe! 💌
As a kid, breakfast followed a weekly schedule. Monday through Friday was cereal or Cream of Wheat. Saturday was scrambled eggs with Poppin' Fresh biscuits and sausage gravy. But Sundays... Sundays were for my Dad's Buttermilk Waffles!
Well, I'm all grown up and make my own waffles now, and I'm here to give you all the hot tips to the best waffles of your life. Over the years I've worked hard to develop the perfect waffle recipe, and with a few secret ingredients, I've finally done it!
❤️ Why you'll love this recipe
- Crispy Texture: Cornstarch creates golden, crunchy edges with a light, fluffy center.
- Simple Ingredients: Everything you need is likely already in your pantry.
- Reliable Results: This recipe cooks evenly and delivers consistent waffles every time.
- Versatile: Perfect for sweet toppings, savory add-ins, or make-ahead breakfasts.
- Crowd Friendly: Great for weekend brunch or freezing for busy weekday mornings.
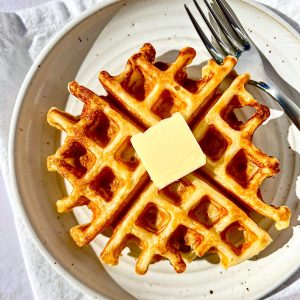
A classic buttermilk waffle recipe with a crisp, golden exterior and fluffy center, thanks to a simple pantry swap.
If you love the tang and tenderness of classic buttermilk waffles, try my cornmeal waffles next. They have the same breakfast comfort with golden, crisp edges and a little extra texture from fine cornmeal.
Ingredients & Substitutions
Easy to find pantry basics are all you need to make these delicious buttermilk waffles. Let's go over the major players and how you can make any swaps if needed:
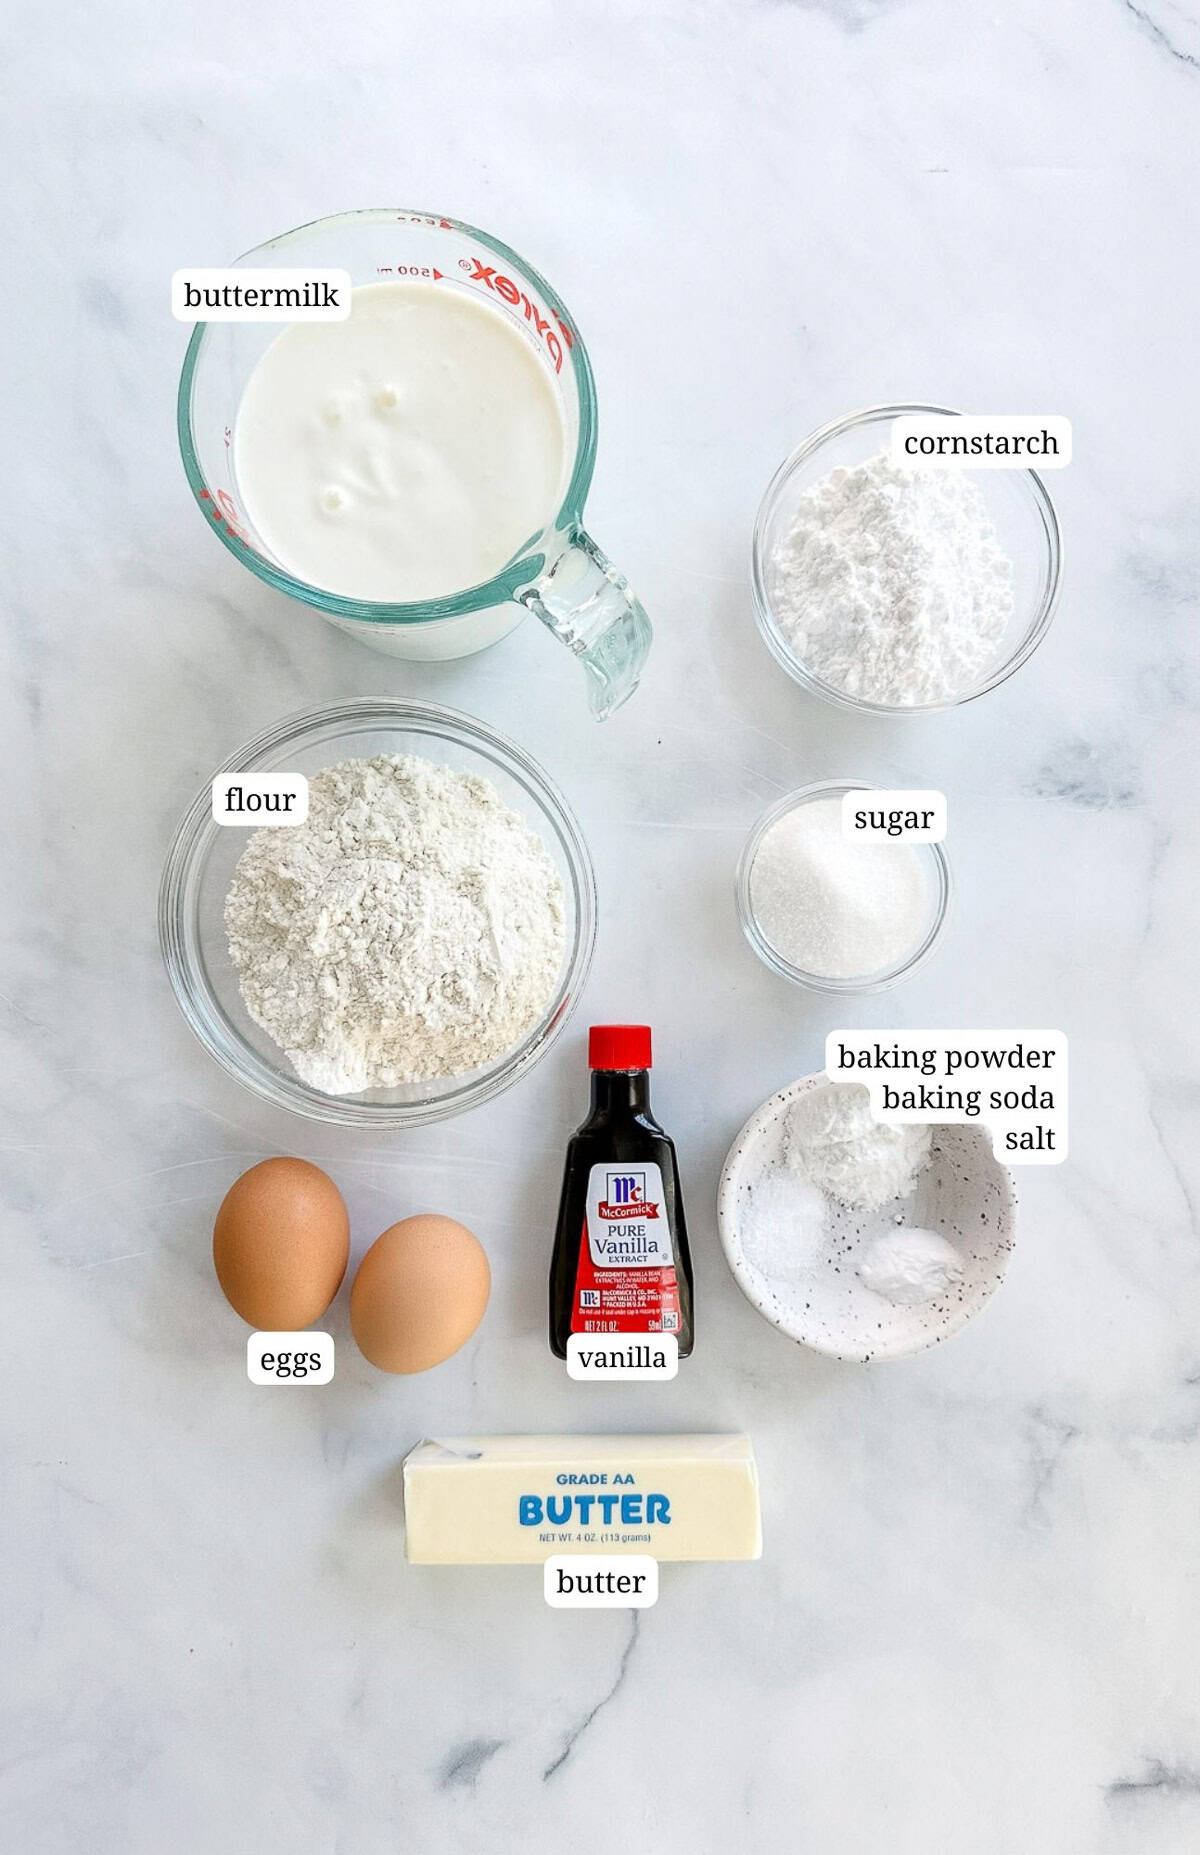
- All-purpose flour: No fancy flours needed. All-purpose flour provides the right structure and texture for waffles that hold up to add-ins without turning dense. For extra tender waffles, you can replace all or part of the flour with cake flour.
- Cornstarch: My first secret ingredient and the key to crispy waffles. Replacing part of the flour with cornstarch creates a light, crunchy exterior that stays crisp even as the waffles cool. Do not skip it.
- Butter and oil: Butter adds flavor, while oil keeps the waffles moist inside, even after they cool. This combination gives you the best texture and taste. Neutral oils like vegetable or canola work best.
- Sugar: Just a bit of sugar adds a hint of sweetness to your waffle and also helps with browning. You can use light or dark brown sugar if you want a waffle with a little more depth of flavor.
- Baking powder and baking soda: The leavening agents work not only to give rise and fluffiness to your waffles, but also contribute to the golden waffle color!
- Buttermilk: I am a tremendous fan of buttermilk. It might be from growing up in the South. where buttermilk is so commonly used, but I also love the tang and the tenderness that buttermilk brings to foods. I use it for everything from my buttermilk biscuits, to muffins, to the chicken in my Korean fried chicken and waffles. Try it yourself and I think you'll be a buttermilk convert. Kefir or yogurt thinned with milk are good substitutes.
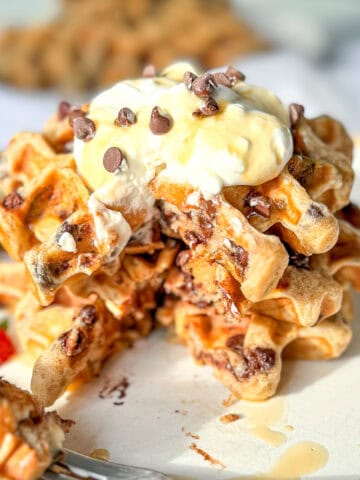
- Add-ins: This recipe welcomes creativity. Chocolate chips, jam swirls, berries, cheese, or savory mix-ins all work well. Keep total add-ins to about one cup so the batter cooks evenly.
Cynthia's Recipe Review
These buttermilk waffles are crispy, light, and never soggy. The cornstarch makes all the difference, giving them that perfect crunch on the outside while staying fluffy inside. This is the waffle recipe I make when I want big smiles at the breakfast table!

Gluten-free family? Do you have someone who is eating gluten-free? Try making my mochi waffles, using sweet rice flour. Ultra crispy on the outside and super chewy on the inside - they are an amazing waffle experience!
Instructions
Making waffles is similar to, but even easier than making muffins. Whisk your dry ingredients, Whisk your wet ingredients, and combine. Let's do this!
- Prep: Start by placing a wire rack into a large sheet pan and preheating your oven to 250°F. Melt your butter and add vegetable oil and set aside.
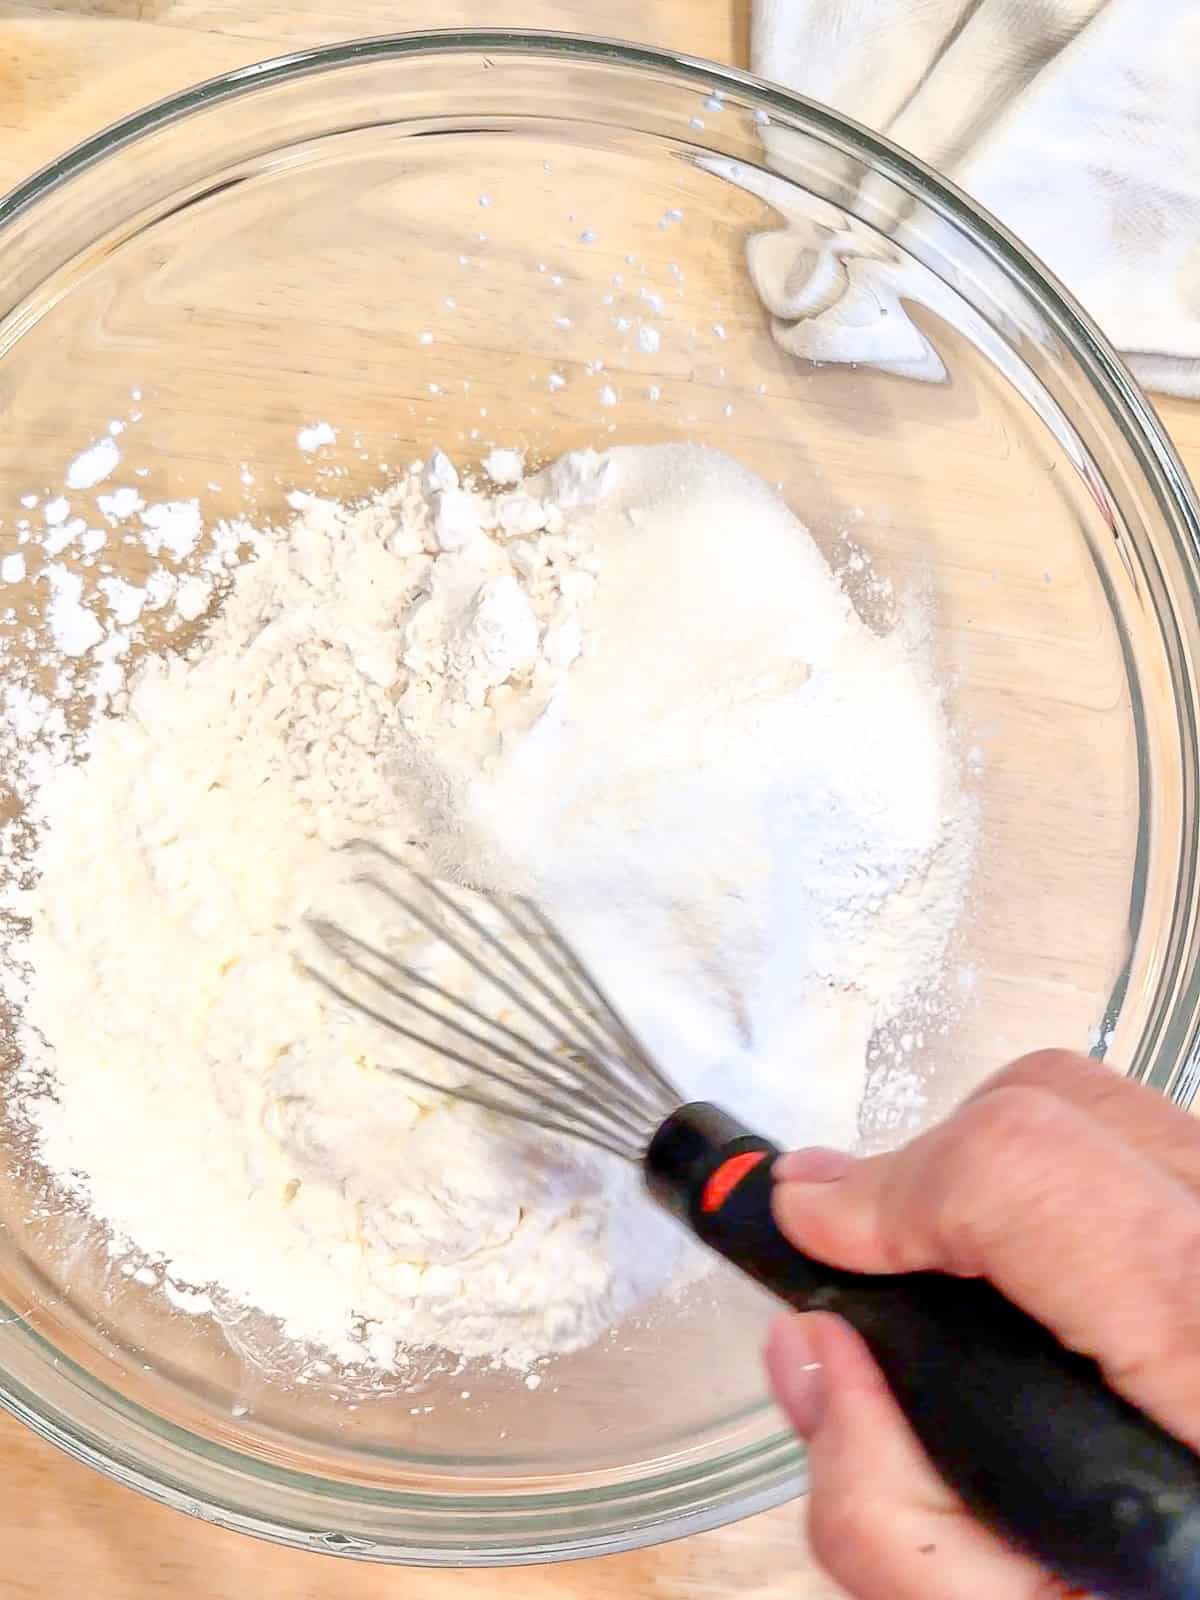
Step 1: In a medium bowl, whisk together flour, cornstarch, sugar, baking powder, baking soda, and salt.
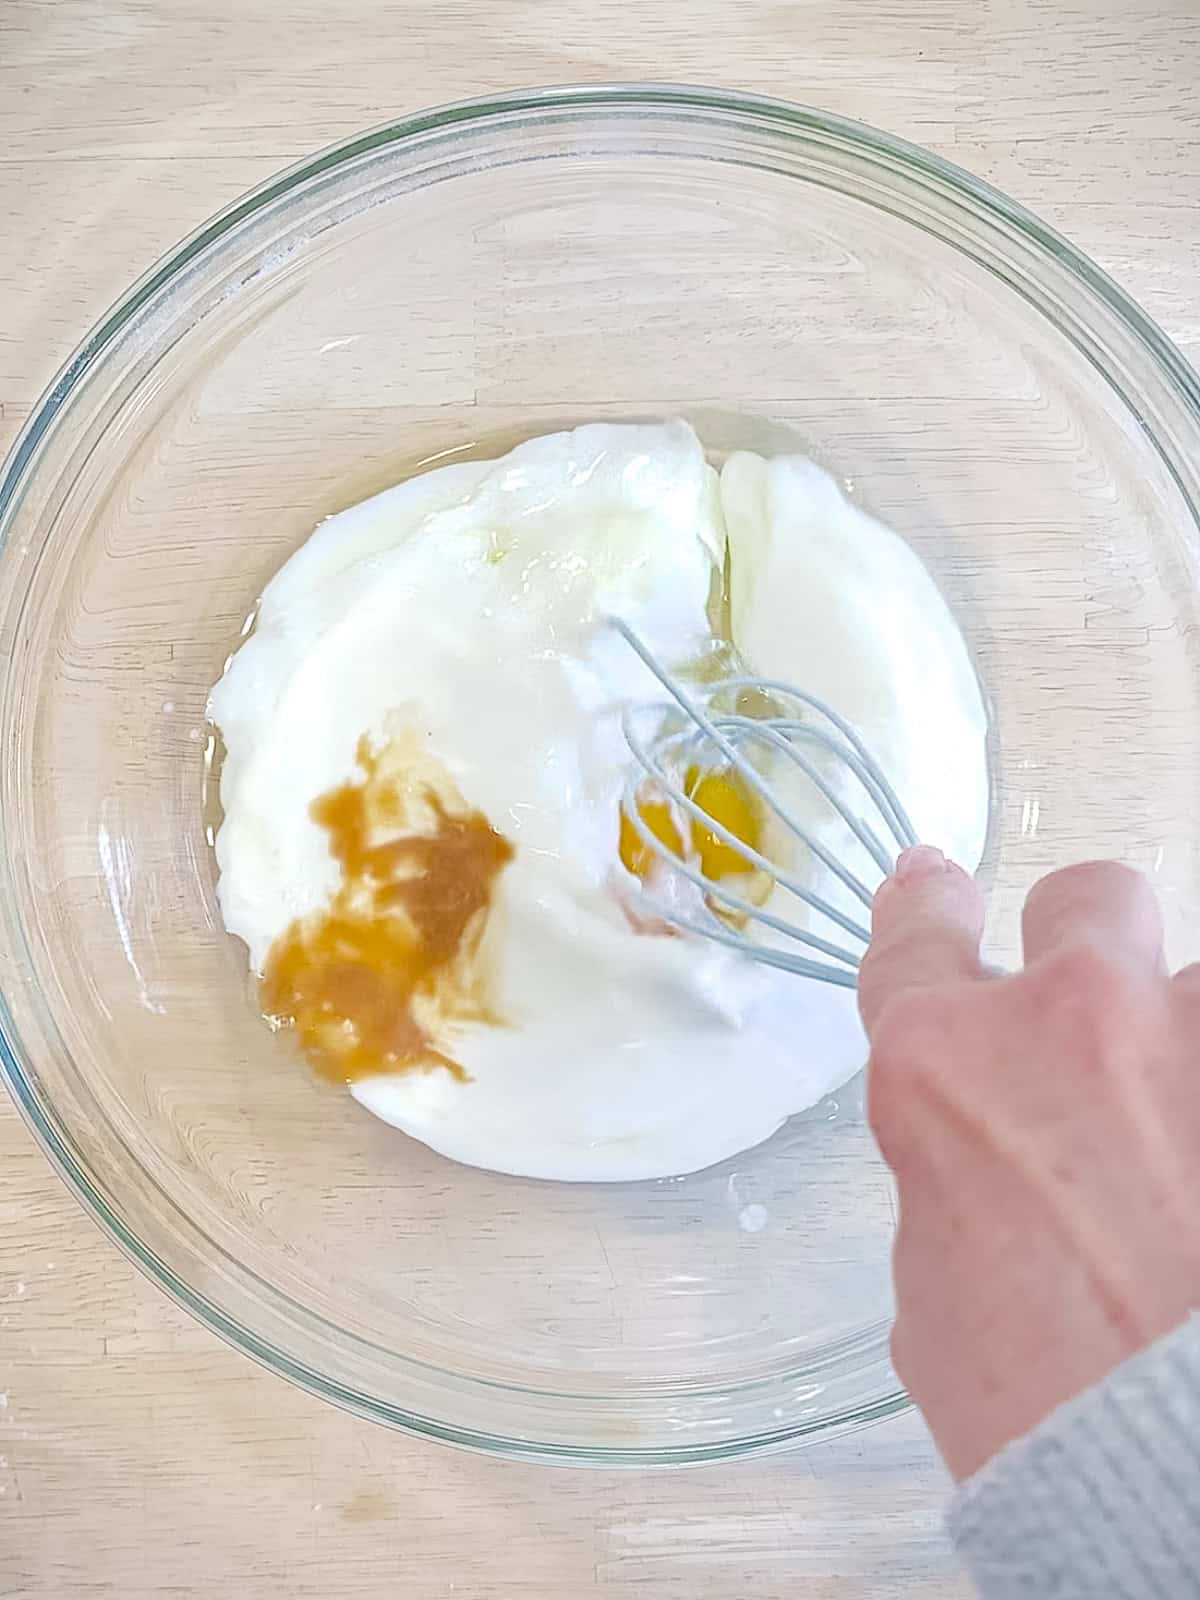
Step 2: In a separate bowl, whisk buttermilk, vegetable oil, eggs, and vanilla extract.
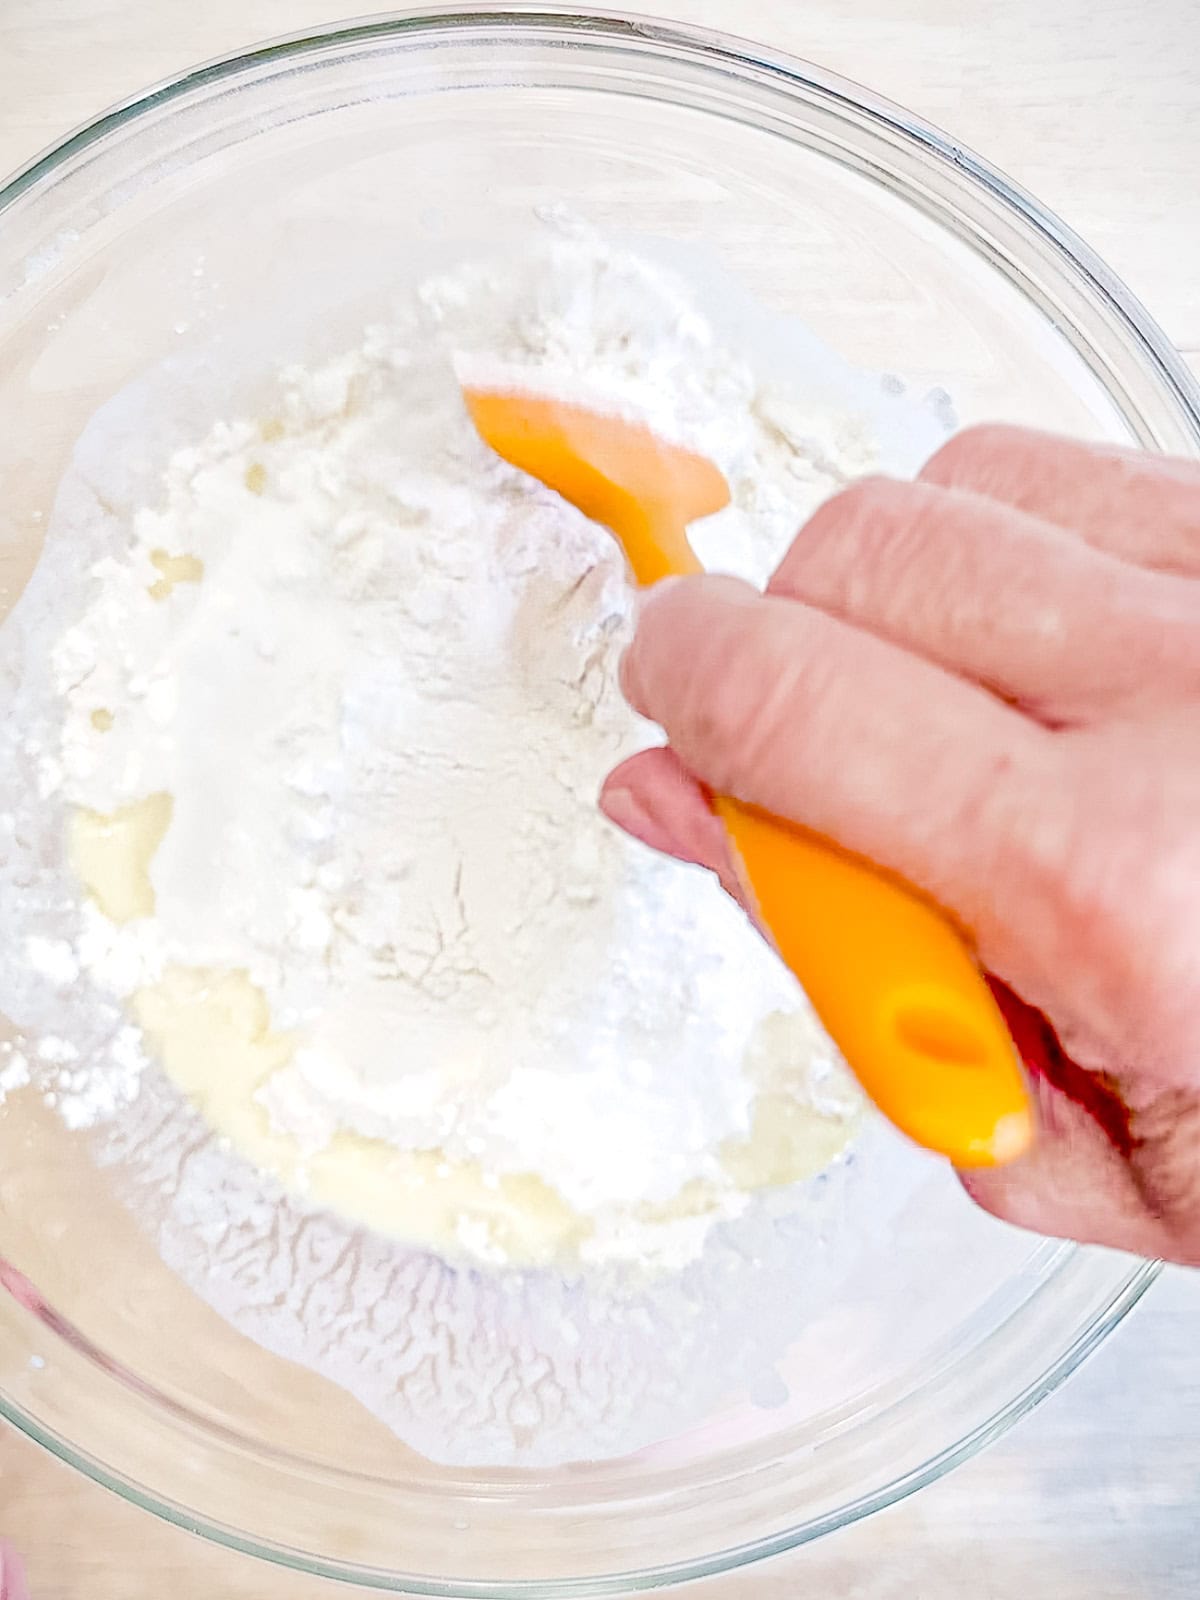
Step 3: Lightly fold the wet ingredients into the flour mixture, but don't over-mix. Leave it half mixed at this point.
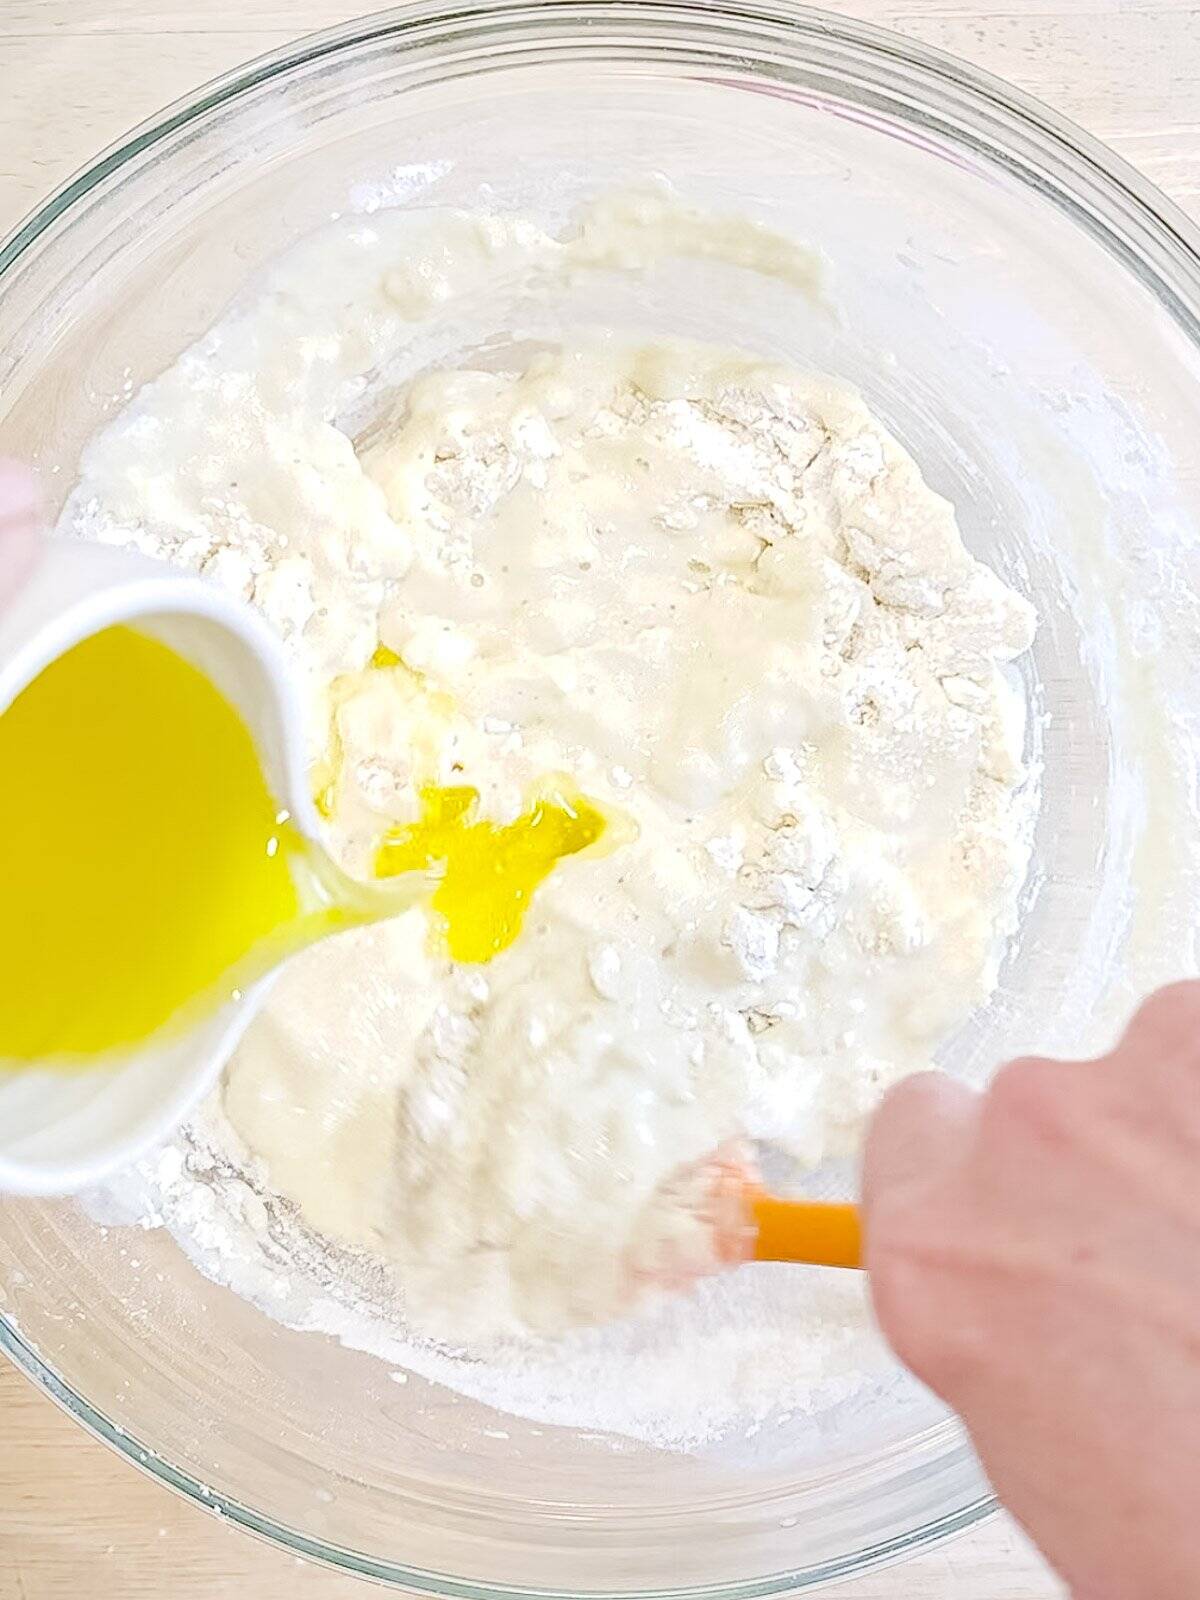
Step 4: Drizzle in the melted butter and oil while you finish mixing the batter. Doing it now keeps the butter from solidifying and allows it to fully incorporate into the batter. This is also when you would add any add-ins, such as chocolate chips, bacon, cheese, etc.
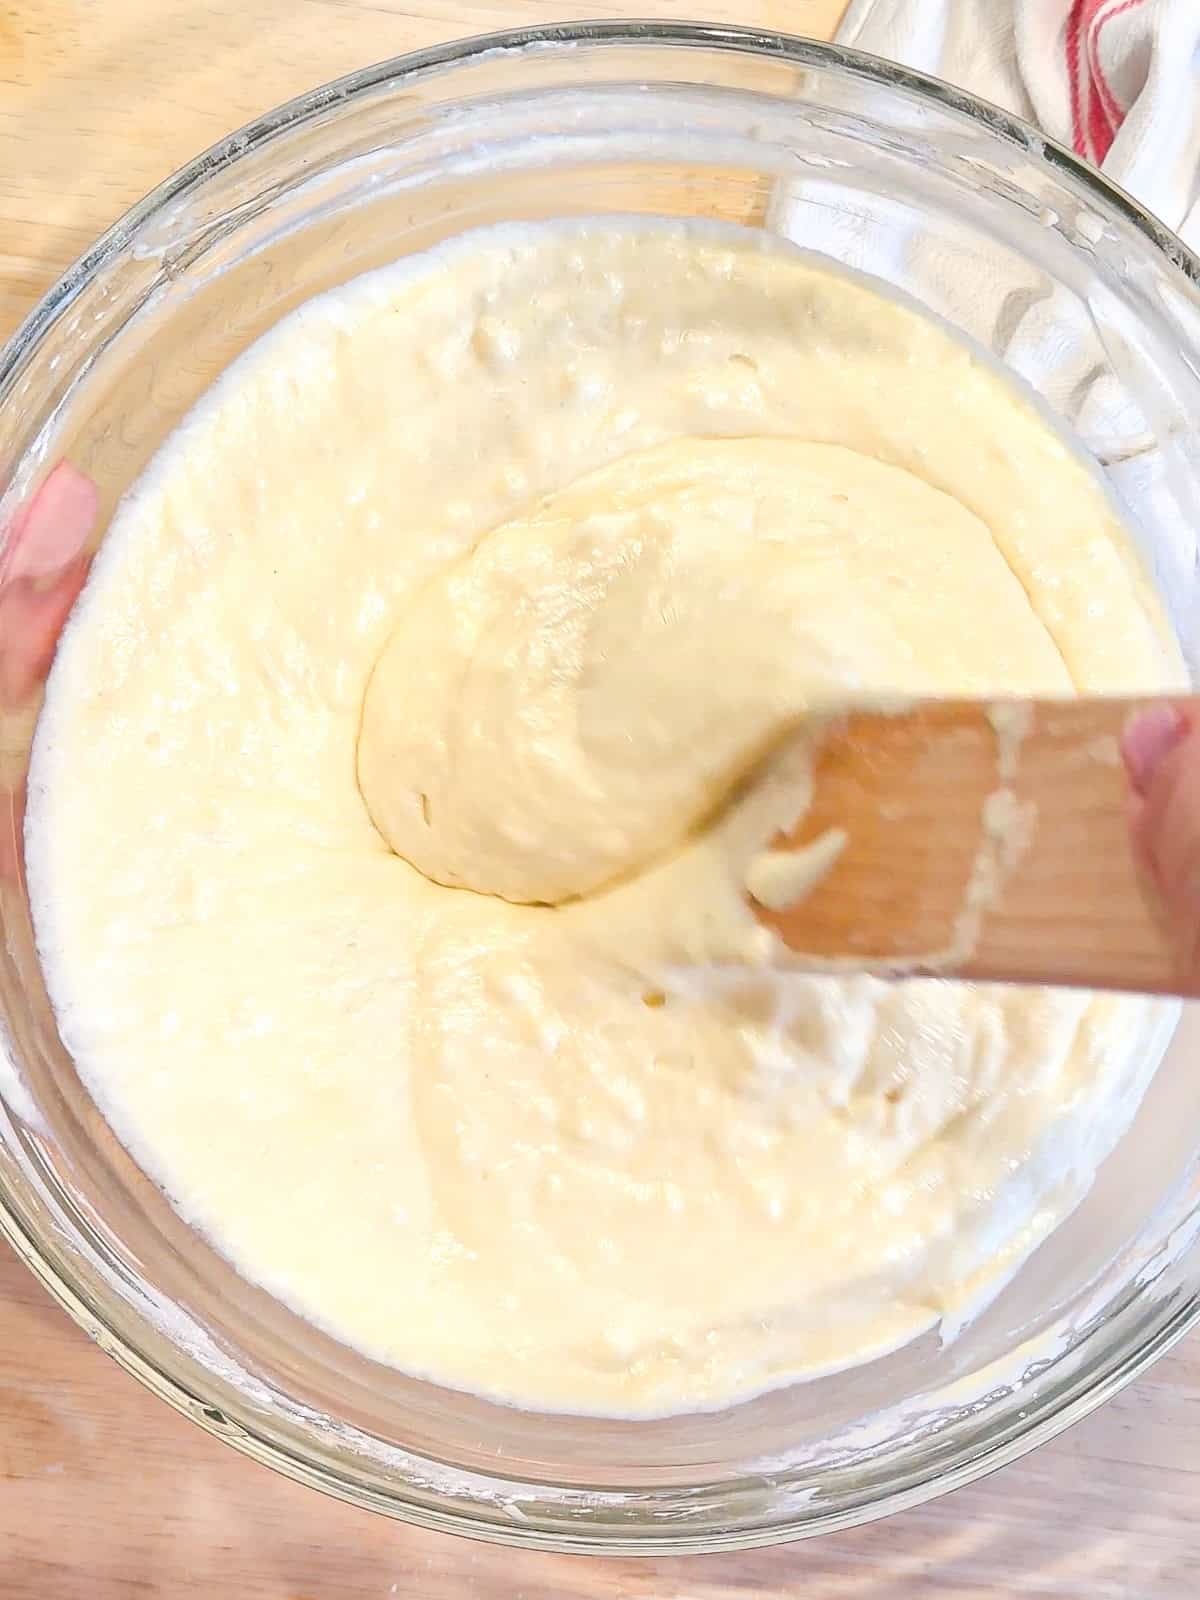
Step 5: Allow the batter to rest for 10 to 15 minutes. This gives time for complete hydration of the batter to take place and for any gluten, that you might have developed in mixing the batter, to relax. Most of the lumps will smooth out as well. Heat up your waffle maker during this short rest time.
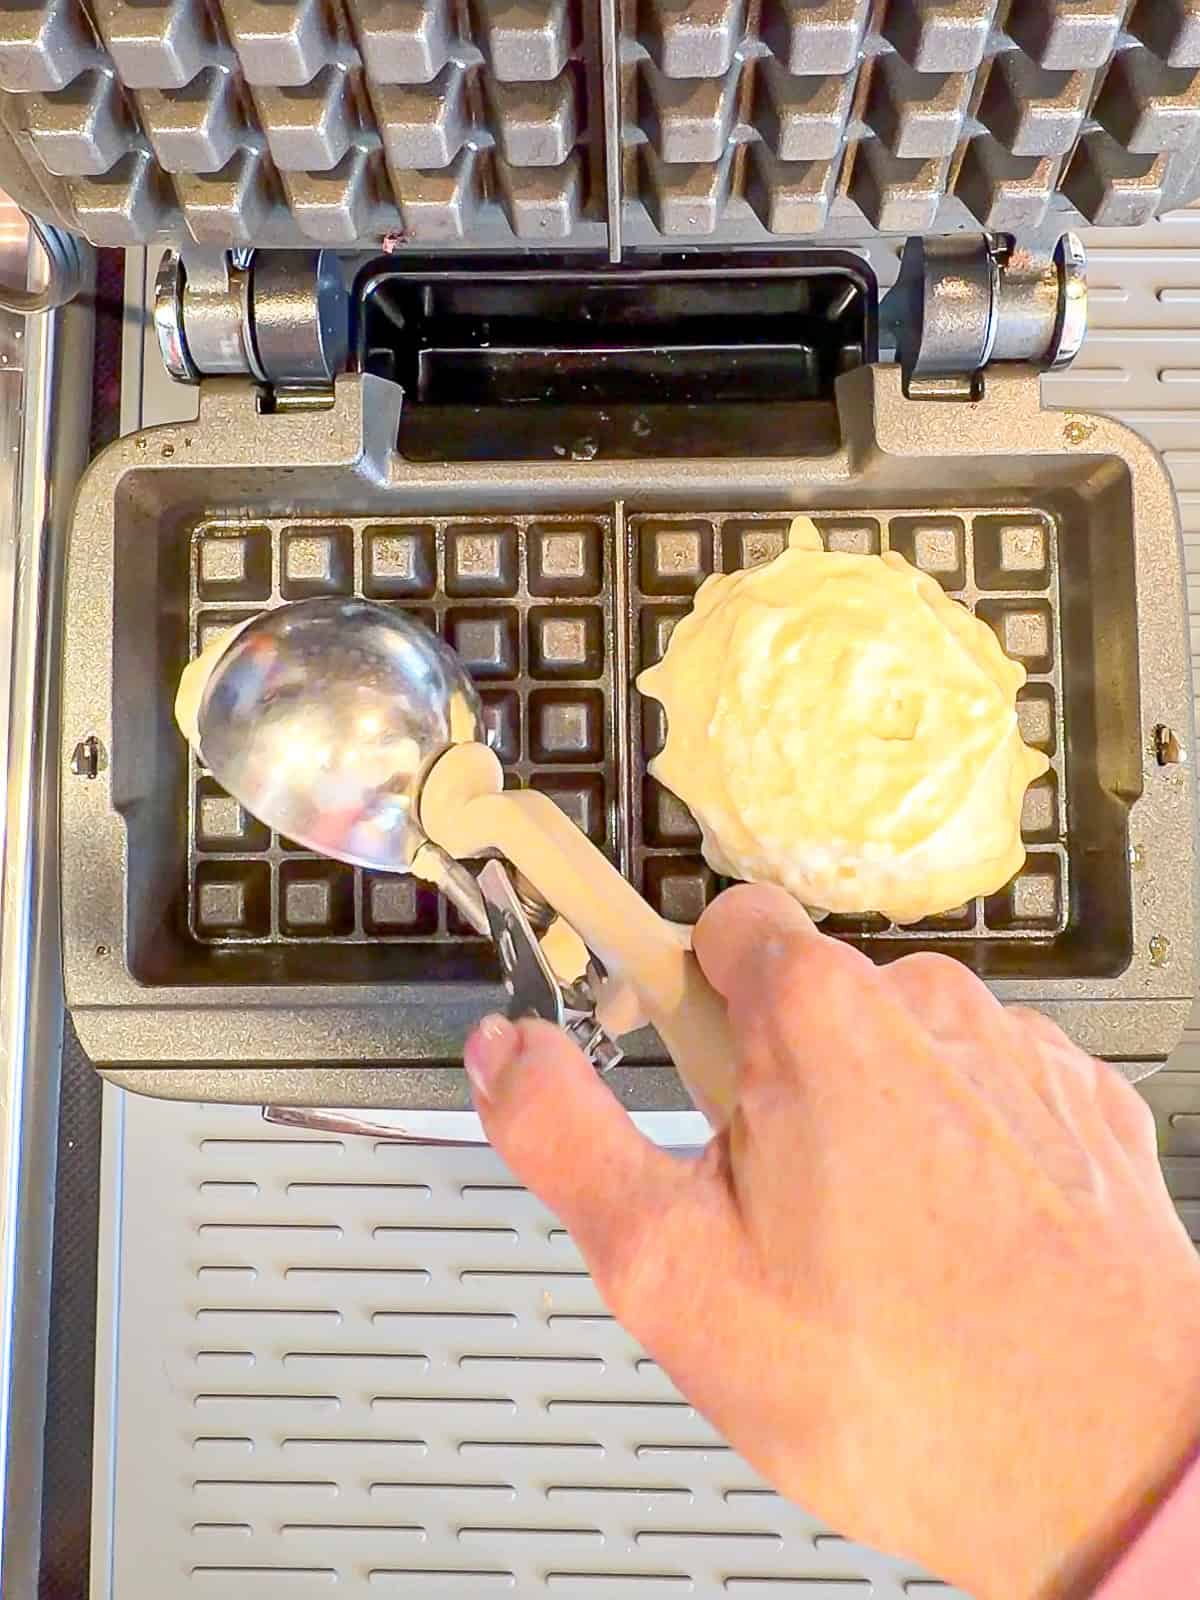
Step 6: To avoid drips, I like to use a large scoop to drop batter into my waffle maker. You can also use a measuring cup to ensure even portioning. Follow your manufacturer's directions as to how much your machine holds.
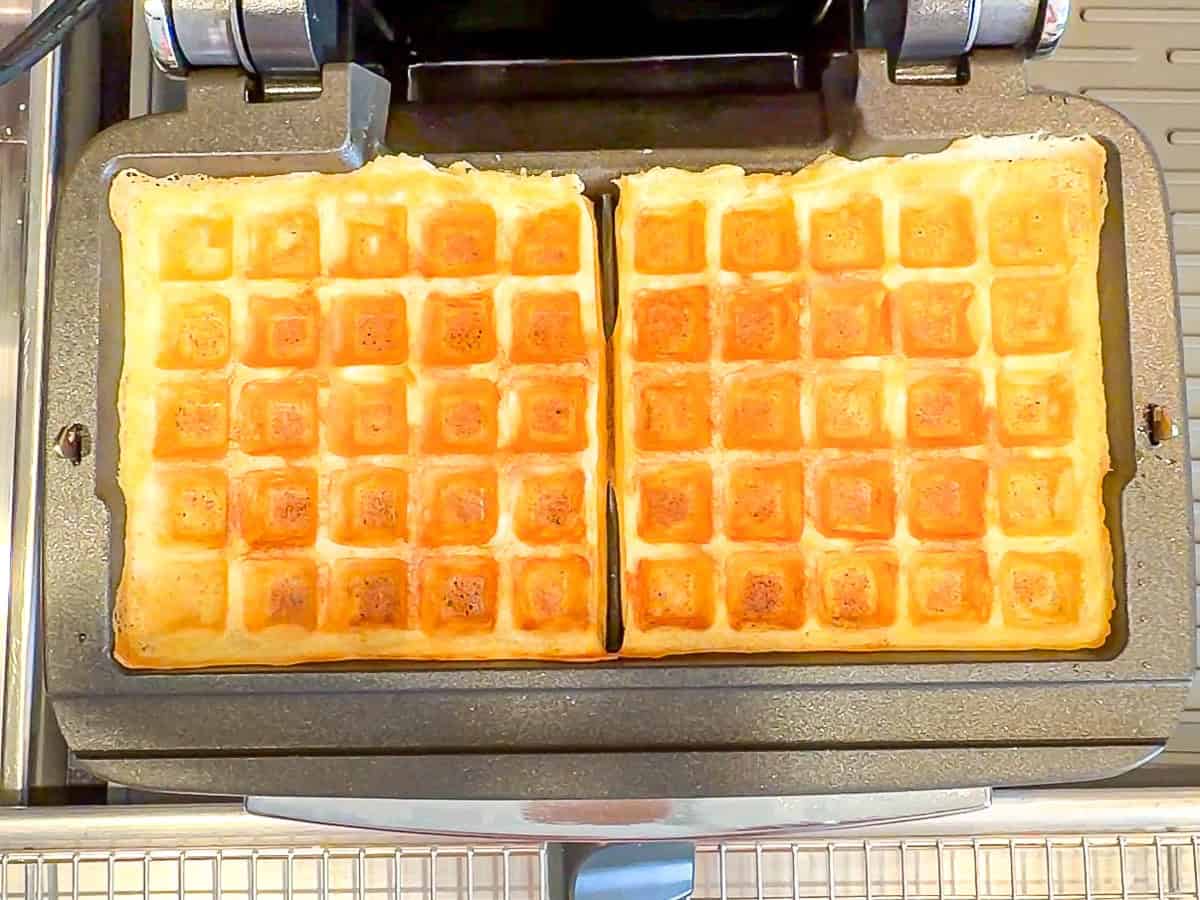
Place in oven: The final secret ingredient is time! A freshly cooked waffle is steaming hot and steam is the crisp killer! While the cornstarch definitely adds crispness to your waffle, placing the finished waffles in a 250° oven for 5-10 minutes to dry out the exterior will reinforce that crisp!
Brunch for a bunch These waffles are one of the recipes I recommend to feed a crowd. Perfect for large buffet brunches to satisfy any and all appetites!
Variations
Now that you've learned all about making crispy buttermilk waffles, it's time to put your knowledge to work. Your waffle variations will be limited only by your imagination! I like to serve mine simply, with a fresh berry salad on the side, but I encourage you to make these waffles your own, here are a few ideas to get you started:
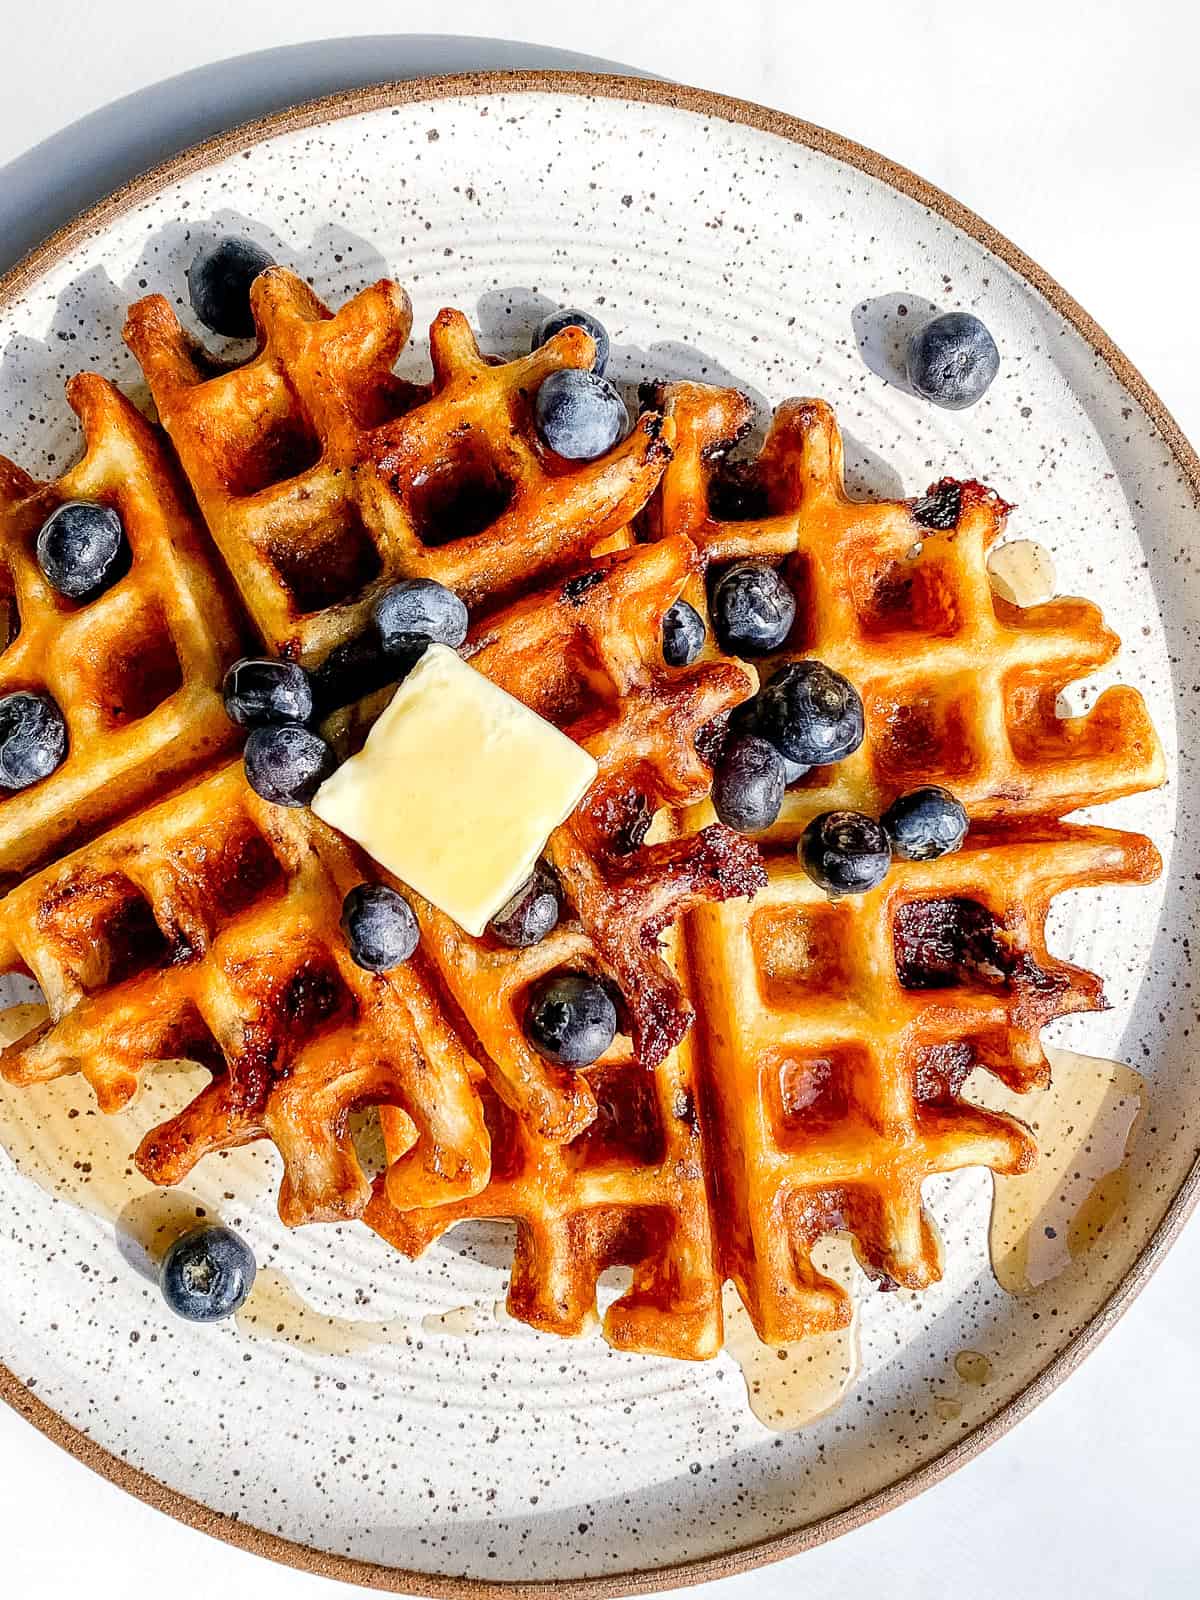
Lemon Ricotta Blueberry Swirl Waffles Replacing part of the buttermilk with rich ricotta, and adding zingy lemon, gives you the lightest and most moist waffles around. Swirling blueberry jam into the batter? Unforgettable!
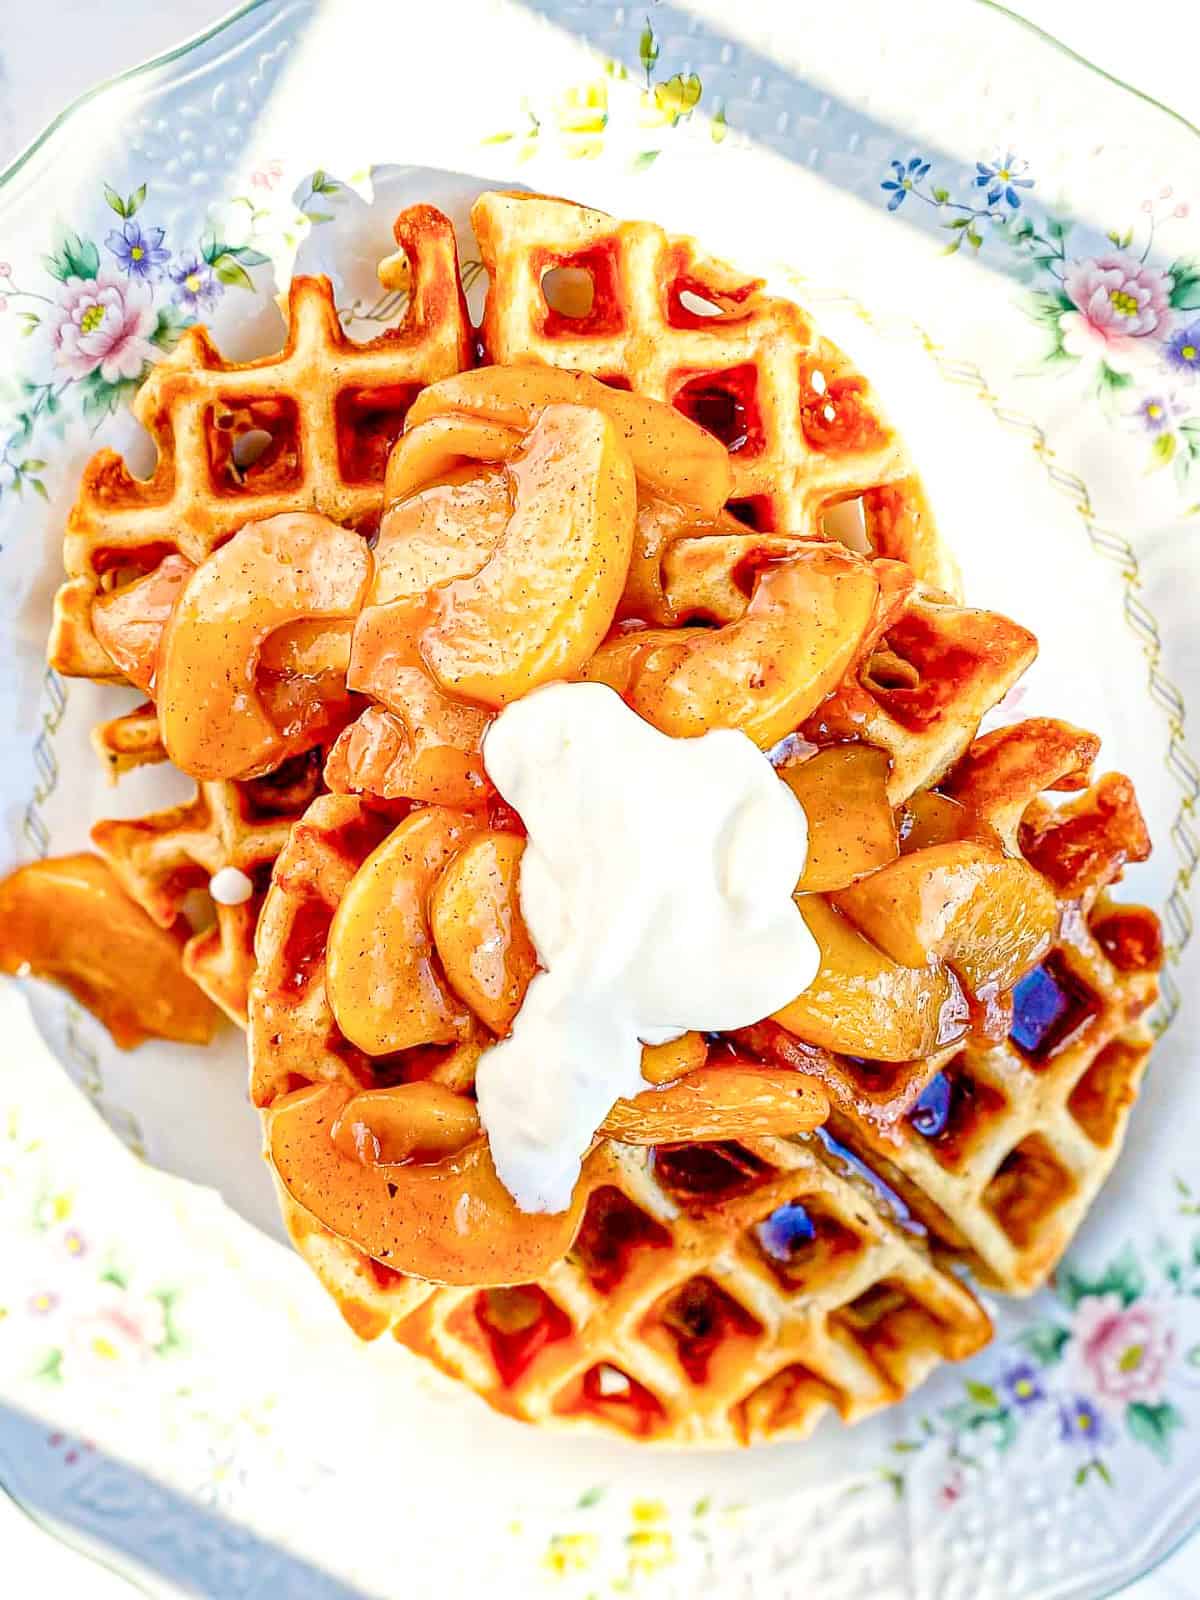
Chai Spiced Waffles with Maple Cinnamon Apples Adding warm chai spices to your waffle batter and then topping them with maple cinnamon apples will give you all the Fall feels any time of year!
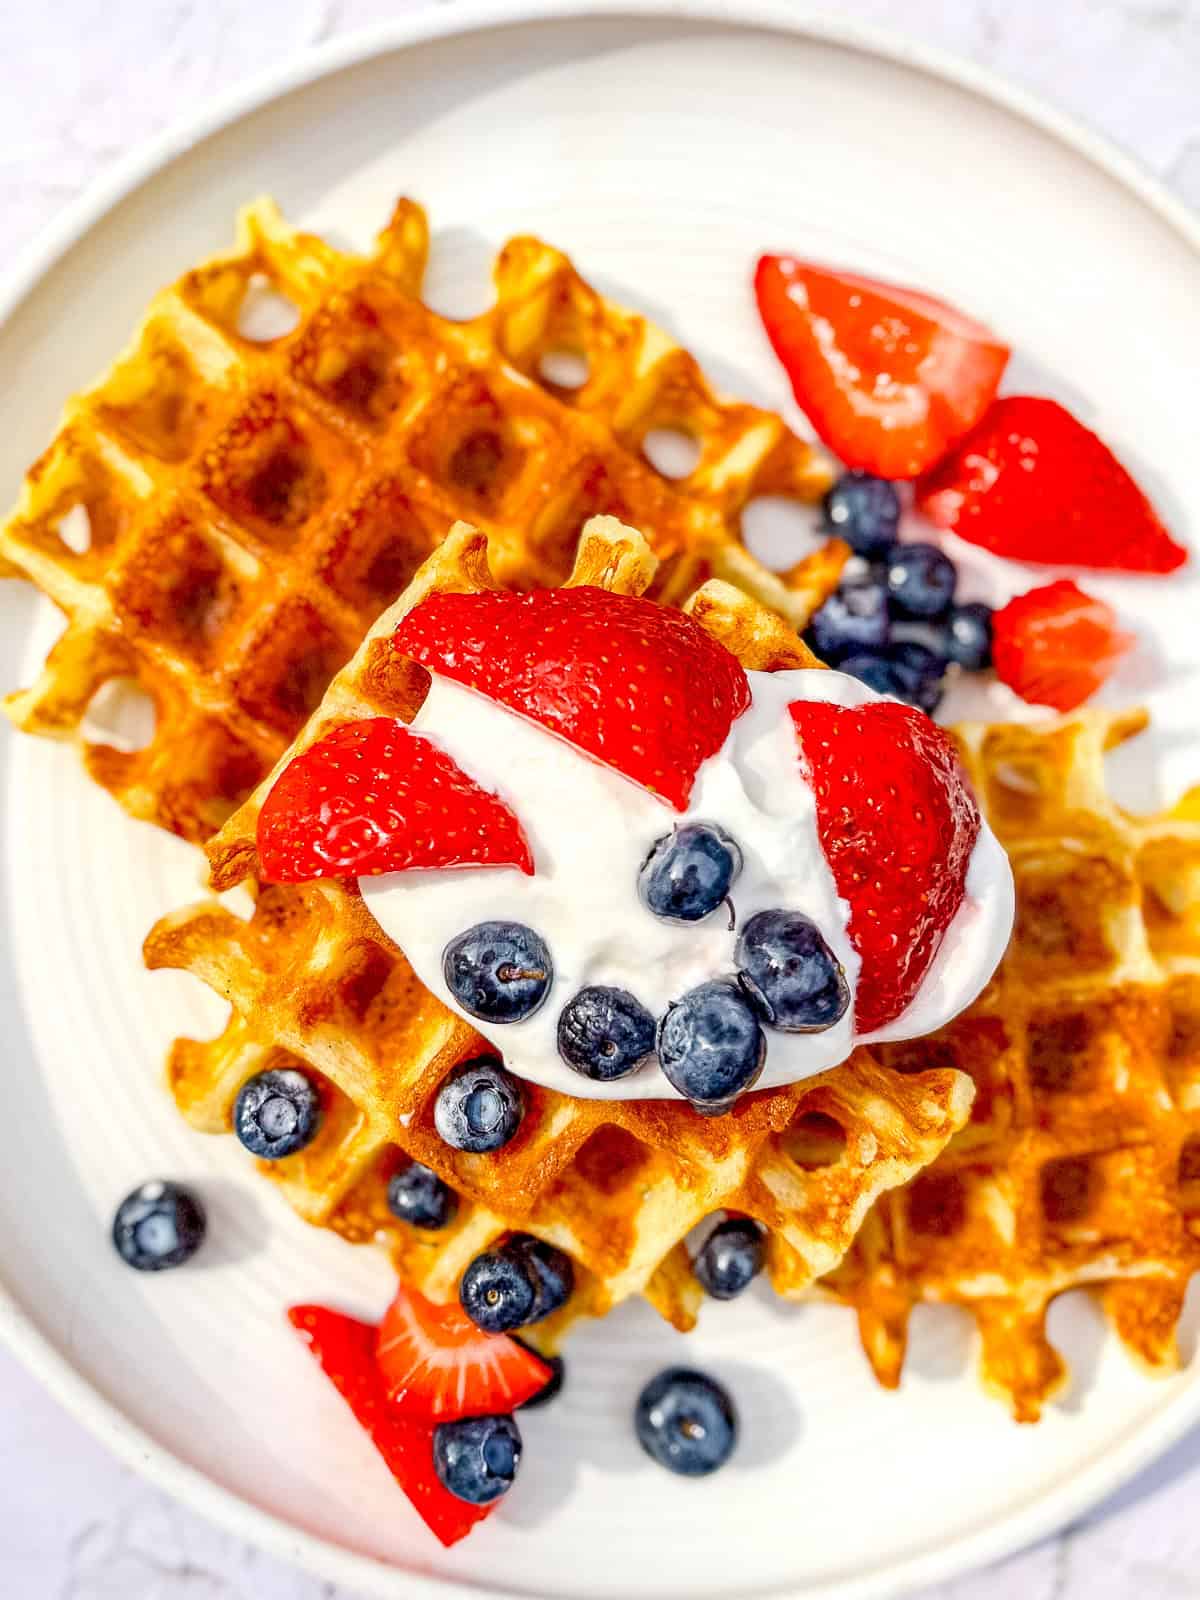
Cornmeal waffles There's something about the extra crunch of cornmeal in a waffle that gets me every time! Just replace the cornstarch with ½ cup of cornmeal to give a cornbread vibe to your waffle. Perfect with fresh fruit and maple syrup, and amazing with jalapeño and cheddar too!
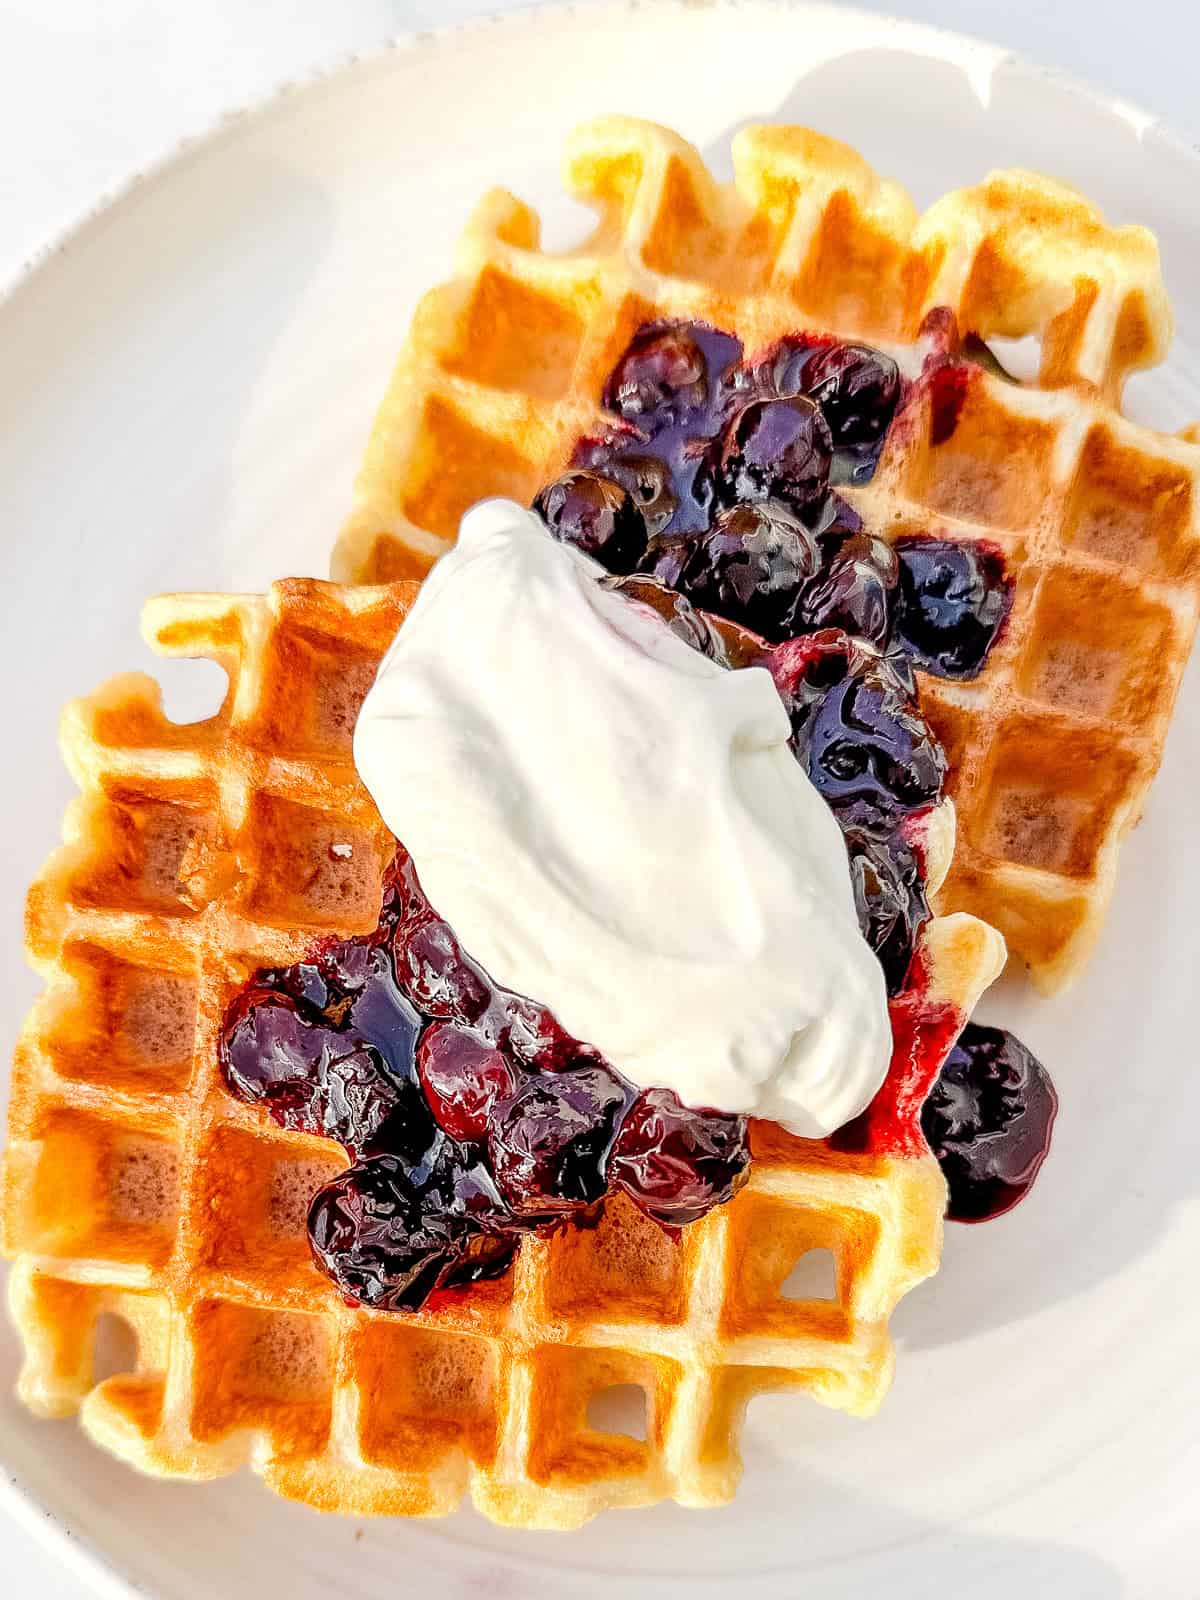
Blueberry jam Just make your Crispy Buttermilk Waffles as directed and top with lightly sweetened whipped cream and a spoonful of my easy blueberry jam.
Cynthia's Helpful Tips
- Do not skip the cornstarch. It is essential for crisp waffles.
- Do not overmix. A few small lumps are fine.
- Let the batter rest for 15 minutes before cooking to improve texture.
- Fully preheat your waffle iron before adding batter.
- Cook waffles until deeply golden for the best flavor and crunch.
- Keep cooked waffles on a wire rack in a warm oven to prevent steaming and enhance their crispy exterior.
Make Ahead Buttermilk Waffles (Better Than Eggo)
These waffles are perfect for making ahead and using as a homemade replacement for store-bought frozen waffles. Cook the waffles until lightly golden and crisp, then let them cool completely on a wire rack. Once cooled, freeze them in a single layer before wrapping individually in plastic wrap and then transferring to a freezer-safe bag or container.
To reheat, pop frozen waffles straight into the toaster or oven until hot and crisp. They come back beautifully with crunchy edges and a fluffy center, giving busy weekday breakfasts the same cozy, weekend brunch feel without any extra work.
This is one of my favorite ways to make weekday mornings feel special using a recipe that was already worth the effort.
Recipe FAQs
Soggy waffles are usually undercooked or stacked while hot. Cook until deeply golden and keep waffles on a wire rack in the oven, instead of a plate.
Crispy waffles come from proper heat, enough fat, and starch. Cornstarch helps limit gluten and creates a crisp exterior.
Buttermilk gives waffles better flavor and tenderness. If you do not have buttermilk, kefir or yogurt thinned with milk works better than plain milk. If using milk, start with less, and add more to make the consistency of your batter about the same as that of thick yogurt.
Resting the batter for 15 minutes helps hydrate the flour and cornstarch, improving texture and even cooking.
Store leftover waffles in an airtight container in the refrigerator for up to three days, or freeze them for longer storage. Reheat waffles in a toaster or oven until hot and crisp. Avoid the microwave, which can make waffles soft, chewy, and soggy.
📖 Recipe
Best Crispy Buttermilk Waffles
Recommended Equipment
Ingredients
- 1 ½ cups (180 g) all-purpose flour
- ½ cup (64 g) cornstarch
- 3 Tbs (36 g) sugar
- 1 teaspoon baking powder
- ½ teaspoon baking soda
- ½ teaspoon kosher salt
- 2 cups (480 g) buttermilk
- ¼ cup (60 g) vegetable oil
- 2 large eggs
- 1 teaspoon vanilla
- ¼ cup (56 g) unsalted butter, melted
Instructions
- Preheat oven to 250°. Place a wire baking rack in a sheet pan and set in oven. Your waffles will rest here as you finish cooking each one.
- Combine flour, cornstarch, sugar, baking powder, baking soda, and salt in a large bowl and set aside.
- In a large measuring cup whisk buttermilk, oil, eggs, and vanilla.
- Add wet ingredients to dry and stir until just combined. Drizzle in butter while continuing to mix. Allow batter to rest for 10 minutes while you heat up your waffle maker.
- Pour about ¾ cup of batter onto preheated waffle maker, or the amount suggested by your waffle maker directions. Cook to manufacturer instructions, or about 4-5 minutes.
- Transfer the cooked waffles to the wire rack and keep warm in the preheated oven as you cook the rest. Repeat to cook the remaining batter.
Save This Recipe! 💌
Notes
Wrap each fully cooled waffle in plastic wrap and place in an airtight container or zip top bags. Refrigerate for up to 3 days or freeze for up to 3 months. Reheat in toaster until hot and crispy.
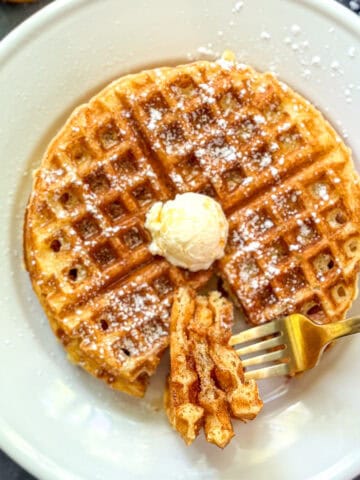
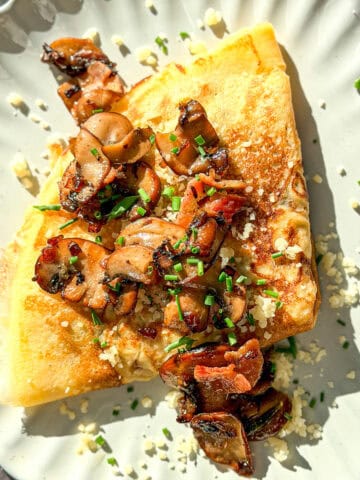
This was the first time that I had ever made waffles and wow…not only was the recipe easy to follow but it came out perfectly. I loved that I was able to make it and then leave them to crisp in the oven. The recipe is written clearly and my family loved every bite.
Thank you for the amazing comment! I’m glad your family has a new favorite breakfast ❤️
I substituted melted ghee for the oil and added it with the melted butter to make the waffles seed oil free. The second time I made it I put waffle pieces in the toaster instead of the oven for the crisping step. I love how flavourful this recipe is. We add toppings but really they are unnecessary because it tastes so good!
I'm so glad you were able to make these just the way you like them!
I’m making this for Easter Brunch. Can I mix the ingredients the day before?
You can mix the dry ingredients and keep them on the counter, then mix the wet ingredients and keep them in the refrigerator. Then in the morning mix them all together. I wouldn’t mix the entire batter the night before because the baking powder will lose its rising ability over the long rest and you’ll get dense waffles. If you are looking for an overnight wall for batter, please try my overnight yeast waffles!
I straight away make the waffle after i saw u posted in ig. The waffle is excellent, the best waffle i eat. Thank u Cynthia.
Amazing! You’re welcome! ☺️
Thank you so much! I have been struggling with crispy waffles for years. I just made the cornmeal version and also the blueberry compote, both delicious and the waffles were indeed Crispy, hooray!
I
So glad you like them as much as me and my family do!
AMAZING recipe. I got a tiny little waffle maker from Target a while back and decided to test it out using this recipe, and I'm so glad I did. These waffles are crispy on the outside and fluffy and moist on the inside, and the buttermilk lends such a gorgeous depth of flavor to everything. So good even without any add-ons. Made a big batch so I can keep them in the freezer to toast up whenever I get a craving 🙂
Sounds great! Smart thinking!
I just found this site. I made your Korean chicken and these waffles and let me tell you… hands down DELICIOUS. Truly two of the best things I’ve ever made and eaten, whether something I made or someone else. I’m known for being a ridiculously good cook and I always have to doctor recipes but I haven’t worn rithef of yours I’ve tried so far and they were PERFECT. I’m also a waffle junkie. So good!
That’s amazing to hear! I hope you try, and love, more of my recipes in the future!
Hi! The recepe looks tempting . Can you please suggest the egg substitute please. I am looking forward to your reply . Thanks
For each egg you can use 1/4 cup of Greek yogurt, applesauce, or mashed banana as a substitute.
Thank you soooooo much.Eagerly waiting to try it out.
I can’t wait for you to try it! Let me know what you think!
I'm making these waffles today! Thank you for the recipe scaling tool.
I hope you love them as much as we do!
These are so crispy and amazing! I have loved every recipe of yours that I’ve tried. Thank you 🙂
These waffles were perfect! I made them with King Arthur’s 1:1 GF flour blend and totally forgot they were gluten free while eating them… they’re so crispy AND fluffy, and they taste fantastic! Easy to make, too! I got the perfect number of waffles for my 4-person family (8+1 little waffle for me) using ~1/2C batter in my iron. Thank you for the recipe!
I think it’s so great that use the gluten-free flour! And it worked so well! Thank you so much 🥰 I’m glad you like them!
Great recipe for buttermilk waffles! If you like crispy waffles, you need to make these! Thank you Cynthia for another awesome recipe!
I’m so thrilled that you love them so much! I’m addicted to crispy waffles too 🥰