


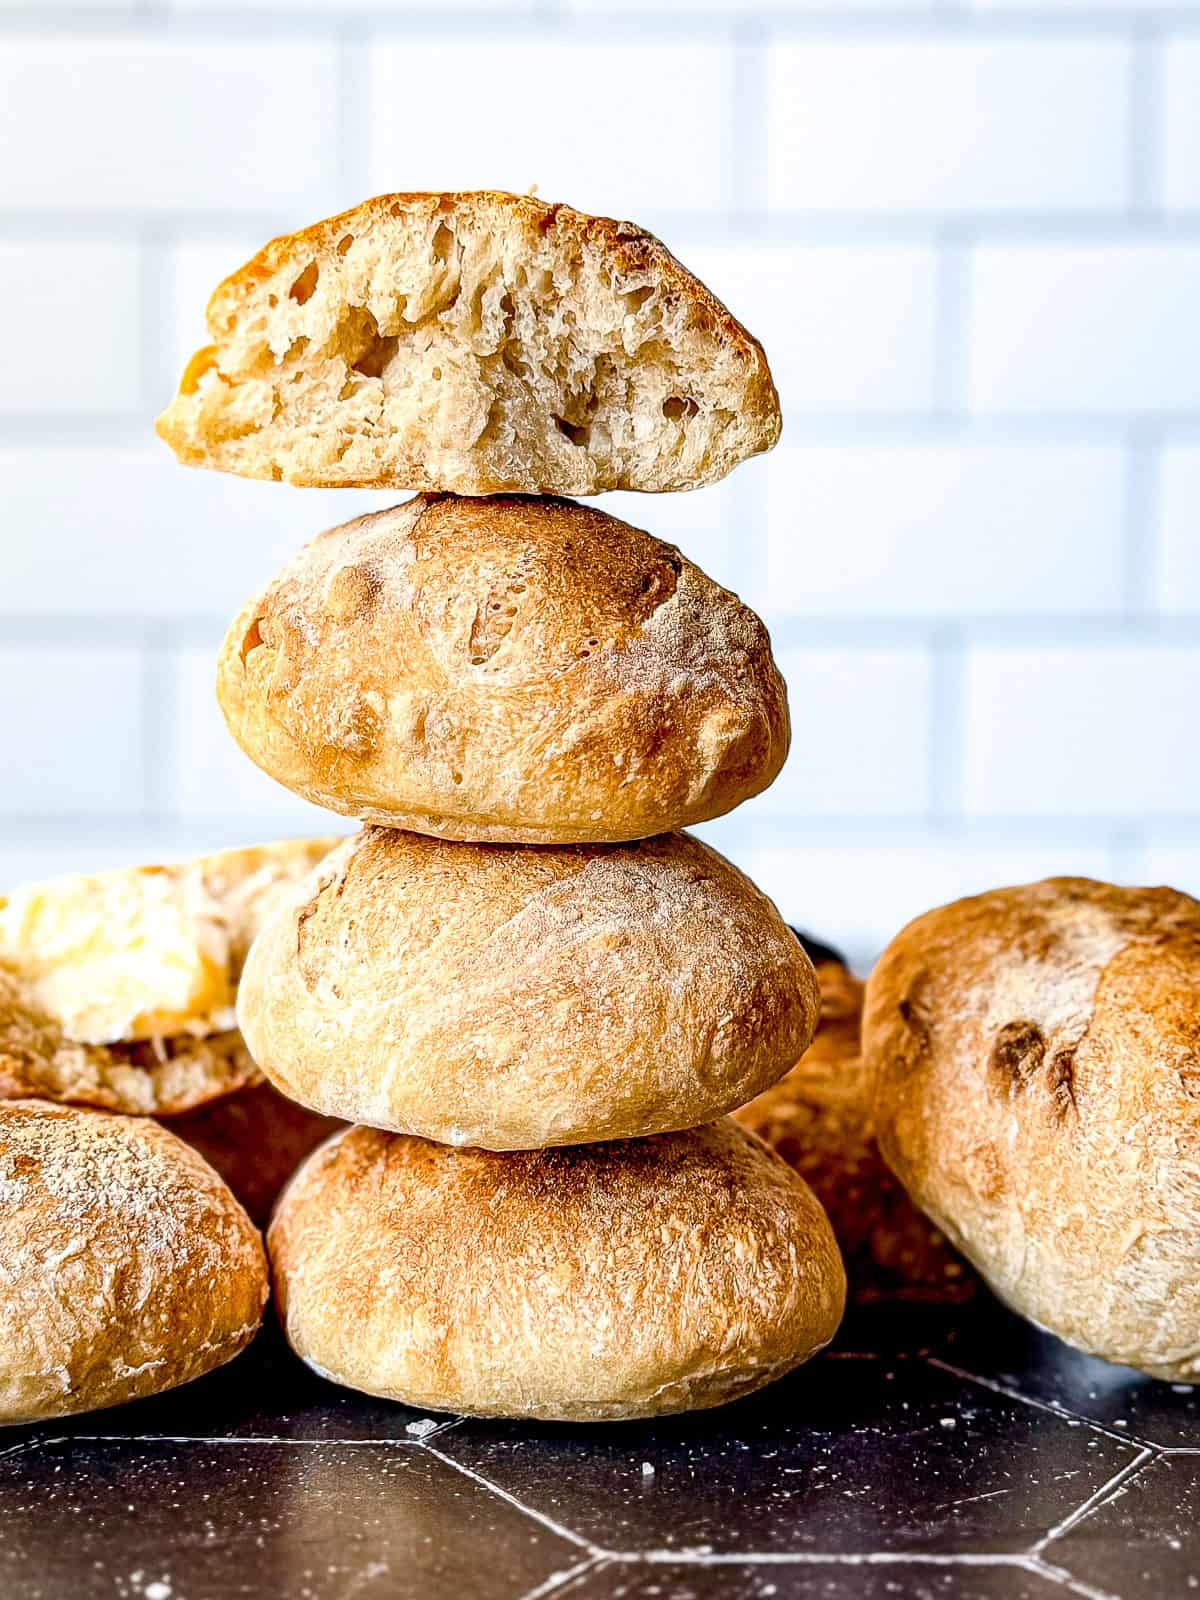
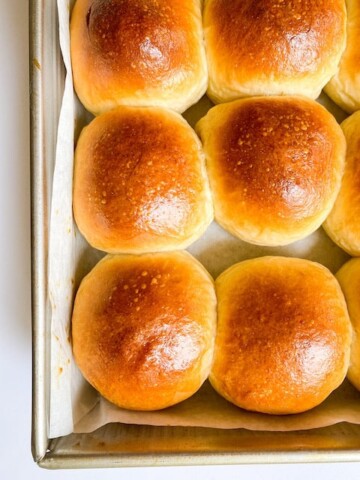
There's nothing quite like warm No-Knead Crusty Bread Rolls fresh from the oven. Mixed in one bowl the night before and shaped in the morning, they are baked to golden perfection just in time for brunch. These rolls are about to become your new weekend staple.
Save This Recipe! 💌
Whether you're hosting a laid-back brunch buffet or building a towering egg sandwich with bacon, egg, and cheese, these Crusty Bread Rolls bring that bakery-fresh vibe without the early wake-up call. With just four ingredients and no kneading, this is your Biscuit Queen-approved way to bake like a bread boss.
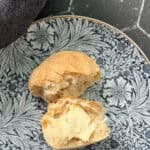
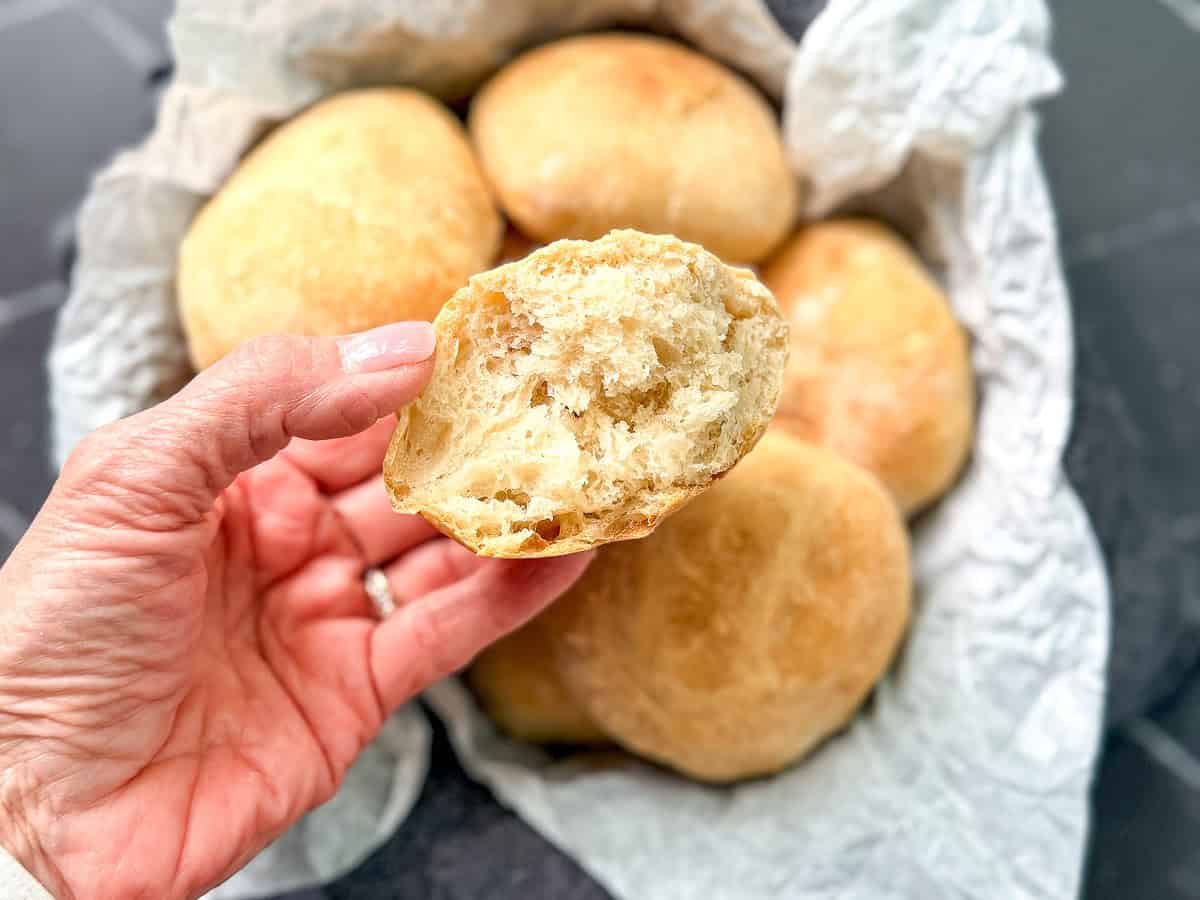
These no-knead rolls remind me of the ones I used to get at the grocery store when my kids were little. They came in a plastic bag and you baked them until golden brown and crispy. We would tear into them as soon as they came out of the oven (so hot!), schmear them with butter, and enjoy. These rolls are a full circle moment for me!
Jump to:
In This Post You'll Learn:
- How to make no knead rolls with just four ingredients.
- How to adjust the recipe to make six larger rolls or eight smaller ones.
- Why an overnight rest gives these rolls their signature flavor and texture.
- How to shape and bake them in the morning for hot bread with minimal effort.
- Tips for using these rolls for breakfast sandwiches, as a brunch side, or even dinner rolls.
Ingredients & Substitutions
Nothing special here. Just flour, kosher salt, yeast, and water. Easy peasy. Let's break down the ingredients and how you can swap them if needed.
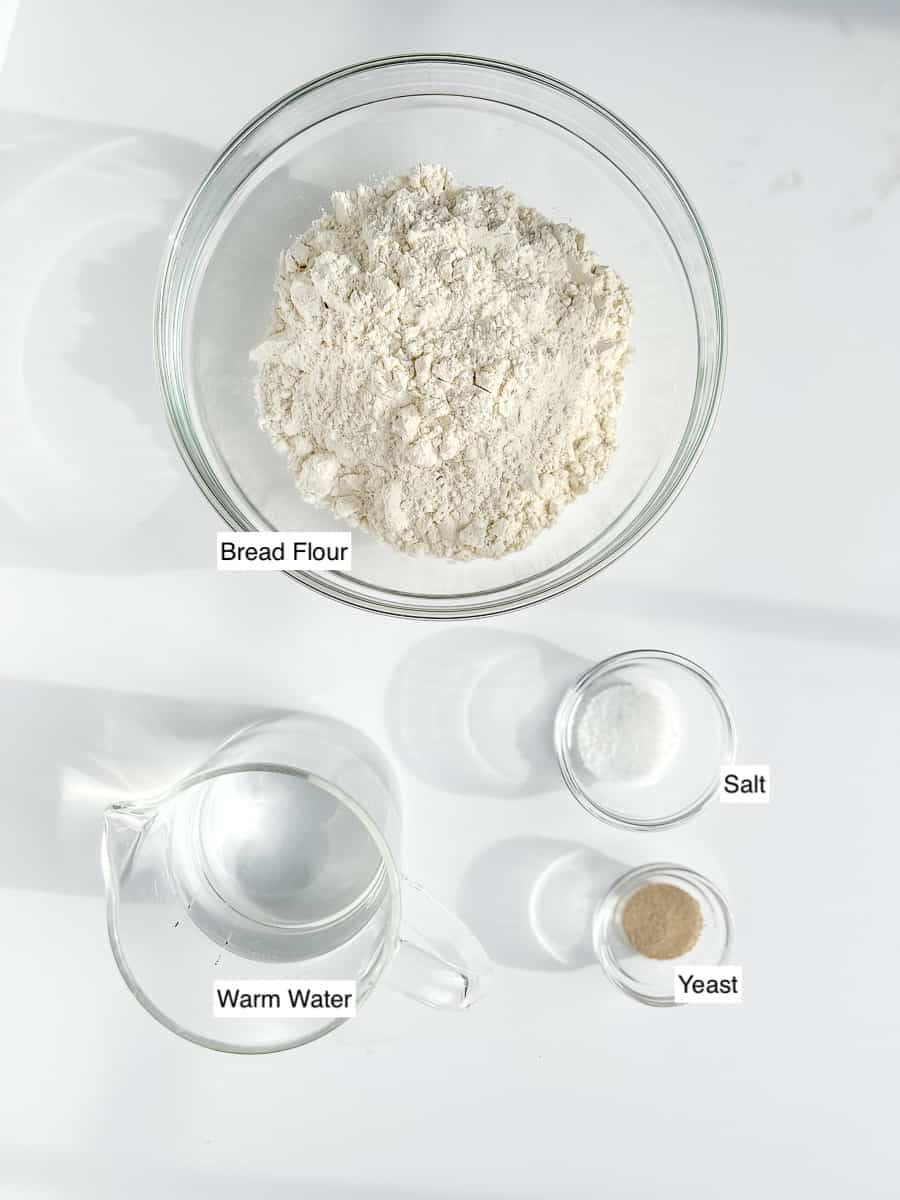
- Bread Flour - Essential for a chewy texture and strong structure. You can use all-purpose flour in a pinch, but your rolls will be slightly softer.
- Instant Yeast - Also called rapid rise or quick rise yeast. If using active dry yeast, bloom it in the warm water for 5 minutes before mixing.
- Kosher Salt - Kosher salt balances the flavor of your bread rolls. If using table salt, reduce to 1 ½ teaspoons.
- Warm Water - Should be about 105°F to 110°F if measured with a thermometer. Too hot and it can kill the yeast.
See recipe card below for a full list of ingredients and measurements.
Variations
These rolls are incredibly versatile. Here are a few ways to make them your own:
- Bigger Rolls - Make six larger rolls instead of eight and use them for breakfast sandwiches.
- Mini Rolls - Divide into 10 to 12 rolls for a bread basket on your Thanksgiving or holiday table.
- Cheesy Rolls - Sprinkle shredded cheddar or Gruyere on top before baking.
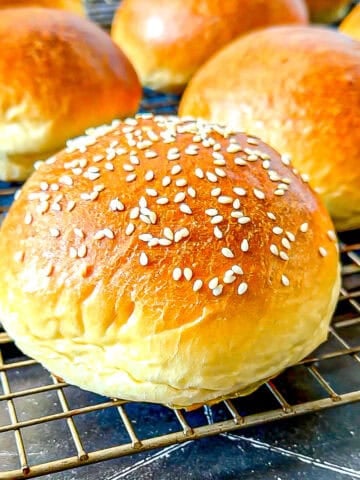
- Seeded Rolls - Press the tops into sesame or poppy seeds before baking.
- Garlic Herb Rolls - Stir a teaspoon of dried herbs or minced garlic into the dough.
Cynthia's Recipe Review
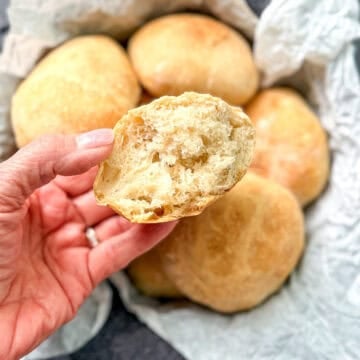
These no knead rolls are a total game changer for brunch. Crusty, chewy, and perfect for piling high with bacon, eggs, and melty cheese, they're also perfect for dinner to dip into hearty soups and stews.

Quick Recipe Video
Instructions
This is an easy, beginner-friendly bread recipe with minimal hands-on time. Just follow the process photos and steps below and you'll be serving fresh rolls in no time (with no-kneading).
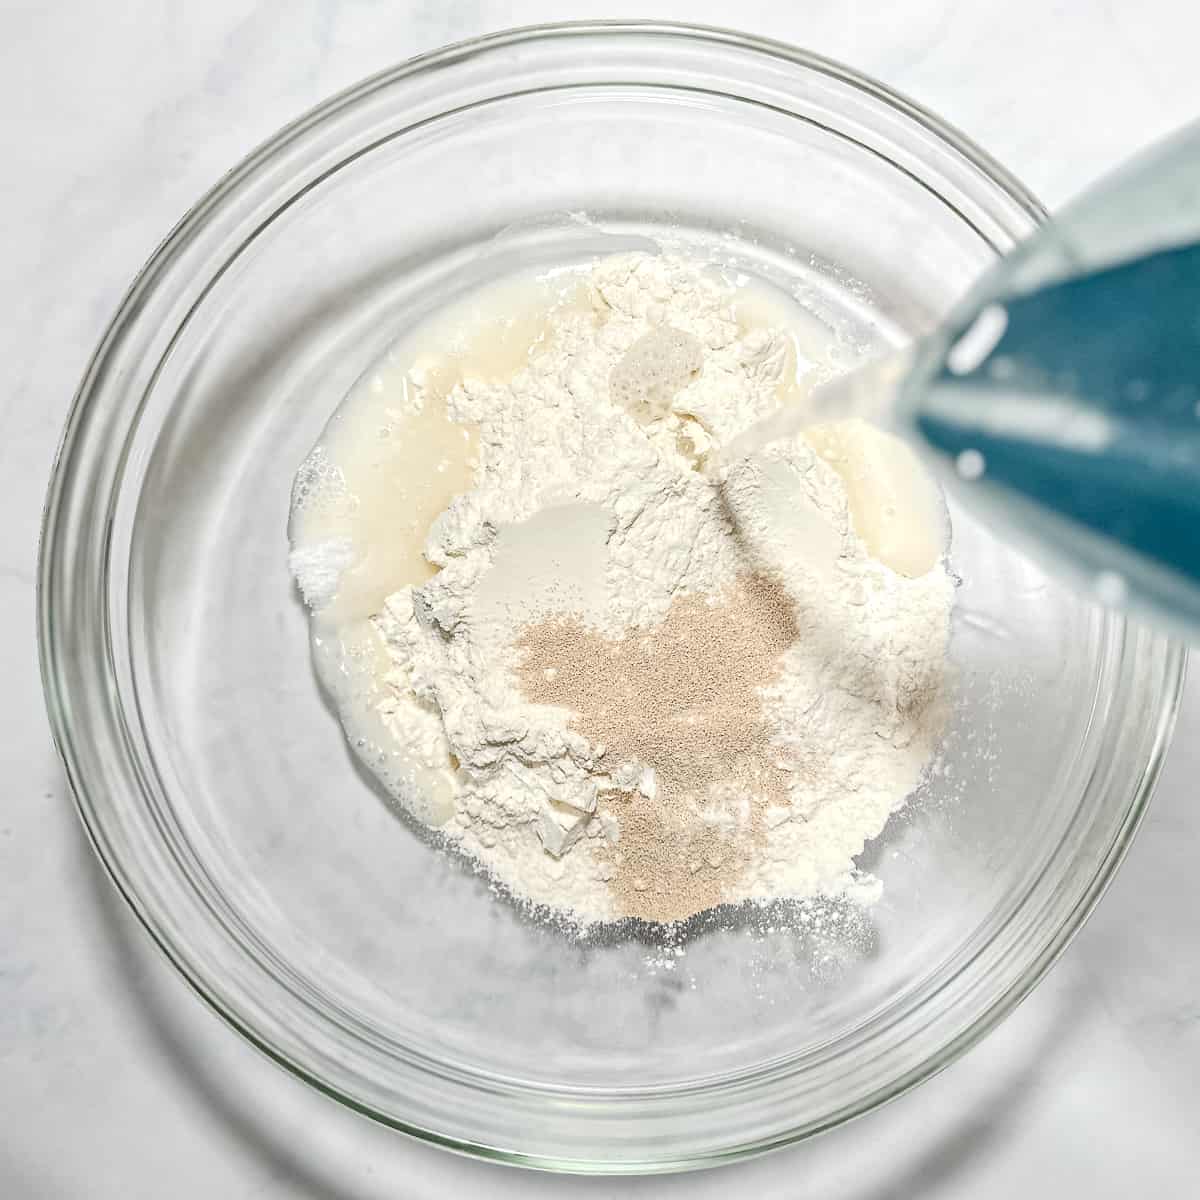
Step 1: In a large bowl, combine bread flour, instant yeast, and kosher salt. Stir to mix. Add warm water.
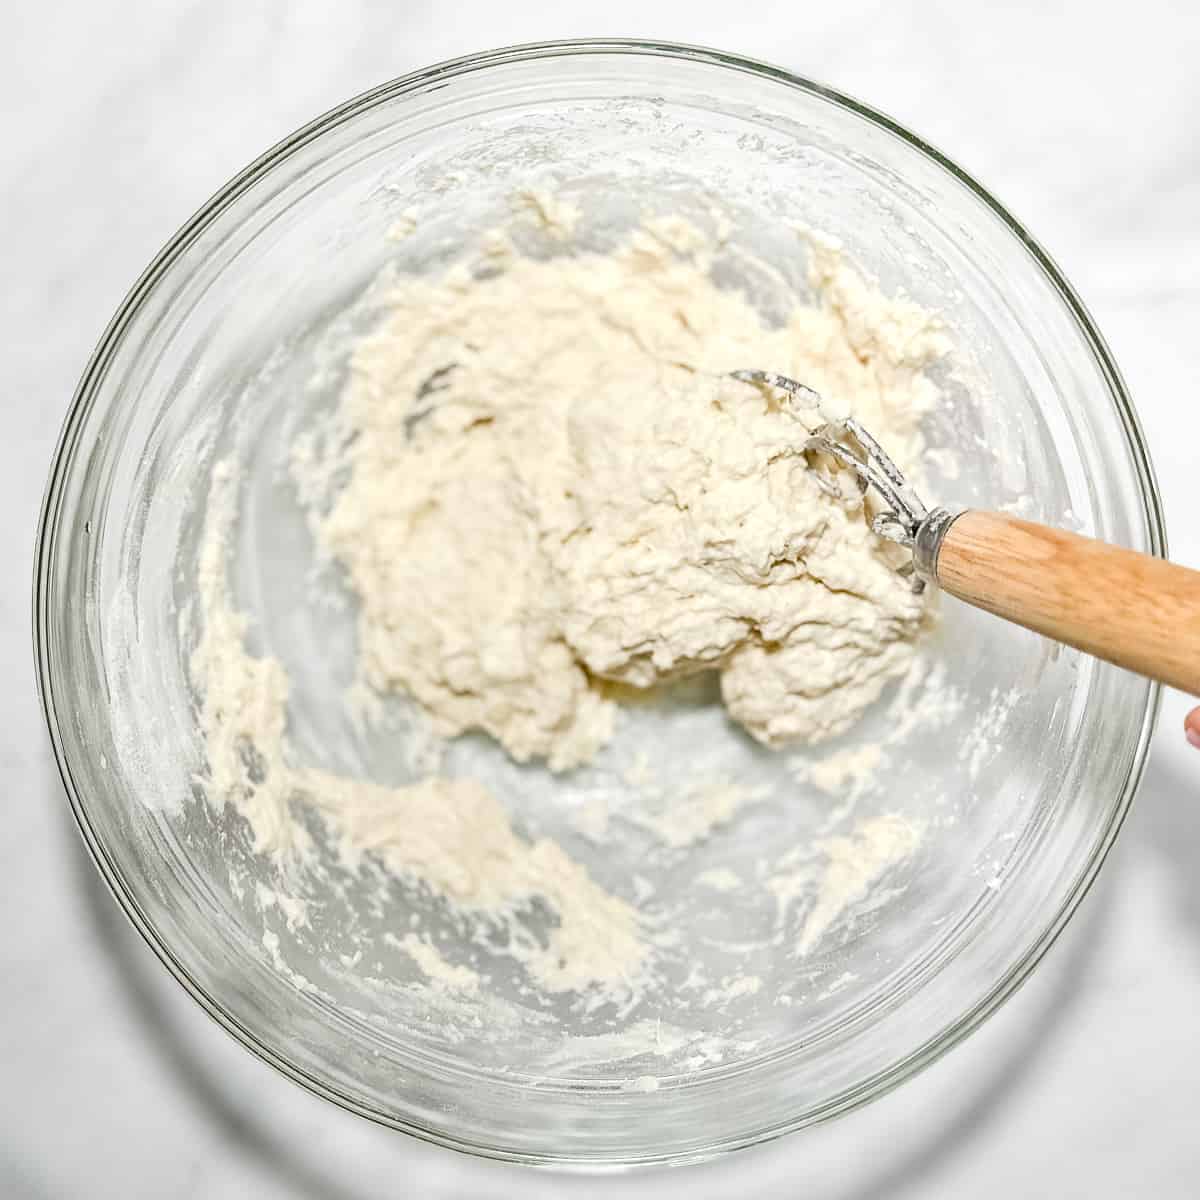
Step 2: Stir with a dough whisk or wooden spoon until you have a shaggy, sticky dough. Cover the bowl with plastic wrap, a disposable shower cap, or a clean towel and let it rest at room temperature overnight, 8 to 18 hours, allowing the dough to ferment and the gluten proteins to form and align 𐄳, making chewier and tastier rolls.
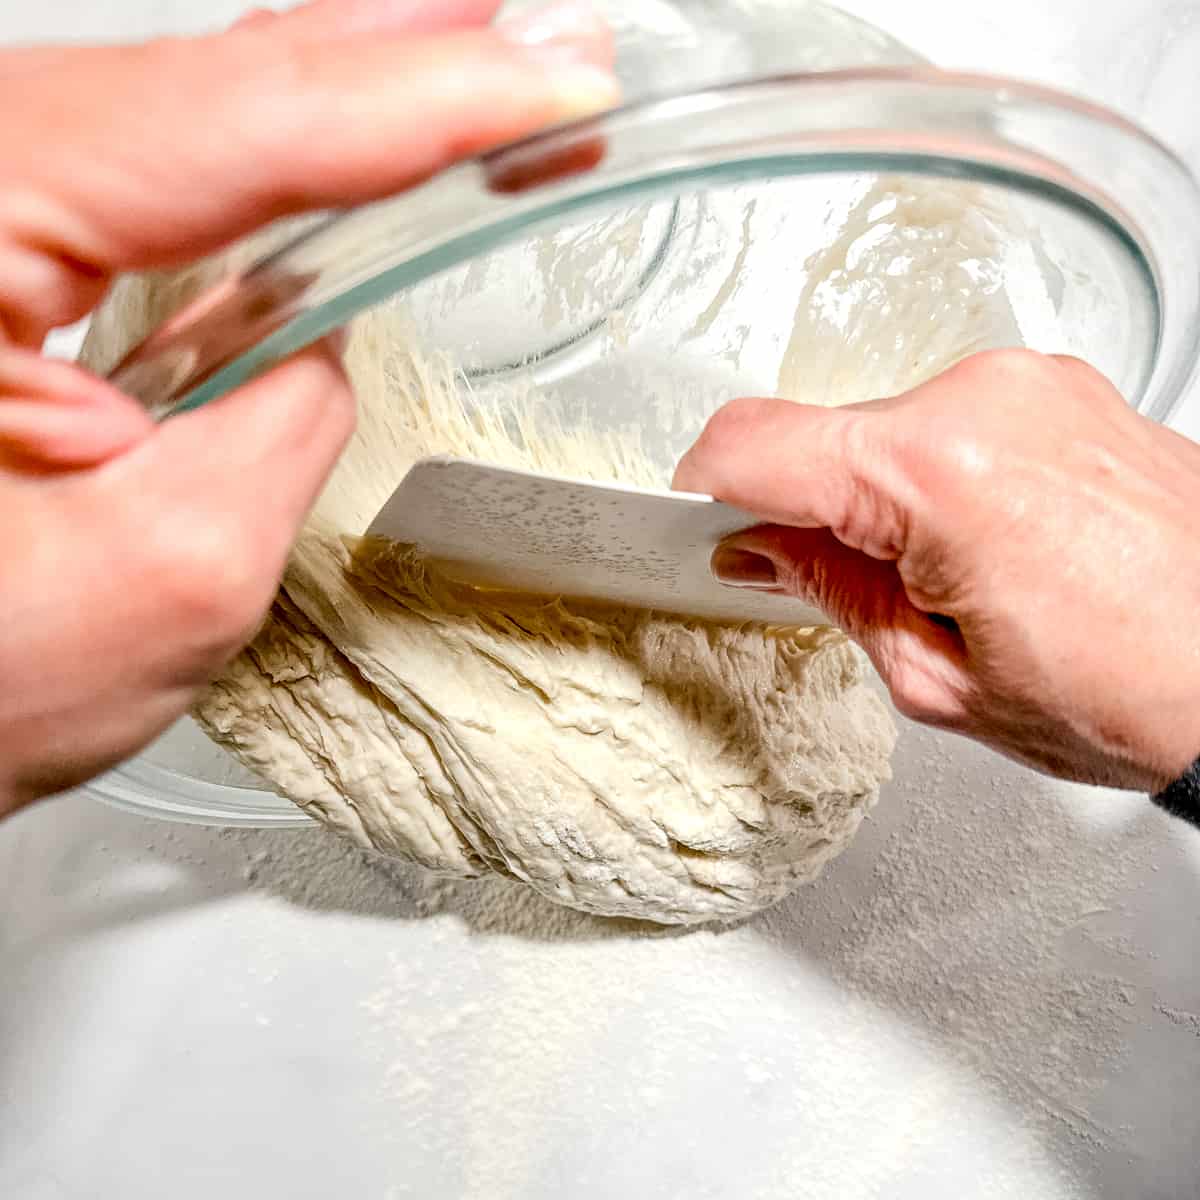
Step 3: In the morning, the dough will look soft and bubbly - and yes, it will be very sticky. That's exactly what you want to get a thin crispy crust and an airy interior. Generously flour your counter and dust a bench scraper with flour. Gently turn the dough out onto the floured surface, using the bench scraper to help release it from the bowl.
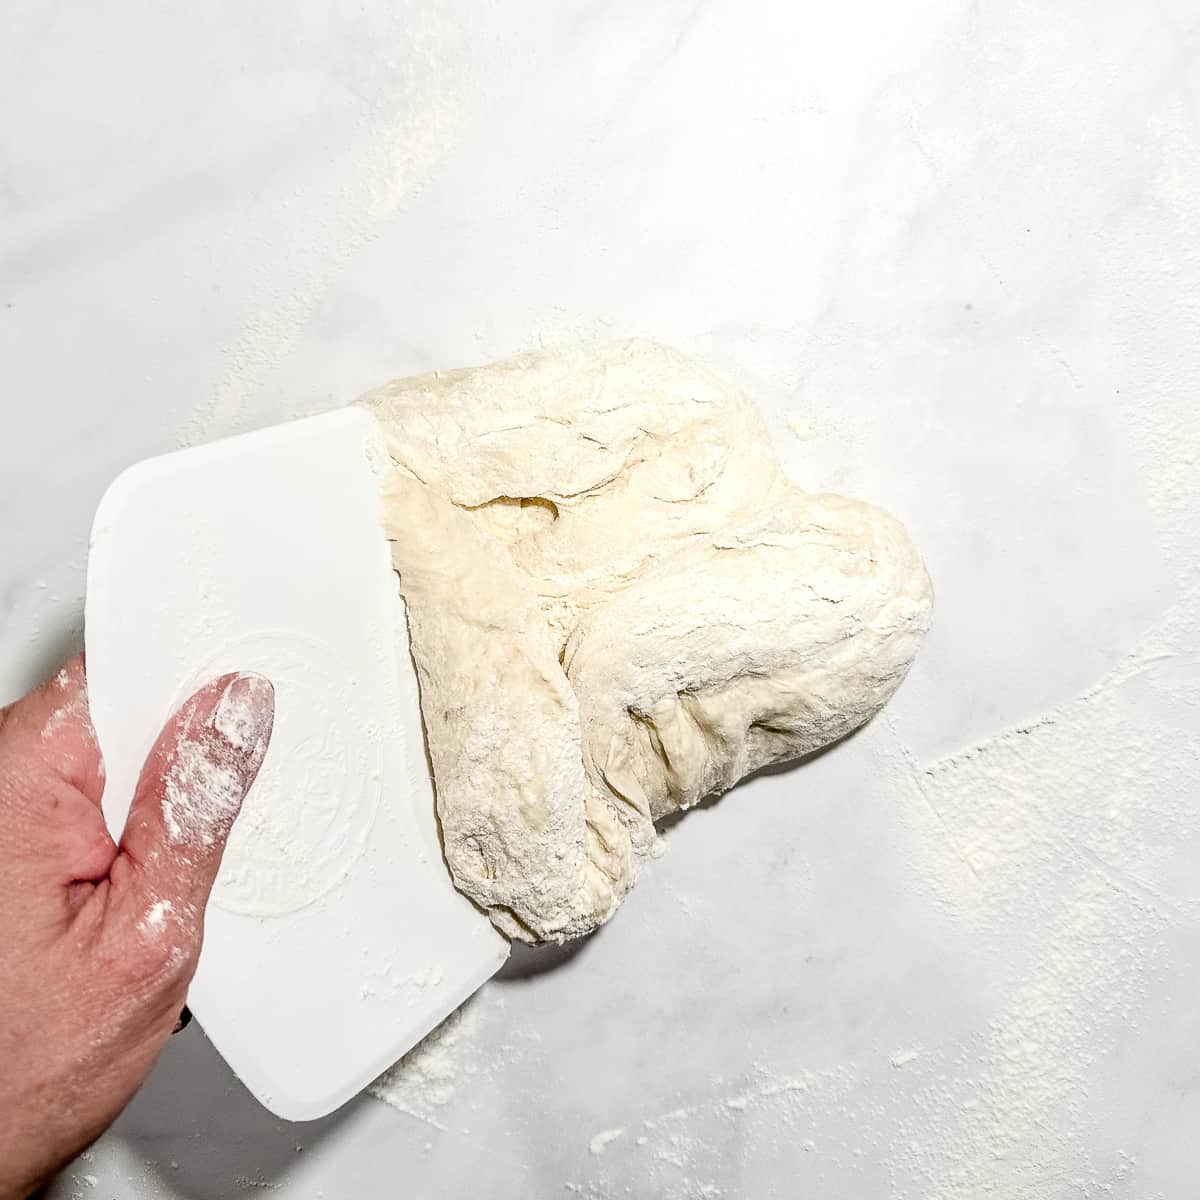
Step 4: Use your floured hands or the bench scraper to gently fold the dough over itself several times, building just a bit of tension. If at any time it feels too sticky to handle, simply dust your hands, dough, and scraper with a little more flour.
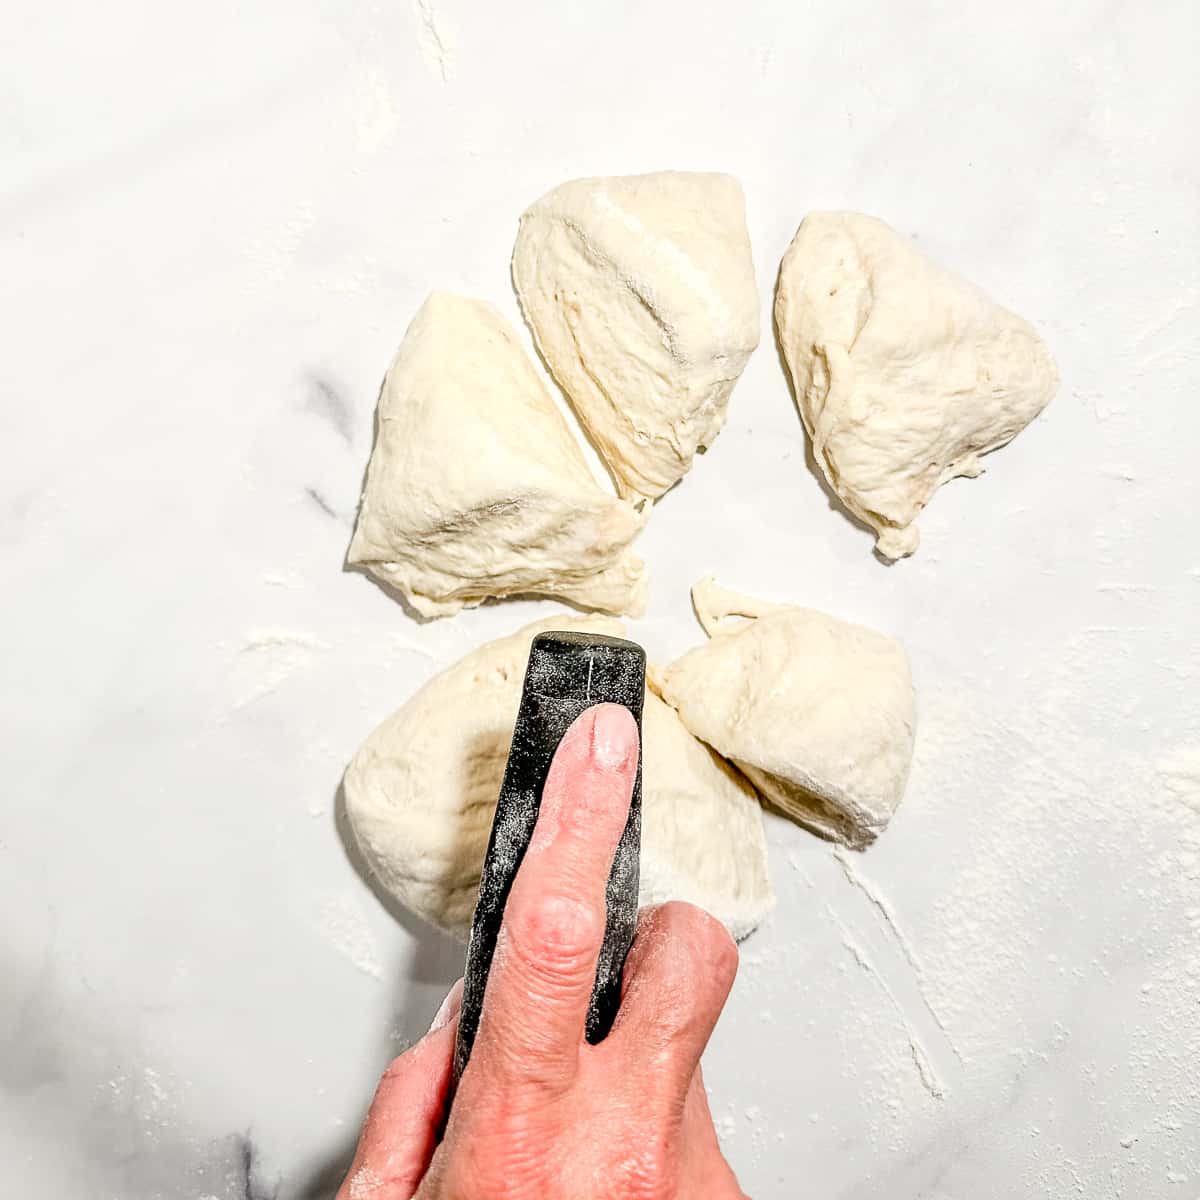
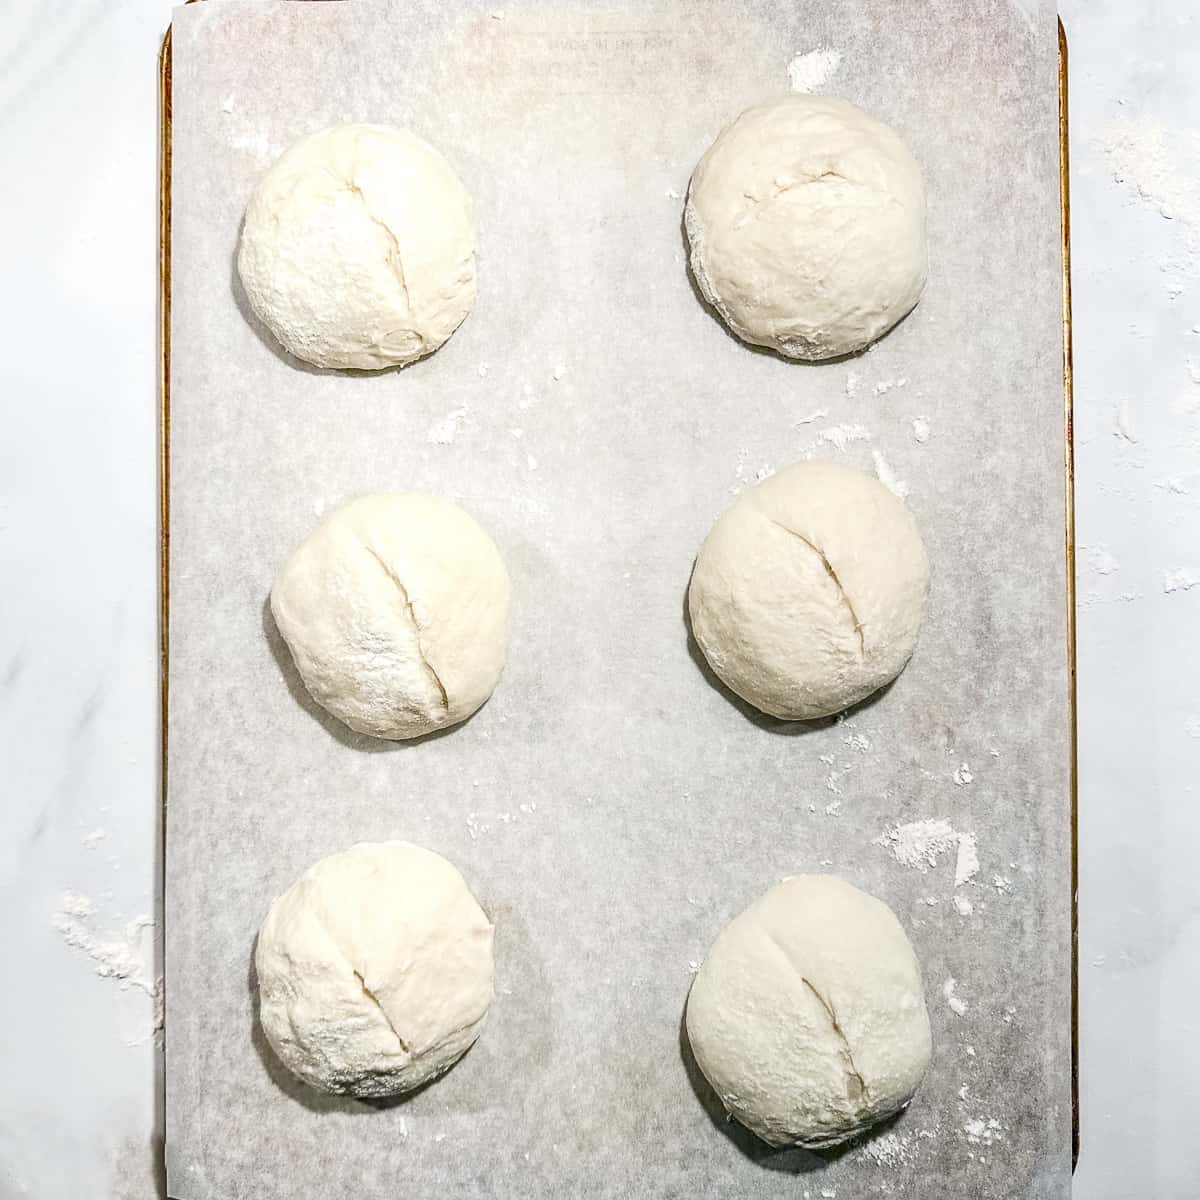
Step 5: Divide the dough into 6 or 8 equal portions. If using a scale, place a lightly floured piece of parchment paper on the scale before zeroing it out.
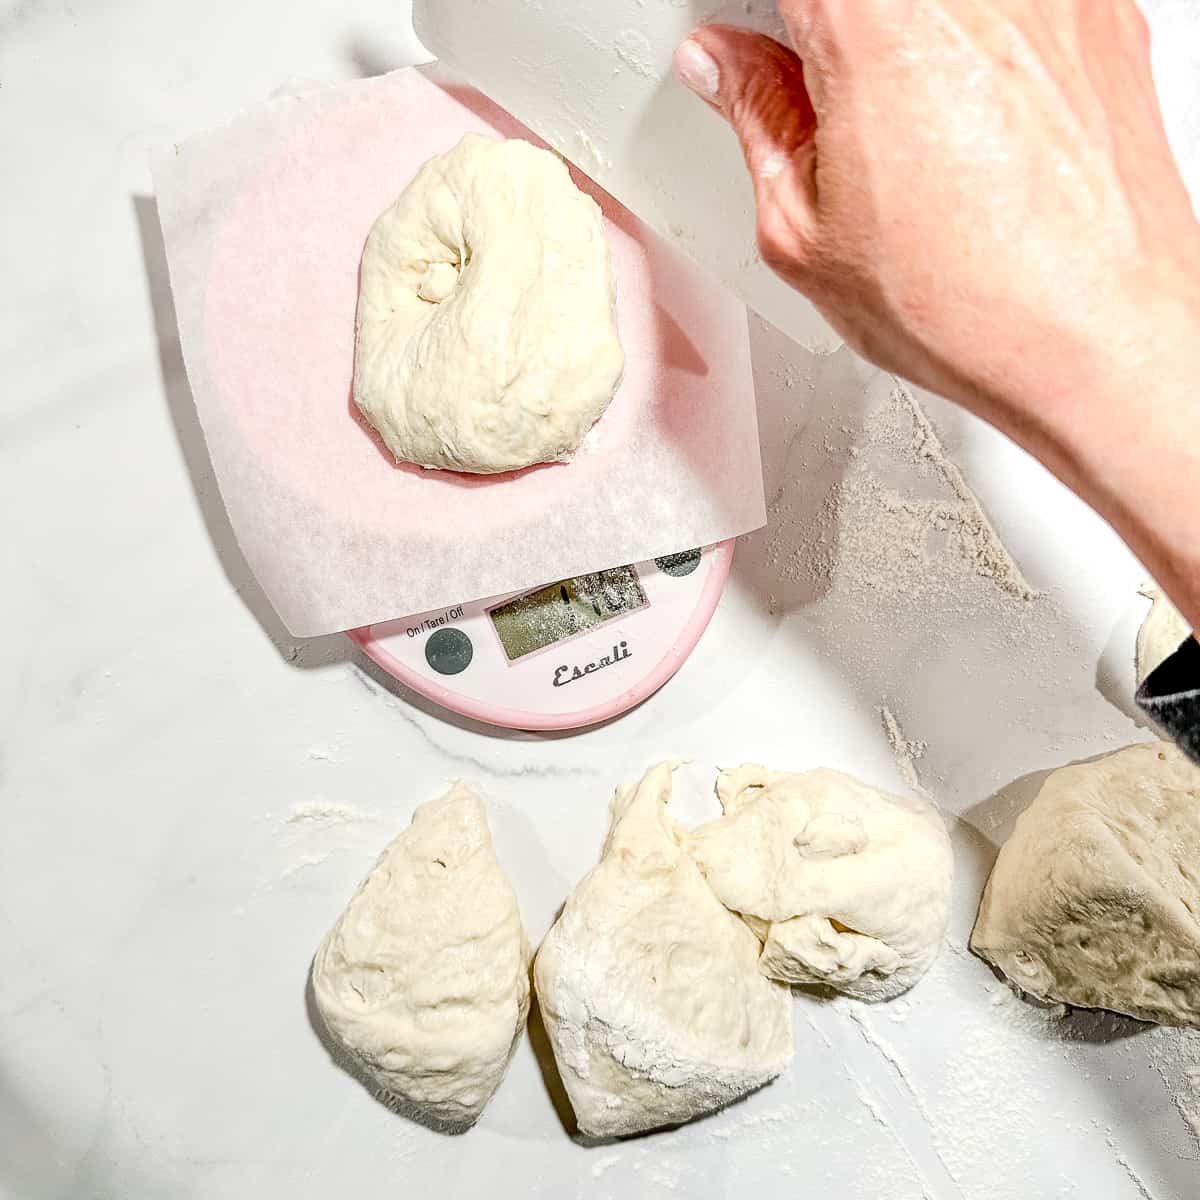
Step 6: I prefer to use a scale to weigh my dough and then divide into equal pieces, to ensure even baking, but you can eyeball it too.
Tips for weighing sticky dough
Weighing an extremely sticky dough like this is a challenge, to say the least. Here's how I do it: I weigh the bowl with the sticky dough in it before turning the dough out onto the counter (write it down!) Next I weigh the empty bowl and subtract that amount from the previous weight (that I totally wrote down 😜). This is the weight of your dough. Ta da!
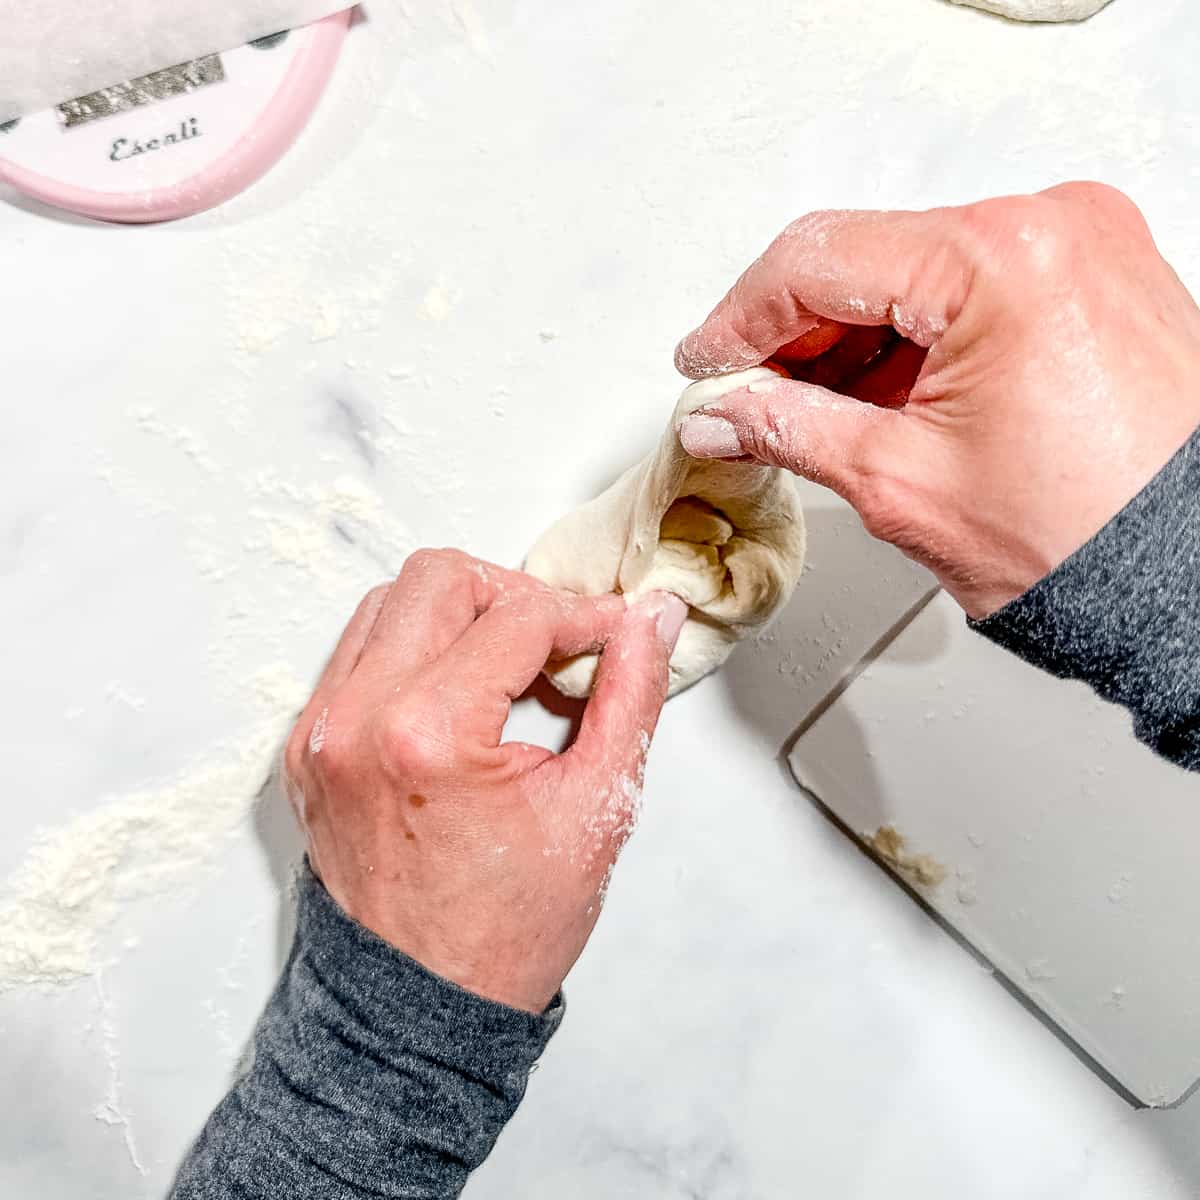
Step 7: Flatten a dough piece on your counter and bring all the outside edges together like a drawstring purse. Turn seam side down on the counter.
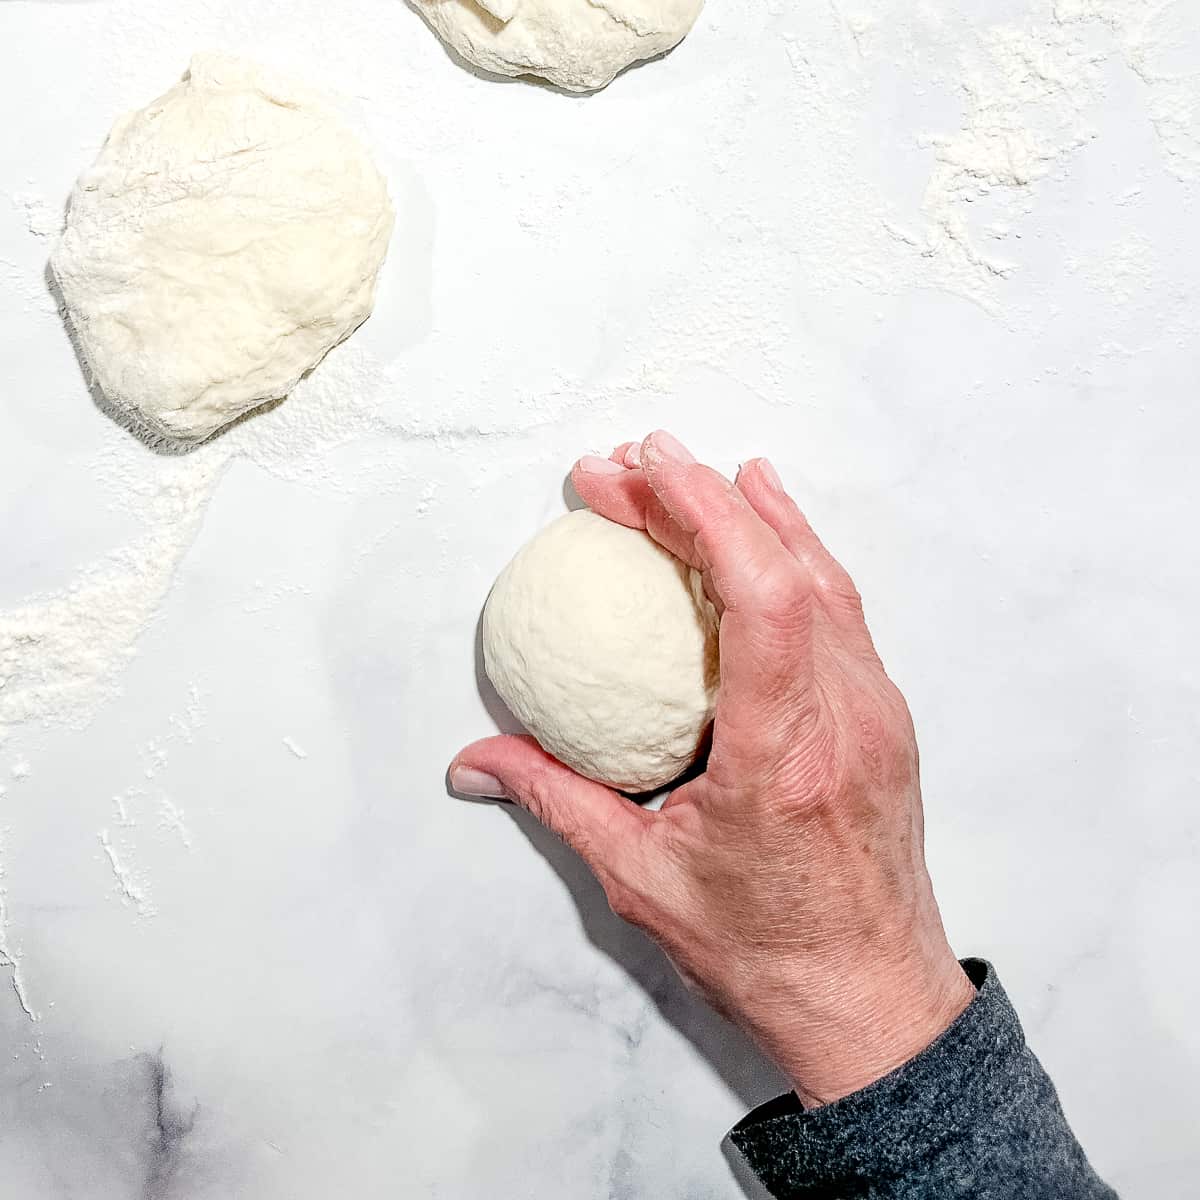
Step 8: Using your cupped hand, apply gentle downward pressure, and a circular motion, on the counter to shape your dough piece into a ball. This works best if this area of the counter is free of flour. Place on a parchment-lined baking sheet. Cover with a towel and give the rolls a second rise in a warm spot for 30 to 45 minutes while you preheat your oven to 450°F.
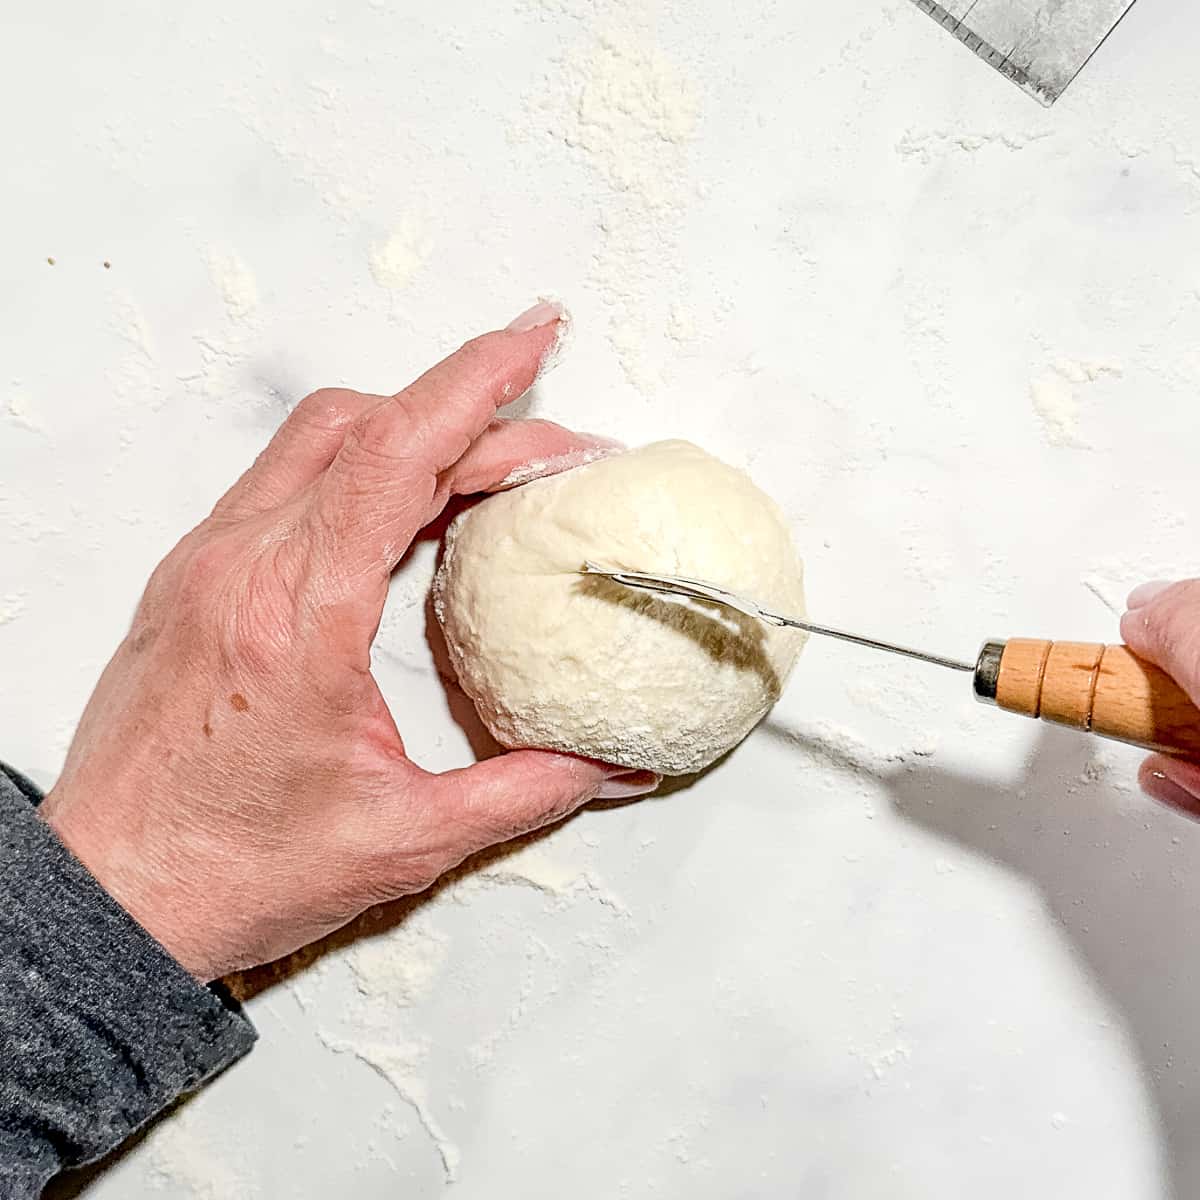
Step 9: If desired, just before baking, use a sharp knife, or a bread lame or razor, to slash each dough ball on top. This helps to direct the roll where to expand when baking. (again, this is optional)
Step 10: Bake for 20 to 25 minutes, until the rolls are golden brown and crusty.
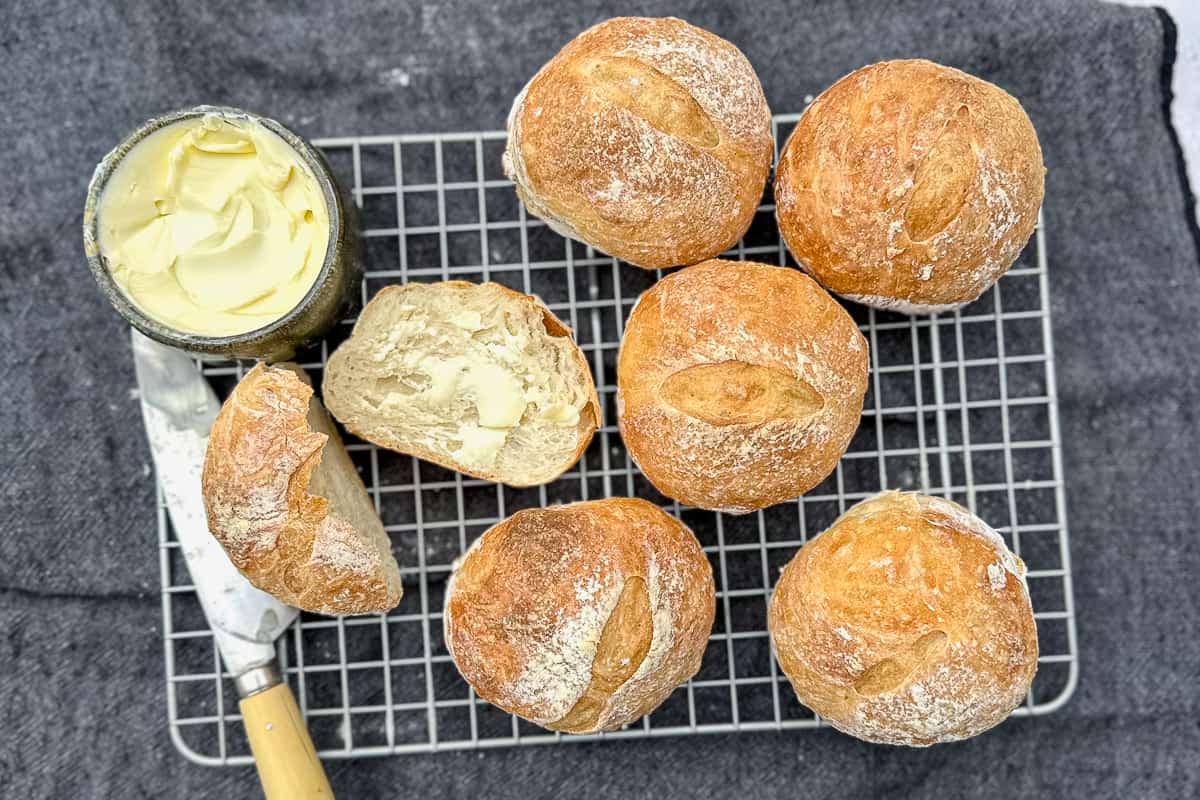
Finish: Cool on a wire rack for at least 10 minutes before slicing. Serve warm with butter, or split and fill with eggs, bacon, avocado, or any of your brunch favorites.
Cynthia's Helpful Tips
- Expect Sticky Dough: This dough is soft, wet, and sticky when first uncovered in the morning. That's normal and is what gives these rolls their beautiful crumb and crust.
- Flour Is Your Friend: Use a generous dusting of flour on your counter, your hands, and especially your bench scraper to keep sticking under control.
- Use a Bench Scraper: A floured bench scraper is the best tool for turning out, folding, dividing, and shaping this sticky dough.
- Build Dough Tension: Gently folding the dough over itself several times helps develop surface tension, making dividing and shaping easier.
- Reheat Rolls: To re-crisp leftover rolls, pop them in a 350°F oven for 5 to 7 minutes. They'll taste freshly baked again.
Recipe FAQs
Yes, though the texture may be a bit softer and less chewy.
You can speed it up by letting the dough rise in a warm place for 4 to 6 hours, though the flavor will be milder.
Store in an airtight container at room temperature for up to 2 days. For longer storage, freeze individually wrapped rolls.
Let thaw at room temperature or reheat in a 350°F oven for 10 to 12 minutes. You can also slice and toast in a toaster oven straight from frozen.
Yes! Absolutely! After letting your dough complete its initial overnight rise, cover the bowl and leave it in the fridge for up to three days. When you're ready to bake, just pull it out and complete the rest of the steps.

More yeast bread recipes

Did you try this recipe?
Please consider leaving a comment with a ⭐️ rating below and tell me all about it! It helps me to continue to improve my content and lets others know what you think!
I appreciate it so much!
-Cynthia
📖 Recipe
No Knead Bread Rolls (Make Ahead for Brunch!)
Ingredients
- 3 ¼ cups (390 g) bread flour
- 1 teaspoon instant yeast
- 2 teaspoons kosher salt
- 1 ¼ cups warm water 105°F to 110°F
Instructions
- In a large mixing bowl, stir together the bread flour, yeast, and salt. Add warm water and stir until a shaggy, sticky dough forms.
- Cover the bowl with plastic wrap, a disposable shower cap, or a clean towel and let sit at room temperature for 8 to 18 hours.
- In the morning, the dough will be very soft and sticky - that's exactly right. Generously flour your countertop and dust a bench scraper with flour. Turn the dough out of the bowl onto the floured surface.
- Tip for weighing sticky dough: Weigh the bowl with the sticky dough in it before turning the dough out onto the counter. Weigh the empty bowl and subtract that amount from the previous weight. This is the weight of your dough.
- Dust your hands and the dough with more flour as needed to prevent sticking. Use the scraper or your floured hands to fold the dough over itself several times. This helps create a bit of surface tension and makes shaping easier.
- Divide the dough into 6 or 8 equal portions. If using a scale, place a lightly floured piece of parchment paper on the scale before zeroing it out.
- Gently shape each piece into a ball by folding the edges under and placing them seam-side down on a parchment-lined baking sheet.
- Cover with a clean towel and let the rolls rest at room temperature for 30 to 45 minutes while you preheat the oven to 450°F. Place a metal pan (not glass or ceramic) on the lowest rack of the oven.
- Bake for 20 to 25 minutes, or until golden brown and crusty.
- Let cool on a wire rack for at least 10 minutes before serving.
Save This Recipe! 💌
Video
Notes
- For breakfast sandwiches, divide dough into 6 portions. For brunch baskets, go with 8 smaller rolls.
- Dough will be sticky - don't fight it. Use flour and a floured bench scraper to make handling easier.
- Store leftover rolls in an airtight container at room temperature for up to 2 days. To reheat, bake at 350°F for 5 to 7 minutes or slice and toast.
- Rolls can be frozen up to 2 months. Thaw at room temperature or reheat from frozen.


DMP says
Easy to make. Taste great.
Georgia says
Dough didn't rise after 11 hours. It also wasn't wet and sticky. Made a second batch. Still not wet and sticky and I followed the directions exactly.
Cynthia Christensen says
I’m so sorry you had this experience. It sounds like your yeast was no longer alive. This can even happen with a new jar of yeast. It’s only happened to me once in 30 years, but it’s not impossible. Before starting a recipe, if you’re unsure if your yeast is still viable, you can add it to a glass of warm water (between 110 and 115°F) with a little bit of sugar.After five minutes it should start foaming. I hope this helps.
Ashleigh says
Rolls turned out fairly well but had the same problem I often do, which is that the batter was very wet and sticky so I couldn't shape them properly, leading to slightly flatter rolls. Do you recommend I use more flour in future, or do you think it's just where I live perhaps?
Cynthia Christensen says
I just redid this recipe live on my Instagram stories and they came out as amazing as always. The dough is naturally wet and sticky, but if you do folding – over technique and make sure that you’re rolling nice tight balls of dough, they should not come out flat. I suspect it has something to do with the way that you’re measuring the flour and/or the water. Are you using a scale to measure? That is the most accurate way to make sure that everything is correct. I hope this helps and you reach out so that we can troubleshoot some more.
Esther C says
my rolls taste & texture reminded me of Ciabatta type rolls. totally awesome.👍🏼
Cynthia Christensen says
That sounds great!
Cathy says
Can you partially cook these rolls and freeze them and cook when ready
Cynthia Christensen says
I wouldn’t recommend par baking these rolls as they don’t have the same structure as regular dinner rolls and might not rise as fully. I would recommend baking them and then freezing them when cool. When you want to serve them just place them directly on your oven rack at 325° for about 10 to 15 minutes. They should be as crispy or even more crispy then when you first baked them!
Laura Bonin says
Have u ever put this dough in the fridge overnight after it’s sat on the counter for 12-18 hours? Thank u
Cynthia Christensen says
Absolutely! You only need to let it rise for about 2 hours and then you can pop it in the fridge for up to 5 days. Just pull it out when you're ready to bake and let it come to room temp for about an hour.
Diane says
You don't say how large your Dutch oven is. Would you be able to fit these in a 6.5 qt Dutch oven. Thank you
Cynthia says
I don’t tell you what size Dutch oven because the recipe does not call for using a Dutch oven. I recommend placing the dough balls on a piece of parchment paper and baking them on the back of a large sheet pan. I suppose you could cook them in a Dutch oven, but the sides of the rolls will be touching and they will be soft around the edges because of that.