


Rough puff pastry has a reputation it doesn't deserve. Most people assume it's too technical, too time-consuming, or just not worth attempting at home. But after years of making pastry in professional bakery kitchens, I can tell you that the shortcut version is not just easier - it's genuinely impressive, and absolutely within your reach.
Save this recipe for later
Enter your email and I'll send this recipe straight to your inbox.
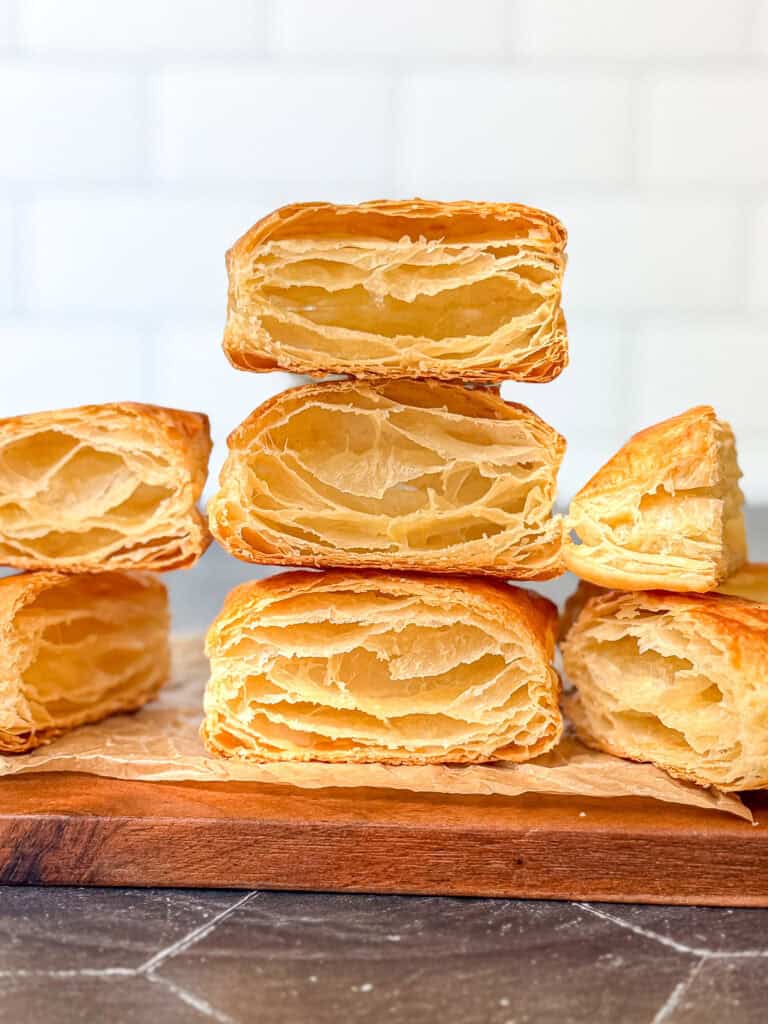
At one of my bakery jobs, we made a lot of crusts for pies and tarts. One that was mixed in a food processor had this incredible texture after baking - lots of visible layers, crispy and flaky, almost like puff pastry. I filed that away for later. Eventually I borrowed that food processor method, added in the folding technique you see in a true puff, and started testing. The results were fantastic, and this is the version I have come back to over and over again.
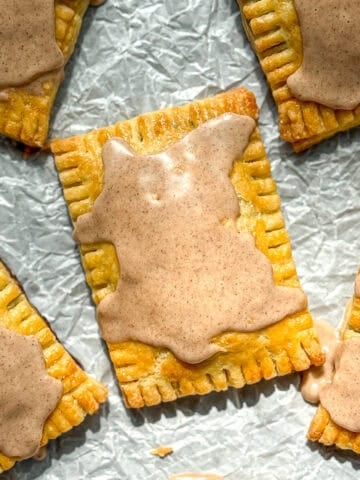
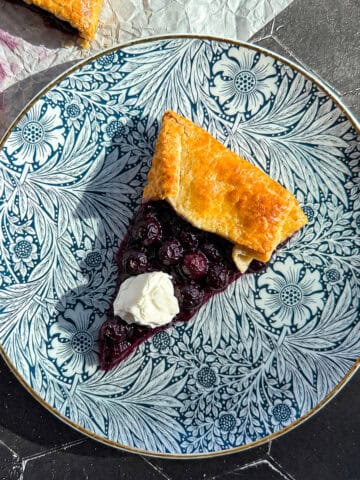
The best part is that this dough is incredibly versatile. I use it for galettes, tarts, danishes, in place of pie crust in pot pies, and even simple cookies that shatter when you bite into them. If you are looking for something to try it on right away, my blueberry galette is a great starting point - homemade rough puff pastry makes it next level.
Jump to:
What is Rough Puff Pastry?
Classic puff pastry is a light, flaky pastry made from alternating layers of butter and dough. You make it by encasing a slab of butter inside a dough, then rolling and folding it a set number of times in a process called lamination. Between each fold, the dough has to chill and rest so the butter stays firm and the layers stay distinct.
True puff pastry requires a lot of time, patience, and a certain level of skill. I have two of those things. I'll leave you to figure out which ones.
Rough puff pastry is also known as shortcut puff or cheater's puff pastry, and I am completely fine with that. When you don't have hours to spare, taking a shortcut is not just acceptable - it's smart. Instead of a single slab of butter, rough puff incorporates pieces of butter directly into the dough. As you work through a series of folds, those pieces get smaller and flatter, forming layers throughout the dough much like a true puff.
Those thin pieces of butter behave essentially the same way as full lamination does. When the dough hits a hot oven, the water in the butter turns to steam and pushes the layers apart. It is not going to be as precisely layered as a classic puff pastry, but unless you are sitting there counting layers, you probably won't even notice. The dough puffs, rises, and gets crispy and flaky and buttery - without all the work. Count me in.
❤️ What you'll love about this recipe
- Affordable - At the time of this writing, the most popular name brand frozen puff pastry runs about $6.99. The ingredients for this homemade version come in around $1.97. Math wins.
- Easy - A food processor does most of the work in seconds. Follow the steps and photos and you will see that making your own flaky pastry dough is completely within your reach.
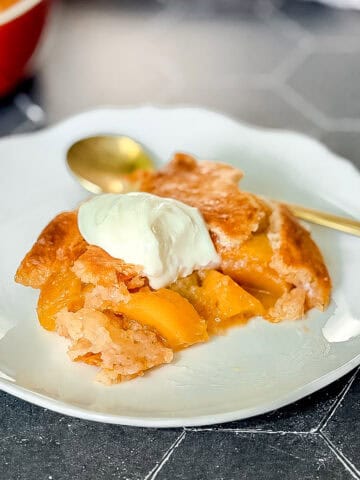
- Delicious - Once you taste homemade, you will be amazed at how much more flavor it has than store-bought. It is an especially great substitute for pie dough in recipes like my peach frangipane galette.
- Versatile - Tarts, galettes, danishes, turnovers, pot pies, and more. This dough does it all.
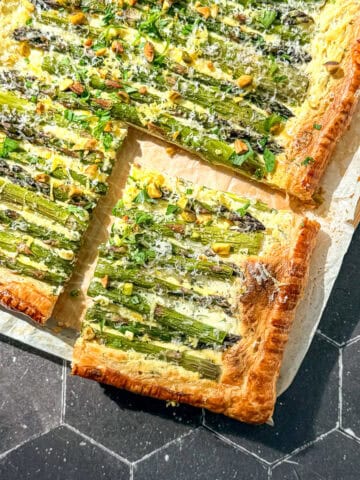
This homemade pastry would be a delicious alternative to store-bought puff pastry in my puff pastry asparagus tart. The flaky crust is topped with seasoned ricotta and fresh asparagus for an easy brunch, lunch, or light dinner.
Ingredients & Substitutions
Here is what you need to make this rough puff pastry. Just four simple ingredients - nothing fancy, nothing that requires a special trip to the store.
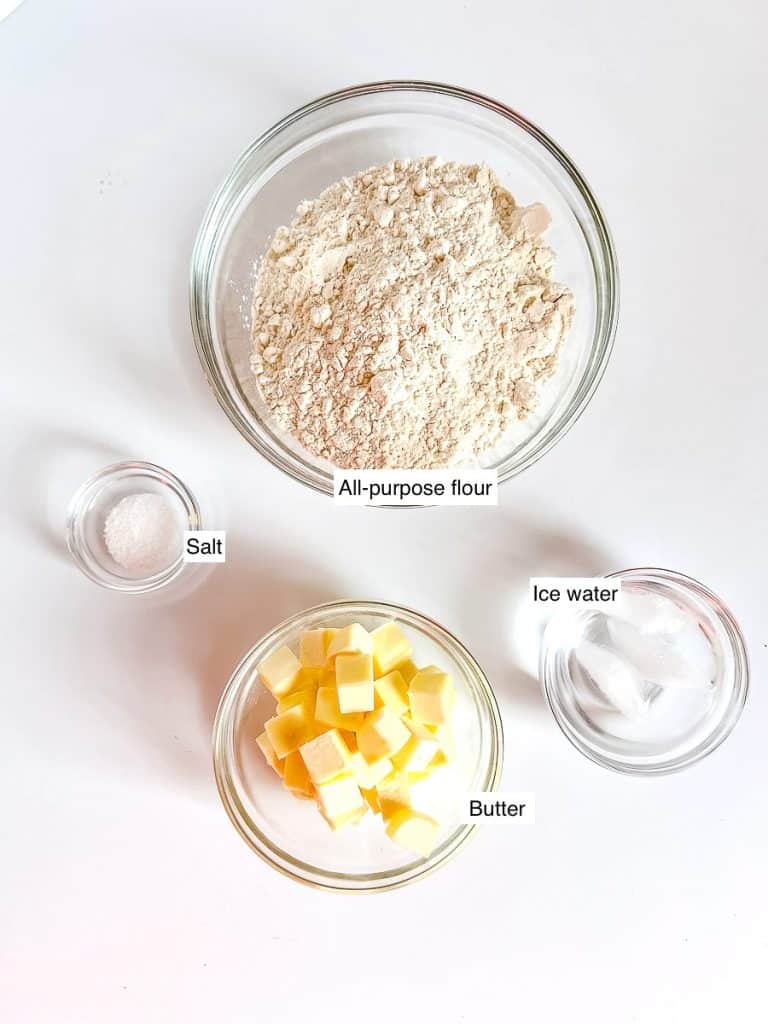
- All-purpose flour - Regular all-purpose flour is all you need here. Some traditional puff pastry recipes call for bread flour, but we are intentionally keeping the gluten content lower so the dough stays smooth and easy to roll and fold.
- Kosher salt - I use Diamond Crystal kosher salt because its crystalline structure gives you great flavor without being harsh or too salty. If you only have Morton's kosher salt, use half the amount called for. I don't recommend table salt here - the flavor can be too sharp for a simple dough like this one.
- Unsalted butter - Always unsalted so you control the salt level yourself. The sweetness of real butter really comes through in a dough with so few ingredients. You will use 4 tablespoons at cool or room temperature, and the remaining 12 tablespoons frozen.
- Ice water - I fill a cup with water and ice and dip my tablespoon in to measure. That way I get the coldest water possible and help keep everything else cold too.
Love flaky layers in everything? My no knead croissant loaf uses a similar lamination technique to create a beautiful, buttery pull-apart bread - and it is way easier than it sounds.
Instructions
Take a breath. This dough is more forgiving than it looks. Follow the step-by-step photos, check the photos, and trust the process. Shaggy and rough-looking is exactly what you want at every stage until the very end.
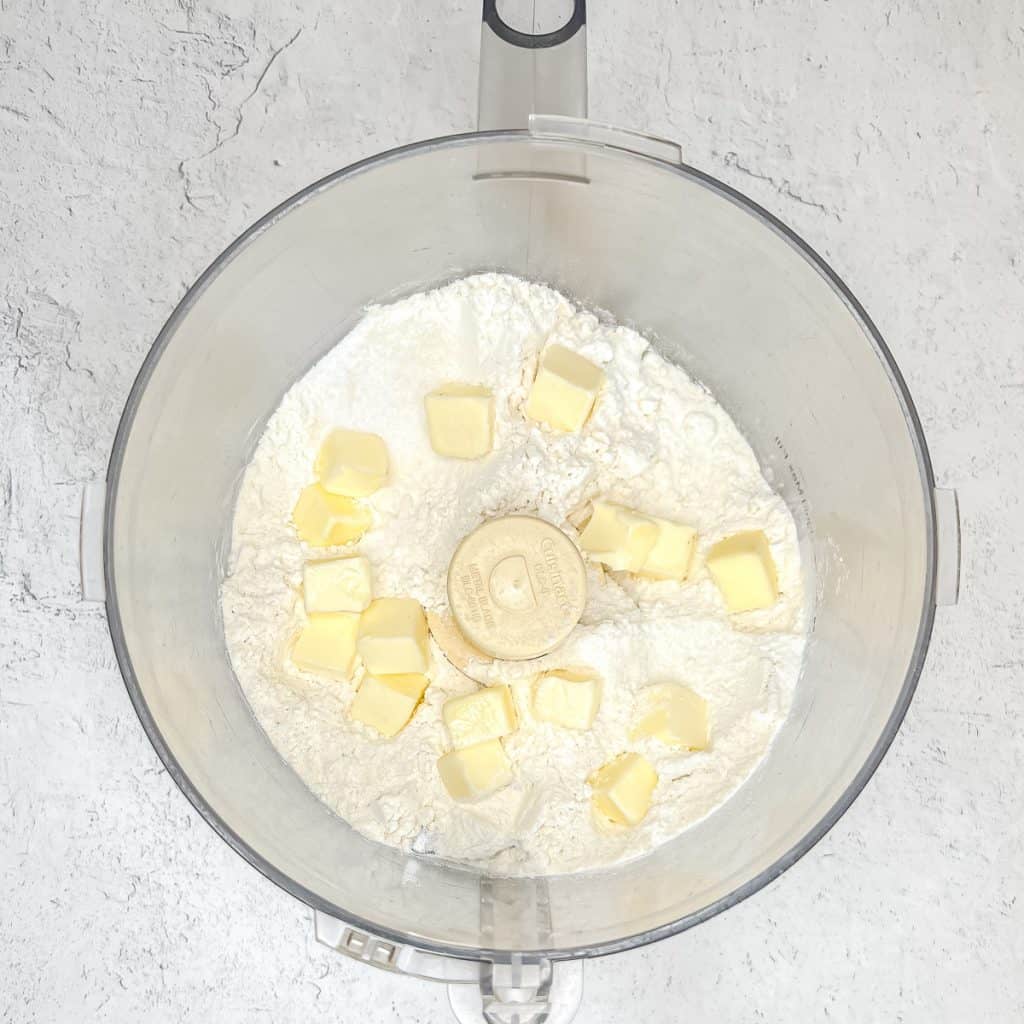
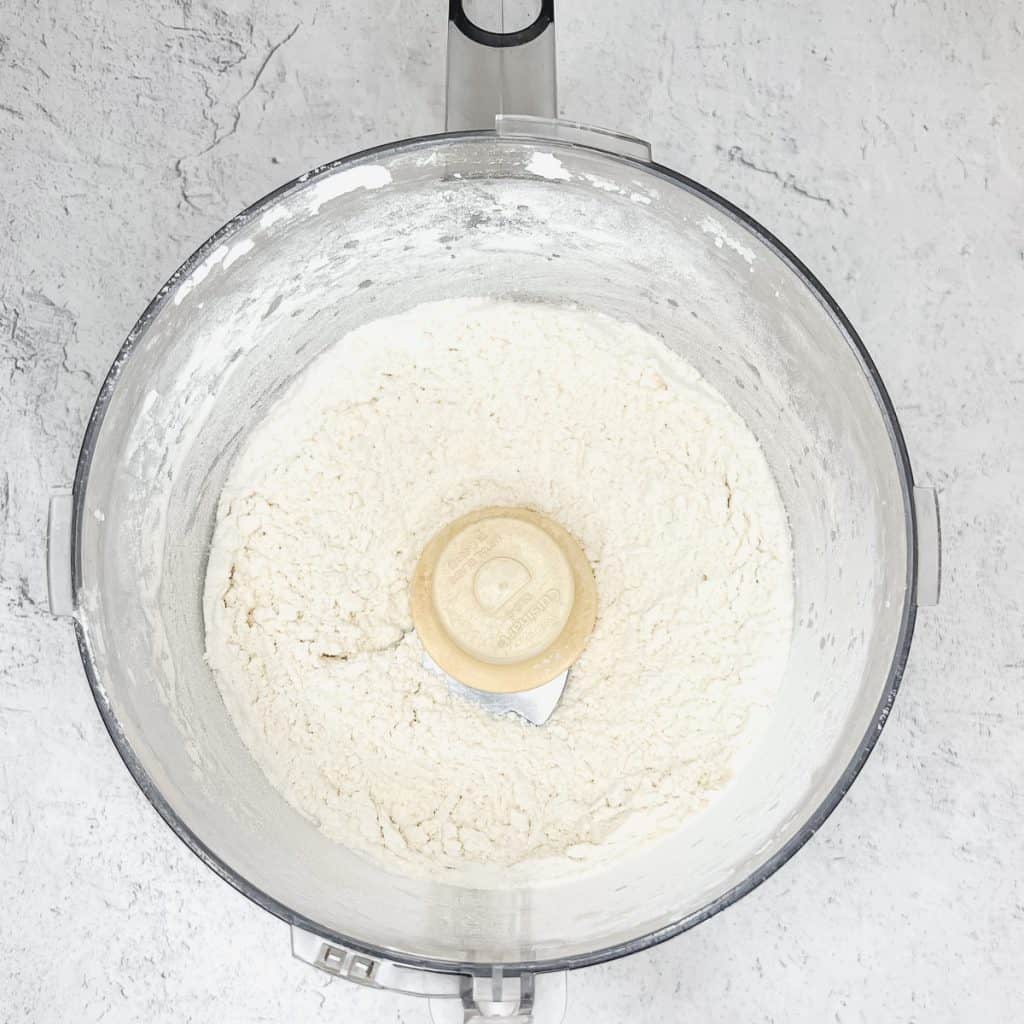
Step 1: Combine flour, salt, and some of the butter. Place the flour, salt, and 4 tablespoons of cool or room temperature butter into the bowl of your food processor. Pulse until the butter is fully incorporated and the texture looks like coarse breadcrumbs. This step coats the flour in fat, which keeps the dough tender and prevents it from getting tough when you add water.
Note: The reason I have you fully incorporate part of the butter into the flour is because the fat helps break down the gluten into shorter strands (think of tender shortbread, which starts in a similar way). Coating the flour in butter also prevents the flour from absorbing too much of the water, reducing the formation of gluten, making the dough more pliable when rolling out.
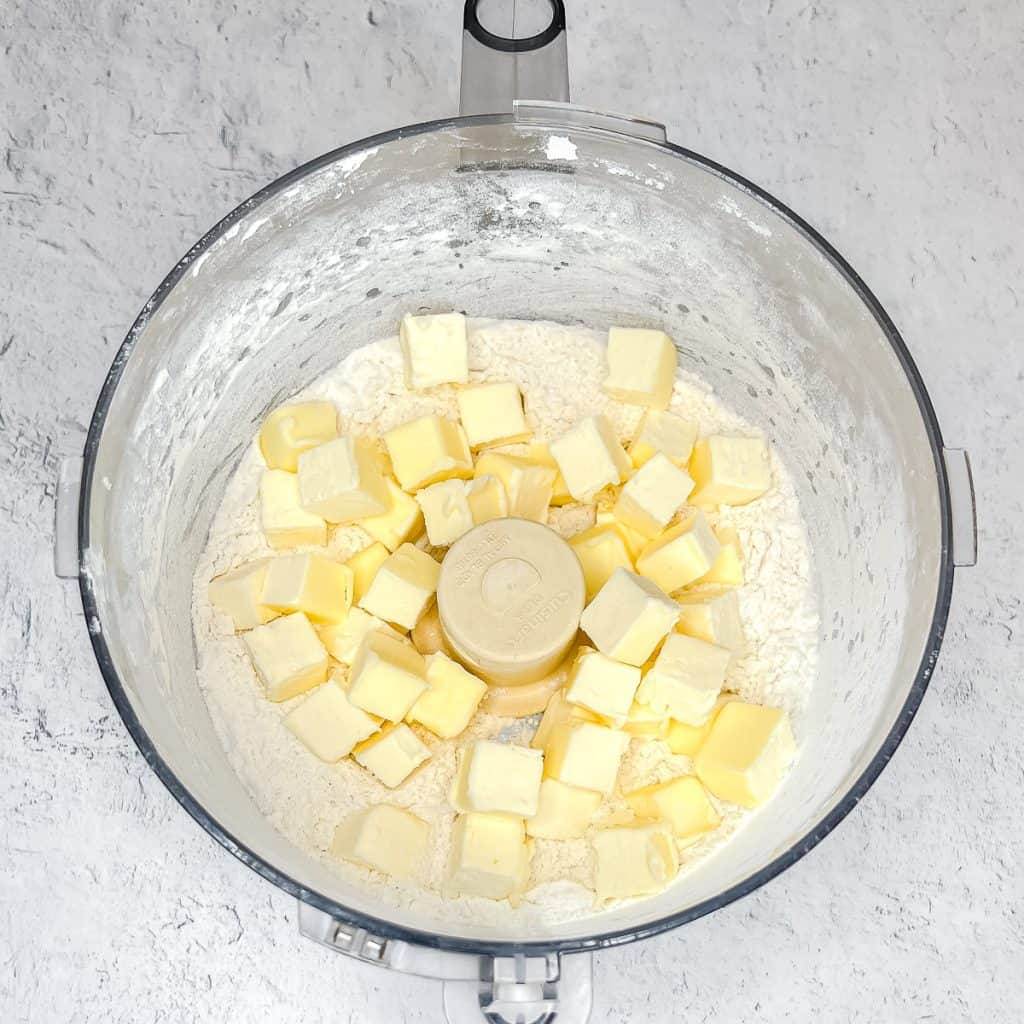
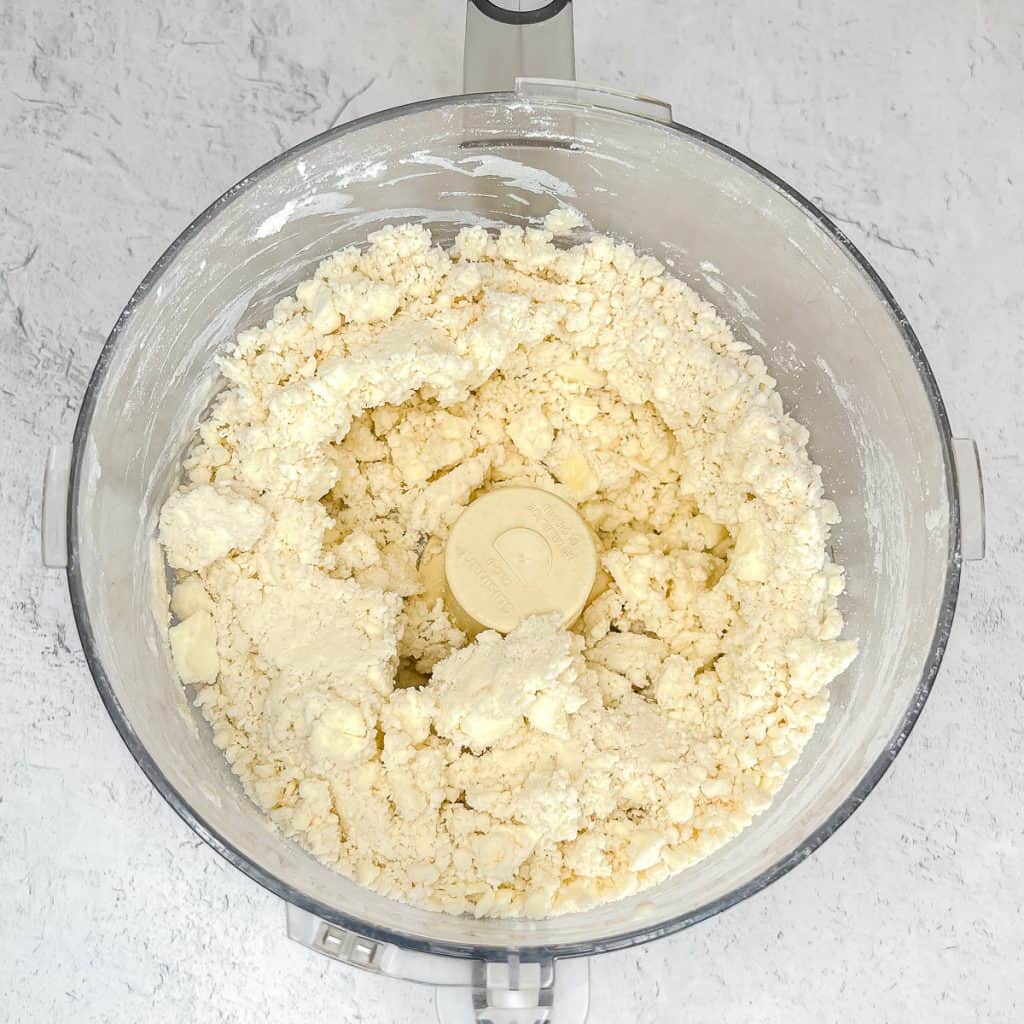
Step 2: Add frozen butter and ice water. Add your frozen butter chunks to the flour mixture. Pulse 4 times, about one second each. Add 3 tablespoons of ice water and pulse twice. Add 3 more tablespoons of cold water and pulse two final times. The mixture will look shaggy and loose and like it is not holding together at all - that is exactly right. If you still have a lot of dry flour at the bottom, add one more tablespoon of water and pulse once.
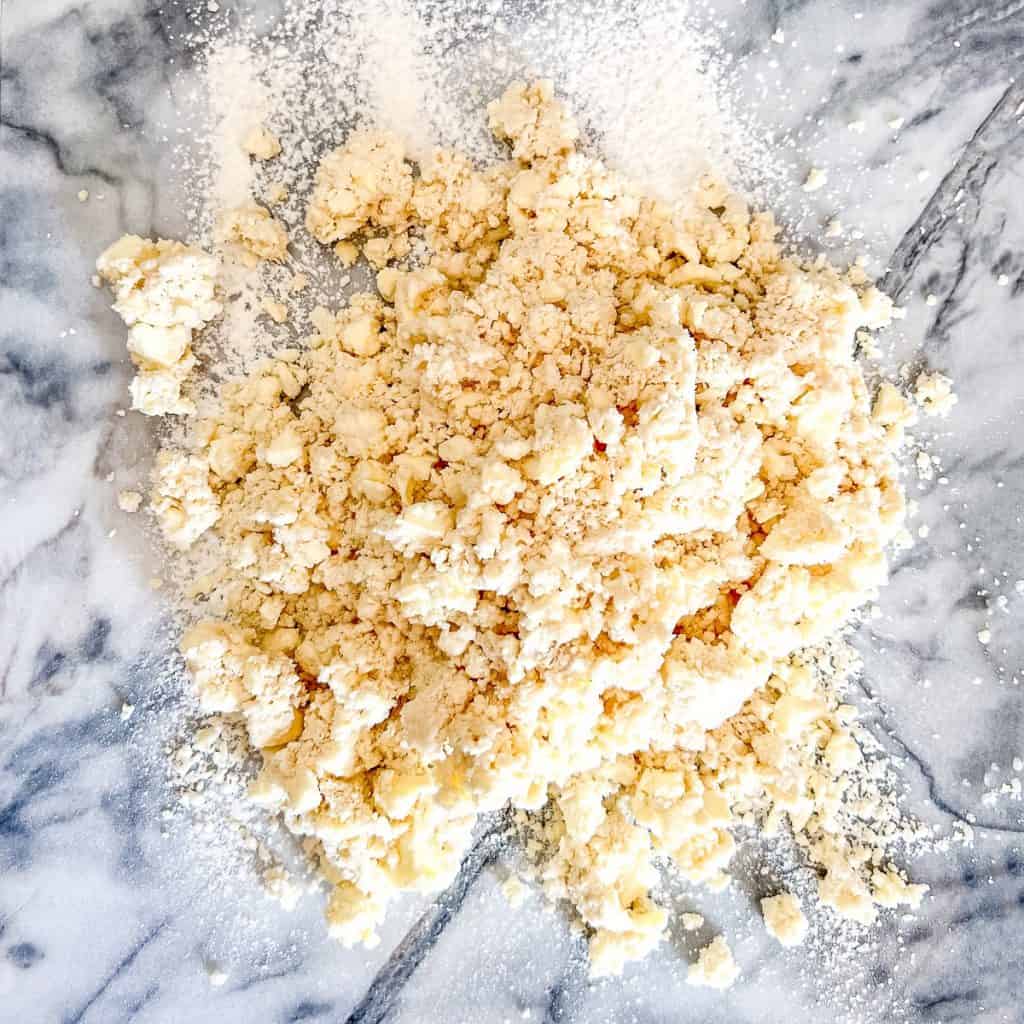
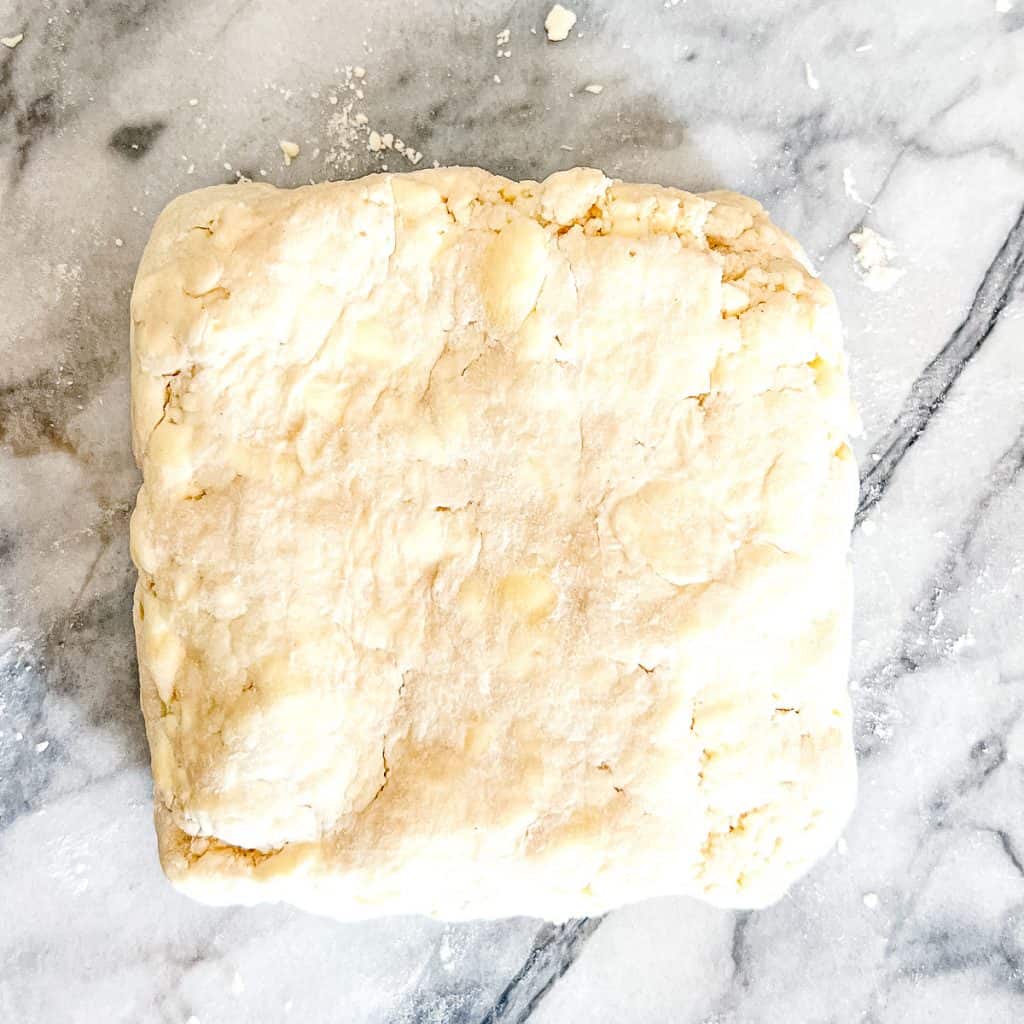
Step 3: Form into a dough. Dump the shaggy dough onto a lightly floured surface. Using a bench scraper and your hands, press and gather everything into a rough 1-inch thick square. It does not need to look smooth or polished. Wrap in plastic wrap and refrigerate for at least 30 minutes and up to one hour.
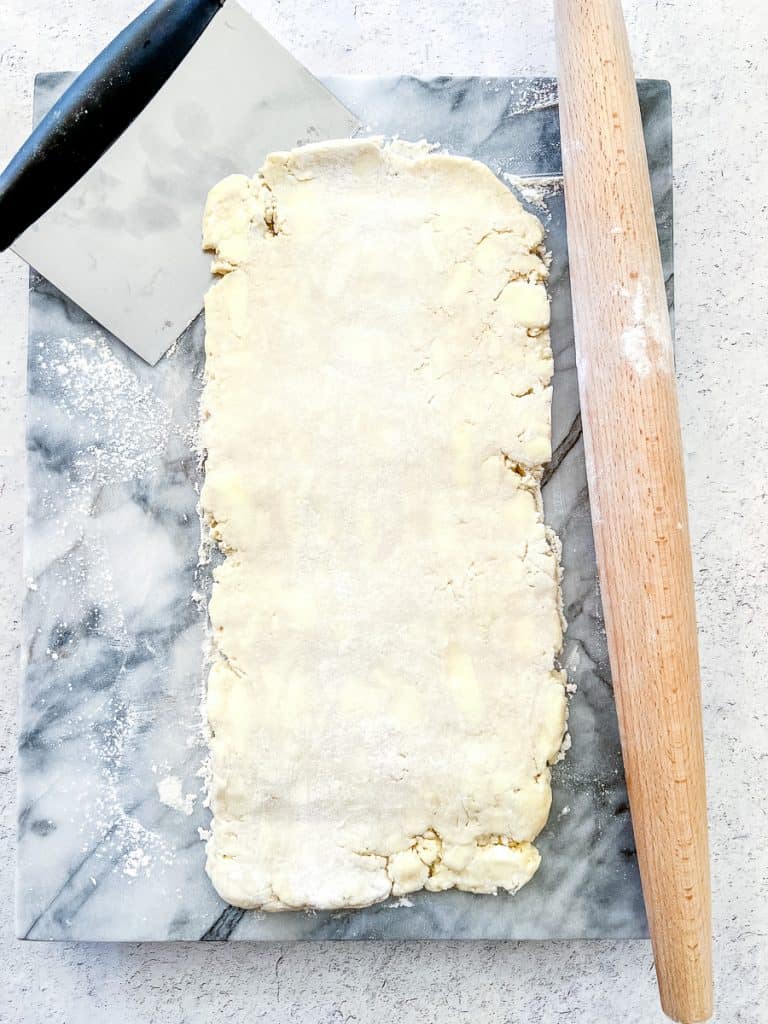
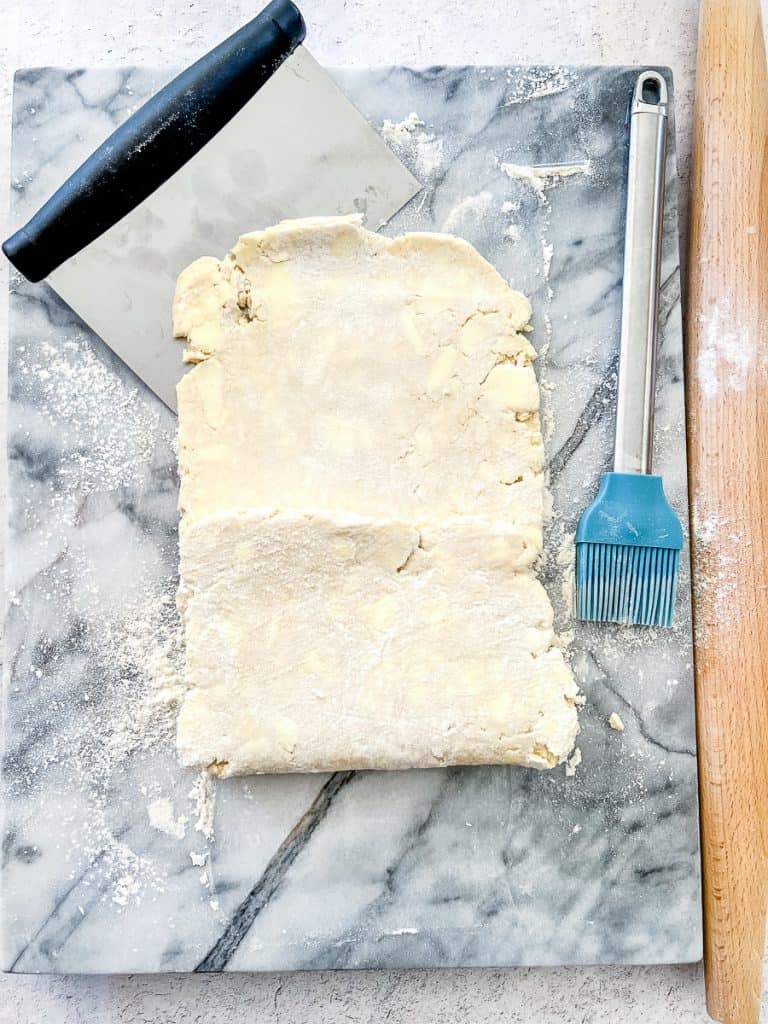
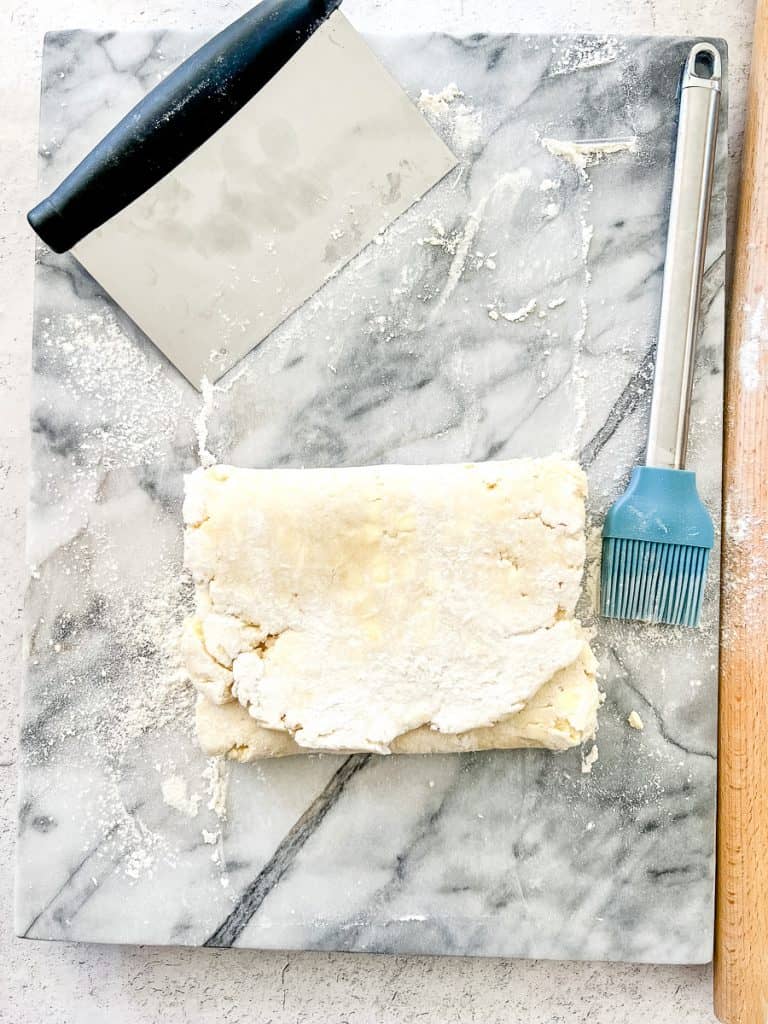
Step 4: First set of folds. Place your rested dough on a lightly floured surface. Roll it out to about a 15-by-6-inch rectangle, roughly ¼ inch thick. Exact measurements are not critical - just aim for that general shape. Use a bench scraper to keep the sides as straight as possible. Fold the bottom third of the dough up over the center, then bring the top third down over that, like you are folding a letter. You have just completed your first fold! (I like to use a pastry brush to brush off any excess flour as I am folding.)
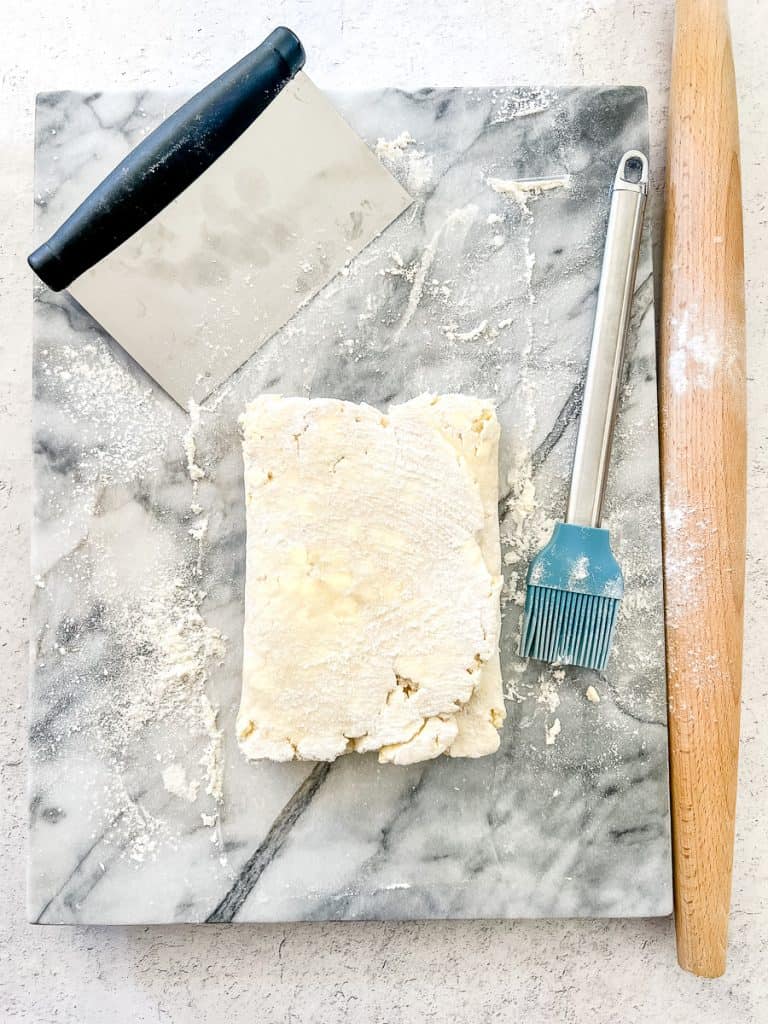
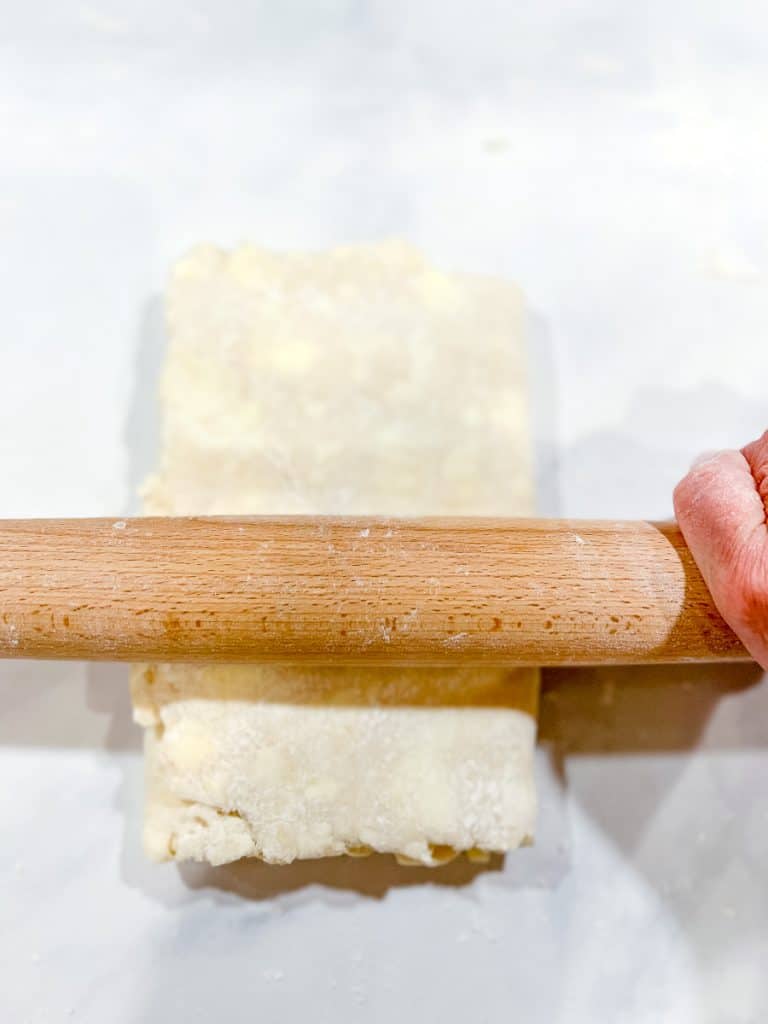
Step 5: Continue folding. Turn the dough 90 degrees so the open ends are now facing up and down. Roll back out to your 15-by-6-inch rectangle and repeat the letter fold. You will complete 6 total folds. Turn and roll and fold, turn and roll and fold - the rhythm becomes automatic after the second one.
if at any time your dough starts to feel too soft, wrap it back up in the plastic wrap and place it into the refrigerator for 30 minutes. Go have a cup of coffee and relax. I find that usually happens between my third and fourth fold.
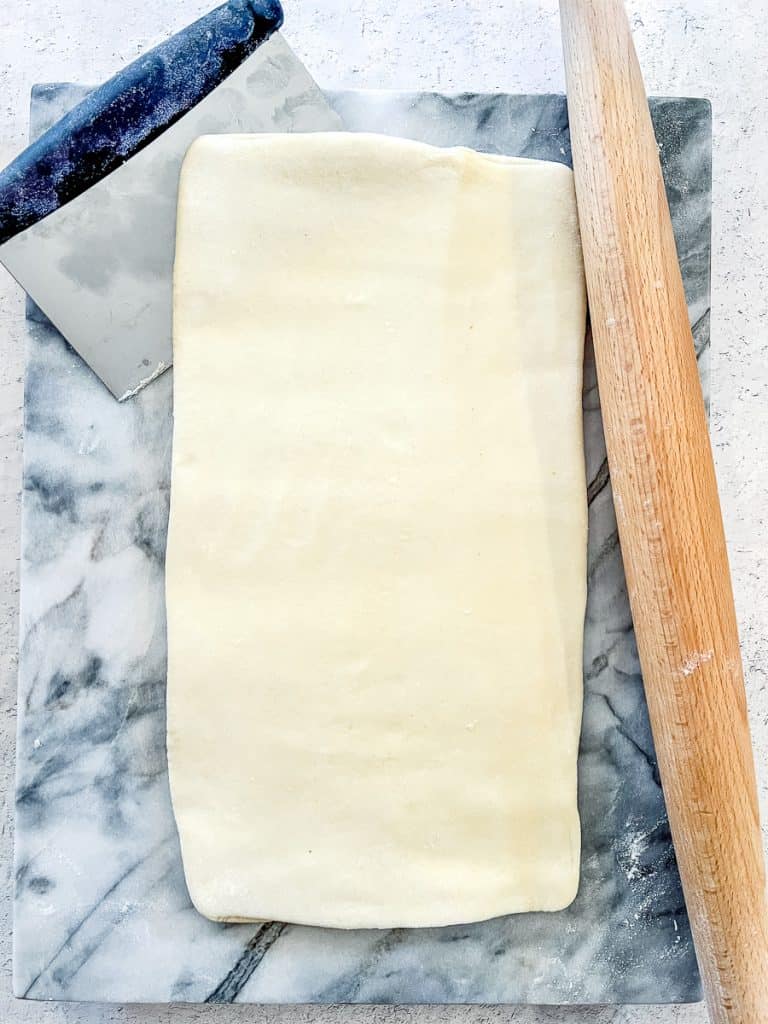
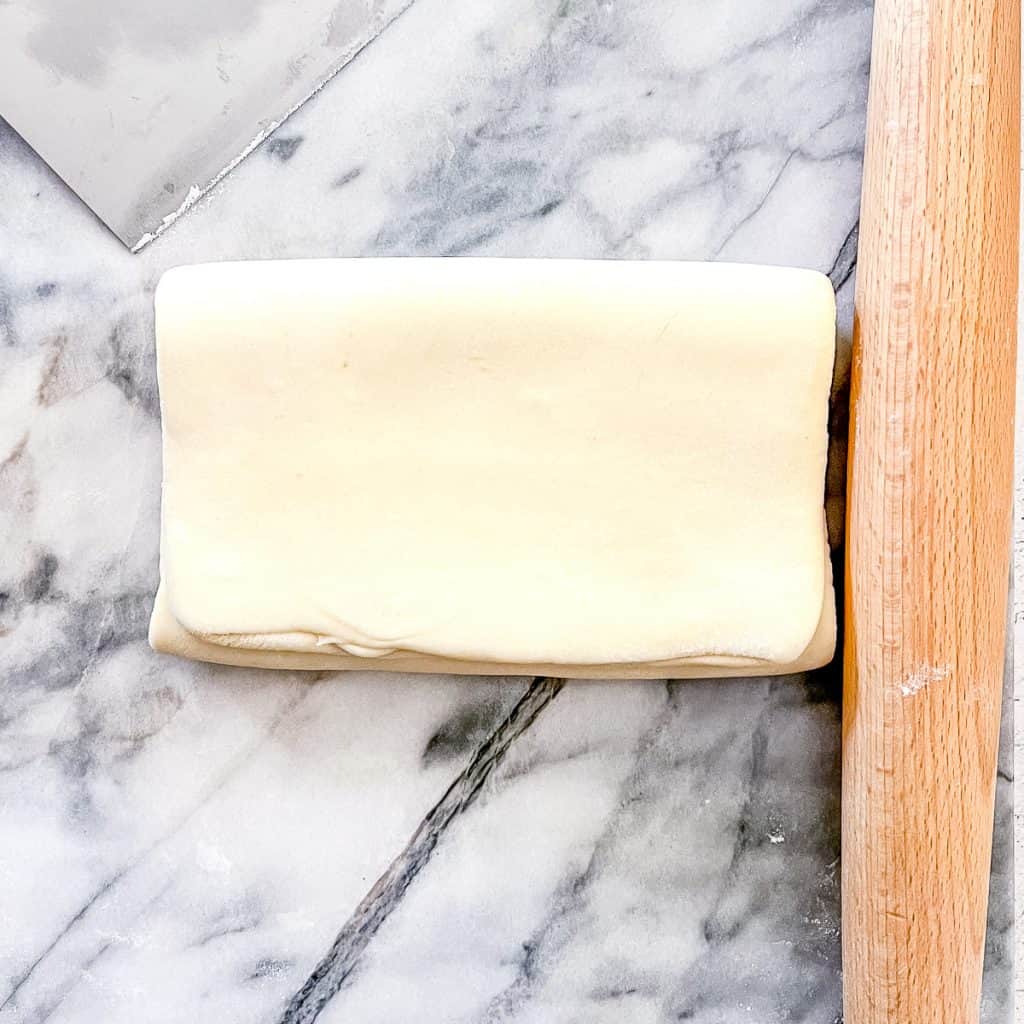
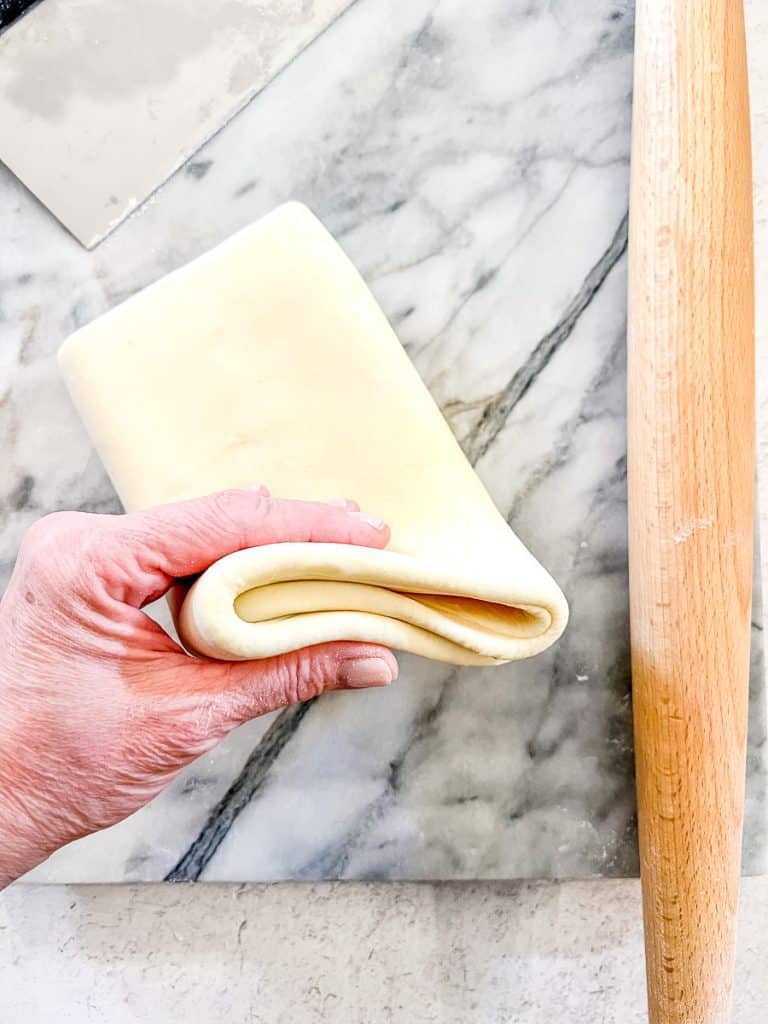
Step 6: Final folds. Roll out for the sixth and final time, complete your fold, and you are done. The dough should look smooth and feel slightly elastic. What an amazing difference from the first fold to the final fold. Look what you've done!
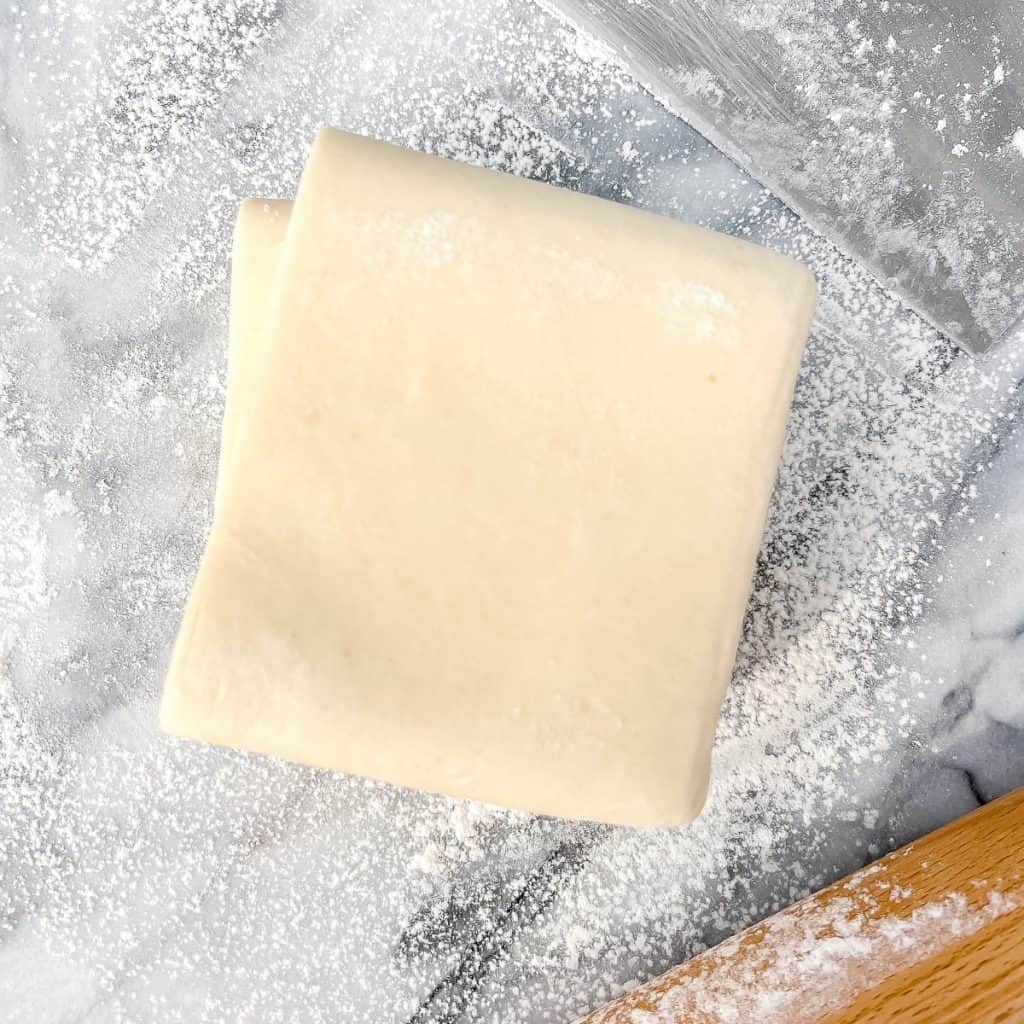
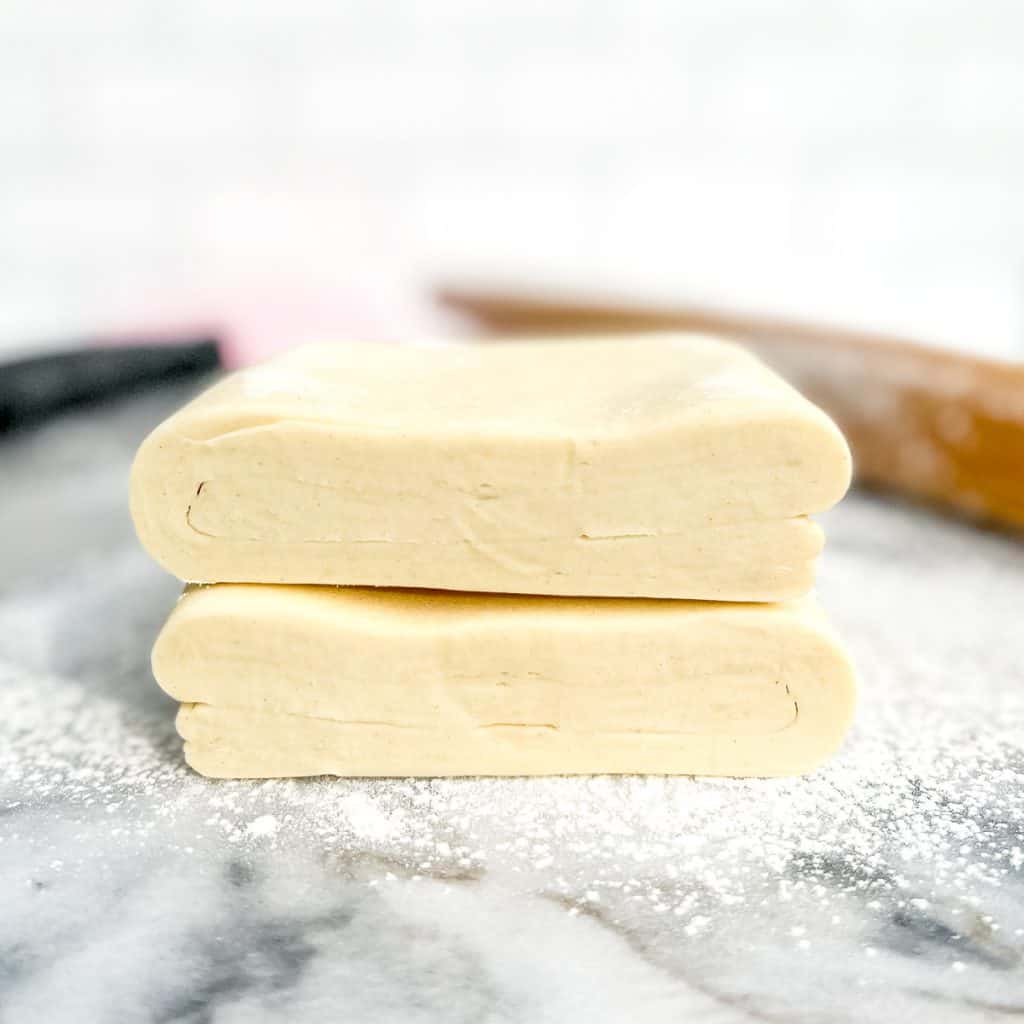
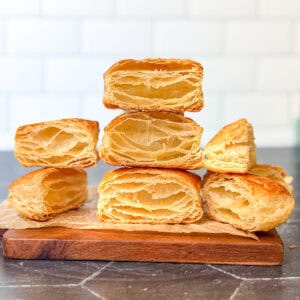
Note: If you were to slice into your puff, you would be able to see the layers peeking out from the sides.
Cynthia's Recipe Review
Whenever I have time, I like to stock my freezer with this rough puff pastry. It bakes up flaky and golden with real visible layers, and it tastes so much better than anything from the grocery store. Every time I pull a tray of something made with this dough out of the oven, I'm ridiculously happy. Once you make it yourself, you will be too ❤️

Cynthia's Helpful Tips
- Sticking dough - If the dough is sticking to the surface, use your bench scraper to loosen it and dust a little flour underneath. Don't add too much or the dough can become dry.
- Butter pieces poking out - If any butter is sticking out the sides, tuck it back into the middle before folding so it stays incorporated.
- Excess flour on the surface - Use a pastry brush to sweep away any extra flour from the top of the dough before each fold. You don't want to roll dry flour back into the layers.
- Dough feeling too soft - If the butter starts to soften or the dough feels squishy, stop, press a few fingers into the top to mark which fold you are on, wrap in plastic, and refrigerate for 30 minutes before continuing.
- Keeping track of your folds - Six folds sounds easy to track, but you'd be surprised. I learned this trick from my friend Rebecca from thepracticalkitchen.com. Put six small snacks on the counter - pretzels, M&Ms, whatever you have - and eat one each time you complete a fold. It's a little like rewarding a parrot, but I ain't mad at it. Highly effective. Highly delicious.
Storage instructions
Refrigerator: When all six folds are done, wrap the dough tightly in plastic wrap and refrigerate for at least 2 hours. This gives the flour time to fully hydrate and the butter time to firm back up before baking.
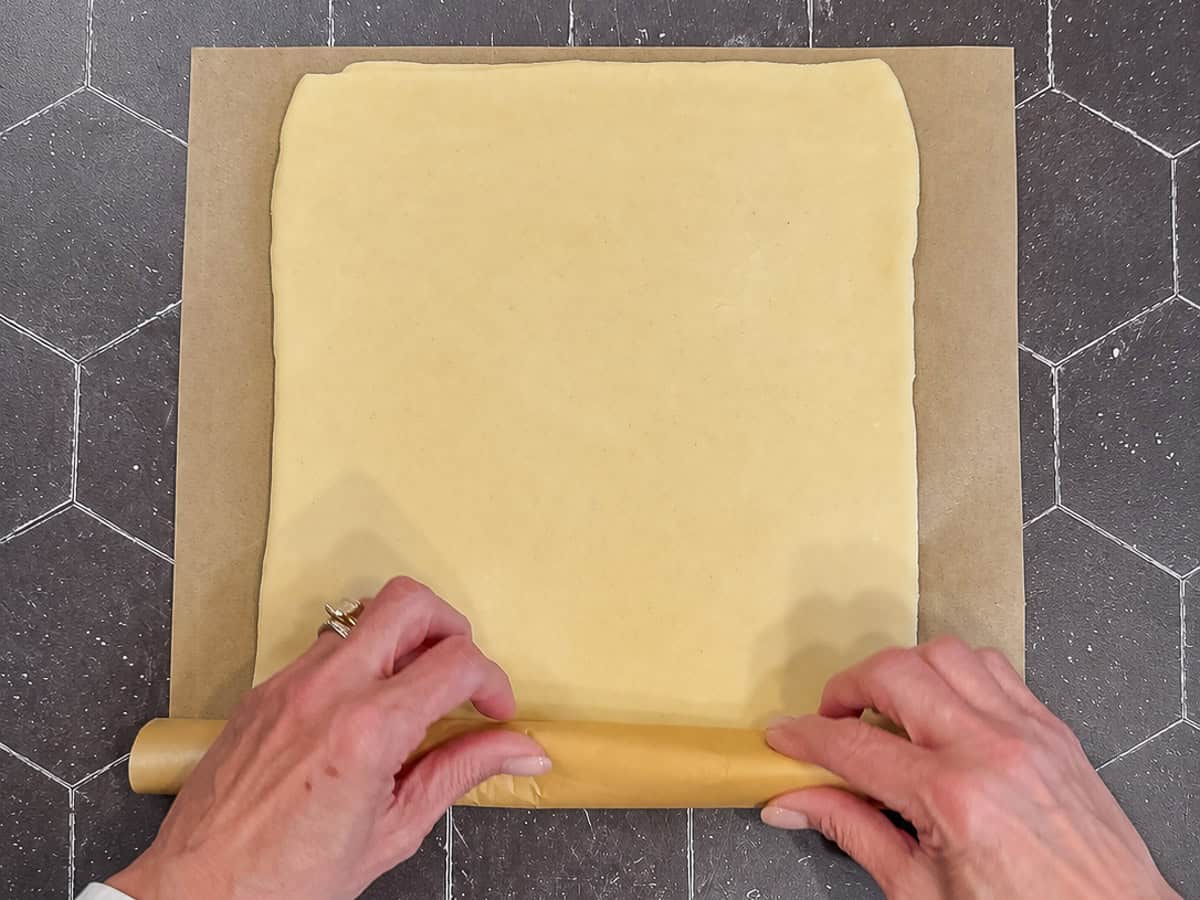
For ease of use later, you can roll your puff pastry out to about the size of a piece of parchment paper. Then roll it up and wrap it in plastic and place in the refrigerator.
Freezer: After allowing the dough to rest in the fridge for at least 2 hours, place the dough in a freezer bag or wrap again in aluminum foil. Freeze for up to 2 months. To defrost, move it to the refrigerator overnight before using.
What can I make with Rough Puff Pastry?
If you are looking for ways to use up your homemade pastry, my full collection of dessert recipes is a great place to start.
Anything you can make with store-bought puff pastry, or even pie dough, you can make with this. Tarts, galettes, danishes, turnovers, pot pies, hand pies - this dough handles it all beautifully.
One of my favorite things to make are Palmiers and Papillons, simple French sugar cookies made by rolling puff pastry out over sugar, folding it, slicing, and baking. The sugar caramelizes in the oven and you get this shattery, crispy, sweet little cookie that you never knew you needed. Highly recommended.
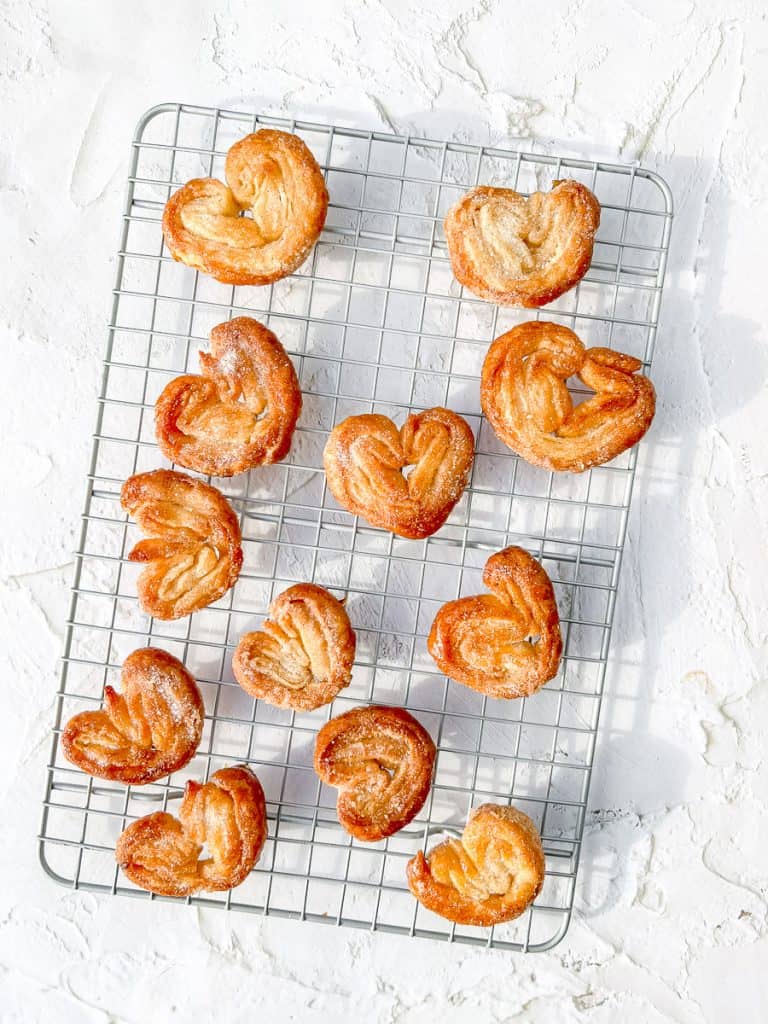
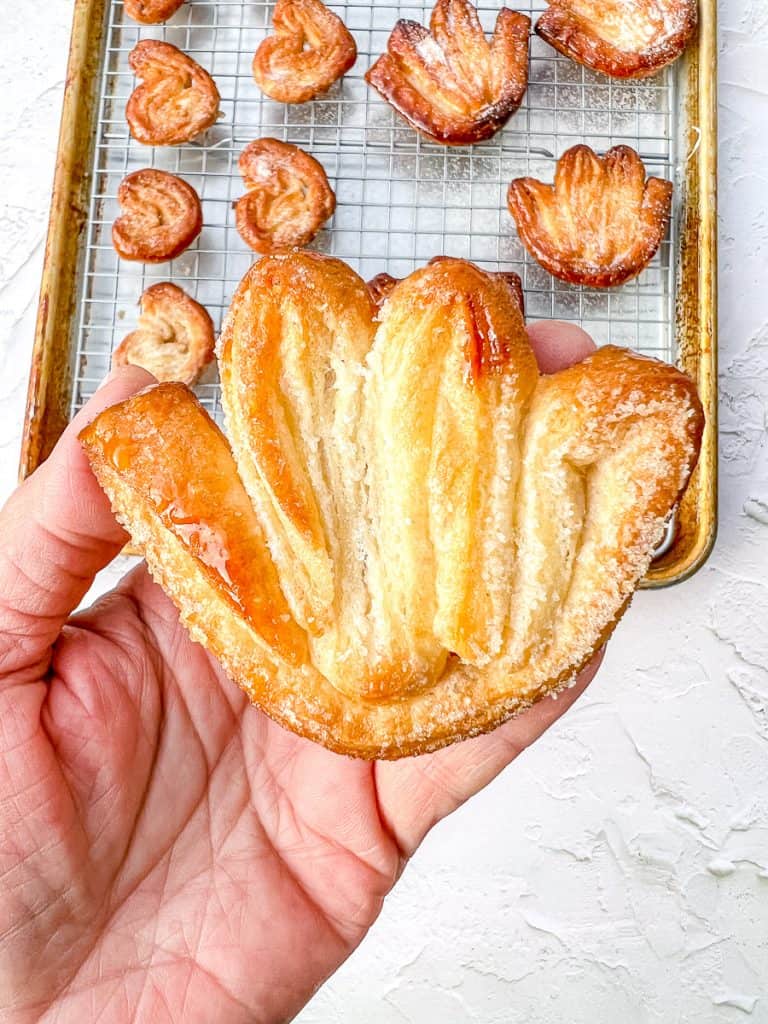
Recipe FAQs
Yes. Use a box grater to grate your frozen butter directly into the flour mixture, then use your fingers or a pastry cutter to work in the room temperature butter. Mix in the ice water with a fork until the dough just comes together. It takes a little more elbow grease but works just as well.
You can, but reduce the added salt by half. The flavor of the butter really comes through in a simple dough like this one, so unsalted gives you the most control.
The room temperature butter gets fully worked into the flour first, which coats the flour proteins and keeps the dough tender. The frozen butter stays in visible chunks that flatten during folding and create those flaky layers when they hit the oven. Both steps matter, so don't skip either one.
Nope. That shaggy, rough, barely-holding-together look is exactly right at this stage. It will come together as you press and fold. Trust the process.
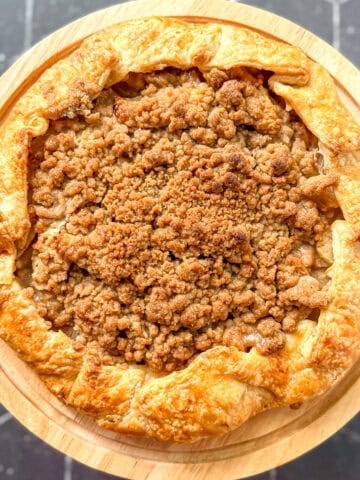
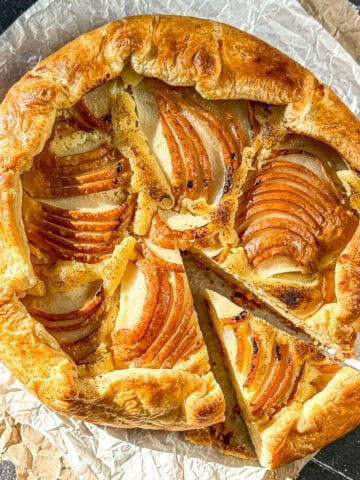
Absolutely. Tarts, galettes, turnovers, danishes, pot pies, hand pies - if a recipe calls for puff pastry, this works. The flavor is actually better than most frozen versions, so don't be surprised when people ask where you bought it.
No. Croissant dough has yeast, which helps it to rise even higher than puff pastry. If you were to add yeast to this recipe, you would get more along the lines of what is known as a danish dough. Also delicious!
📖 Recipe
Quick and Easy Rough Puff Pastry
Recommended Equipment
Ingredients
- 1 ½ cups (180 g) all-purpose flour
- 2 sticks (226 g) unsalted butter divided
- ½ teaspoon kosher salt
- 6 - 7 tablespoons (90 g) ice water
Instructions
- Cut 2 sticks (16 tablespoons) of butter into small pieces. Place 12 tablespoons into the freezer for 30 minutes. Leave the remaining 4 tablespoons out on the counter.
- Place flour and salt into the food processor and pulse to combine. Add the 4 tablespoons of unfrozen butter into the food processor and run until completely incorporated.
- Add frozen butter and pulse 4 times (1 second each pulse.) Add 3 tablespoons of the water and pulse twice. Add 3 more tablespoons of water and pulse 2 more times. If there is still a lot of dry flour, you can add one more tablesppon of water. It will not look cohesive or form a ball.
- Dump onto a lightly floured counter and press together into a 1 inch thick square. If there are little flour bits still at the bottom of the bowl, dump them into the center of your square and fold the dough over to cover them. Those bits will hydrate while you rest your dough. Press back into a 1 inch square. Wrap in plastic and refrigerate 30 minutes to an hour.
- Lightly flour your work surface and place the dough down. Sprinkle a bit of flour on top of the dough and on your rolling pin. Roll into a rectangle approximately 15 inches by 6 inches.
- Fold the bottom third of the dough over the center and the top third down over that. Each time you roll the dough out into a rectangle, fold up and then down, is a fold. This is your first fold.
- Turn the dough 90° and again roll out to a 15 inch by 6 inch rectangle. Repeat the folding process; fold the bottom third up and fold the top third down. This is your second fold.
- Repeat this four more times, for a total of 6 folds. If the dough becomes warm or too soft, wrap it back up in plastic wrap and place it in the refrigerator for 30 minutes. I usually do this between folds three and four.
This is the best recipe for flaky light buttery puff crust ever!! I don’t have a food processor so I used a pastry cutter to chop it all together. I did add 1/4 cup of sugar to the recipe. I used the dough to make peanut butter and apple turn overs. Before placing in oven I brushed them with egg whites and coated the tops with sugar. Thank you for the help!!
Oh my gosh, everything about this sounds amazing! Glad you like the recipe!