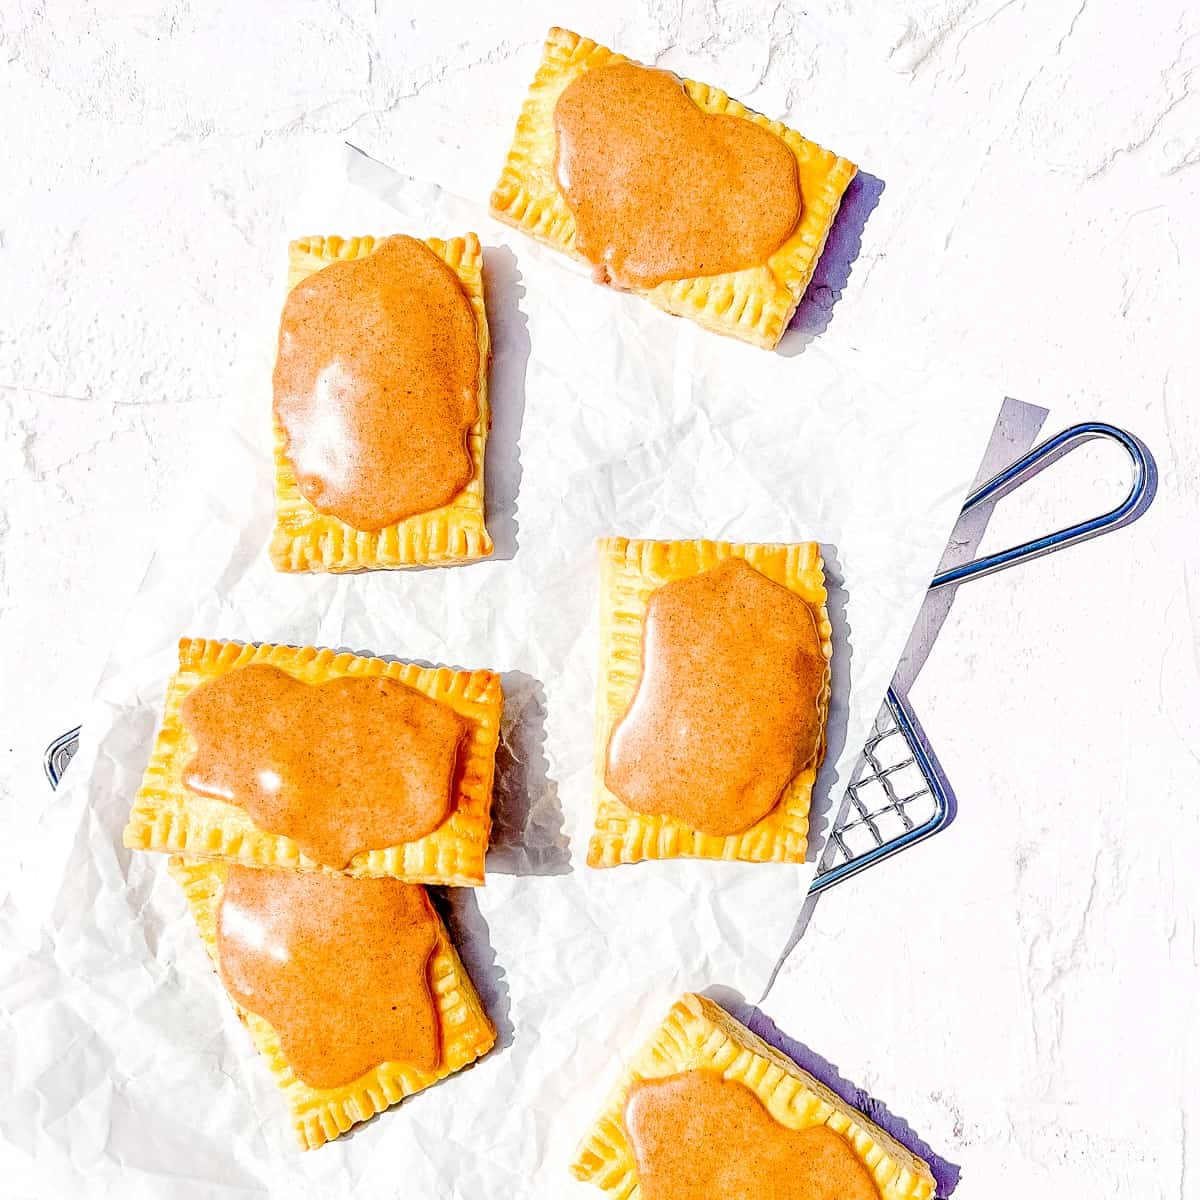
A nod to my kids' childhood favorite - these are the best Brown Sugar Cinnamon Pop Tarts you'll ever taste! With a flaky, buttery crust and a sweet cinnamony filling - you'll savor every bite!
Save This Recipe! 💌
When they were little, my three daughters were absolutely obsessed with Brown Sugar Cinnamon Pop Tarts. So was I. Let's be honest - we still love them today!
One of the wacky things about being a baker is, if there is a brand of a baked good that you love, you are compelled to make it from scratch. Like a biological imperative. So I did... and they're even better than the original. Not so wacky now, am I?
⭐︎ Looking for more after school snacks? Try my Homemade Cracker Jacks or my easy Puff Pastry Pizzas!
Jump to:
Ingredients
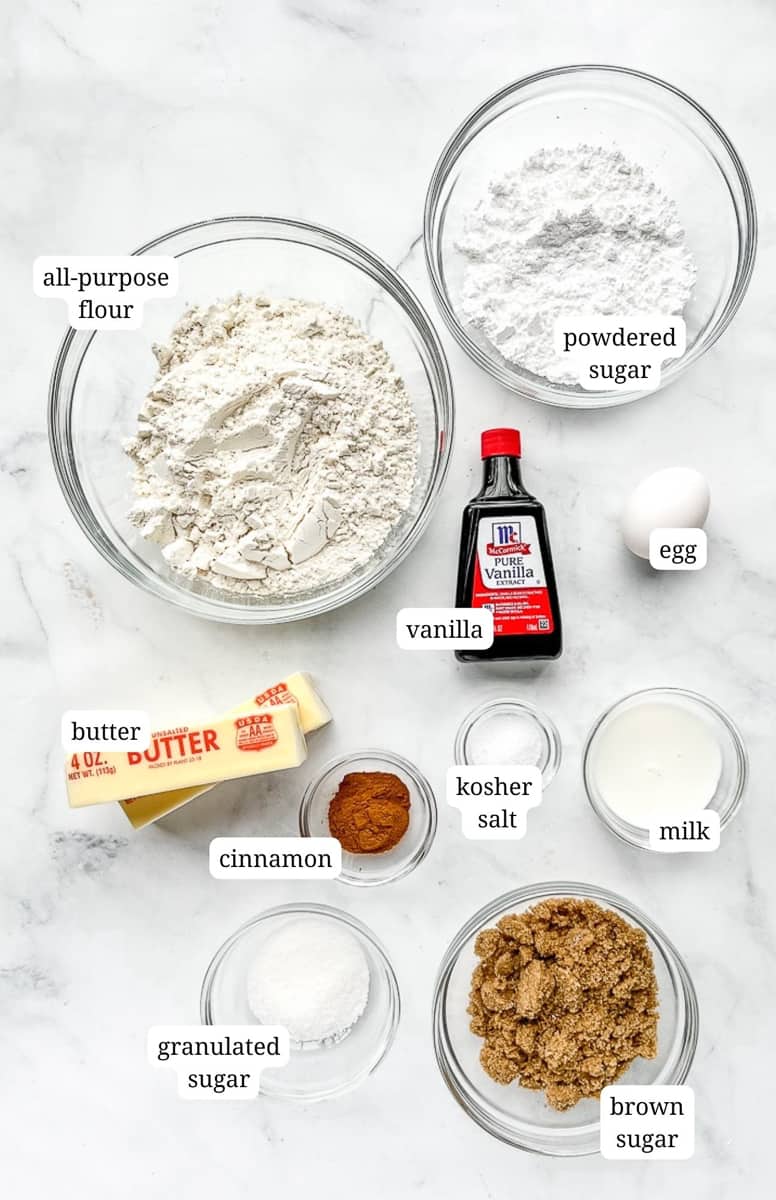
Everything you need to make this recipe is probably in your pantry right now! Unlike the original Brown Sugar Cinnamon Pop Tarts (you know the ones) you and your kids will not leave a pile of crumbly crust edges on the plate. This recipe has a tender, buttery crust and a sweet cinnamony filling - and you'll eat them down to the last bite!
Have extra cinnamon? Make my Apple Waffles. A delicious brown sugar batter is flavored with cinnamon and filled with fresh apples for a delightful breakfast anyone would love!
Substitutions
It's absolutely possible to make these into vegan brown sugar pop tarts, if you just swap out a few ingredients.
- Butter - instead of using dairy butter, substitute an equal amount of vegan butter.
- Milk - use your preferred non-dairy milk, such as almond milk.
- Egg wash - 2 tablespoons of almond milk whisked with 1 teaspoon of agave nectar will give you the shine and the browning effect of a regular egg wash.
You can also swap the crust with my Easy Puff Pastry or store bought dough.
Variations
Although we all know that brown sugar and cInnamon are the superior flavors for a pop tart, there are actually other ones that are pretty darn good:
- Strawberry - in a small saucepan combine 1 tablespoon water, 1 tablespoon cornstarch, and ¾ cup strawberry preserves. Boil for 2 minutes and then cool completely. Use 1 tablespoon filling in each pop tart. For frosting, skip the cinnamon and add a tablespoon of jam.
- Chocolate hazelnut - fill your pop tart with Nutella and top with chocolate ganache!
- Apricot almond - fill your pastries with apricot jam, top with a simple vanilla frosting, and sprinkle on top with sliced almonds.
Step-by-Step Instructions
In this recipe, I use a food processor to make the dough. This helps to incorporate the butter into smaller pieces, for slightly more compact crust. Unlike the tender flaky layers in my regular pie crust, I wanted this to be just a bit sturdier. It is a hand pie after all.
Making these pastries might look complicated, but broken down into steps, it's actually not really hard. Like my son-in-law says: "How do you eat an elephant? One bite at a time." We aren't eating an elephant, but the point is the same - take it one step at a time:
Step 1: Make the dough
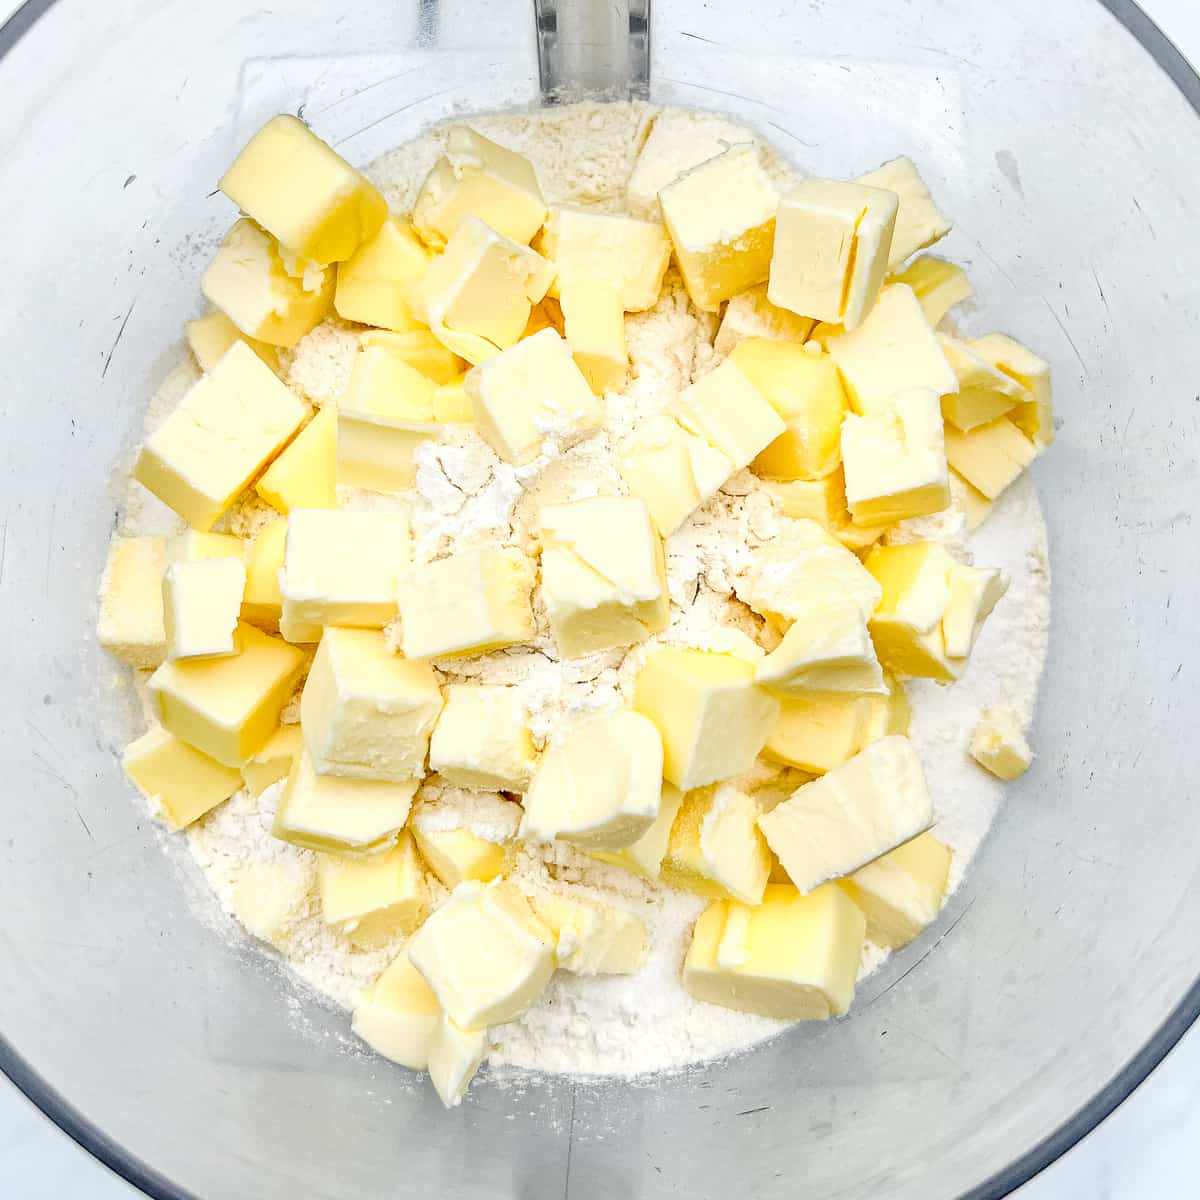
1a. Place flour, sugar, salt, and butter in the bowl of your food processor.
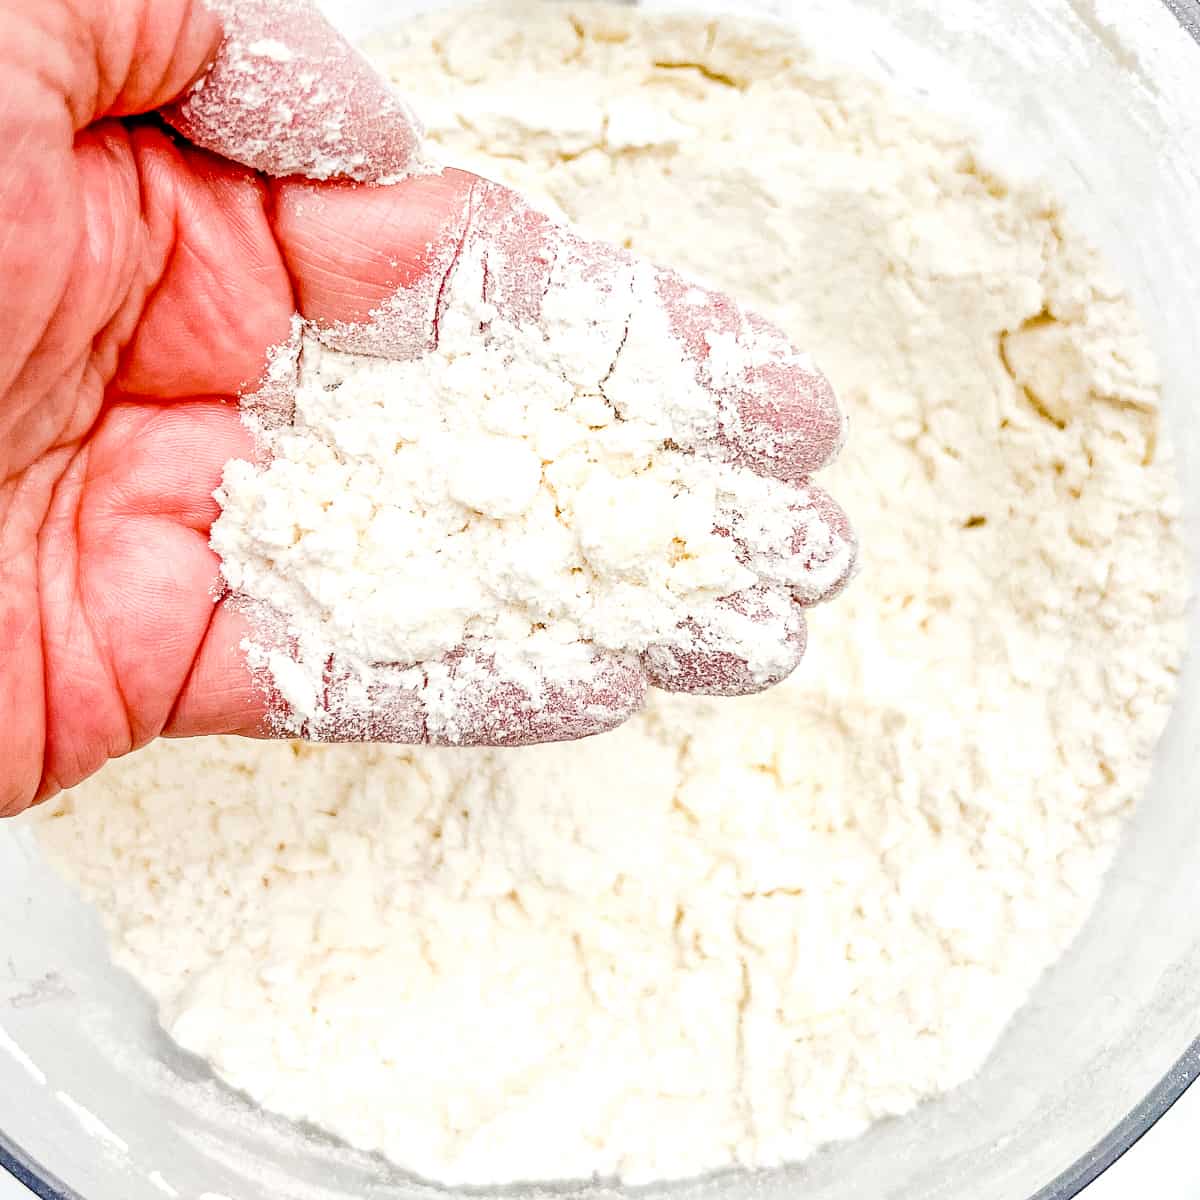
1b. Pulse until it the butter is incorporated into the dry ingredients in a combination of small and large pieces.
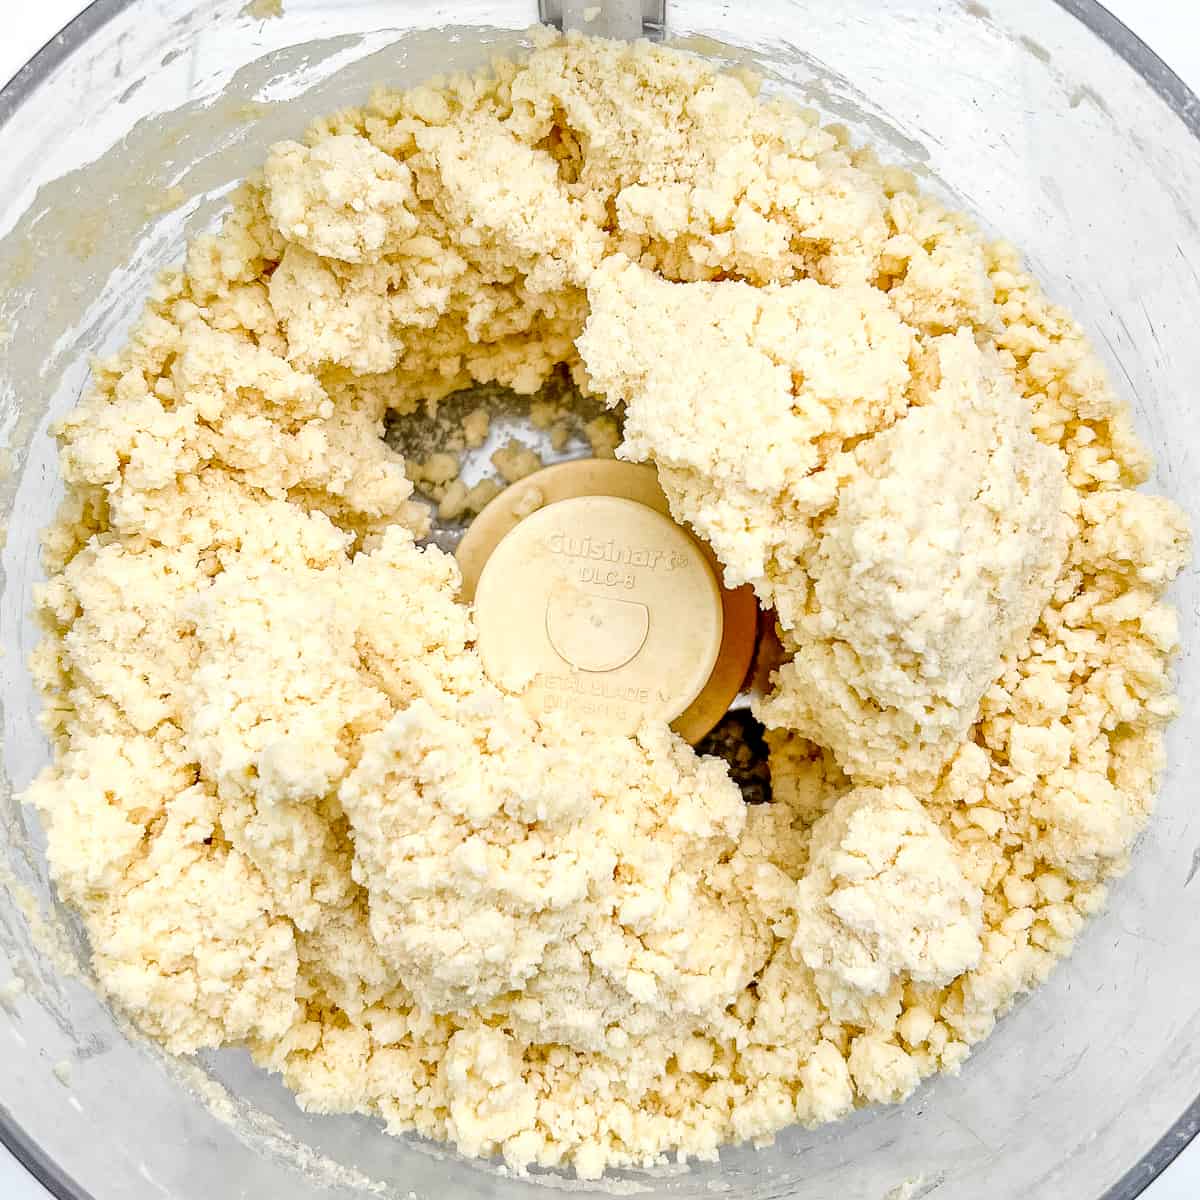
1c. Add ice water and lemon juice and pulse until the dough just comes together.
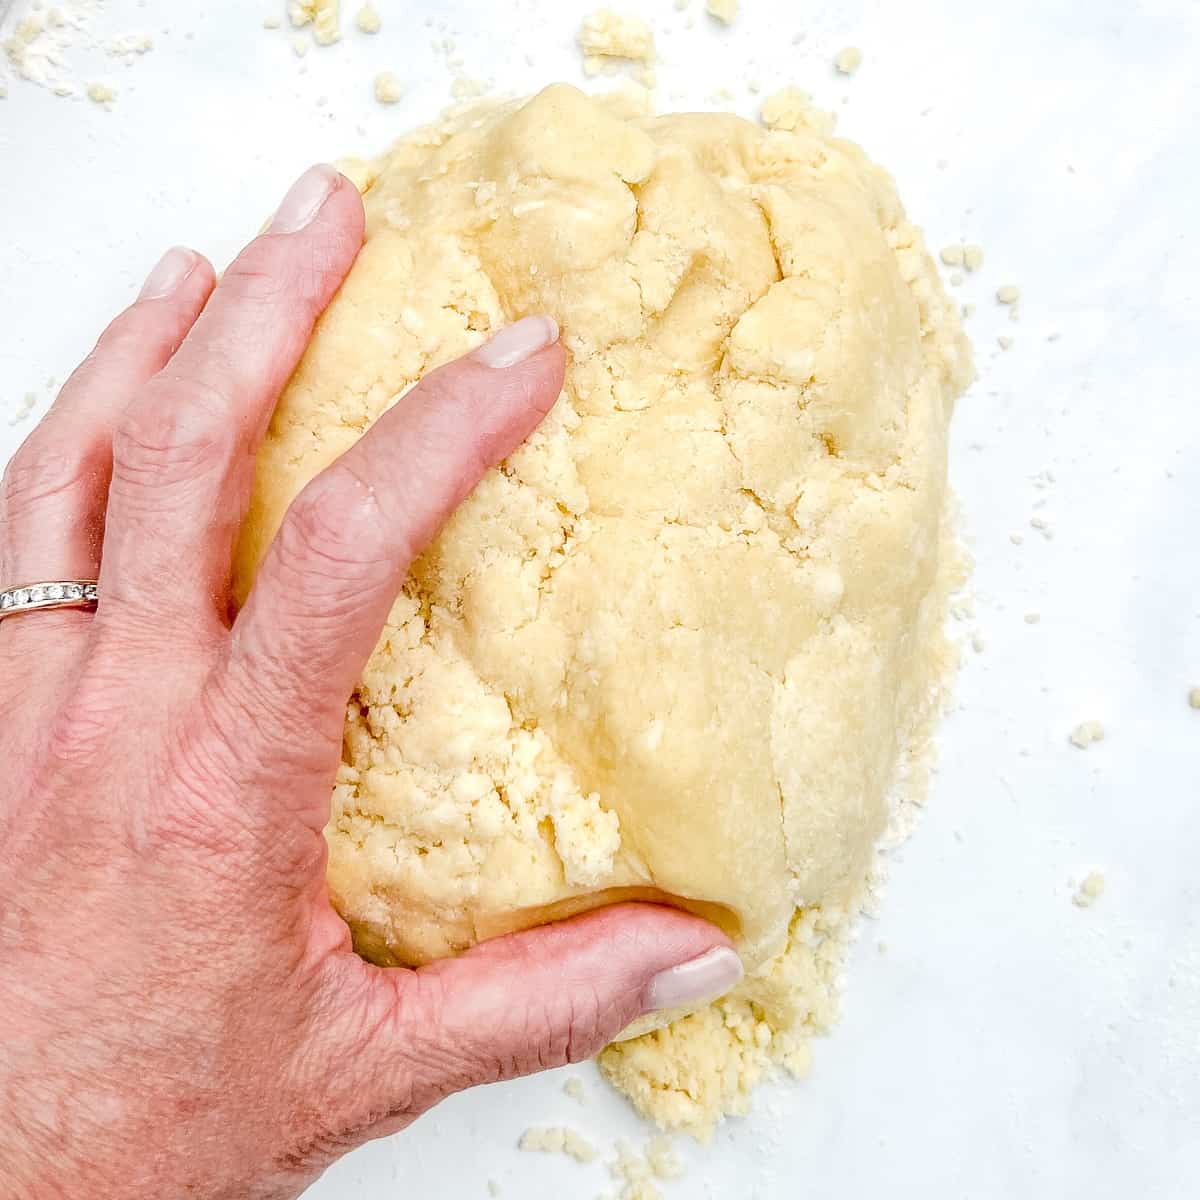
1d. Gather the dough together on a lightly floured surface. Divide into two even amounts and wrap each tightly in plastic. Refrigerate for 30 to 60 minutes.
Step 2: Make the filling
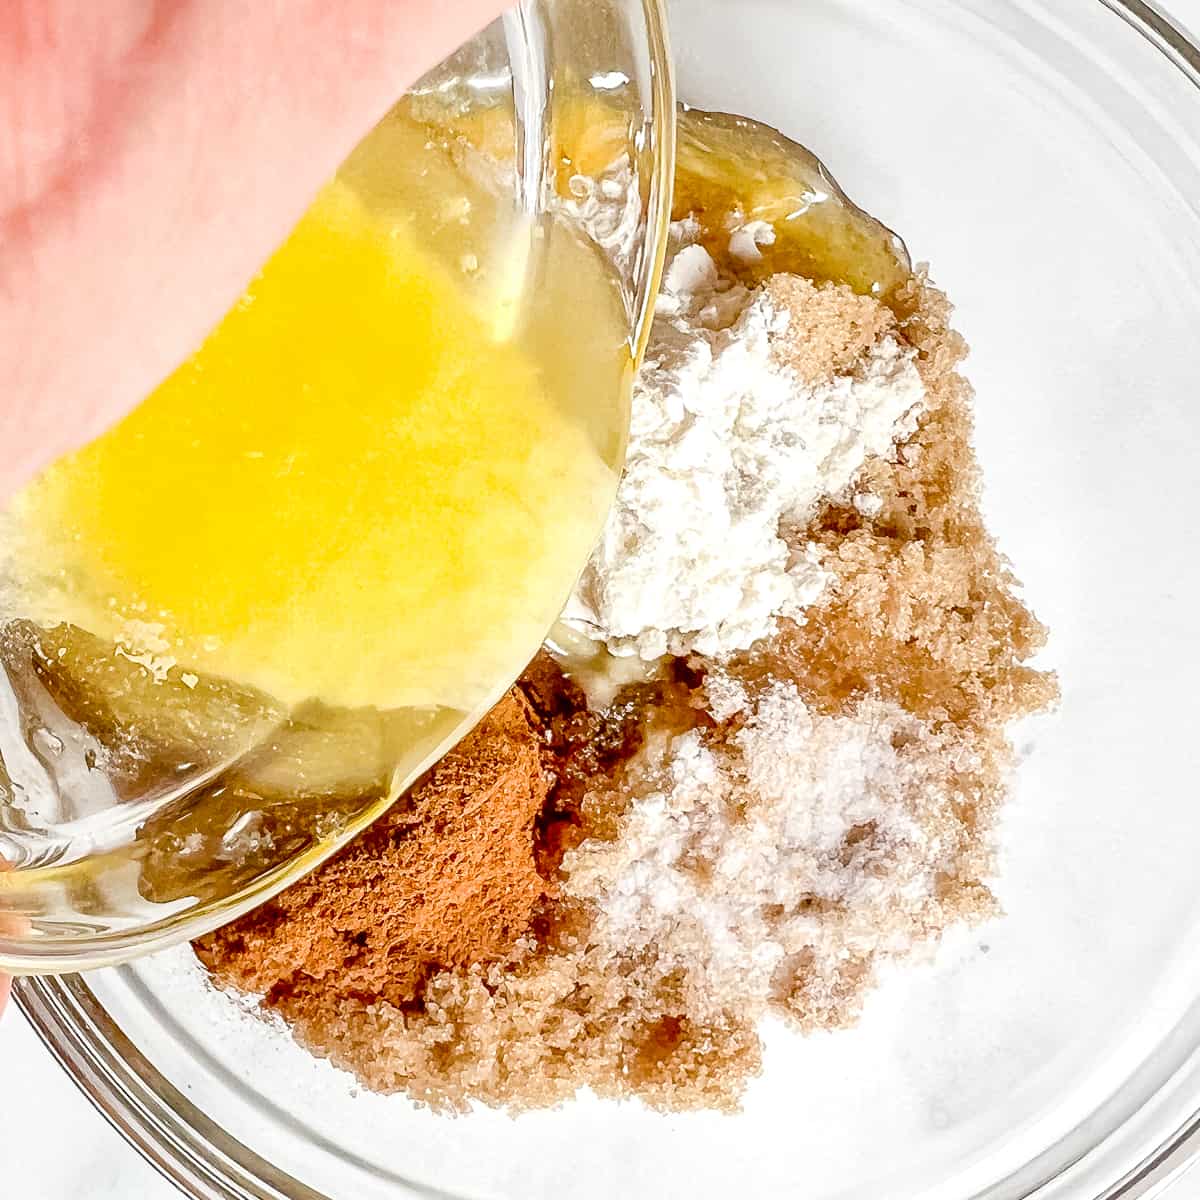
2a. Mix together brown sugar, flour, cinnamon,and salt. Pour melted butter over the top.
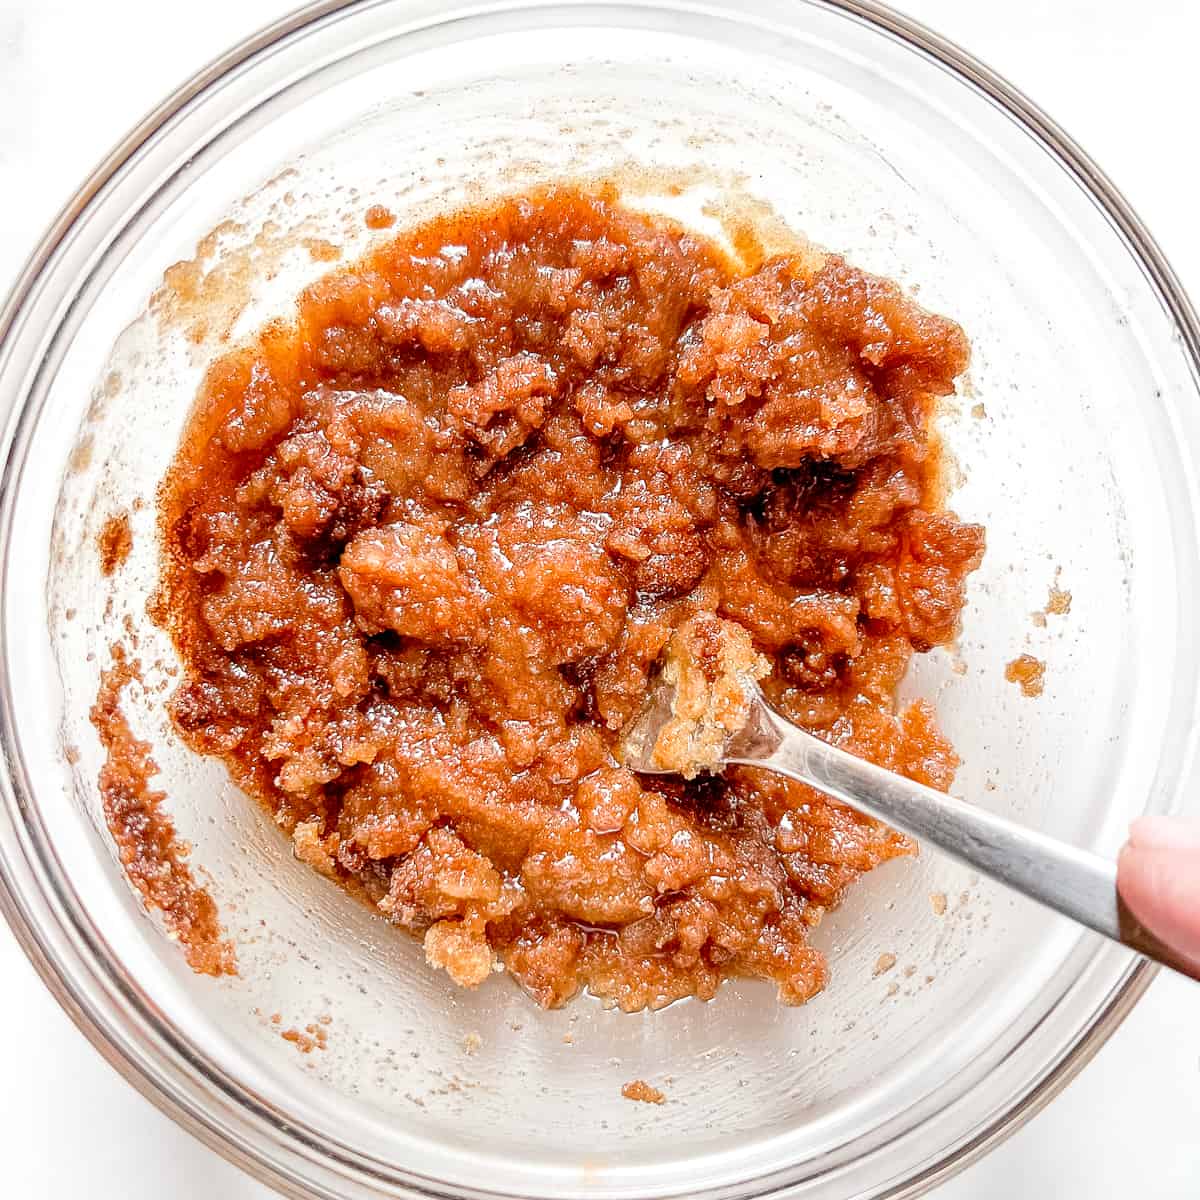
2b. Use a fork to mix all the ingredients together.
Step 3: Assemble and Bake
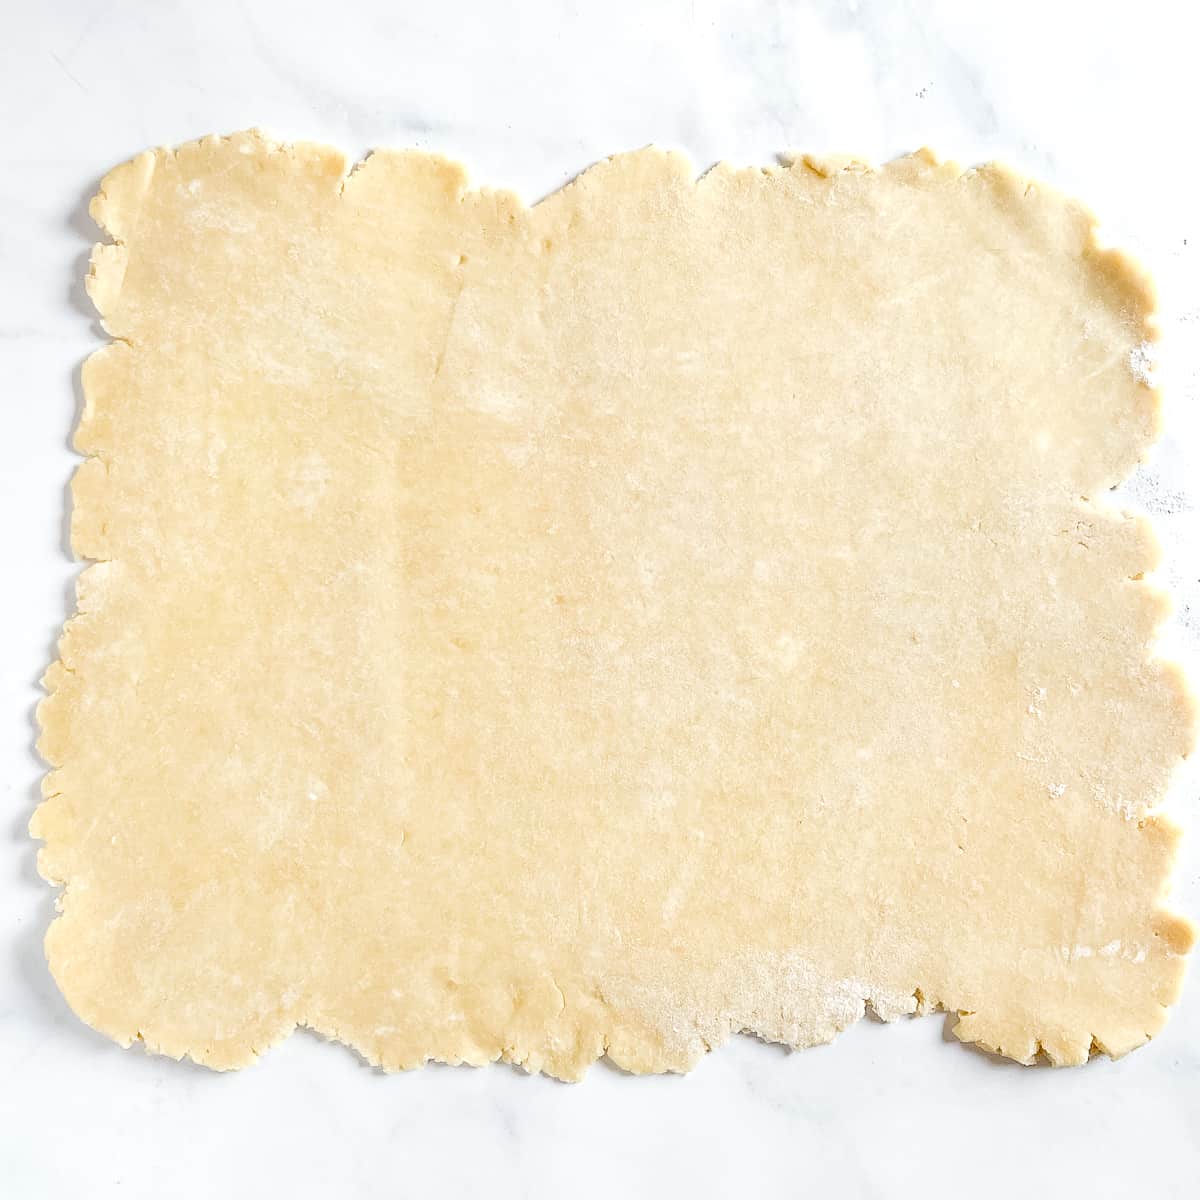
3a. Roll one piece of dough out to a large rectangle, approximately 13 inches by 9 inches.
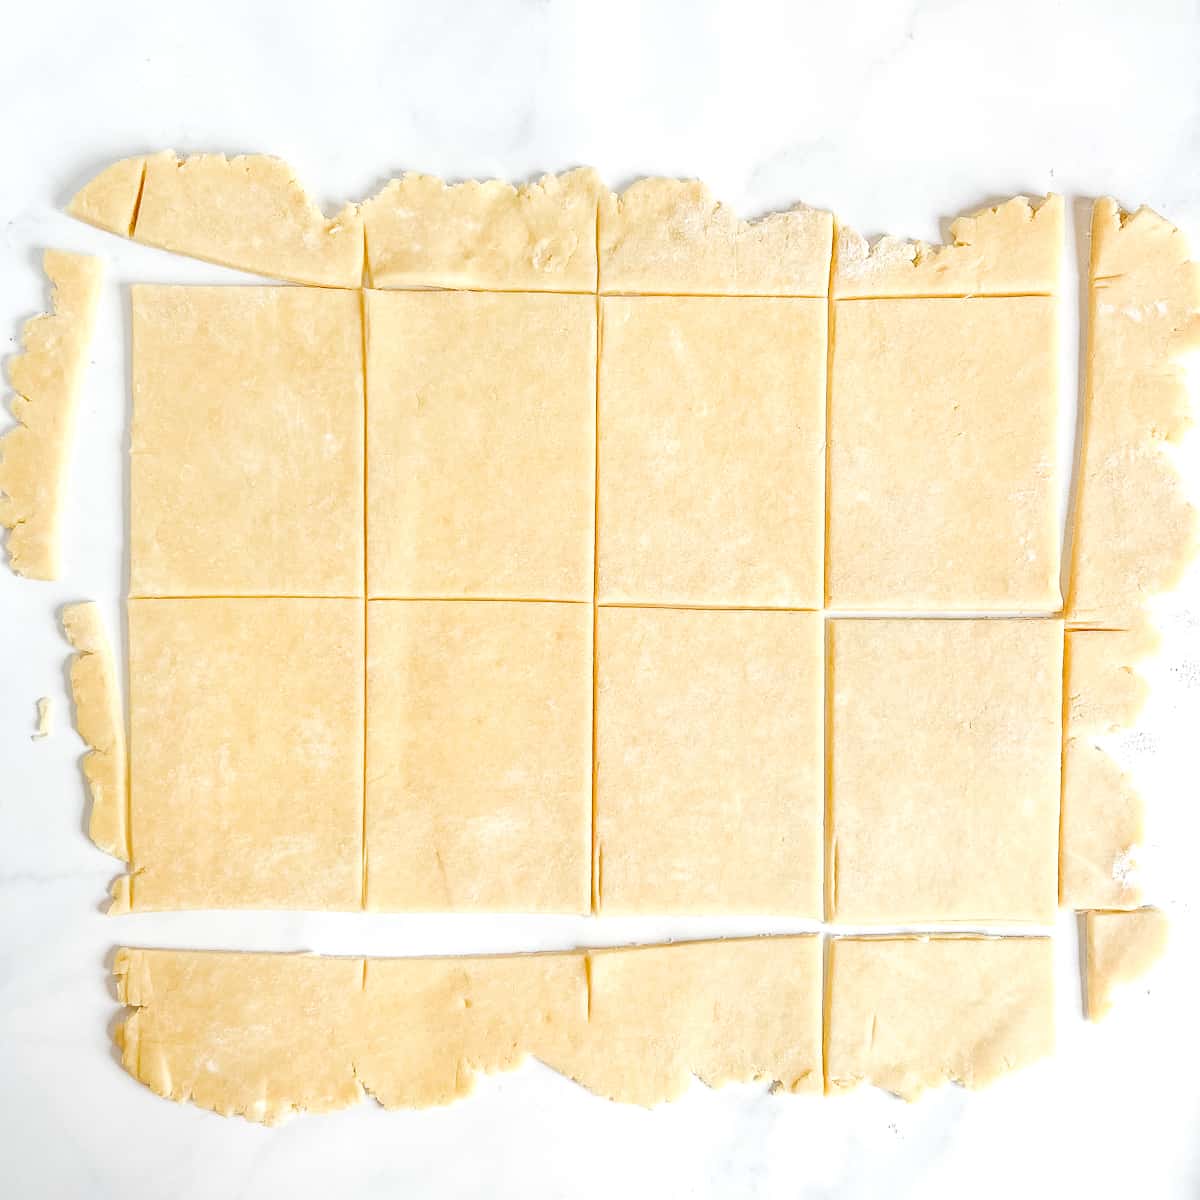
3b. Cut into eight 4 inch by 3 inch rectangles. Repeat with the other piece of dough.
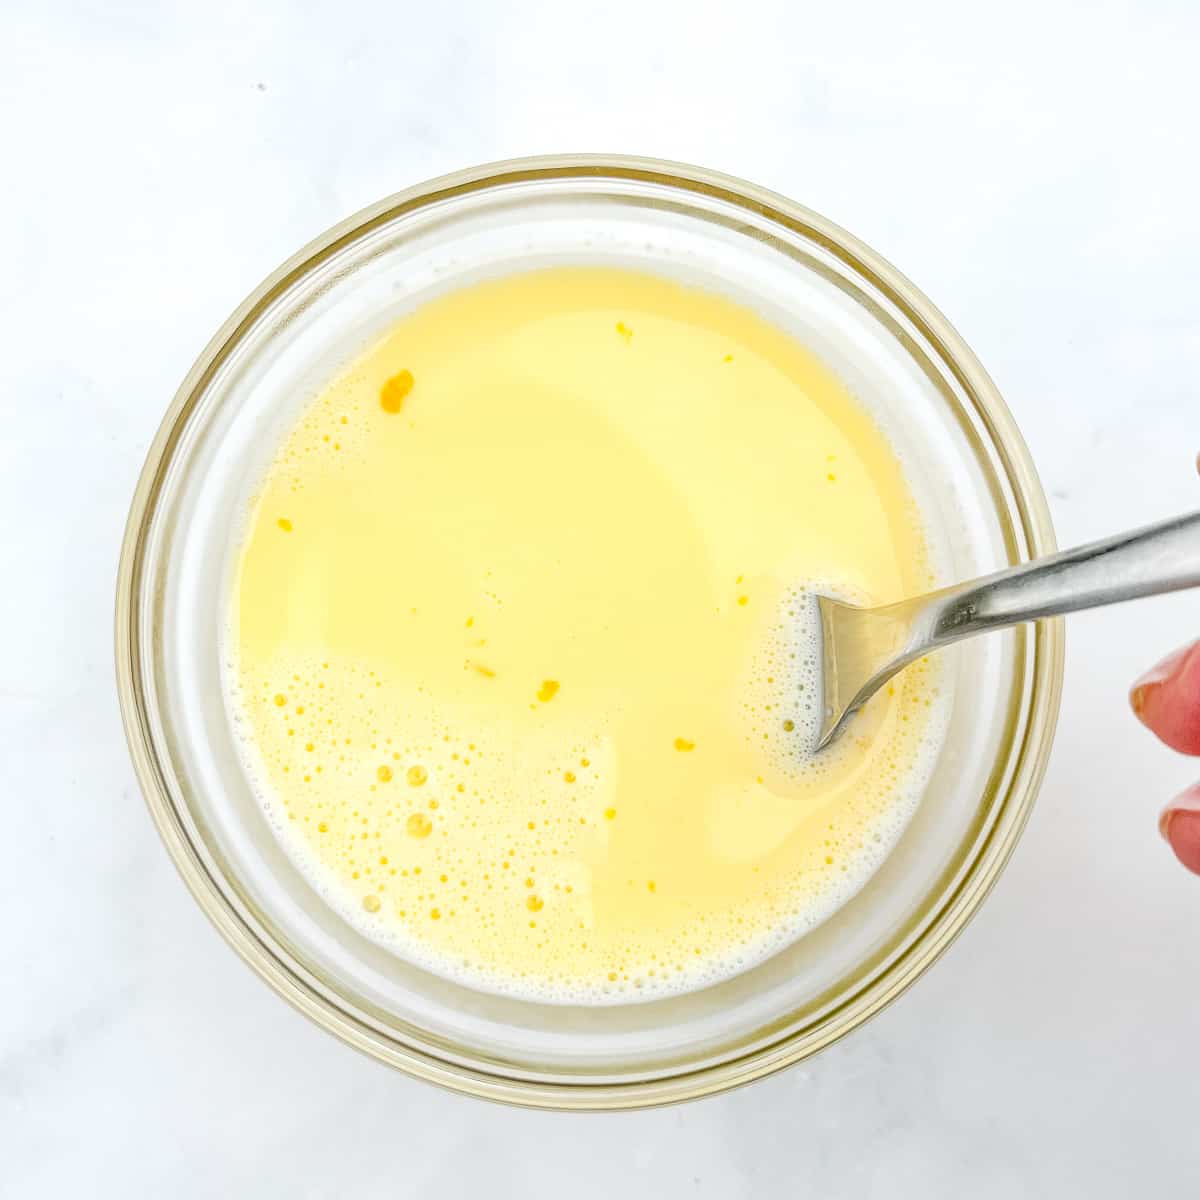
3c. Make an egg wash by whisking together one egg with one teaspoon of water.
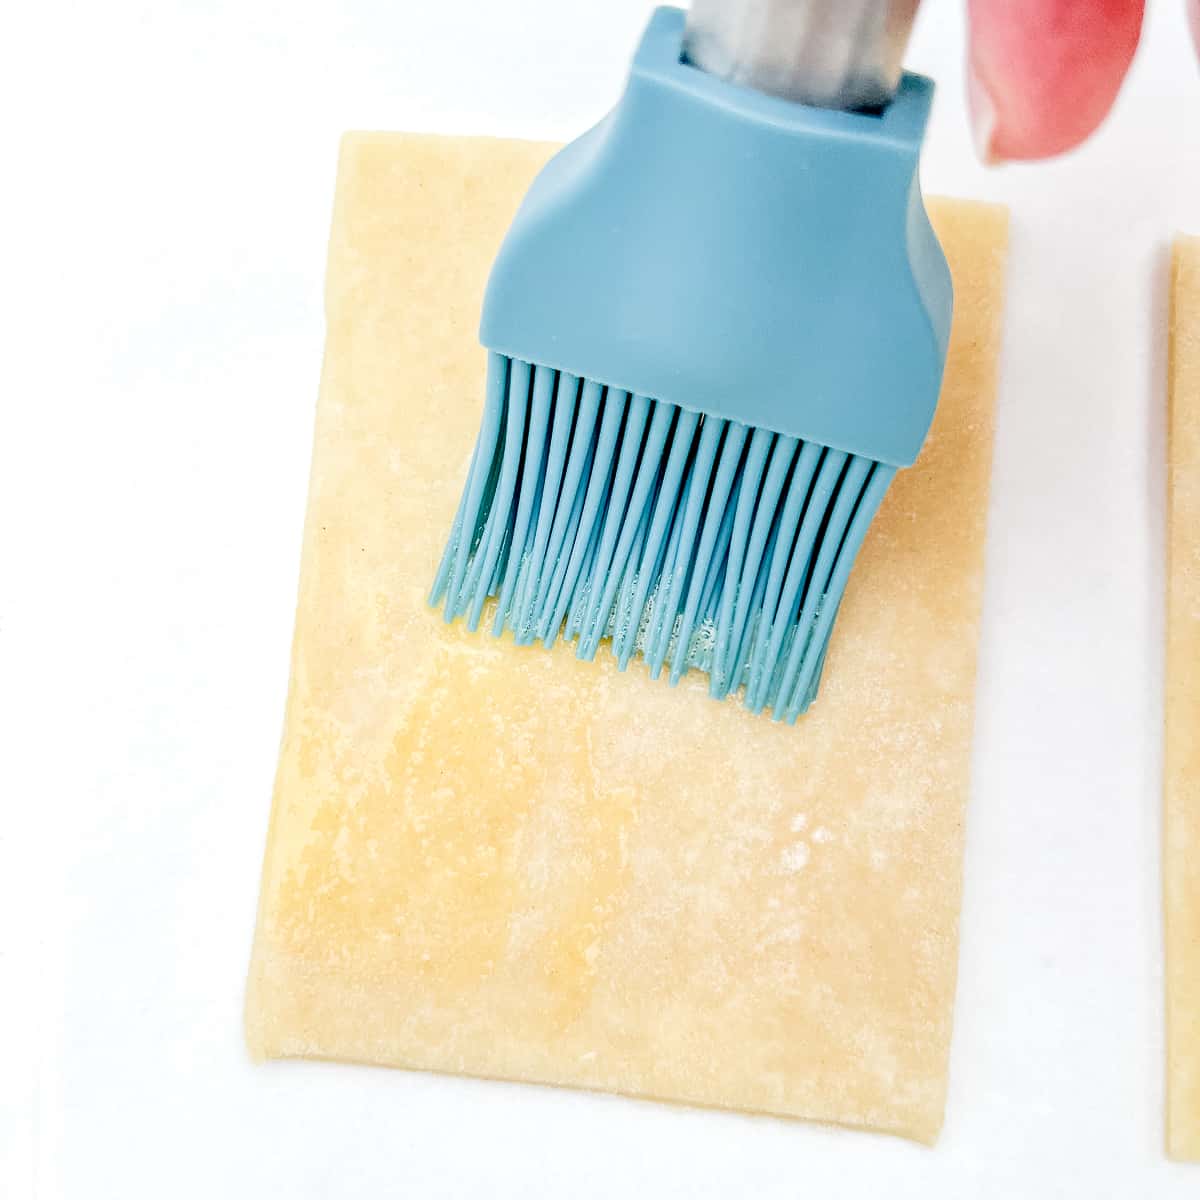
3d. Brush each of the bottom pieces with egg wash.
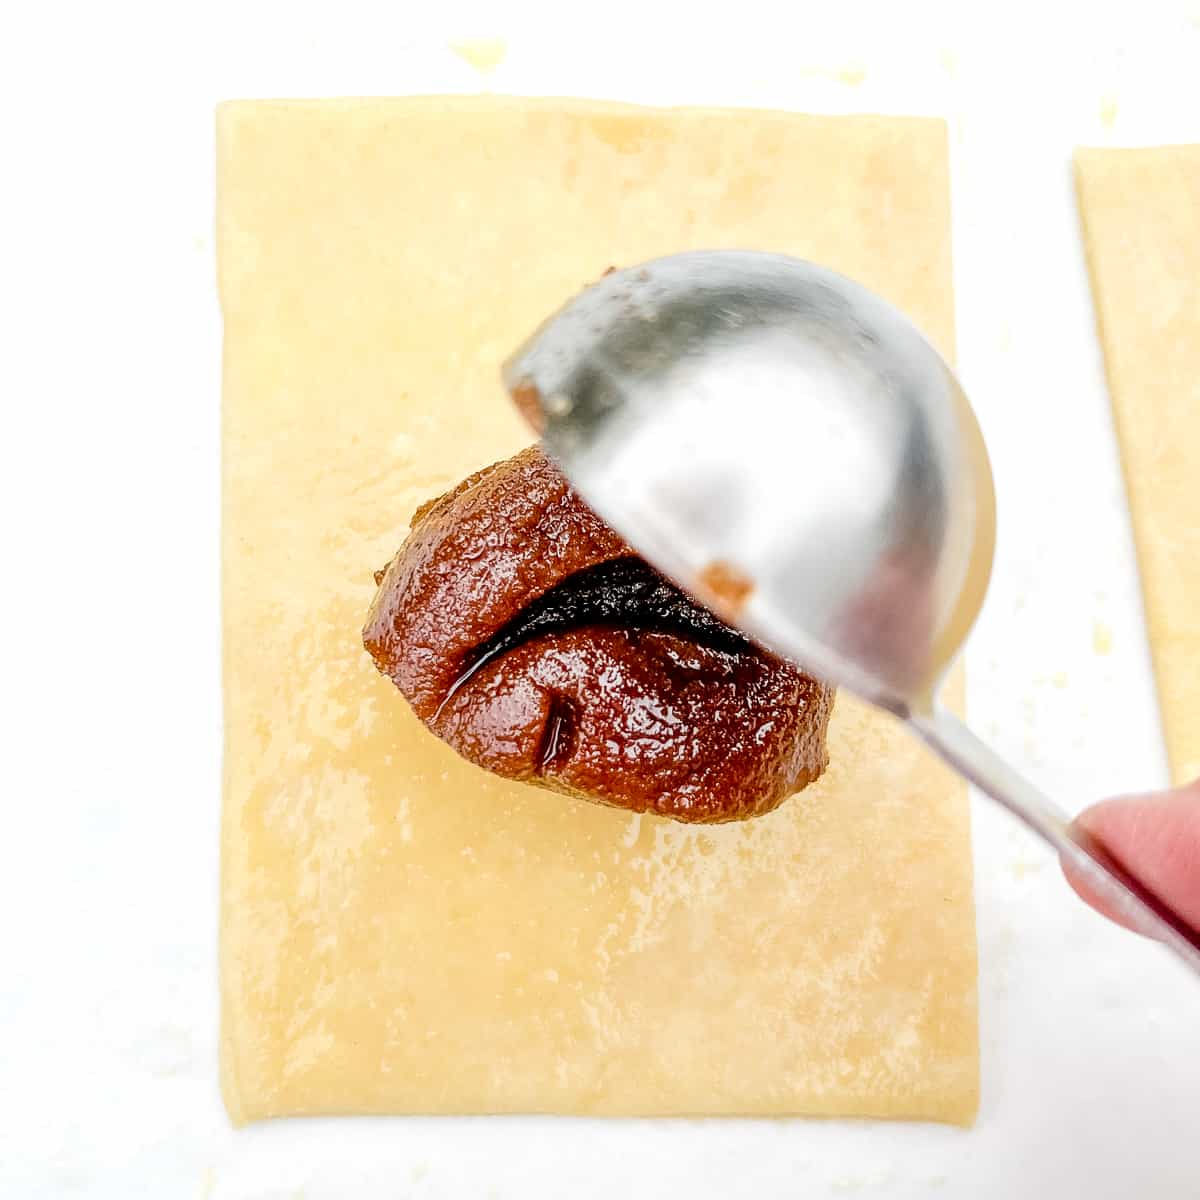
3e. Place one tablespoon of filling in the center of each bottom piece.
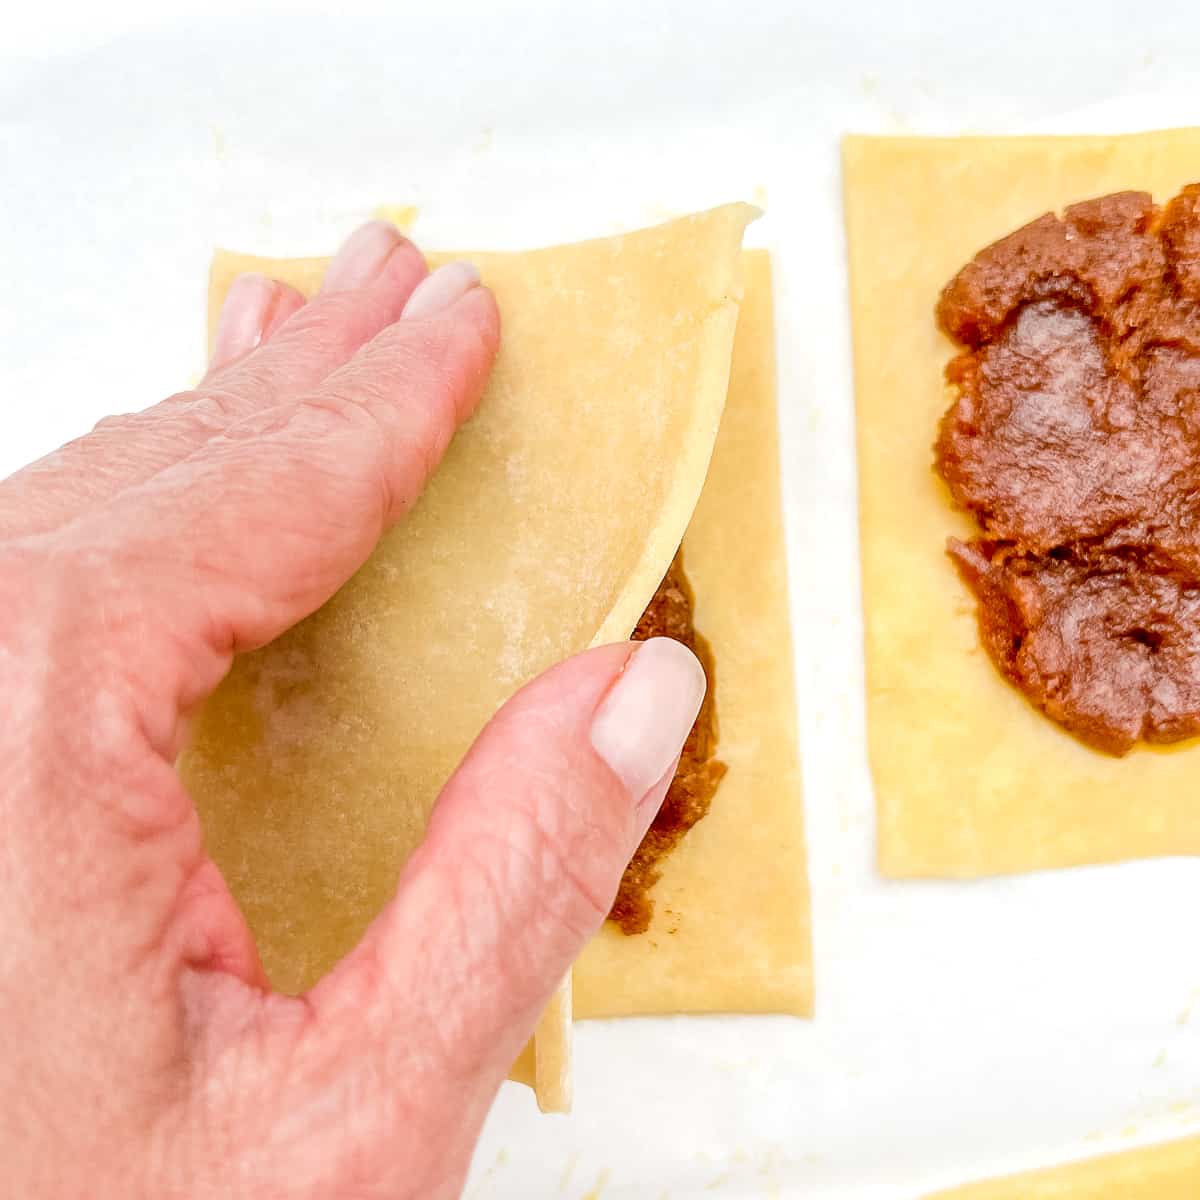
3f. Place a piece of dough on top, line up the edges, and press edges together with your fingers.
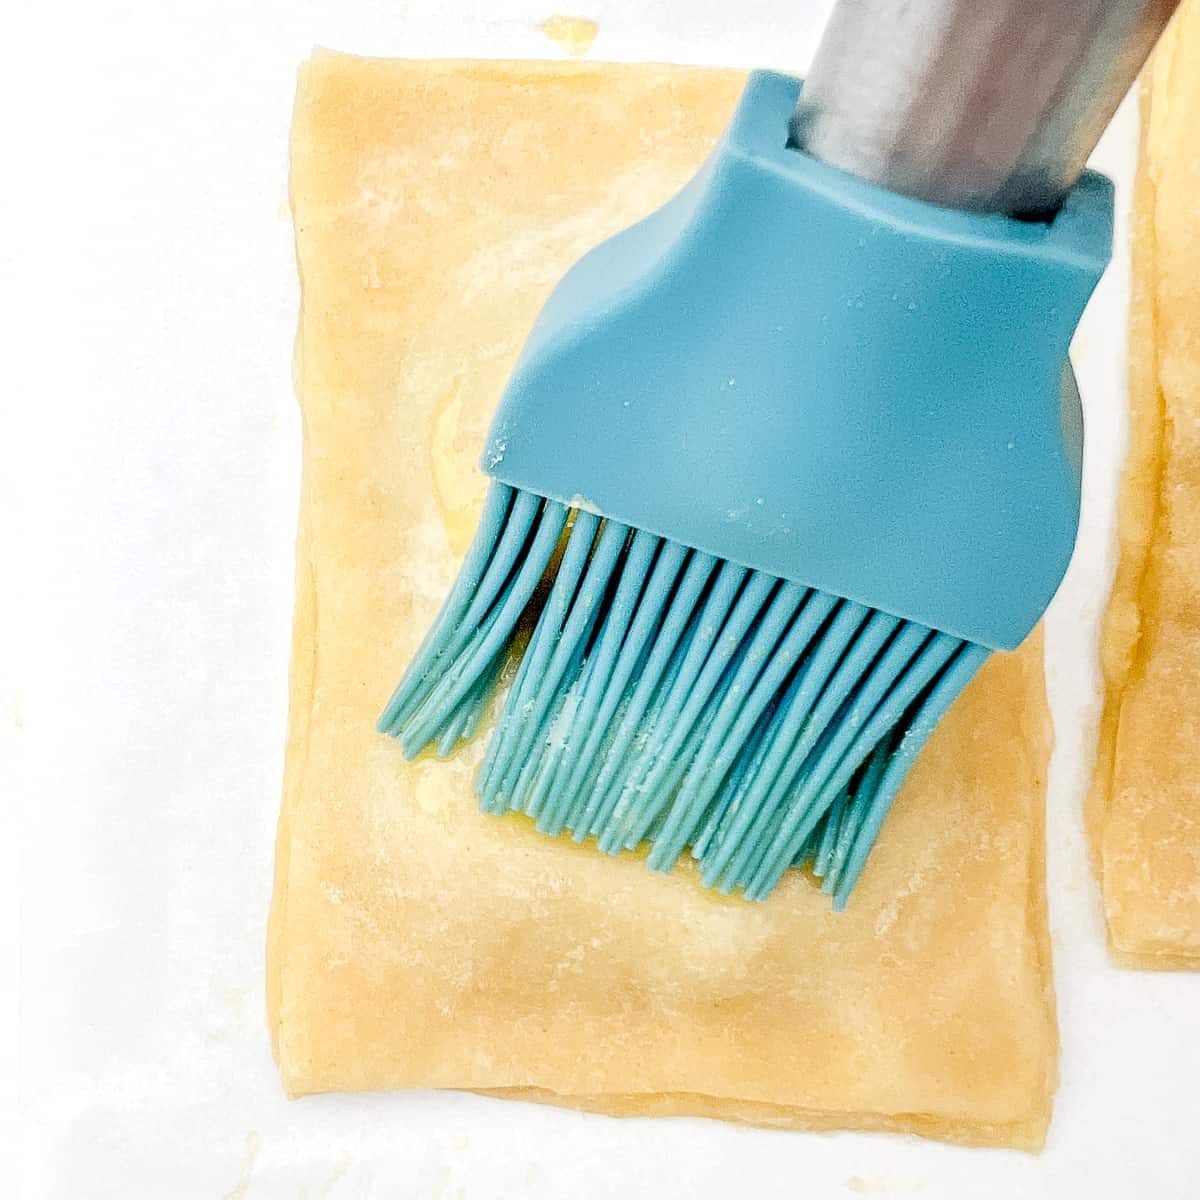
3g. Brush the tops with egg wash.
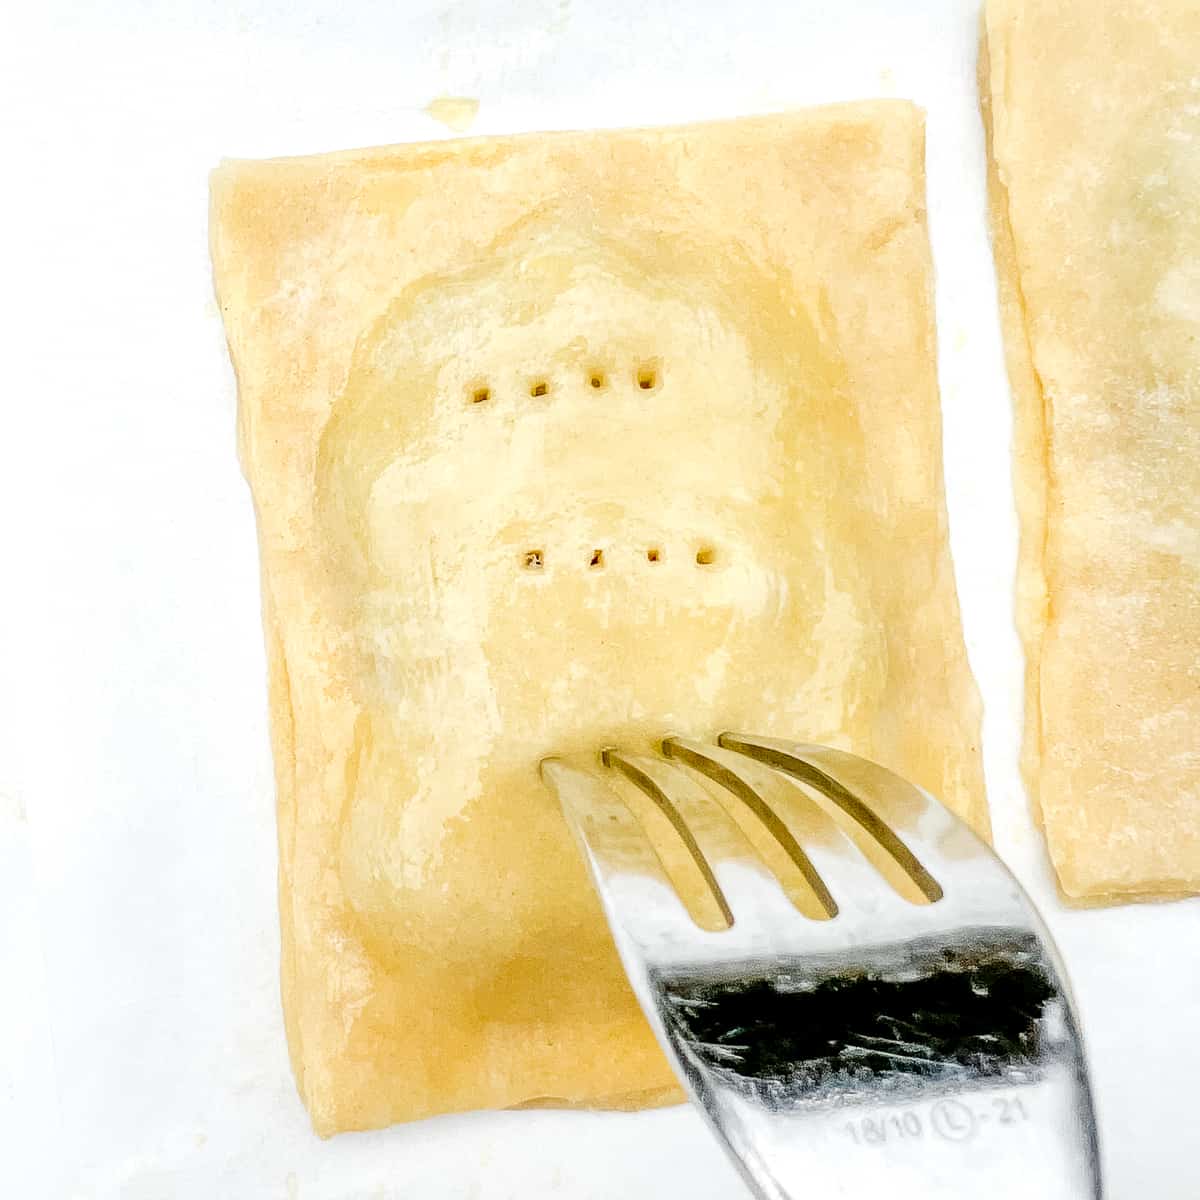
3h. Use a fork or a skewer to dock the top to allow steam to release while baking.
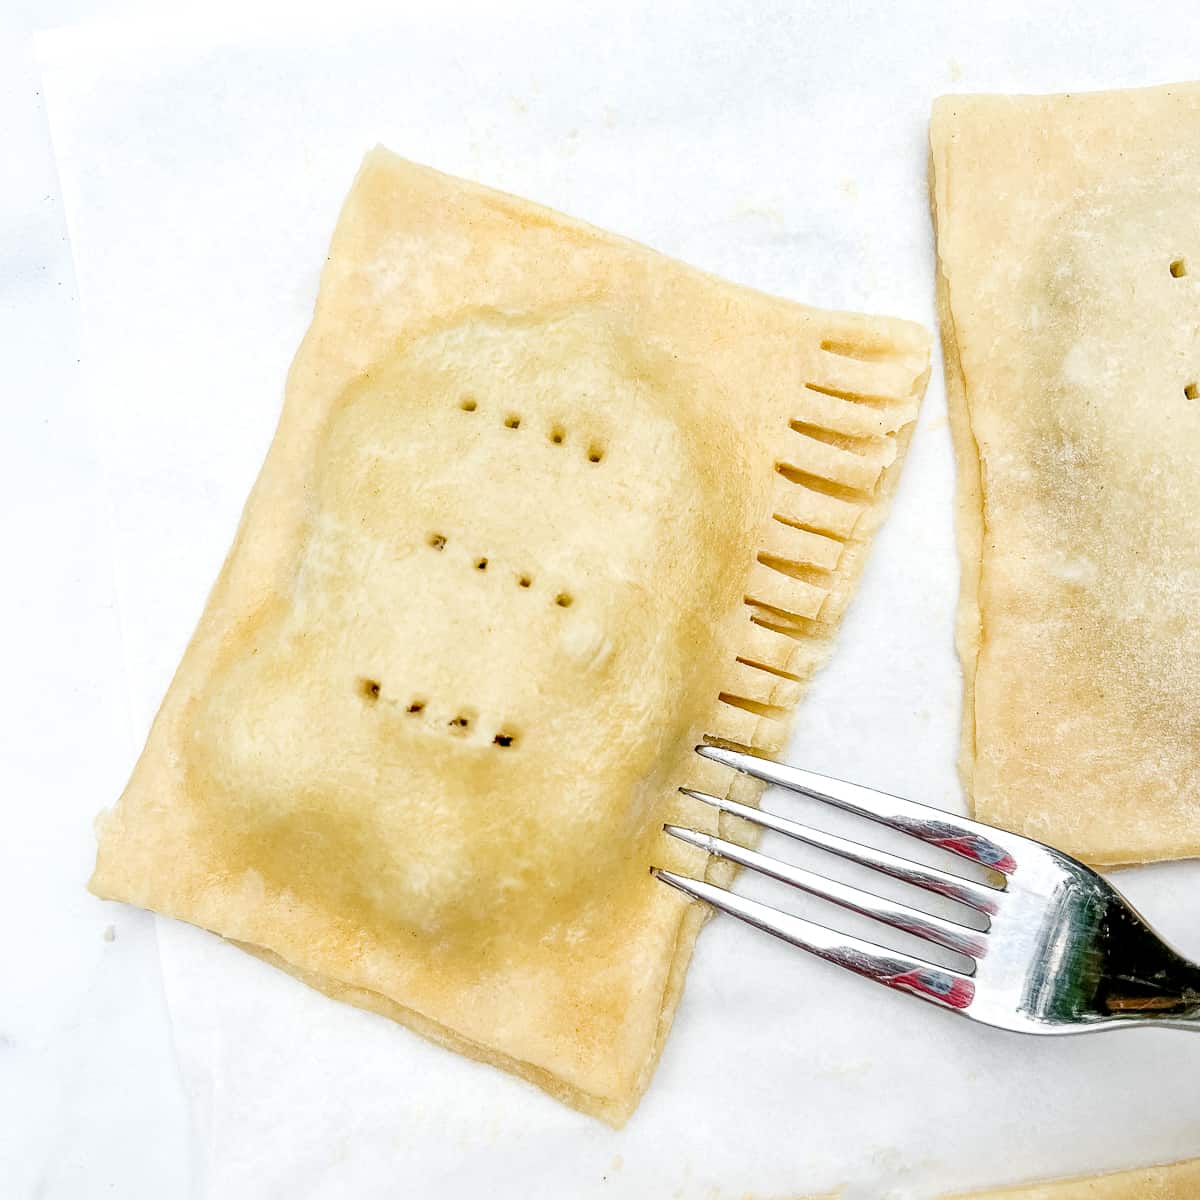
3i. Use fork to seal the edges. Trim the edges evenly, if desired.
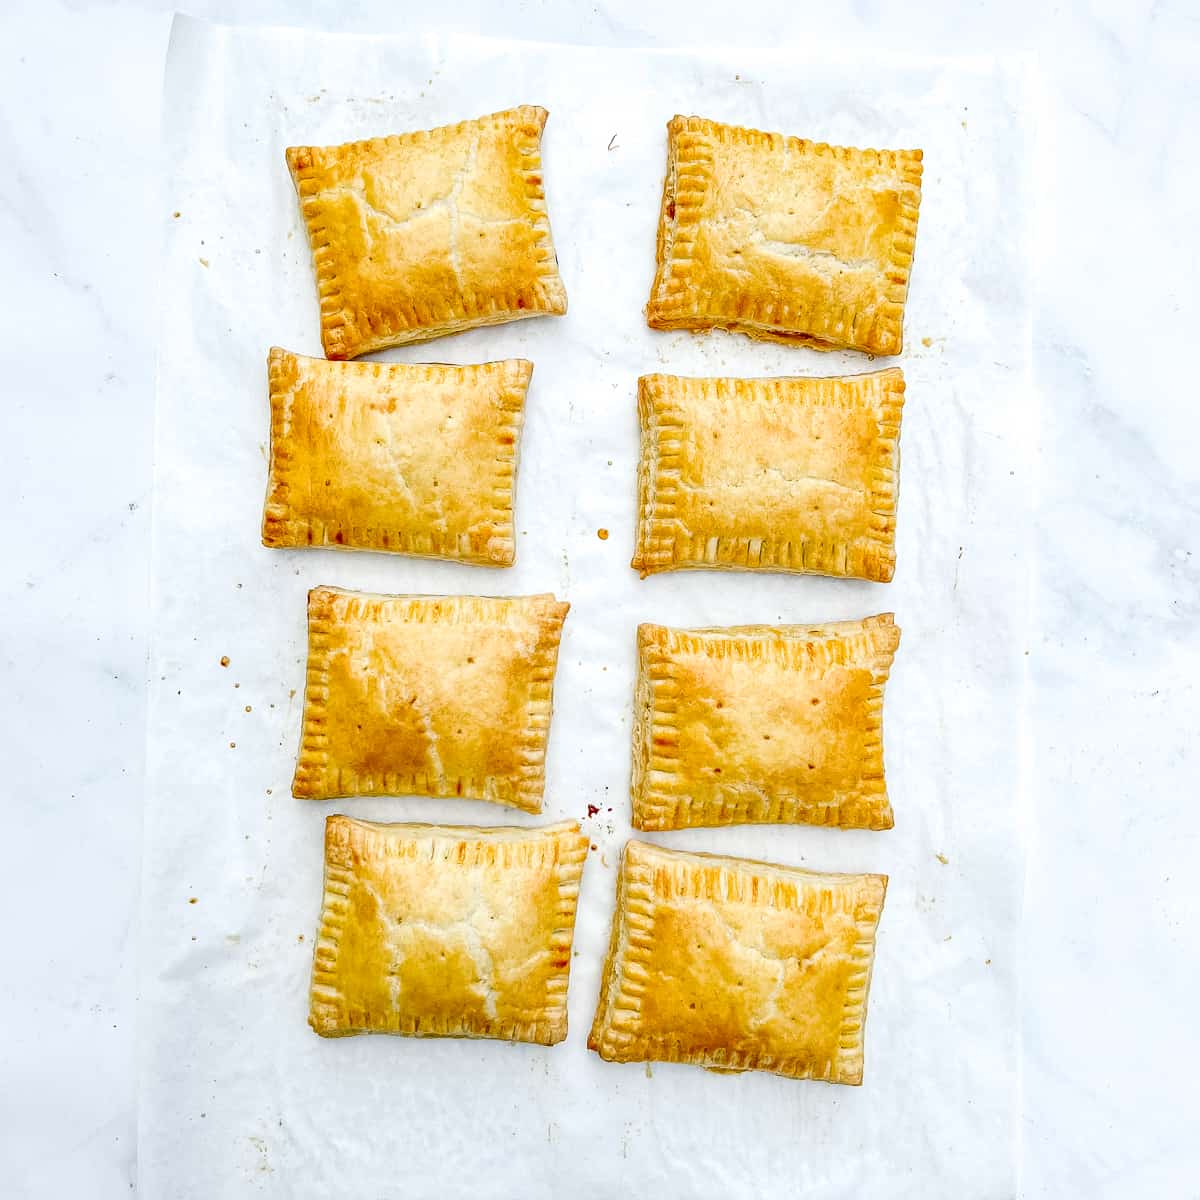
3j. Bake at 350°F for 25 to 30 minutes, or until golden brown. Cool completely on a wire rack.
Step 4: Frost
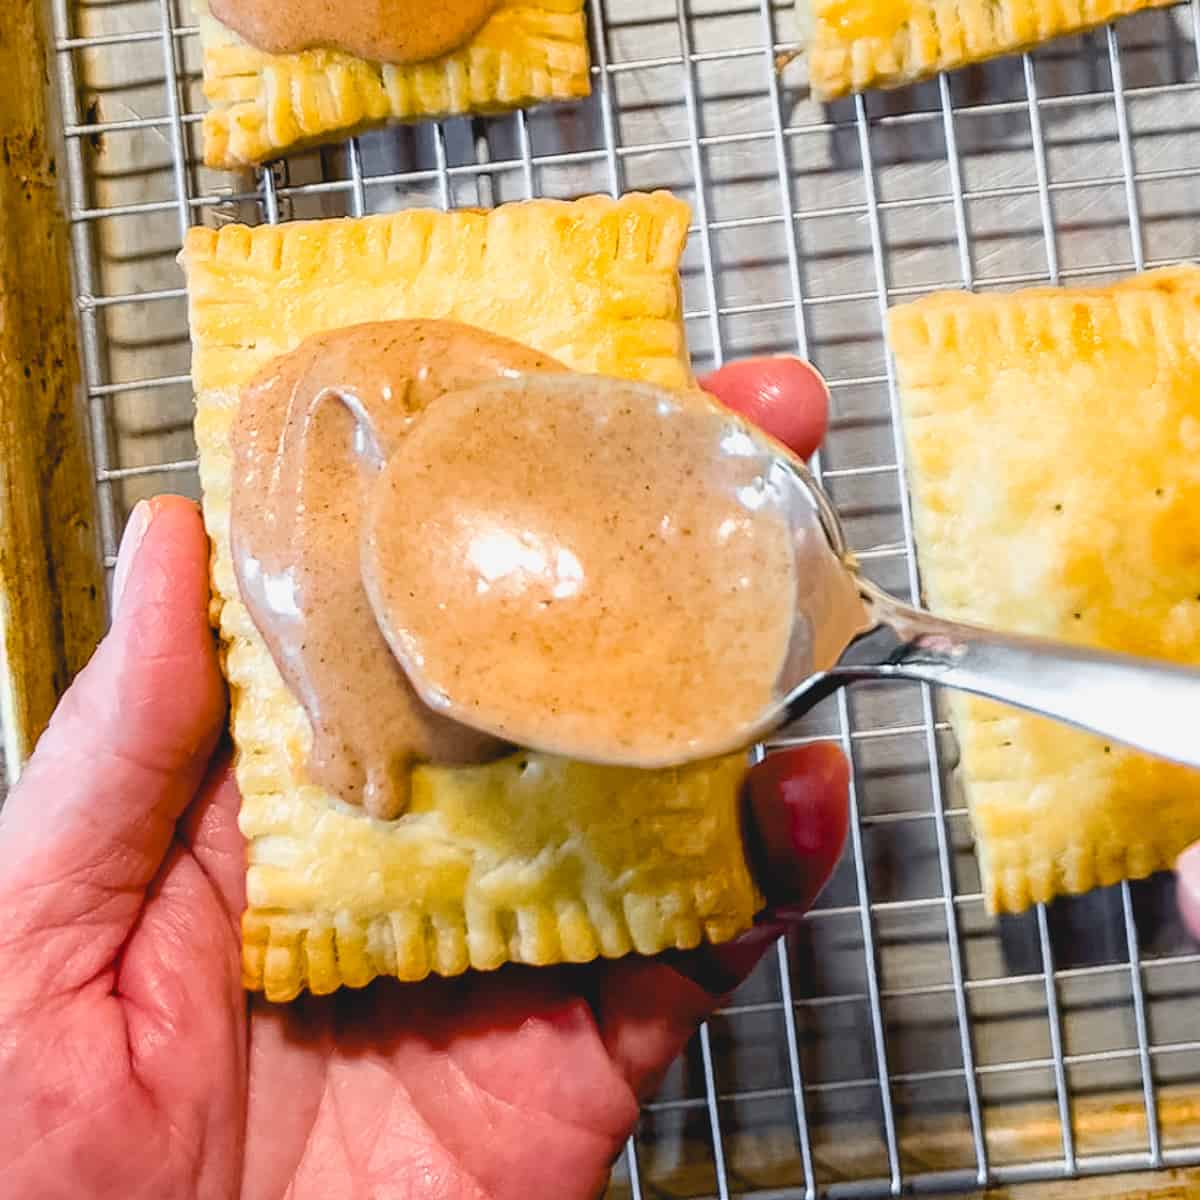
4a. While they are cooling, make the frosting. Use back of spoon to spread frosting in the center of each fully cooled hand pie.

4b. Frosting will set within an hour, but will still be soft and delicious.
See recipe card for full instructions.
Pardon my French Why stop at eating your breakfast? Try my Iced French Toast Latte with all the flavors and aromas of your favorite French toast in a refreshing beverage!
Make ahead, reheating, and storage instructions
Make Ahead/Freezing Instructions: Unbaked and unfrosted pastries can be frozen for up to 3 months and baked from a frozen state. To do this, flash freeze assembled pop tarts on a parchment lined baking sheet until hard. Individually wrap each one in plastic wrap and then store them all in a zip top bag.
Storage: Store leftovers in an airtight container for up to 2 days. If stacking, place pieces of parchment paper between layers.
Reheating: Because of the delicious frosting on top, reheating these in a conventional toaster would be a disaster. If you really want to toast them, place on a tray in a toaster oven or conventional oven. The frosting will melt a bit, but you won't be mad at that, will you?
Expert Tips
- To ensure you get the most tender and flaky crust possible, make sure the butter and water you add to your dough is cold.
- Don't overfill your pop tarts or they will leak while baking.
- Seal your pop tarts well to help hold the filling in. If your dough gives you trouble when sealing, just put the tray back in the fridge for about 15 minutes. Dipping your fork in flour every few presses can also help prevent sticking.
- For the flakiest results, place your sheet pan of pop tarts in the freezer while the oven heats up. This will help the butter to re-solidify, for a better bake.
- Make sure your pastries are fully cooled before spreading the frosting or it will melt and slide off. The frosting will set when dry, which takes about an hour, but it will still be soft to bite into.
Recipe FAQs
You can. I made this recipe once using store bought dough and it came out great. A little less flaky, but still delicious! I found that I could only get 6 total pastries, because I didn't want to roll it too thin, so they were gone a little faster 🙂
Yes! The pop tart dough is exactly the same as a pie dough recipe. If you don’t have a food processor, use a pastry cutter, a couple of knives, the back of a fork, or even your fingers to combine the butter and flour mixture. Then add the ice cold water and use a wooden spoon or a silicone spatula to combine into a crumbly dough.
I have made pop tarts with puff pastry before and they are fantastic! They puff up quite a bit more, so make sure your edges are very well sealed. There are excellent frozen puff pastry options at your local Mega Market, or you can try with my Rough Puff Pastry and make this a fun weekend project!
You can. You can make the dough, wrap and refrigerate it, and come back and make your homemade pop tarts up to 3 days later. Just take each piece of dough out of the fridge 15 minutes before you are ready to roll it out.
More cinnamon flavors you'll love!
Did you try this recipe? Tell me all about it! Tag @butfirst_webrunch on Instagram and leave a ⭐️ review below!
📖 Recipe
Homemade Brown Sugar CInnamon Pop Tarts
Ingredients
Dough
- 3 cups (360 g) all-purpose flour
- 1 ½ tablespoons (18 g) granulated sugar
- 1 teaspoon (6 g) kosher salt fine grain
- 1 cup (1 cup) unsalted butter, cold and cut in cubes
- ½ cup (45 g) water ice cold
- 1 tablespoon lemon juice
Filling
- ¾ cup (165 g) brown sugar
- 2 tablespoon (15 g) flour
- 2 teaspoons (4 g) cinnamon
- ¼ teaspoon fine kosher salt
- 3 tablespoons (56 g) unsalted butter melted
- 1 tablespoon (15 g) milk
- ½ teaspoon vanilla extract
Egg wash
- 1 large egg
- 1 teaspoon water
Frosting
- 1 ½ cups (180 g) powdered sugar
- 1 teaspoon (2 g) cinnamon
- ¼ teaspoon vanilla extract
- ⅛ teaspoon kosher salt fine grain
- 2 tablespoons (30 g) milk + more as needed
Instructions
Make the dough
- Place the flour, sugar, salt, and cold butter into the bowl of your food processor. Pulse three times, for a count of three per pulse, or until the mixture resembles fine crumbs with a few larger pieces of butter.
- In a small measuring cup, combine the water and lemon juice
- Add water and lemon juice to the flour mixture in the food processor in a stream while pulsing the machine until the dough just comes together, about 4 to 5 quick 1 second pulses. It will look crumbly. That's good.
- Stop the machine and dump the crumbly dough onto a lightly floured counter. Gather the dough into a ball with your hands. You can squeeze it a bit to make it stick together, but don’t knead. Divide into 2 even pieces and shape each into a square. Cover tightly with plastic wrap and chill for 30 to 60 minutes.
- The dough can be kept refrigerated for up to 3 days and frozen for up to 3 months. If refrigerated overnight, allow to sit on counter 30 minutes before using. If frozen allow to thaw overnight in refrigerator, then take out 30 minutes before using.
Make the filling
- Combine brown sugar, flour, salt, and cinnamon in a medium bowl. Add melted butter and cut in with a fork until completely incorporated. Stir in milk and vanilla until combined.
Roll out and cut the dough
- Remove the dough from the refrigerator. Working on a lightly floured surface, roll one piece of dough to a thickness of about ¼-inch and about 13 inches wide and 9 inches high. Cut into eight 3 inch by 4 inch rectangles (4 across and 3 down).
- Place the cut rectangles on a parchment lined baking sheet and place in the refrigerator to chill. Roll and cut the second piece of dough. You should end up with a total of 16 rectangles (8 tops and 8 bottoms).
Assembly
- Preheat oven to 350°F.
- Pull chilled rectangles out of the fridge, and place the next ones in. Brush the top of each rectangle lightly with egg wash. Place 1 tablespoon of filling on each, leaving an edge all around. Remove the rest of the dough from the fridge. Place another rectangle on top of each, lining up all the edges. Press the seams together with your fingers. Using the tines of a fork, seal the edges.
- Brush the tops of each pop tart with egg wash and then prick the tops with the fork, to allow them to vent. Bake for 25 to 30 minutes. Allow to cool for 5 minutes on the tray before placing them on a wire rack to cool completely before frosting.
Frosting
- In a medium bowl, whisk together the powdered sugar, cinnamon, vanilla, salt, and milk until smooth. Add more milk, one teaspoon at a time, until it whisks easily, Let the frosting sit for 5 minutes to slightly thicken.
- Place a couple of teaspoons of frosting in the center of cooled pop tarts and use the back of your spoon to gently nudge it towards the edges. The frosting will set once dried but will remain soft. Serve immediately, or allow the frosting to set up. I couldn't wait 🙂
Save This Recipe! 💌
Notes
- Lining a large sheet pan with parchment paper will ensure that your pastries don't stick to the pan while chilling and baking.
- For the flakiest results, place your sheet pan of assembled pop tarts into the freezer while the oven heats up. This will cause the butter to re-solidify, making for a flakier result.
- Make sure your pastries are fully cooled before spreading frosting or it will melt and slide off. The frosting will set when dry, which takes about an hour, but still be soft to bite into.
- To make ahead and bake later, freeze assembled pop tarts on a baking sheet lined with parchment paper, then transfer to a freezer bag for storage.
- When ready to bake, brush with heavy cream and bake directly from the freezer, adding 1-2 minutes to baking time.




Comments
No Comments