


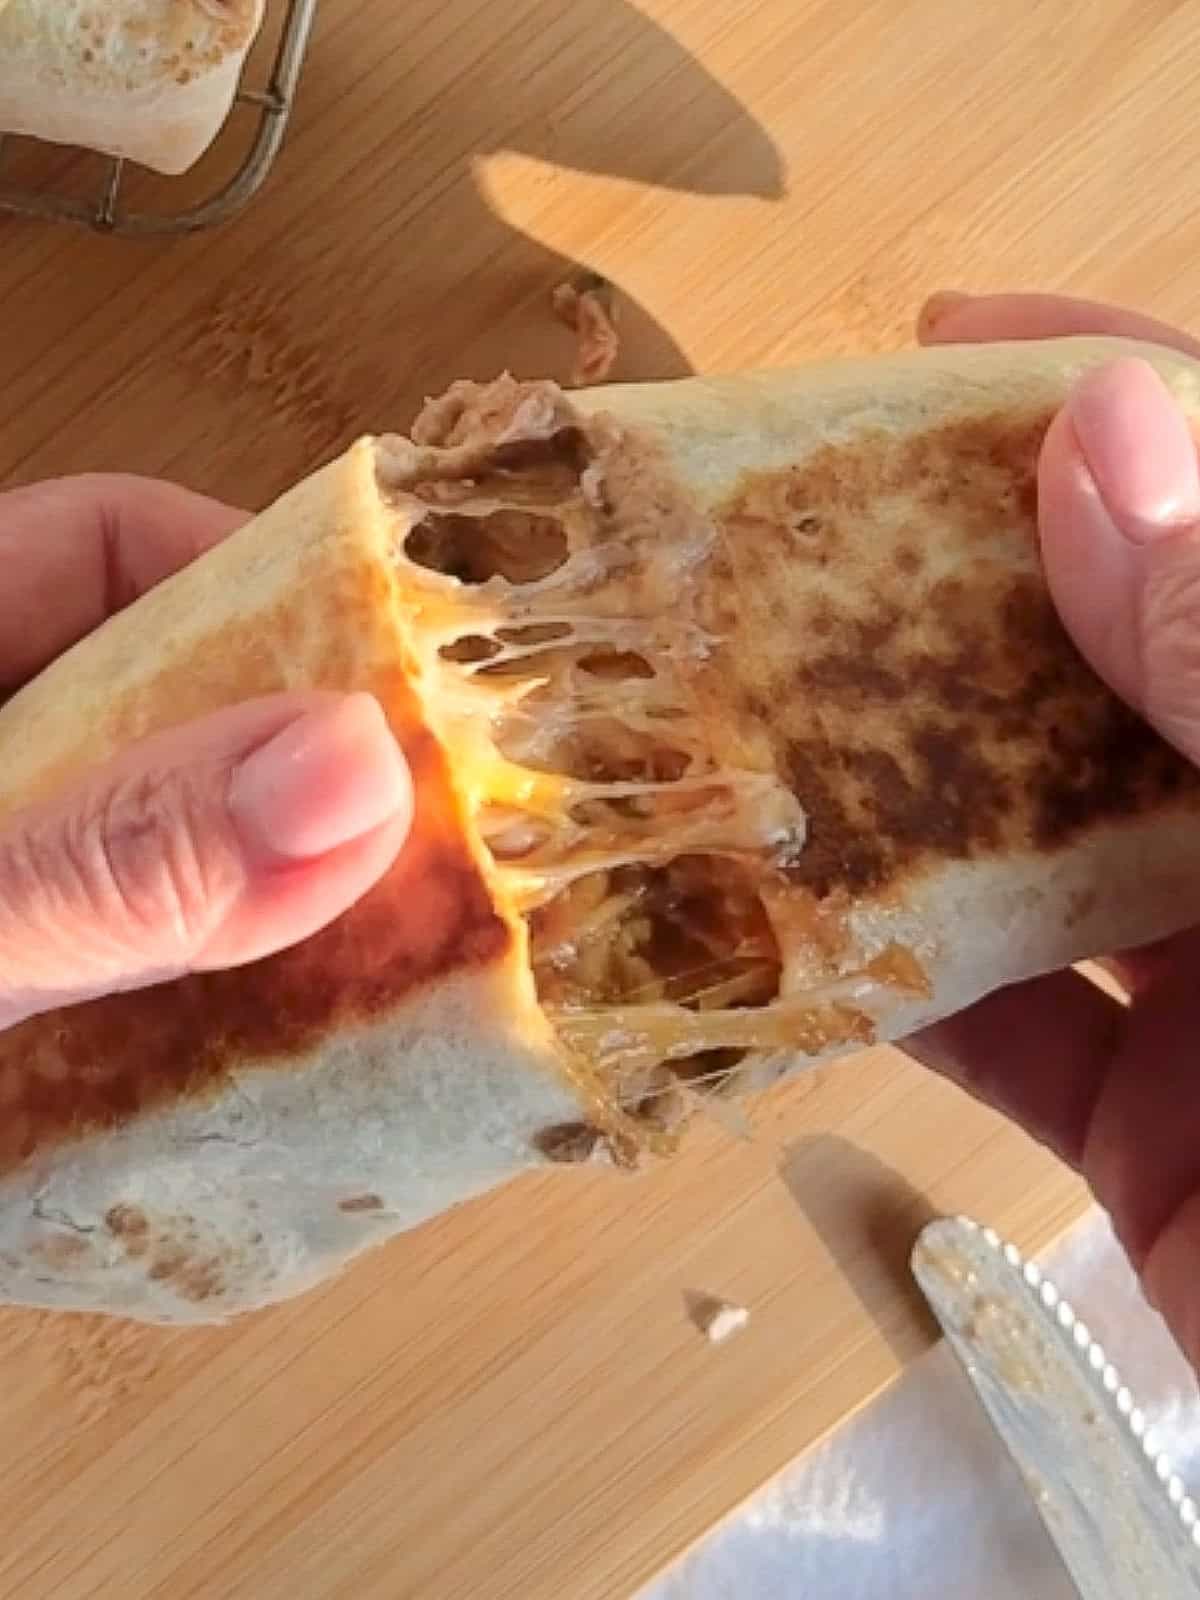
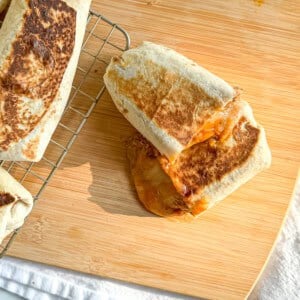
Forget the drive-thru. Make a batch of my Quick and Easy Bean and Cheese Burritos and eat some now and save some for future you! Easy to freeze and reheat, they are a delicious gift to yourself!

Save This Recipe! 💌
If I had a dollar for every time, one of my daughters made me stop at Taco Bell on the way home from school to get a sack full of Bean and Cheese Burritos, I'd be a wealthy woman right now! But guess what? With just a few basic ingredients, you can make my bean and cheese burrito recipe in less than 30 minutes.
If you have a little extra time, you can make your own refried beans to really boost the flavor. But if you're in a hurry, no problem! Store-bought beans work just as well and with a few adjustments can bring lots of flavor.
Whether you use homemade refried beans or grab some from the store, these classic bean and cheese burritos are great for a fast lunch, dinner, or even meal prep. They are also perfect for when you want something filling and tasty without spending too much time in the kitchen.
Jump to:
Ingredients
Homemade bean and cheese burritos use simple ingredients, but you can play with them to really amp up the flavors. Let's go over them now:
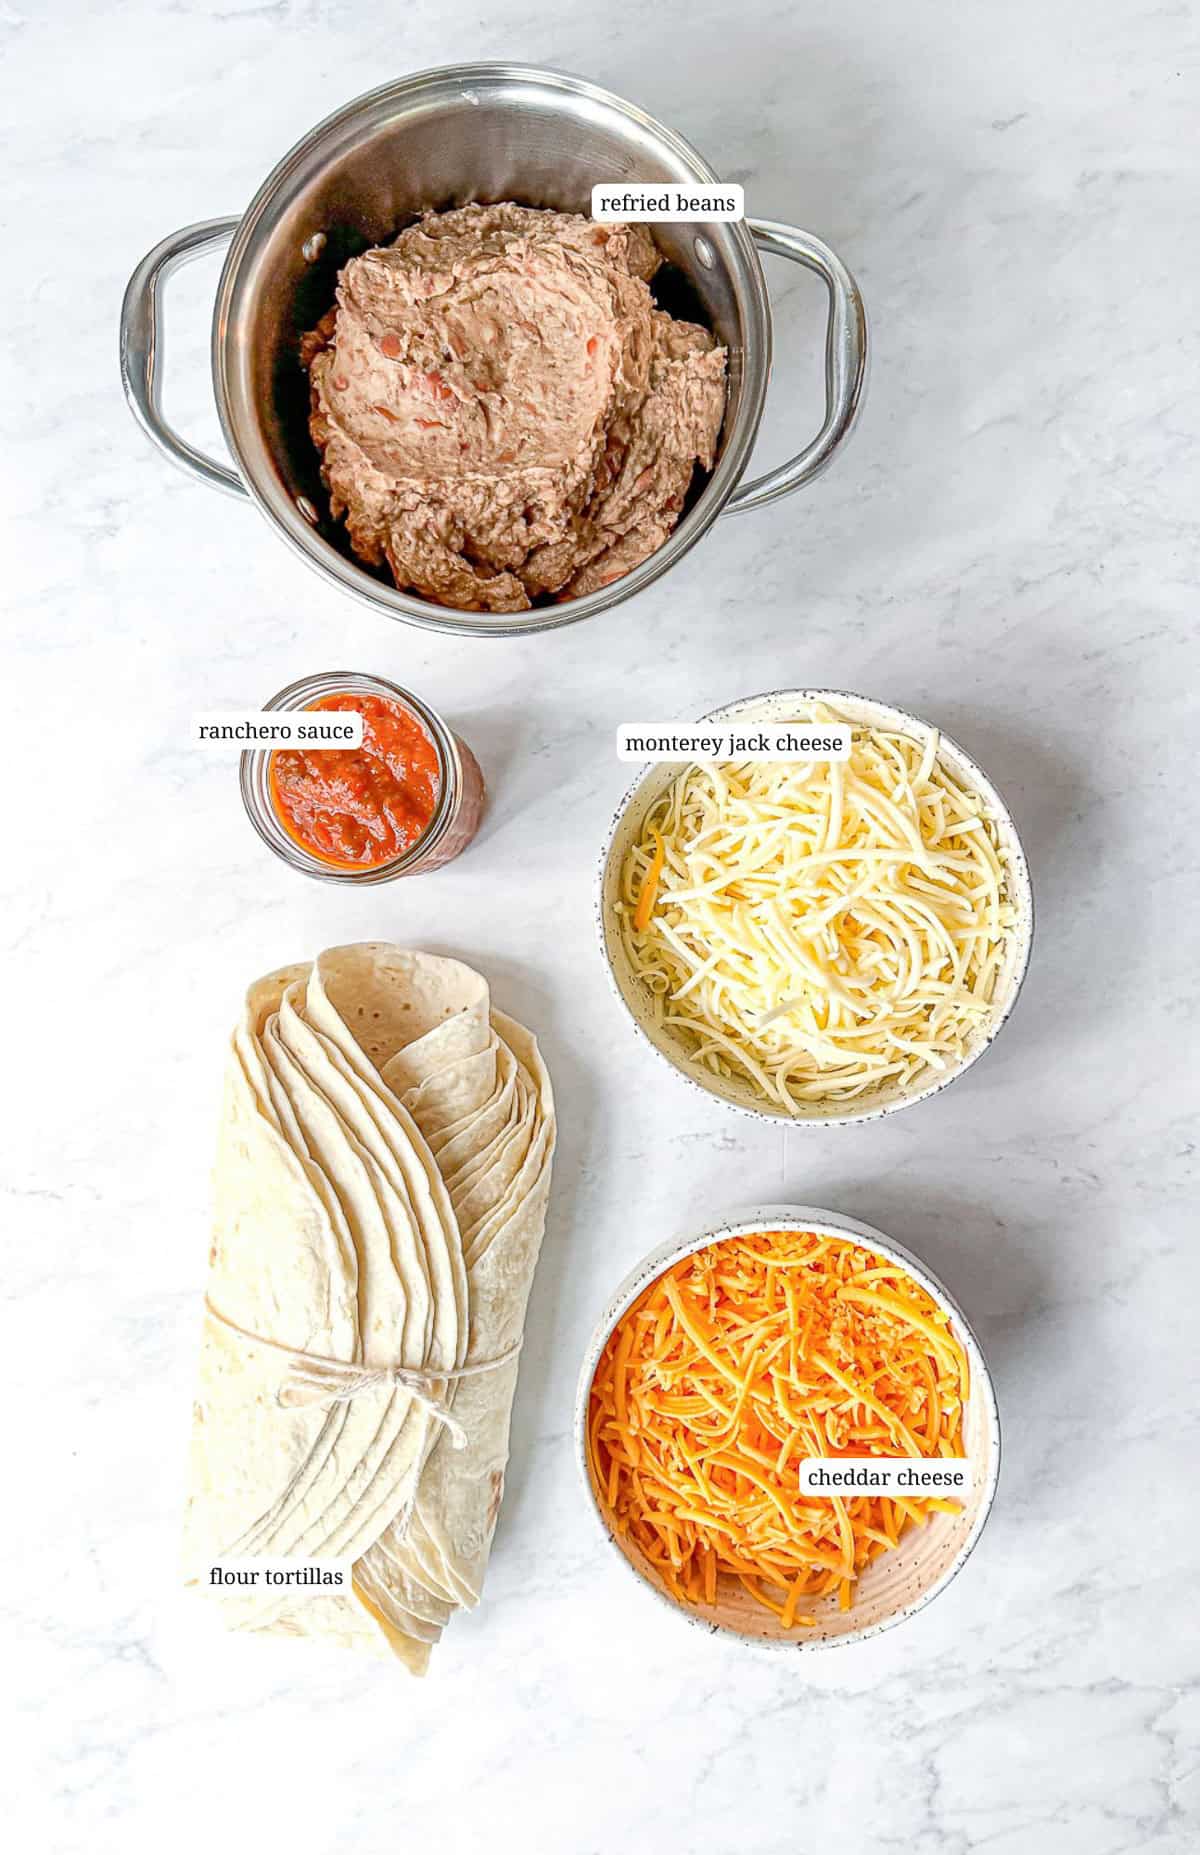
- Refried beans - Honestly, the best refried beans of your life are made by puréeing and cooking down the beans from my charro bean recipe, but keep scrolling and I'll tell you how to doctor up some canned refried beans.
- Cheese - I love a good melty cheese like Monterey jack and cheddar cheese, but you can use whatever kind of cheese you prefer. I do recommend hand shredding, rather than buying pre-shredded cheese, because it just melts better.
- Flour tortillas - Get yourself the largest flour tortillas you can find. I prefer the 10 inch size but usually I just double or triple my small batch flour tortillas recipe and roll them out as large as my pan can handle.
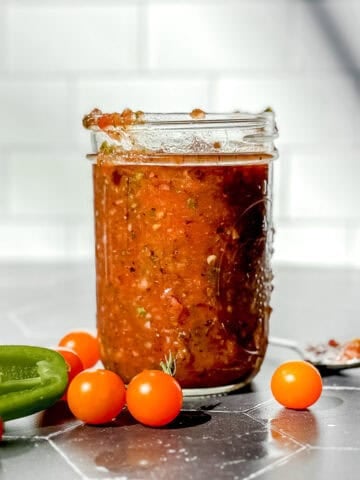
- Ranchero sauce - If you haven't made the ranchero sauce from my huevos rancheros recipe yet, you can use your favorite red sauce like a tomato salsa, enchilada sauce, taco sauce, or my delicious roasted tomatillo salsa in its place. Any Mexican sauce that you prefer is fine.
See recipe card below for full recipe.
Doctoring Canned Refried Beans
If you haven't yet made my charro beans and turned them into life-changing refried beans, I encourage you to do that and then come back. If pressed for time, and you have some canned refried beans on hand, I got you covered too! You can also use this technique to make refried black beans.
- Step 1: Finely chop ½ of an onion and mince 1 garlic clove. You can also finely chop ½ of a jalapeño pepper if you would like a little heat.
- Step 2: Heat one tablespoon of oil, butter, bacon fat, or lard in a cast iron pan or a skillet over medium-high heat. Sauté onions and garlic (and jalapeños?) until softened.
- Step 3: Stir in 2 to 3 cans of refried beans and a couple of tablespoons of any broth or water. Add ½ teaspoon each of cumin and chili powder, plus salt and pepper to taste.
- Step 4: For creamy refried beans, add some shredded cheese.
- Step 5: Heat and stir until bubbling, then turn down to medium-low and simmer for 10 minutes. Let cool before making the burritos.
Variations
There are plenty of ways to customize and make these bean burritos your own! Here are some fun and delicious ideas to change things up:
- Spicy Burrito - Add some diced jalapeños, spicy tomatillo salsa, Mexican chorizo, or chipotle peppers to the refried beans for a kick of heat. You can also use spicy cheese like pepper jack to the filling.
- Bean and Cheese Breakfast Burrito - Turn your burrito into a breakfast favorite by adding soft scrambled eggs and breakfast potatoes to the beans and cheese. You can also toss in crispy bacon or cooked breakfast sausage for a protein-packed breakfast.
- Beef and bean burrito - While the kids were bringing home, a sack full of bean and cheese burritos, I was getting a beef and cheese burrito with taco meat added as a filling. The best!
Expert tip: Heating tortillas
Warm tortillas fold better with less chance of them splitting or cracking. Heat up the tortillas using your favorite method - microwave, oven, or warming in a pan on the stove. This is my favorite way to heat a bunch of tortillas at one time:
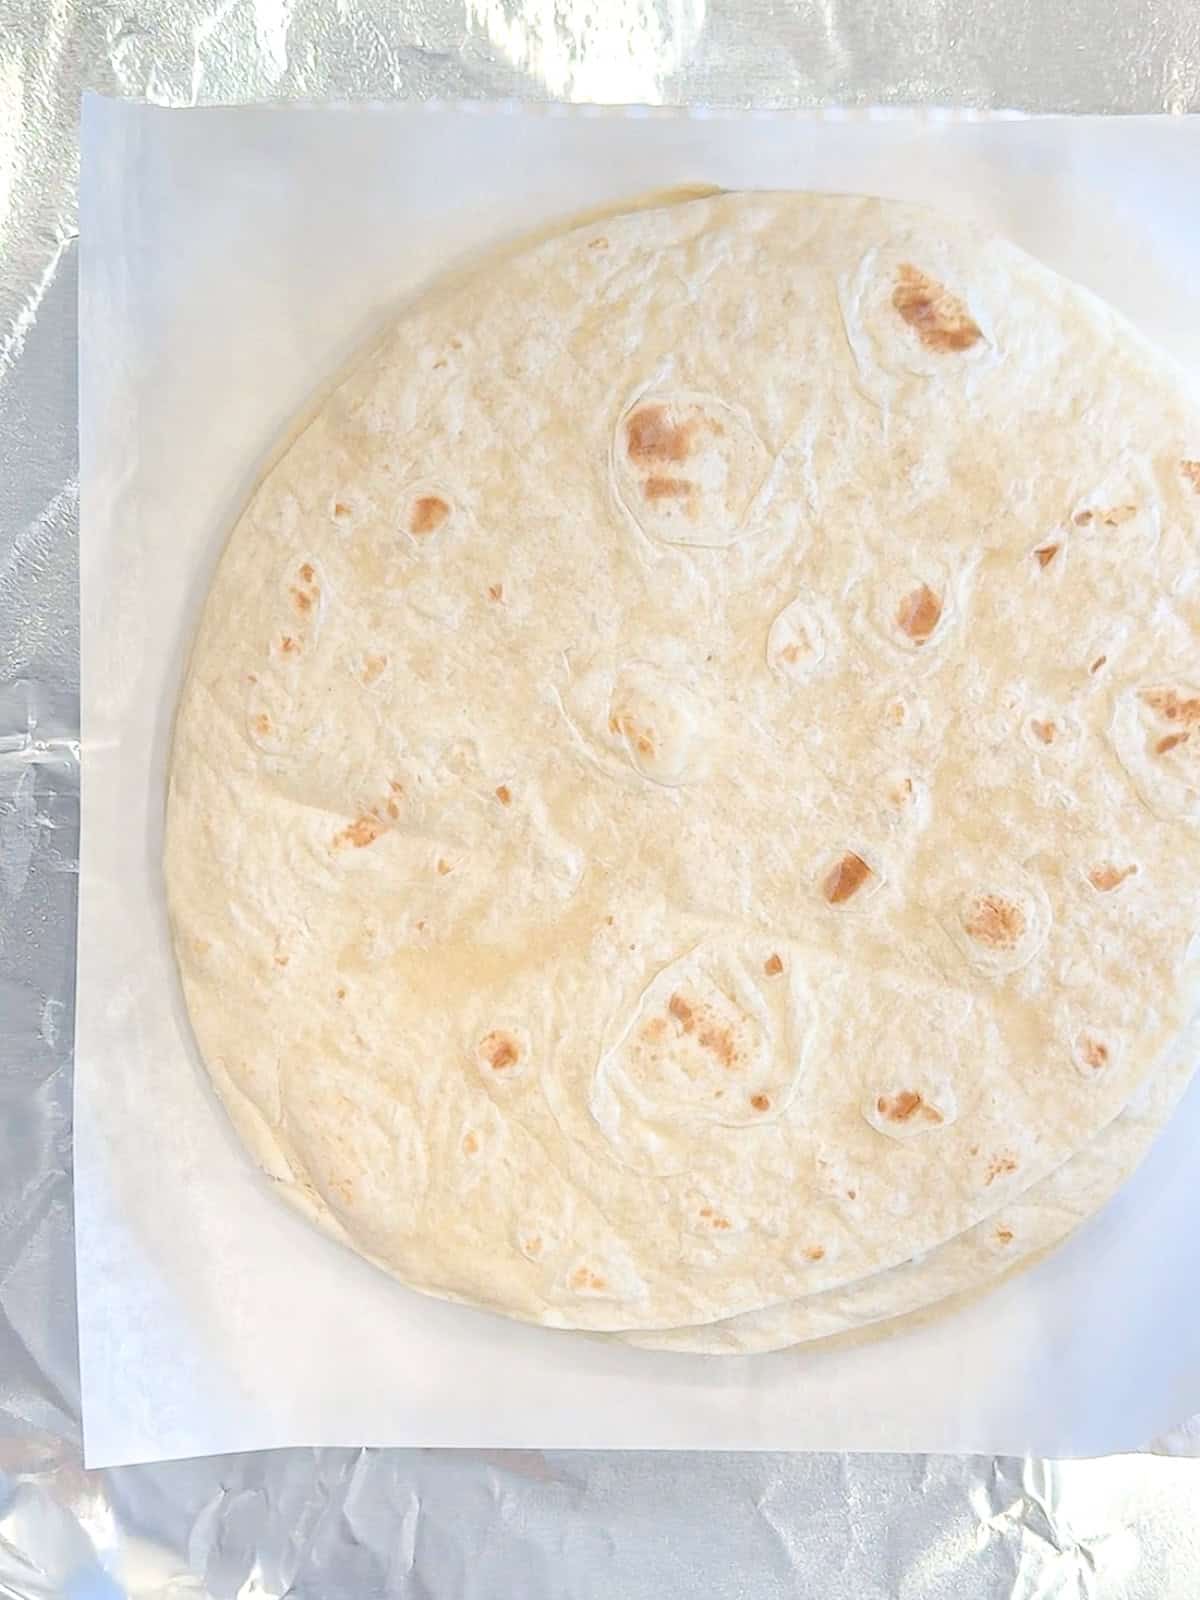
Step 1: Lay a damp piece of paper towel flat on aluminum foil and cover with a piece of parchment paper. Stack your tortillas on top. Add another piece of parchment paper and top another sheet of damp paper towel. Cover with another piece of aluminum foil.
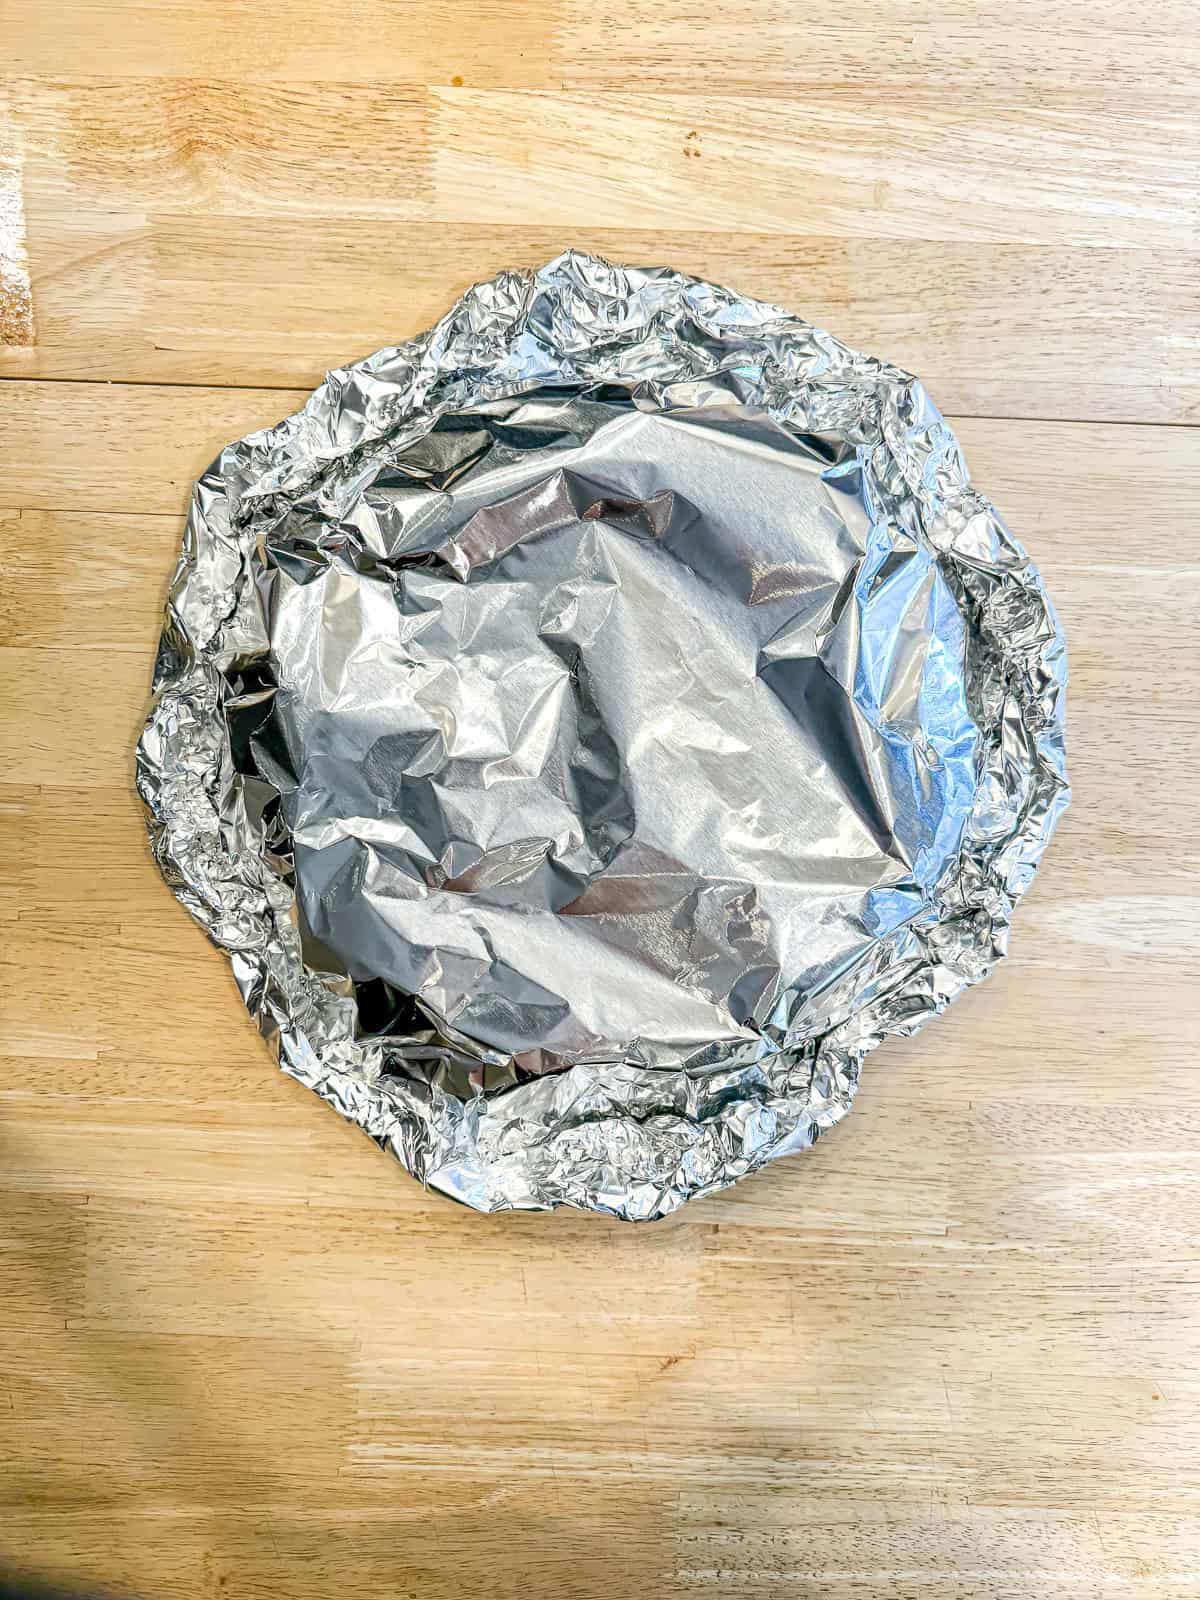
Step 2: Roll the aluminum foil up, going around the tortillas, sealing them in completely. Place in a 300°F oven for 10 minutes. To make burritos, remove one tortilla at a time and then re-close the package to keep the rest moist.
Step-by-Step: Rolling Your Burrito
This is pretty much the easiest recipe in the world, so I'm gonna show you how to roll a burrito correctly. Follow along with the pictures, try it for yourself, and you're going to become an expert! For best burrito-rolling results, do not preheat your refried beans or they may squish out as you try to roll it.
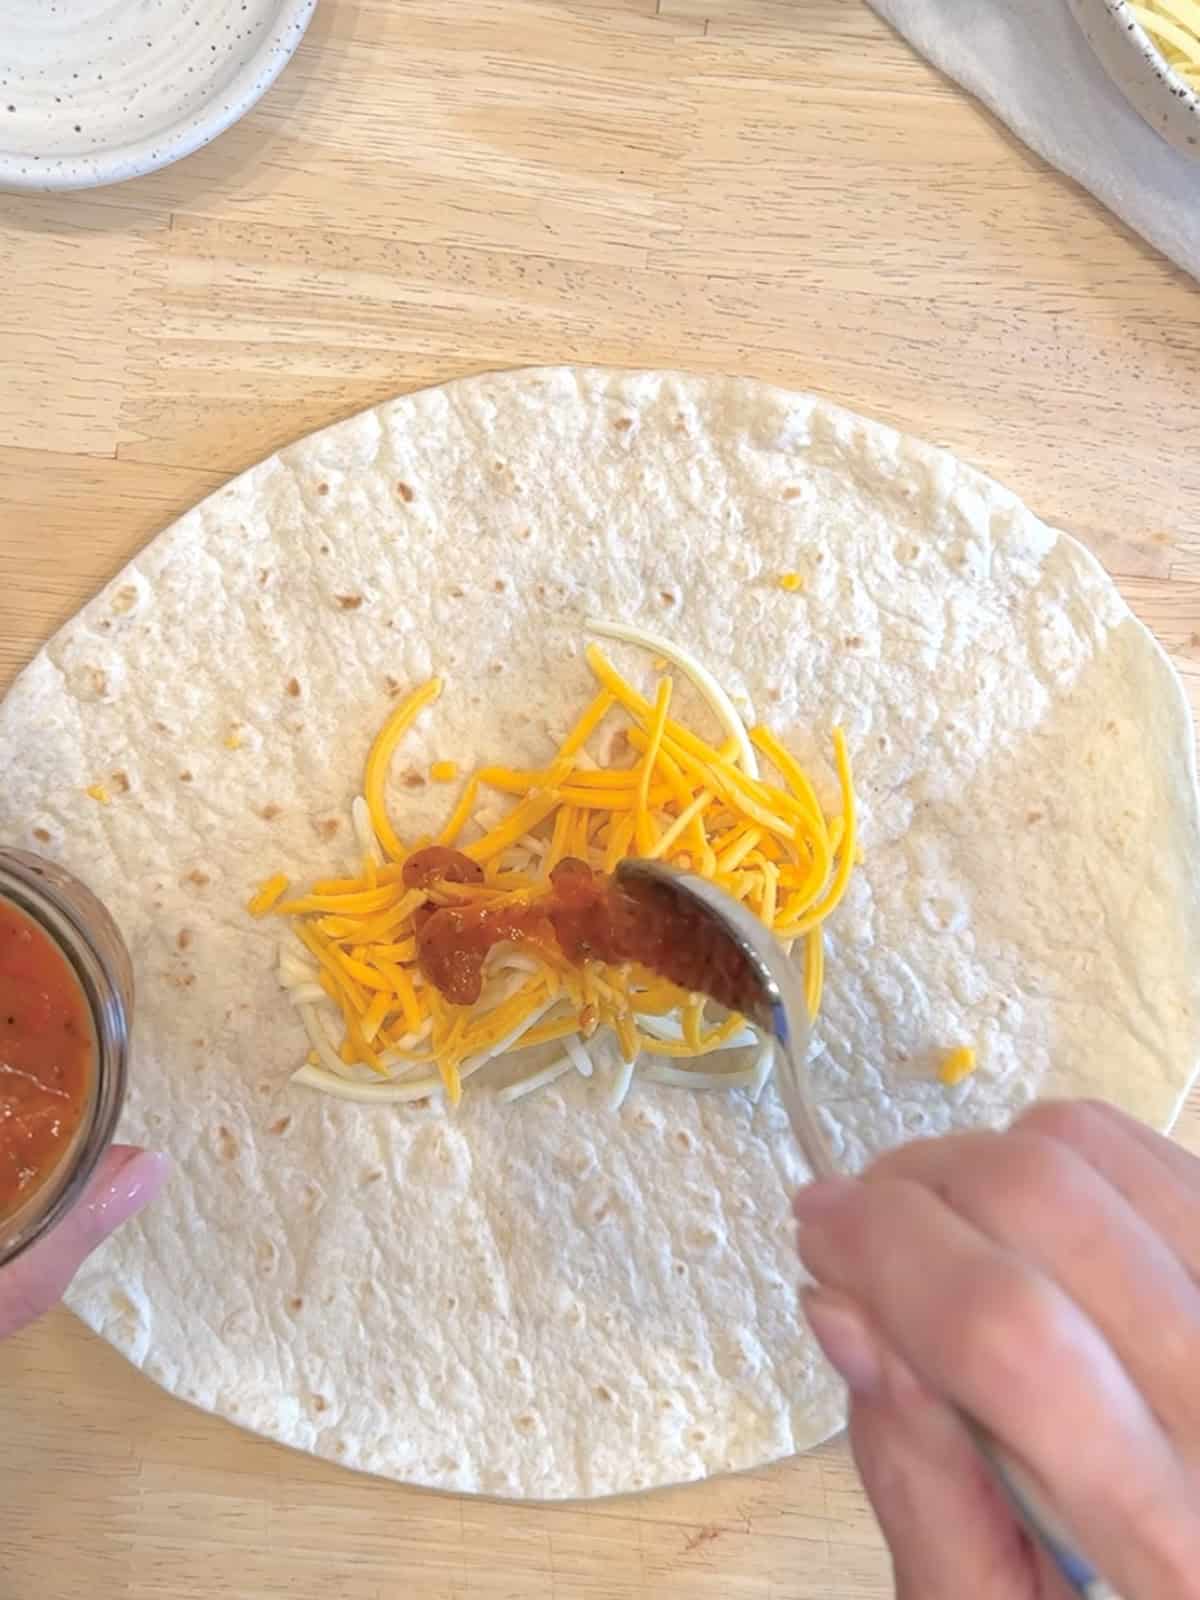
Step 1: Place cheese and ranchero sauce in a line across the center of a tortilla.
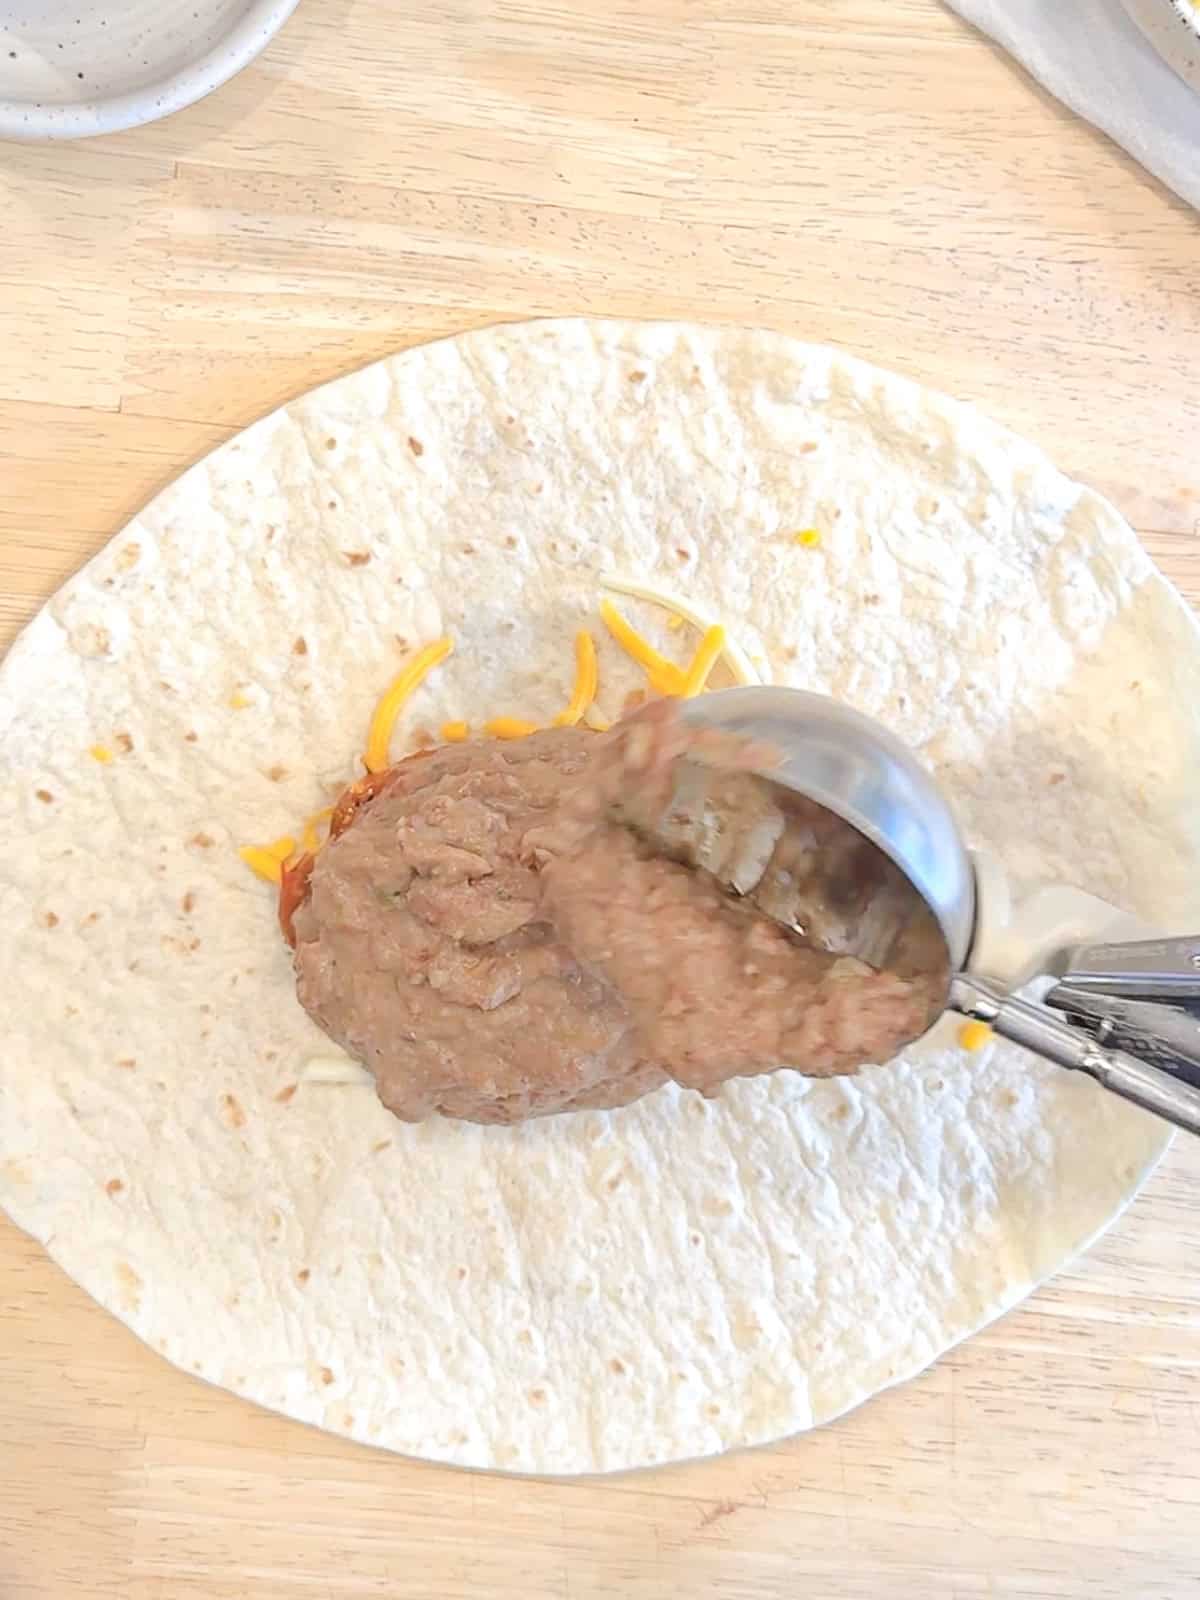
Step 2: Add about ½ cup of refried beans on top of the cheese. If eating immediately, without refrigerating or freezing, add any additional fillings now.
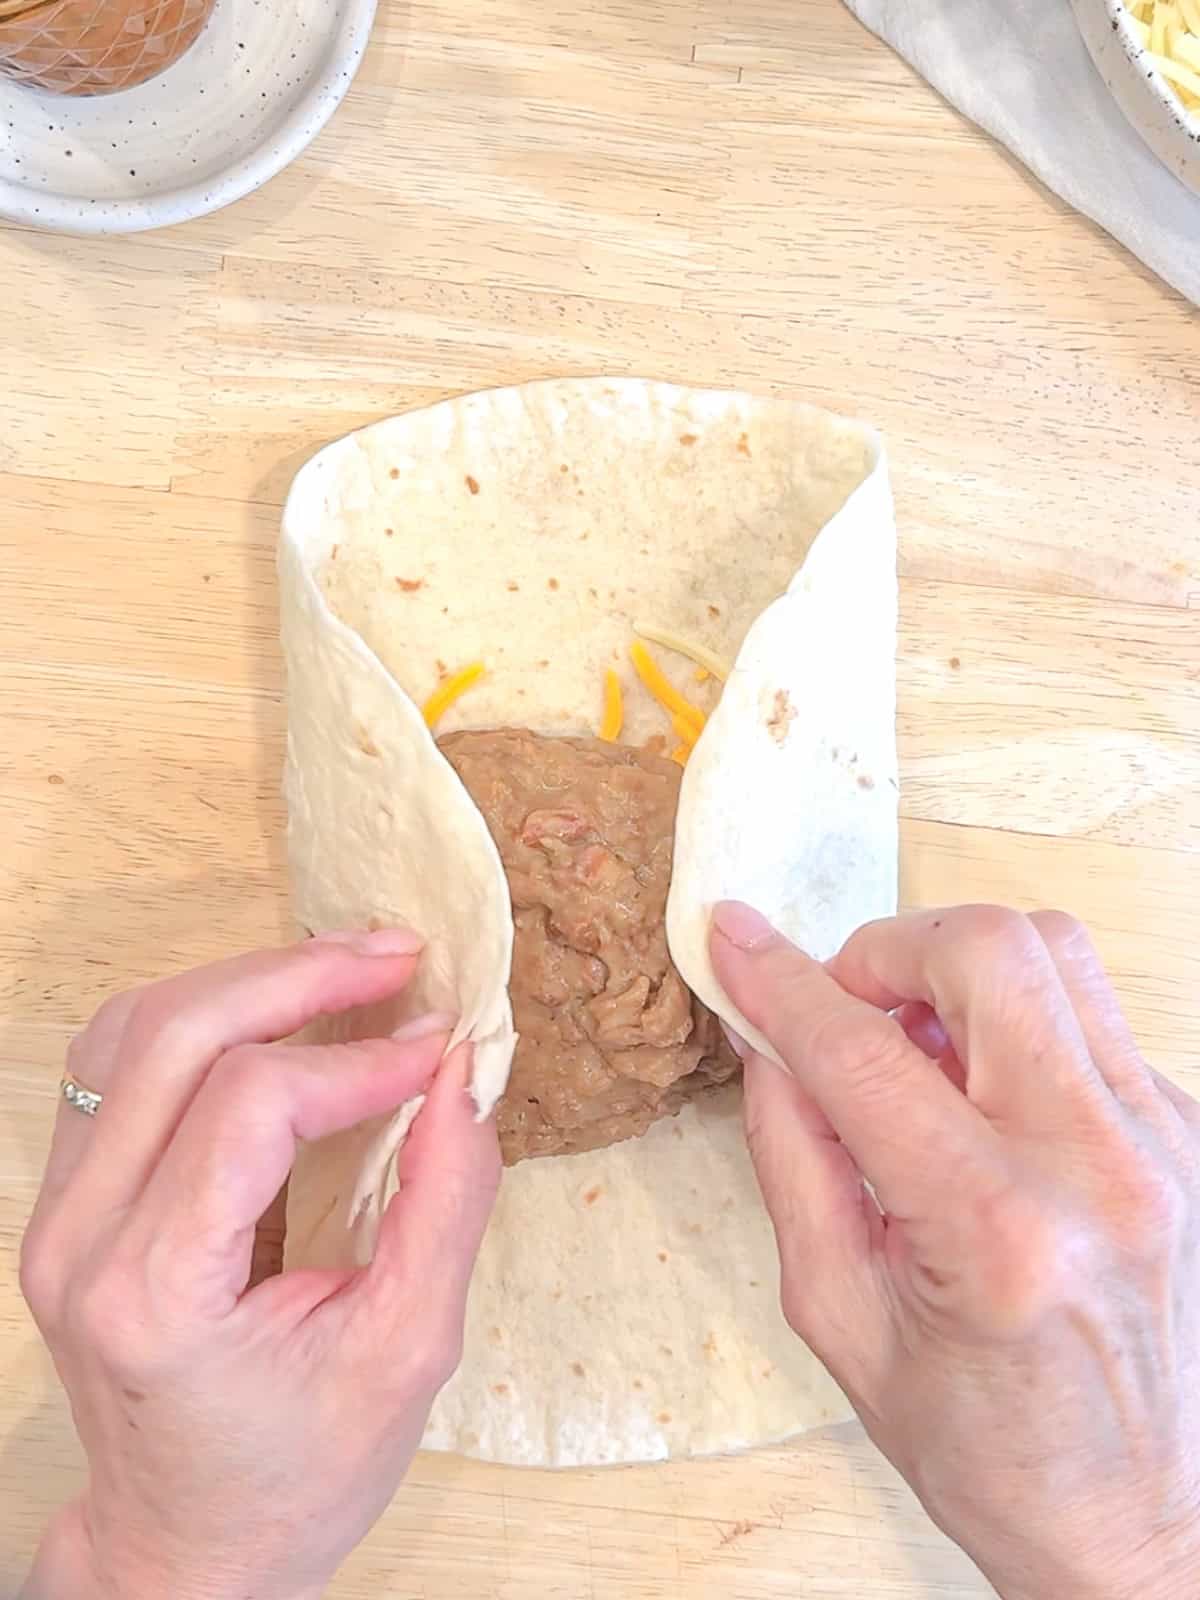
Step 3: Fold the sides of a tortilla inwards, over the bean and cheese filling.
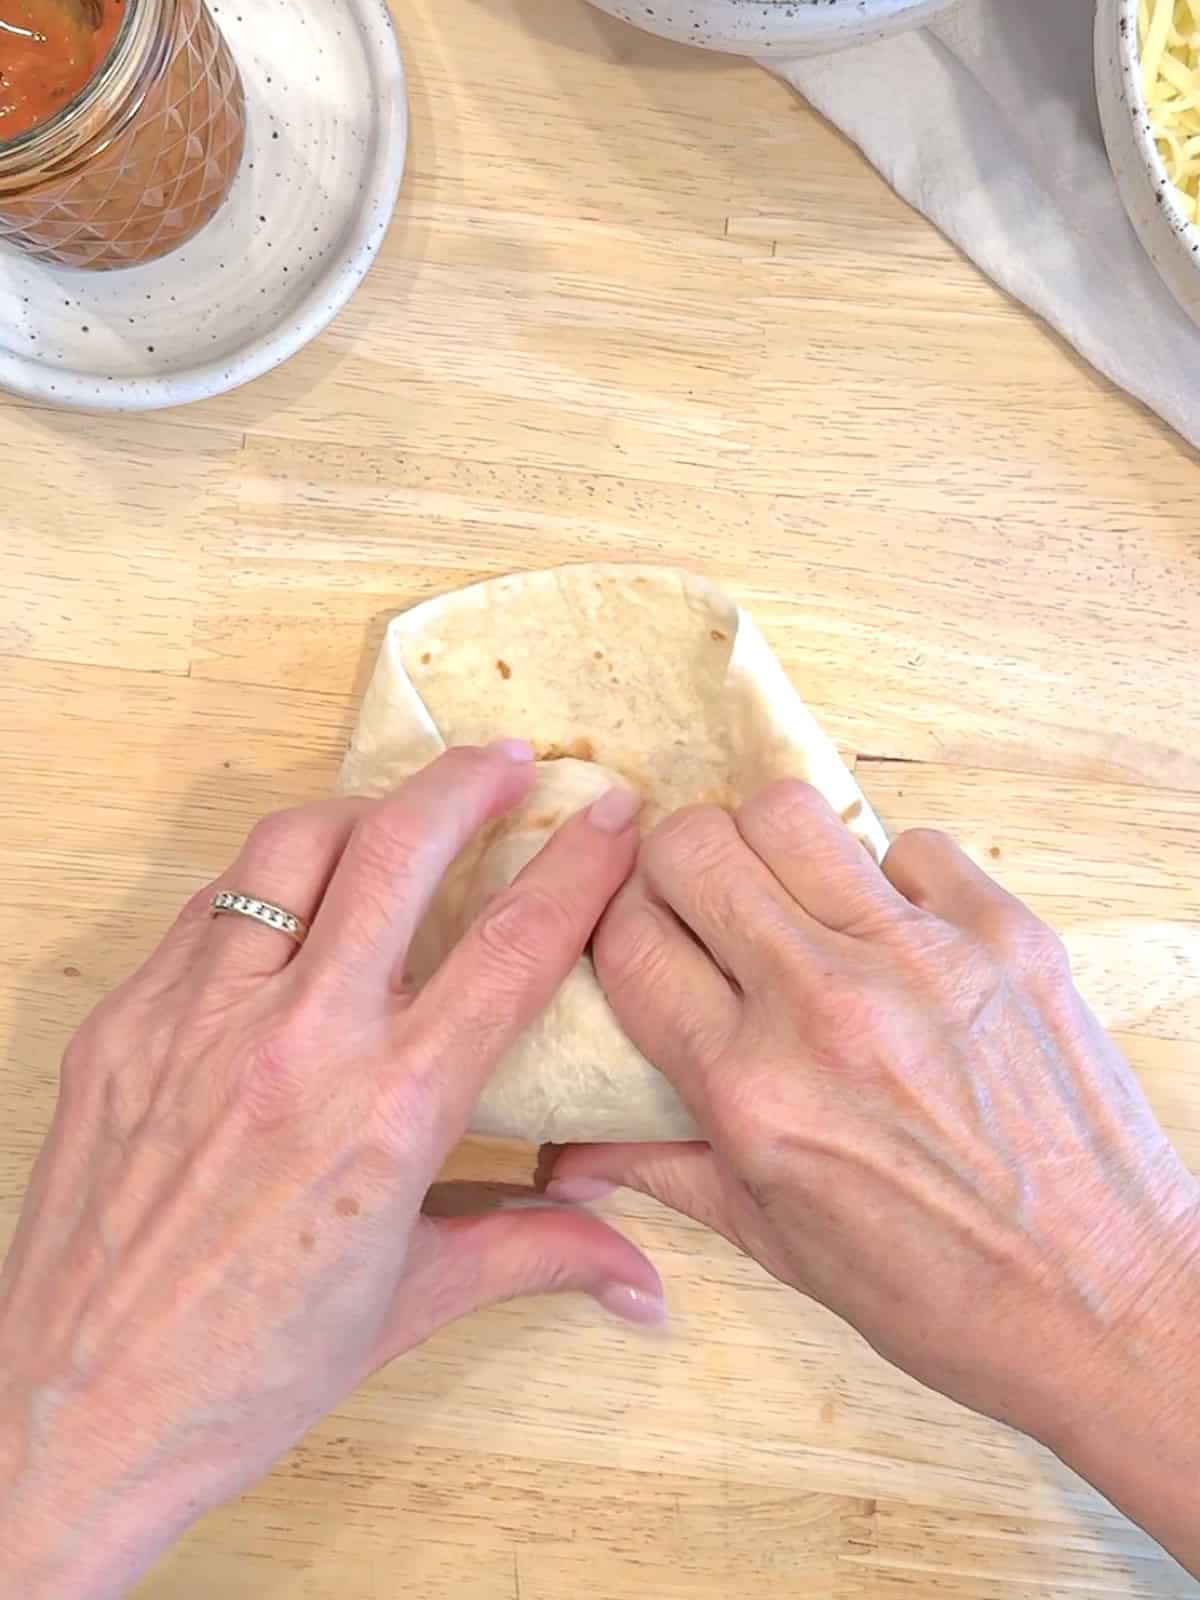
Step 4: Roll the bottom of the tortilla up and over the filling.
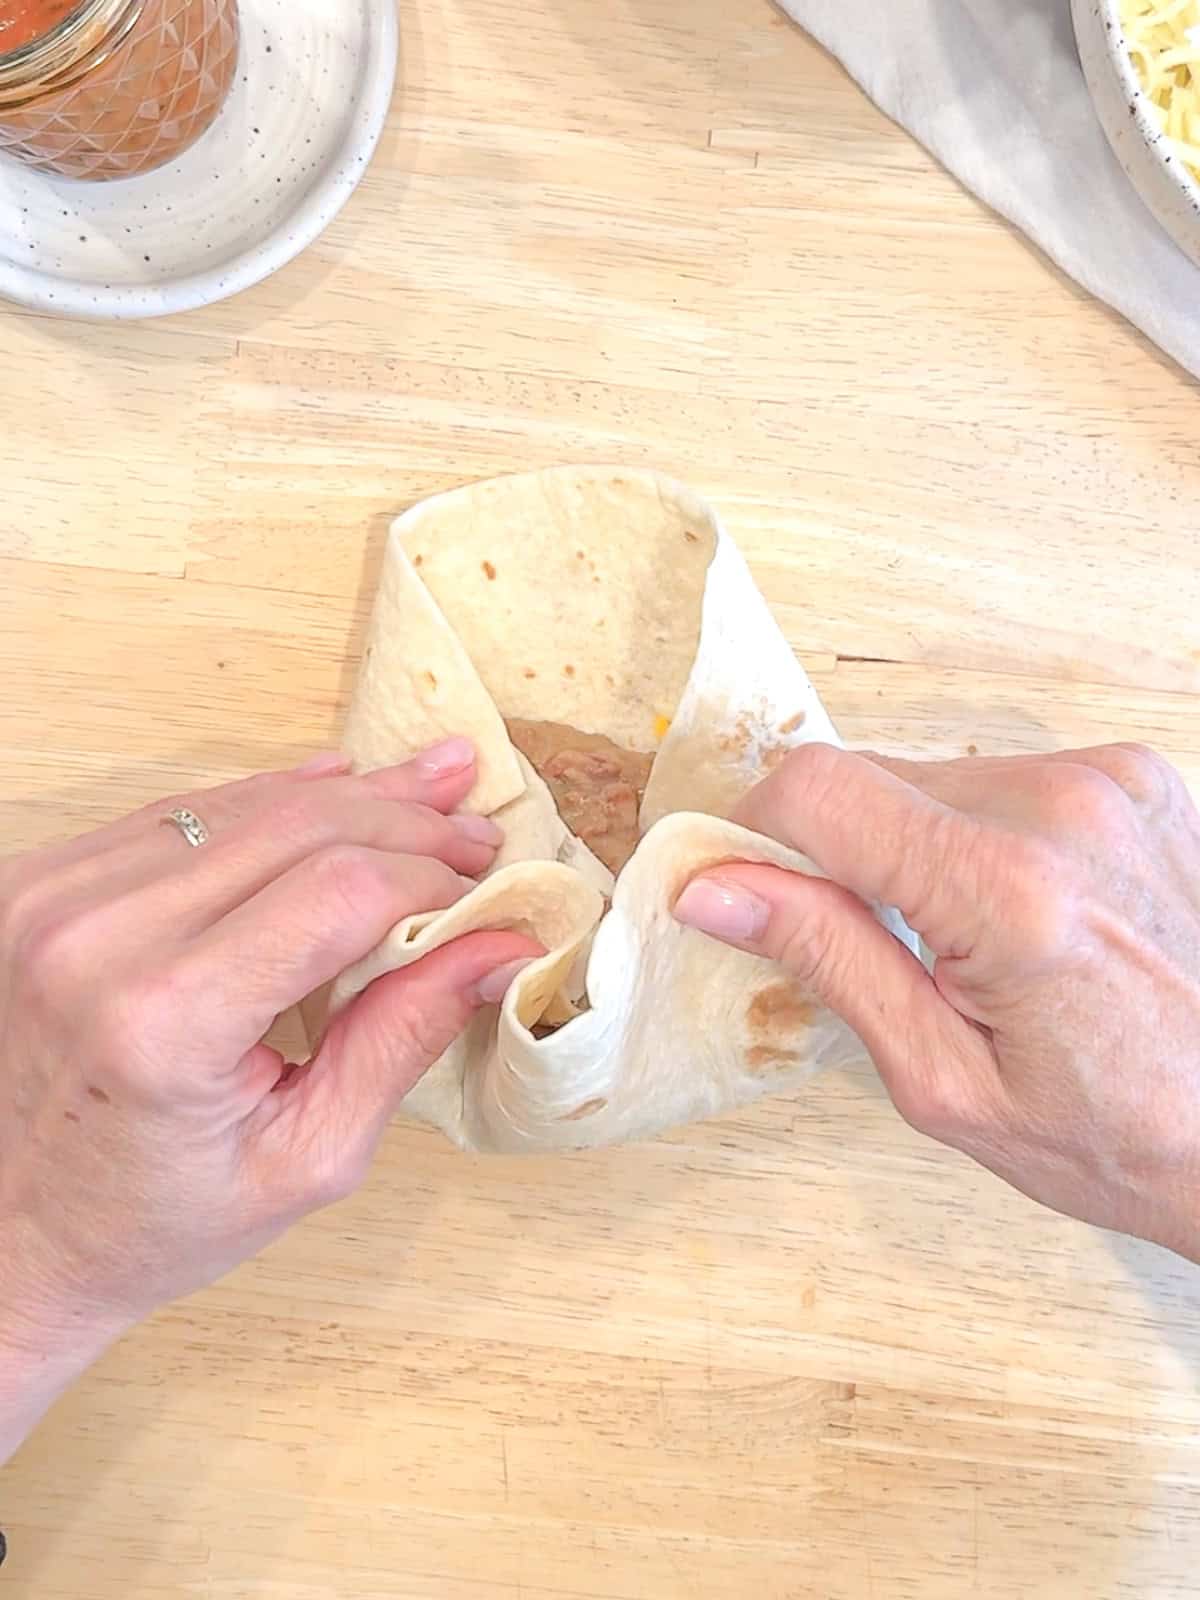
Step 5: Tuck in the upper edges of the tortilla, pulling back to enclose the bean and cheese filling.
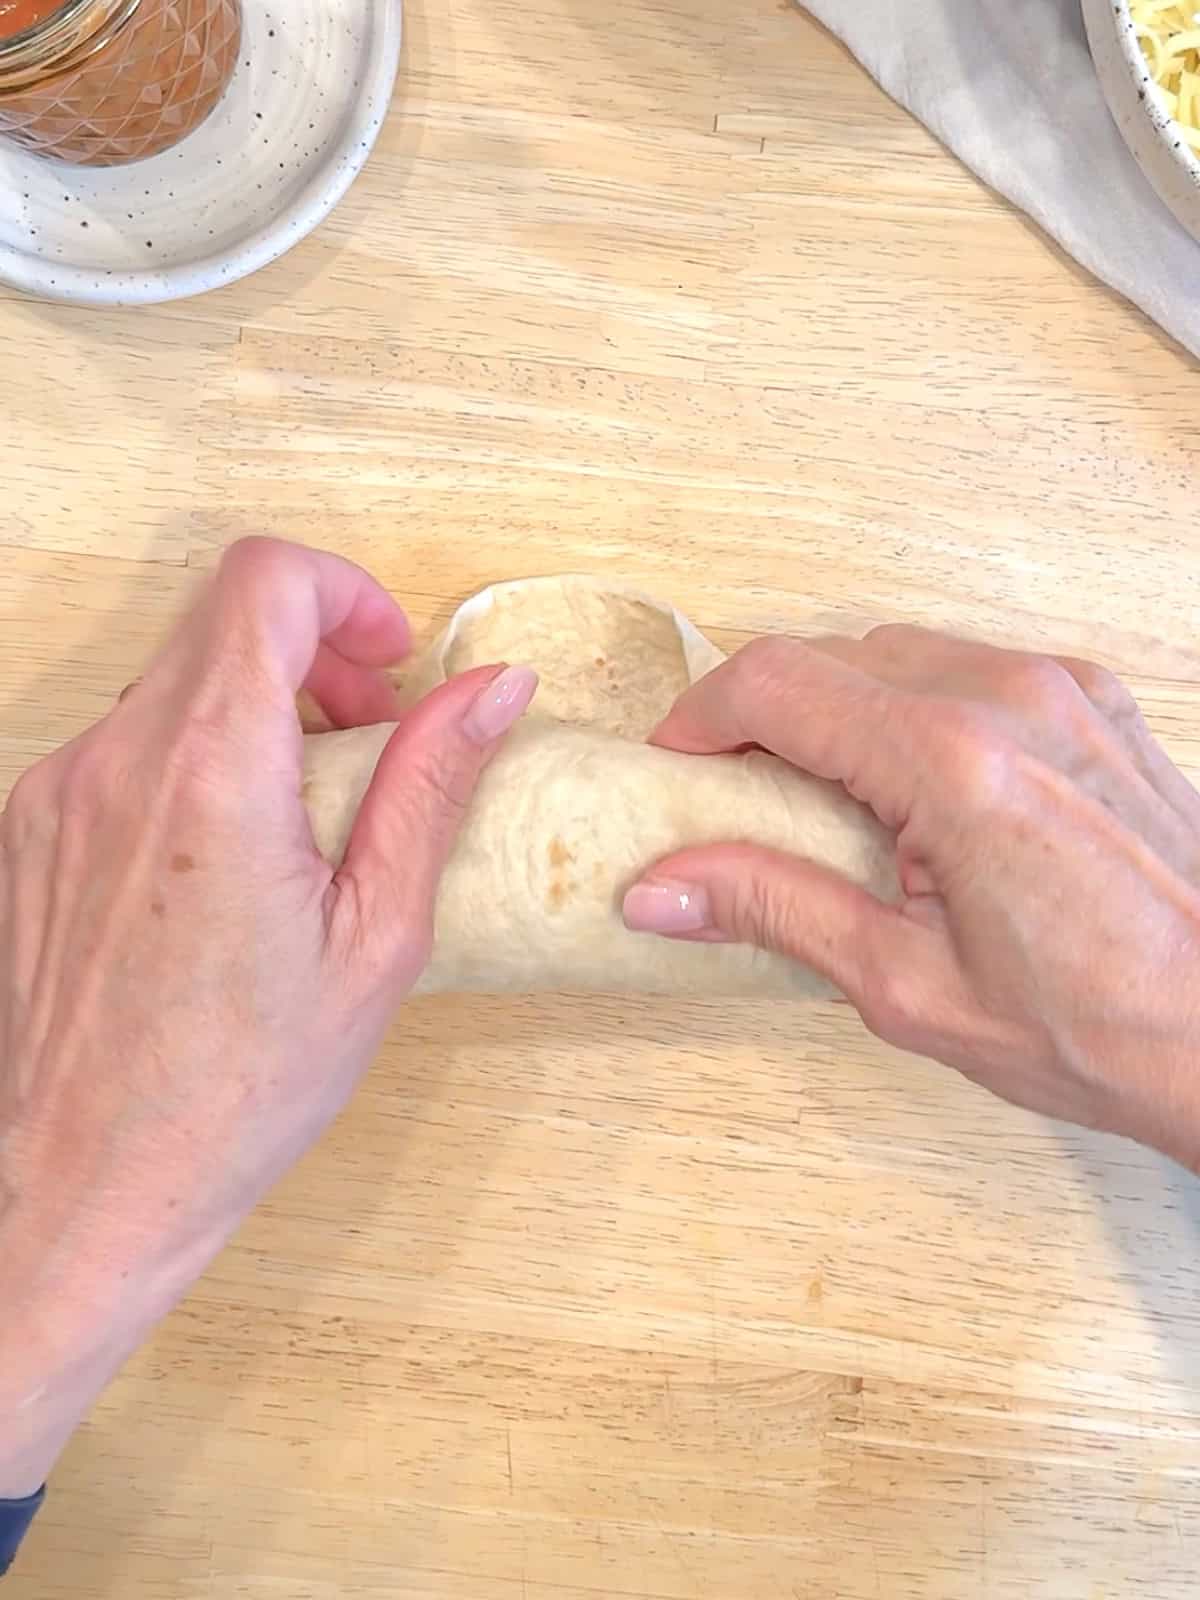
Step 6: Continue to roll the burrito until the seam side (flap) is on the bottom.
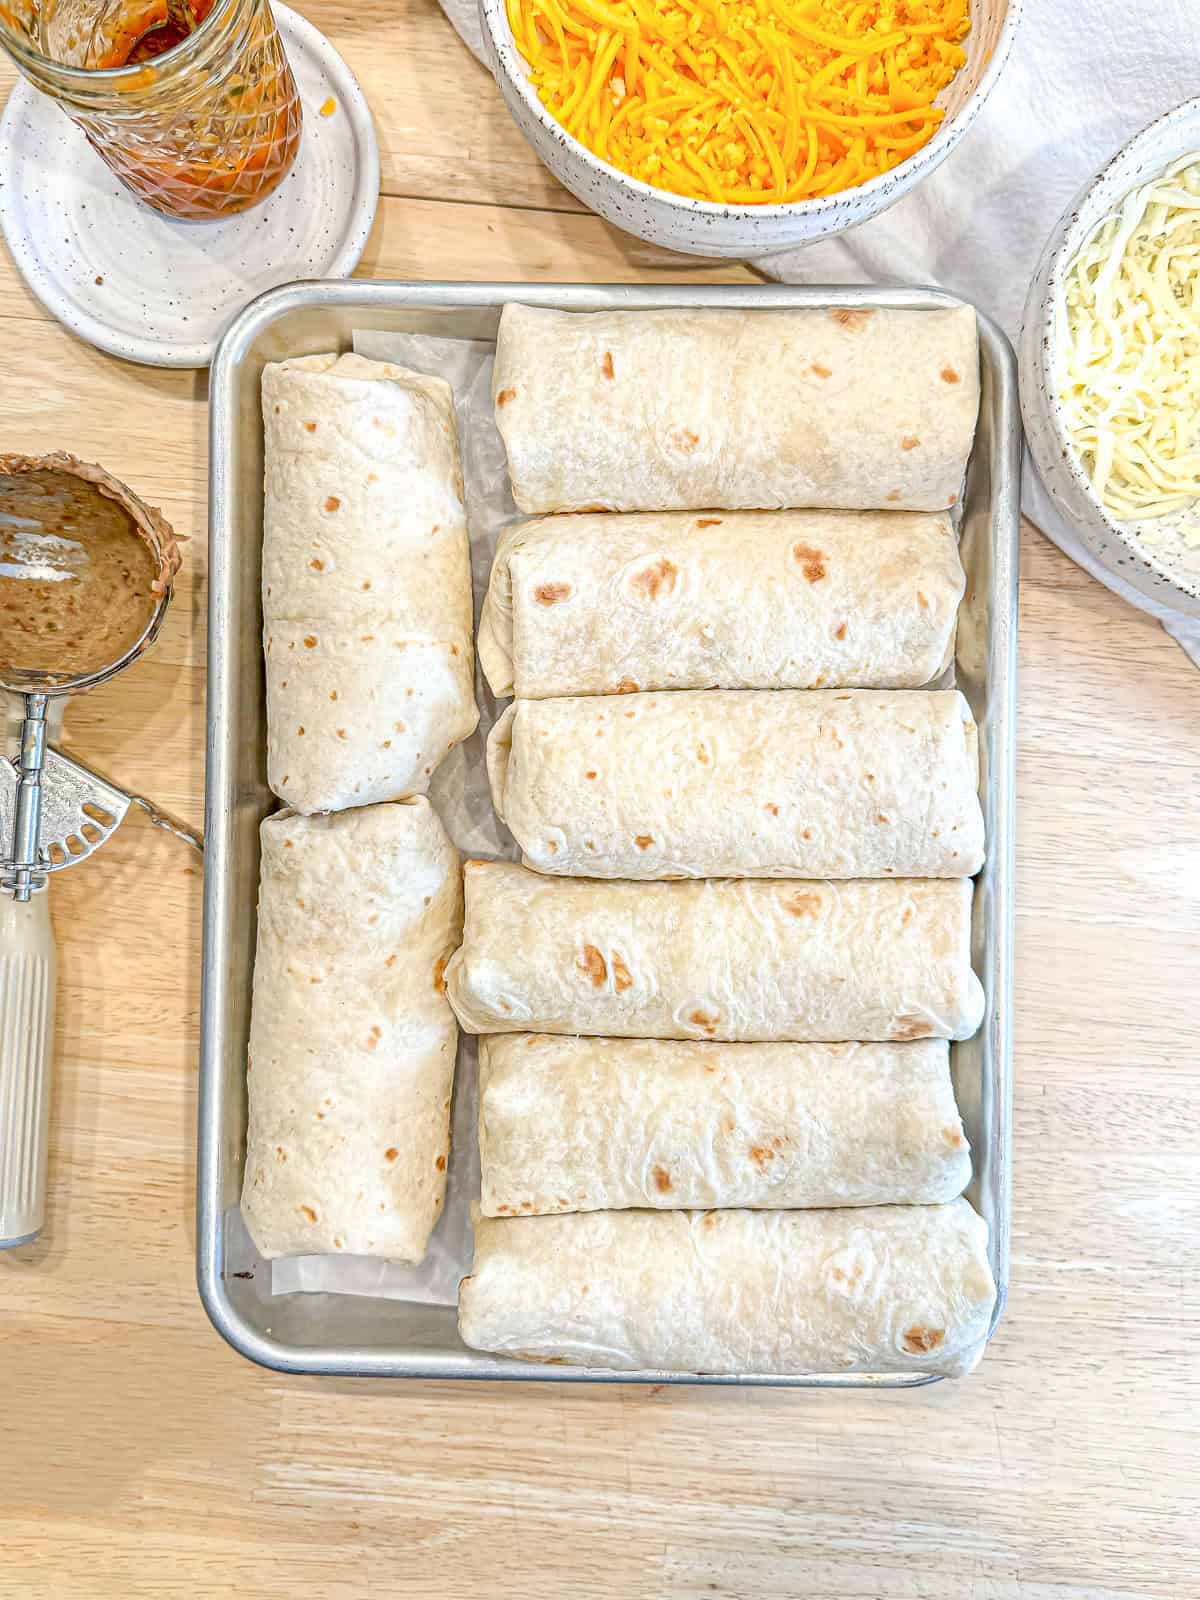
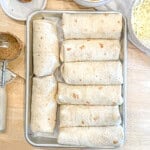
Step 7: Place all of the burritos that you plan to eat now on a small sheet pan lined with parchment paper. Place in a 300° oven for 10 to 15 minutes, or until the filling is hot (internal temperature of at least 165°F with an instant thermometer)
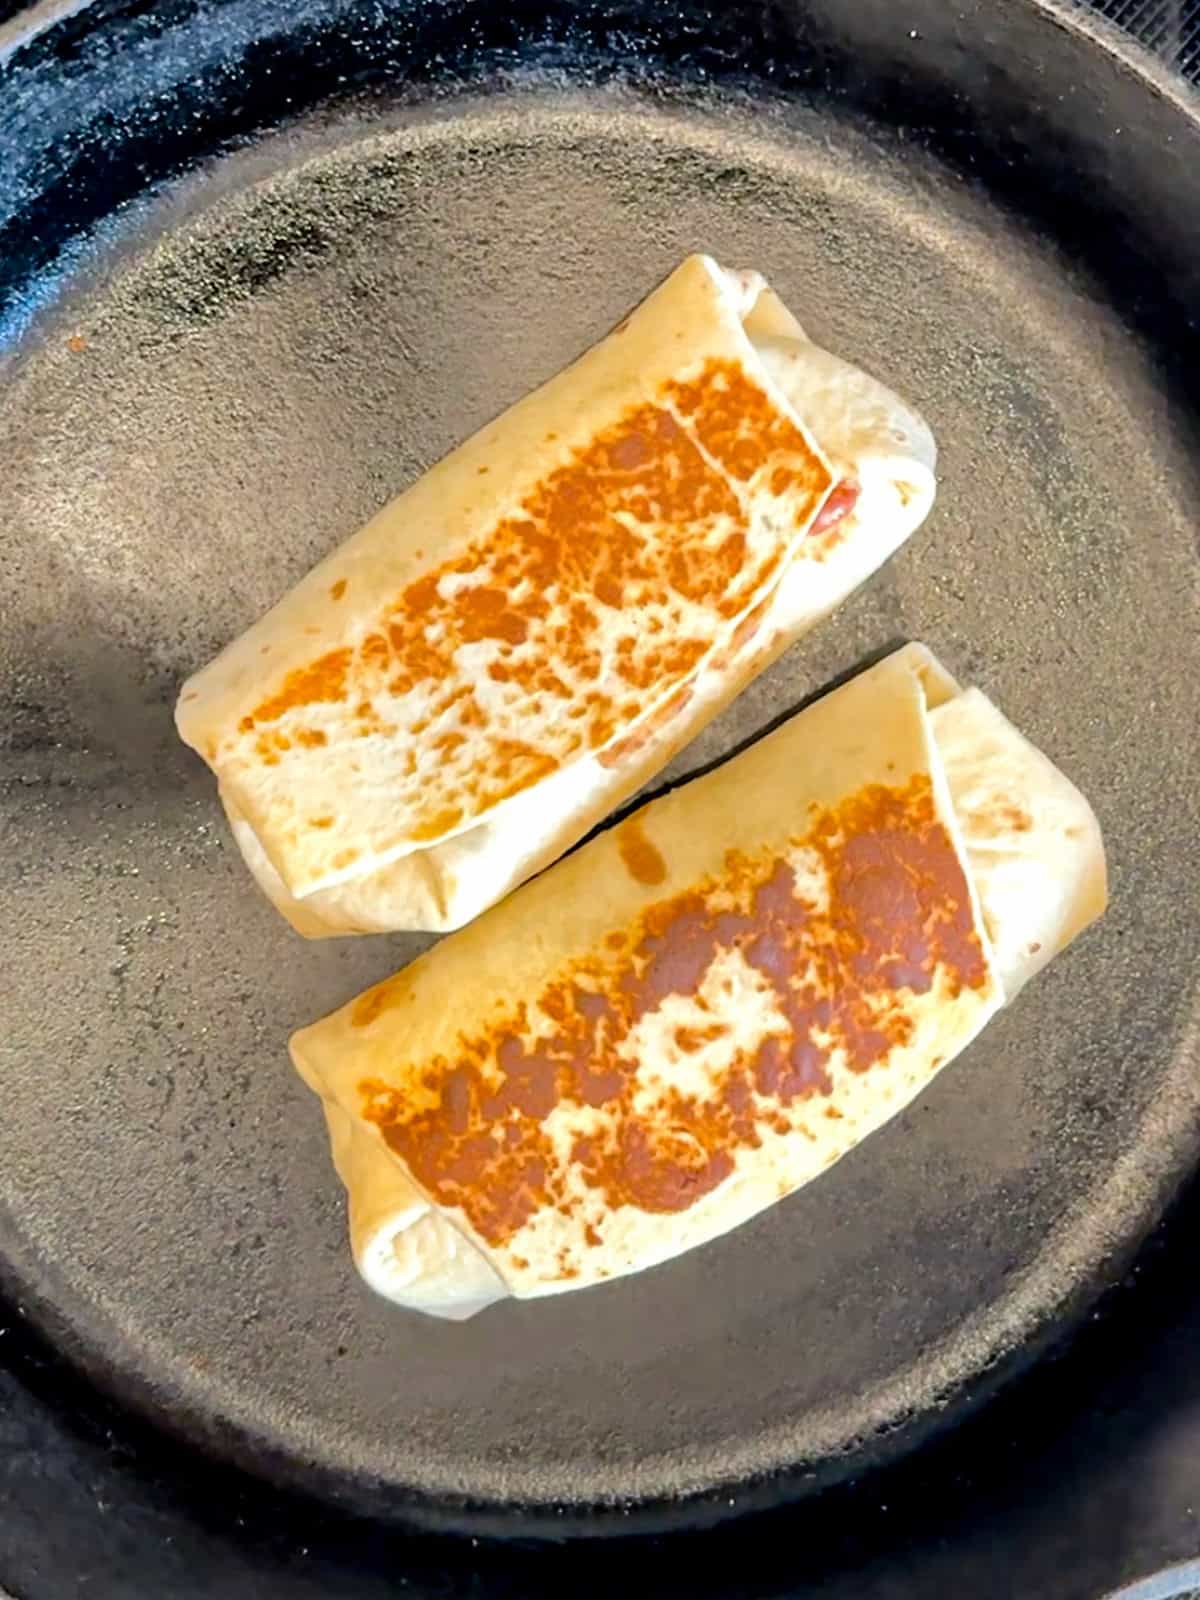
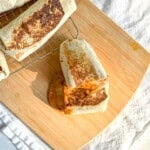
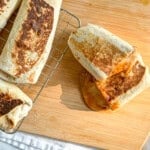
Step 8: (Optional, for a crispy bean burrito) After heating, place burrito seam side down in a large skillet that has been heated to medium heat. Let cook for 2-3 minutes and then flip over and cook the other side until golden brown and crispy and the filling is hot.
Rolling up As long as we're rolling things up in tortillas, you should try my Breakfast Taquitos. Fille with sausage, egg, and cheese and baked until crispy, you can't eat just one... or two.
Meal Prep: Fridge, Freezer, and Reheating
Refrigerating, freezing, and reheating bean and cheese burritos is a great way to have an easy meals on hand whenever you need it. Here's the best way to do both as well as all the ways that I can think of to get a hot burrito into your mouth:
- Freezing: Allow burritos to cool completely and then wrap each one individually in plastic wrap. For extra protection against freezer burn, you can also wrap each one in aluminum foil as well. Place all of the burritos into a large freezer bag, squeezing out as much air as possible before sealing. Label the bag with the date and freeze for up to three months.
- Reheating in microwave: Unwrap the burrito from foil and/or plastic and place on a microwave-safe plate. Cover with a damp paper towel to prevent the tortilla from drying out.
- Defrosted overnight in the refrigerator: Microwave on high for 2 to 3 minutes, or until the center is hot. If it is still cool, microwave on high in 30 second bursts until hot.
- From frozen: Place in the microwave, on the defrost setting, for about 5 minutes, them microwave on high for 2 to 3 minutes, or until the center is hot. If it is still cool, microwave on high in 30 second bursts until hot.
- Reheating in the oven:Unwrap the burrito from foil and/or plastic and re-wrap in the foil only. Preheat oven to 350°F.
- Cold from fridge: Place desired number of foil wrapped burritos on a sheet pan in the oven and heat for 10 to 15 minutes, or until hot.
- Frozen: Place desired number of foil wrapped burritos on a sheet pan in the oven and heat for approximately 40 minutes, or until hot.
Recipe FAQs
Yes! To make vegan burritos, use vegan refried beans and vegan cheese or skip the cheese altogether. You can also serve with vegan sour cream or guacamole for extra creaminess.
To prevent sogginess, let your refried beans cool before assembling the burritos to keep the tortillas from getting too soft. Also avoid overfilling your burritos with wet ingredients like salsa or sour cream. Instead, add these on the side or just before eating.
Favorite toppings include homemade salsa, sour cream, guacamole, shredded lettuce, diced tomatoes, chopped onions, or jalapeños. You can also add rice, extra pinto beans, or even mix in some grilled veggies.
Be careful not to overfill your burritos, and fold them tightly, but don't squeeze too much. To help them hold together, follow my instructions above to toast the outside of the burritos in a hot pan, which helps seal them shut.


Did you try this recipe?
Please consider leaving a comment with a ⭐️ rating below and tell me all about it! It helps me to continue to improve my content and lets others know what you think!
I appreciate it so much!
-Cynthia
📖 Recipe
Quick and Easy Bean and Cheese Burritos
Ingredients
- 8 flour tortillas 10 inch burrito size
- 4 cups refried beans from 2 to 3 cans
- 1 cup ranchero sauce enchilada sauce or tomatillo salsa will also work
- 8 ounces cheddar cheese shredded
- 8 ounces monterey jack cheese shredded
Instructions
For best burrito-rolling results, do not use hot refried beans or they will squish out as you try to roll your burrito.
- Warm tortillas by your favorite method, microwave, oven, or warming in a pan on the stove.
- Wrap your tortillas in aluminum foil with damp paper towels, separated from the tortillas by parchment paper.
- Then heat in a 300°F oven for 10 minutes. To make burritos, remove one tortilla at a time and then re-close the package to keep the rest moist.
- Place cheese and ranchero sauce in a line across the center of a tortilla.
- Arranging the refried beans on top of the cheese. If eating immediately, without freezing or refrigerating, add any additional fillings now.
- Fold the sides of a tortilla inwards, over the bean and cheese filling.
- Roll the bottom of the tortilla up and over the filling.
- Tuck in the sides of the tortilla, pulling back to enclose the bean and cheese filling.
- Continue to roll the burrito until the seam side is on the bottom.
- Place all of the burritos that you plan to eat on a small sheet pan lined with parchment paper. Place in a 300° oven for 10 to 15 minutes, or until the filling is hot.
- (optional) After heating, place burritos seam side down in a skillet that has been heated to medium heat. Let cook for 2 to 3 minutes and then flip over and cook the other side until golden brown and the filling is hot.
Save This Recipe! 💌
Notes
Doctoring up canned refried beans:
- Finely chop ½ of an onion and mince 1 garlic clove. You can also finally chop ½ of a jalapeño pepper if you would like a little.
- Heat one tablespoon of oil, butter, bacon fat, or lard in a cast iron pan or a skillet over medium-high heat. Sauté onions and garlic until softened.
- Stir in 2 to 3 cans of refried beans and a couple of tablespoons of broth or water. Add ½ teaspoon of cumin and chili powder, plus and salt and pepper to taste. Simmer for 10 minutes. Let cool before making the burritos.
Fridge, Freezer, and Reheating
- Freezing: Allow burritos to cool completely and then wrap each one individually in plastic wrap. For extra protection, you can also wrap each one in aluminum foil as well. Place all of the burritos into a large freezer bag, squeezing out as much air as possible before sealing. Label the bag with the date and freeze for up to three months.
Reheating in microwave
Unwrap the burrito from foil and/or plastic and place on a microwave-safe plate. Cover with a damp paper towel to prevent the tortilla from drying out.
- If defrosted overnight in the refrigerator: Microwave on high for 2 to 3 minutes, or until the center is hot. If it is still cool, microwave on high in 30 second bursts until hot.
- From frozen: Place in the microwave, on the defrost setting, for about 5 minutes, them microwave on high for 2 to 3 minutes, or until the center is hot. If it is still cool, microwave on high in 30 second bursts until hot.
Reheating in the oven:
Unwrap the burrito from foil and/or plastic and re-wrap in the foil only. Preheat oven to 350°F.- If cold from fridge: Place desired number of foil wrapped burritos in the oven and heat for 10 to 15 minutes, or until hot.
- If frozen: Place desired number of foil wrapped burritos in the oven and heat for approximately 40 minutes, or until hot.


Comments
No Comments