


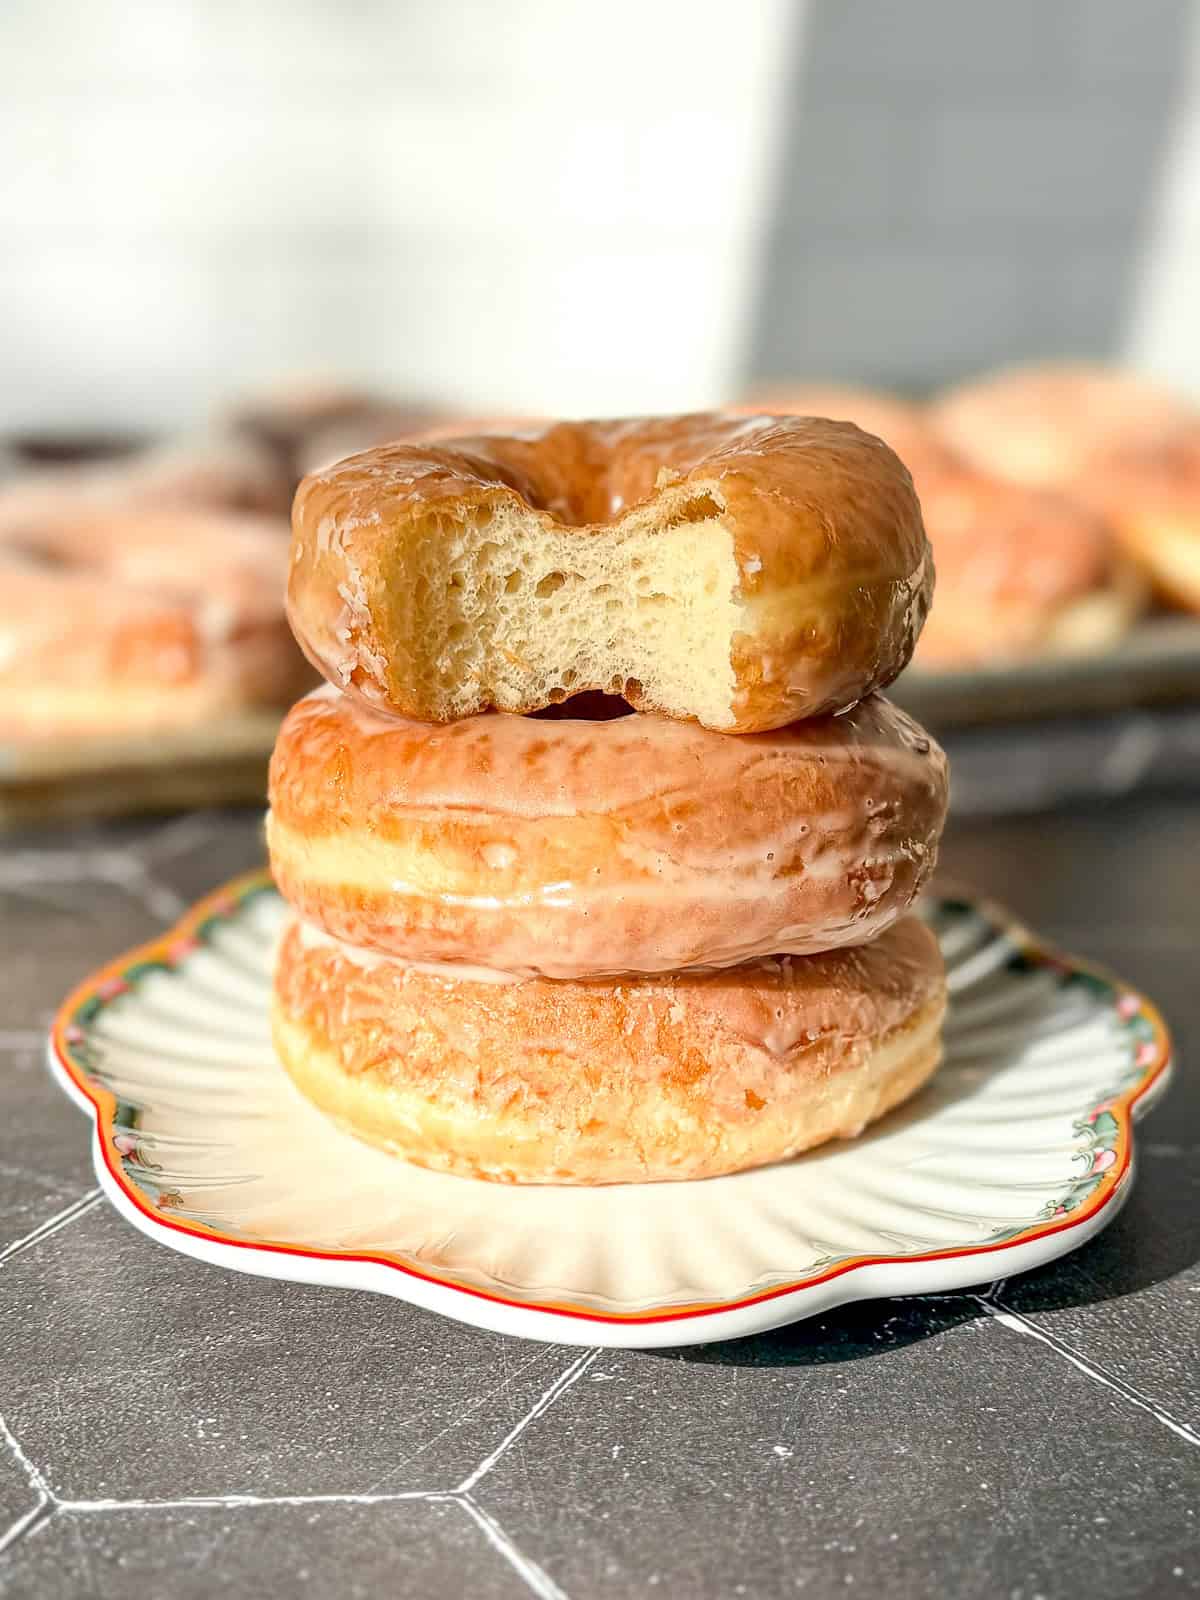
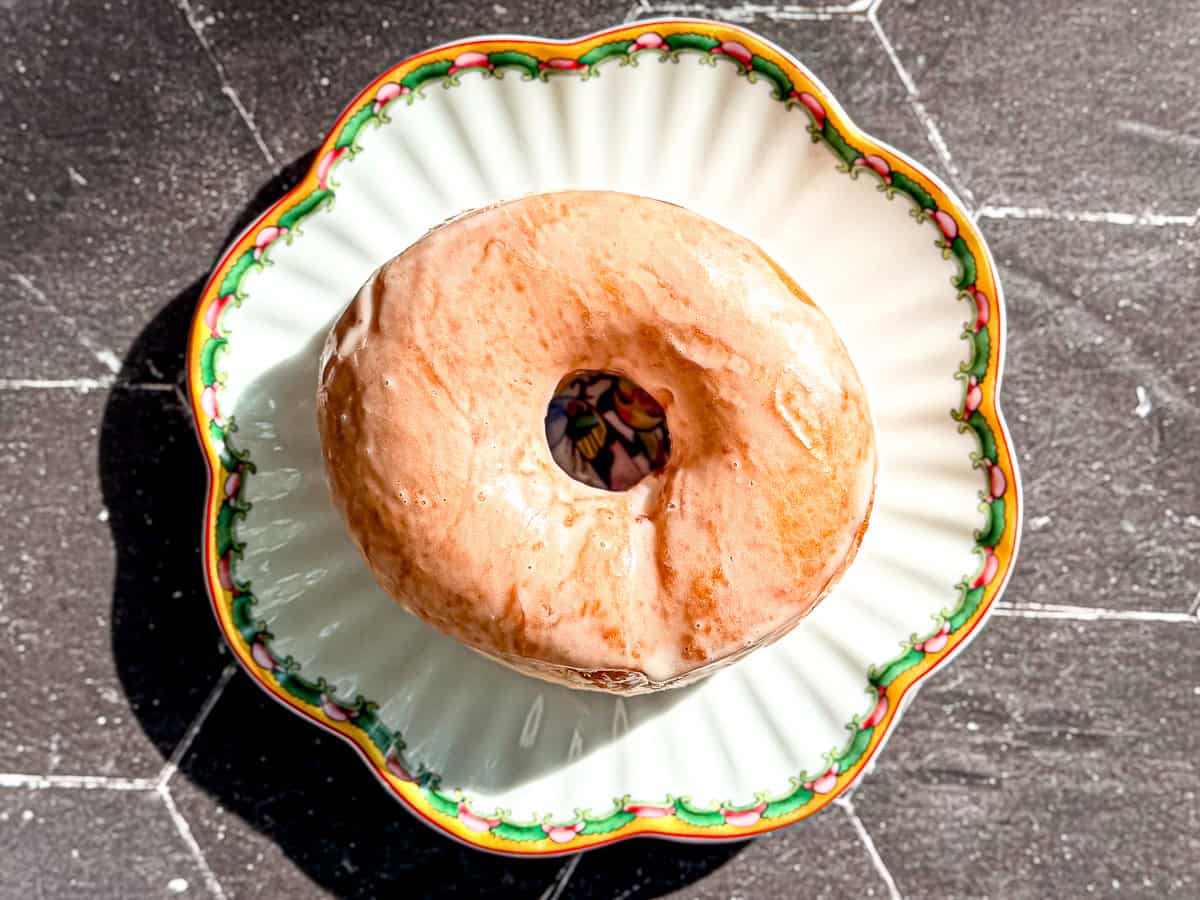
You do not need a full day - or a Dunkin' run - to get Classic Glazed Donuts that taste like they came from an actual donut shop. You need 90 minutes, a few pantry staples, and one pot of hot oil. They are soft and pillowy and finished with a glaze that sets into a thin crackly coating, and ready before anyone in your house has even found their shoes.
Save this recipe for later
Enter your email and I'll send this recipe straight to your inbox.
How does one randomly create the greatest Classic Glazed Donuts? Well, one morning I wanted donuts and I got to wondering what would happen if I used my sandwich bread recipe but made the dough just a little richer. The result was a donut that fried up soft and fluffy and full of flavor, with the kind of crumb that makes you tear off a piece and just stare at it for a second.
I made a batch in the morning and eight hours later my family came over for dinner and were enjoying them while I finished cooking. Yeah, they loved them. This might actually be my new favorite doughnuts, and that saying a lot. If you want a starting point for exploring all the donut recipes on this site, I would start right here.
Jump to:
In This Post You'll Learn
- How to get a soft, fluffy donut with only a 35-minute rise
- Why all-purpose flour gives you a softer, squishier donut than bread flour
- The parchment square trick that keeps your shaped donuts from deflating
- How to maintain oil temperature so every donut fries evenly
- How to glaze in batches for a cleaner, crackly finish
Why you'll love this recipe
- Speed - From mixing to glazed and set in 90 minutes, no overnight rise needed.
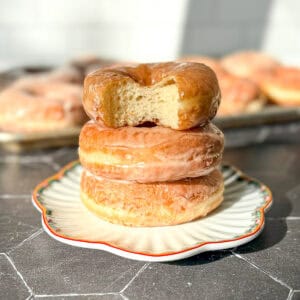
- Texture - Soft and pillowy inside with a thin crackly glaze that sets beautifully.
- Flavor - Rich and buttery with a vanilla glaze that is just sweet enough.
- No drive-thru required - Better than Dunkin', Shipley's, or Krispy Kreme, and you never have to leave the house.
- Beginner Friendly - Clear steps and photos walk you through every part of the process.
- Yield - You get 10 to 12 donuts plus donut holes, enough to feed a crowd or a very happy family.
These same-day donuts are exactly what you want when the craving hits and you have little patience and are not willing to wait until tomorrow.
Ingredients & Substitutions
Here is a photo of everything you need to make this recipe. Let's go over the important ones and where you can make changes if needed.
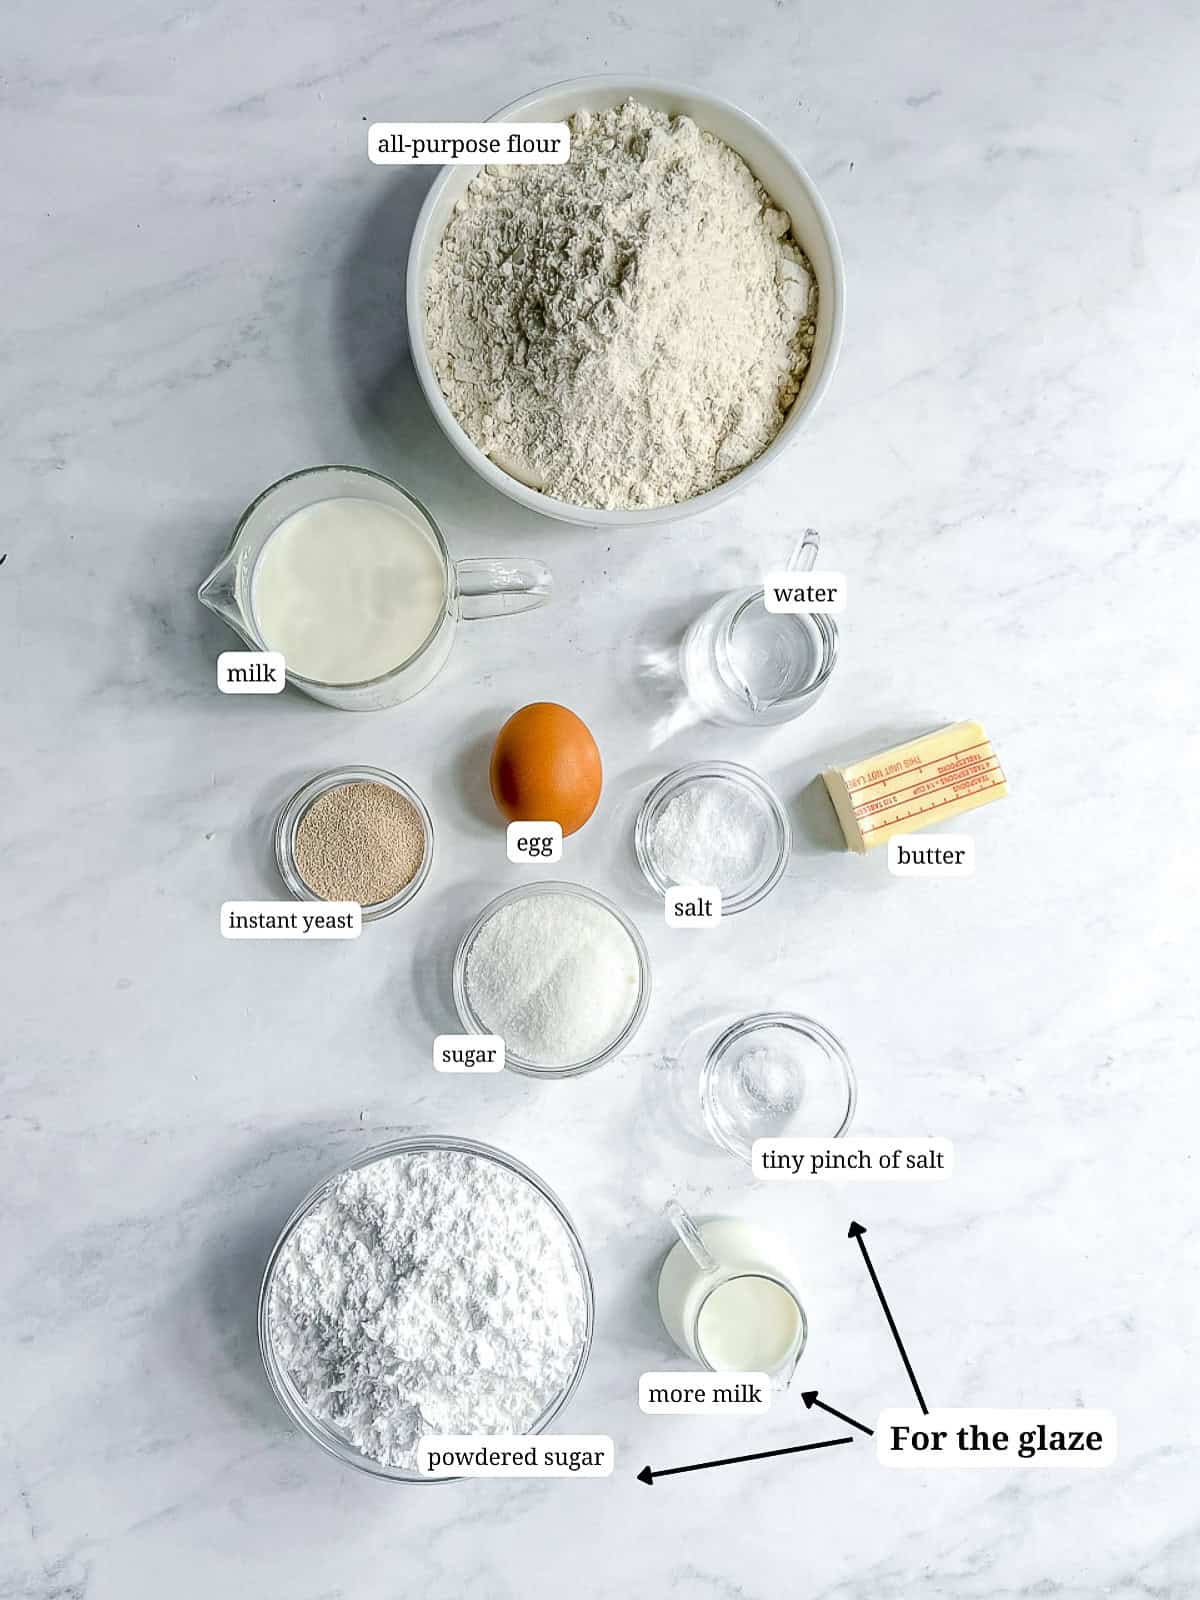
- All-purpose flour - All-purpose flour is the move here. Less protein means less gluten, and less gluten means softer, squishier donuts with that melt-in-your-mouth texture we are going for. Bread flour will make them chewier and more structured, which sounds good in theory but is not what you want from a classic glazed donut. Stick with all-purpose.
- Instant yeast - This recipe uses instant yeast, which does not need to be proofed before mixing. If you only have active dry yeast, use the same amount but dissolve it in the warm milk and water first and let it sit for 5 minutes before adding to the dry ingredients.
- Kosher salt - I use kosher salt for all my cooking and baking. If you only have table salt, use the same weight, or about half as much by volume since table salt is finer and more compact.
- Whole milk - Whole milk gives the dough richness and moisture. You can use 2% in a pinch, but avoid skim milk since it lacks the fat that contributes to texture and flavor.
- Melted butter - This is where the richness comes from. Use unsalted so you control the salt level. Do not substitute margarine or oil - the butter flavor is a big part of what makes these donuts taste like something special.
- Neutral oil for frying - Canola, vegetable, or avocado oil all work well. You want something with a high smoke point and no strong flavor of its own.
See recipe card below for a full list of ingredients and measurements.
Variations
Once you have the base recipe down, it is pretty easy to take these in a different direction:
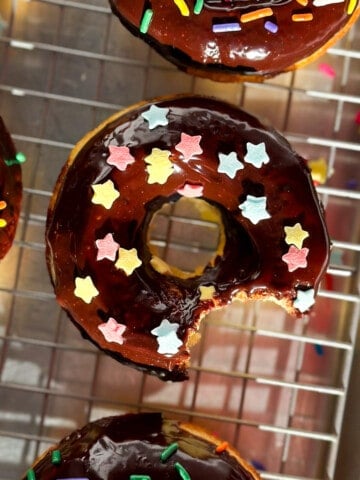
- Chocolate Glaze - Swap the vanilla glaze for a simple chocolate version by whisking together powdered sugar, cocoa powder, milk, and a little vanilla.
- Strawberry Glaze - Replace some of the milk in the glaze with fresh strawberry puree or strawberry powder for a pink, fruity glaze.
- Orange you glad - Try the flavors and glaze from my blood orange glazed donuts. You can use regular orange or definitely hit up the market when blood oranges are in season in the winter.
- Cinnamon Sugar - Skip the glaze entirely and roll the warm donuts in a mix of cinnamon and sugar while they're still hot. Simple. Nostalgic.
- Small Batches - Don't need a dozen donuts? Click the .5X button on the recipe card and all of the ingredients will automatically be cut in half for you.
Cynthia's Recipe Review
These donuts made me do a happy dance right there in my kitchen. Eight hours after frying, my family couldn't believe how delicious they were. Soft, buttery, that perfect crackly glaze on top. Krispy Kreme who?

Equipment
You do not need much to make these donuts, but a few things will make your life a lot easier.
- A stand mixer with a dough hook handles the kneading for you and makes the whole process pretty effortless. You can knead by hand if you need to - just budget an extra 5 minutes or so and put your shoulders into it.
- A heavy-bottomed pot or large Dutch oven is ideal for frying because it holds heat evenly and keeps the oil temperature stable. A candy thermometer or instant read thermometer is not optional here - you need to know your oil is at 350°F. Too cool and the donuts absorb oil. Too hot and they brown before the inside is done.
- A 3 to 3.5-inch donut cutter gives you that classic shape all in one cut. If you don't have one, you can use a large round cookie cutter or even the top of a wide mouth mason jar for the outer ring. A small bottle cap or the wide end of a piping tip works for the holes.
- Finally a spider strainer or slotted spoon is how you remove the donuts without burning yourself.
Step-by-Step Instructions
This is a quick dough and it moves fast, so read through the whole thing before you start. Follow the photos and you will be just fine. These homemade glazed donuts are way less intimidating than they look.
Prep: Get out two large baking sheets. Cut two sheets of parchment paper into six pieces each. Place them on the sheet pan and set aside.
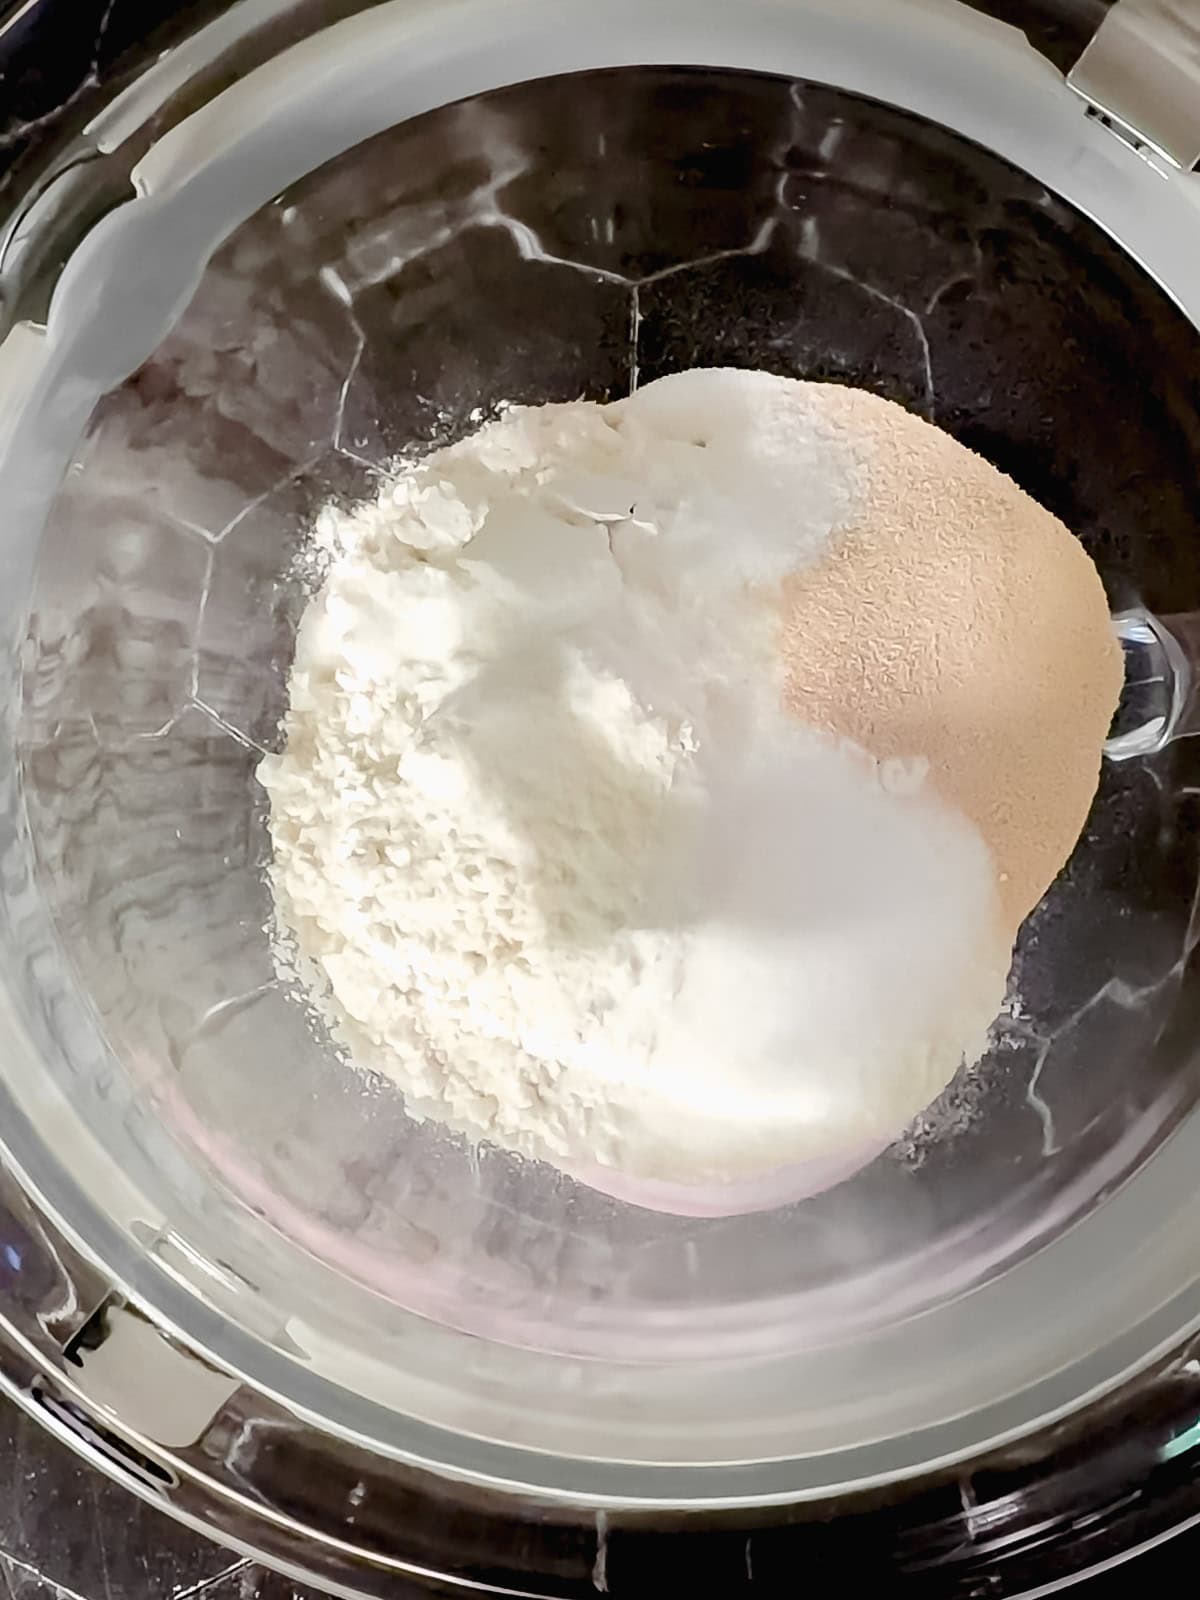
Step 1: In the bowl of a stand mixer, whisk together the all-purpose flour, sugar, instant yeast, and salt.
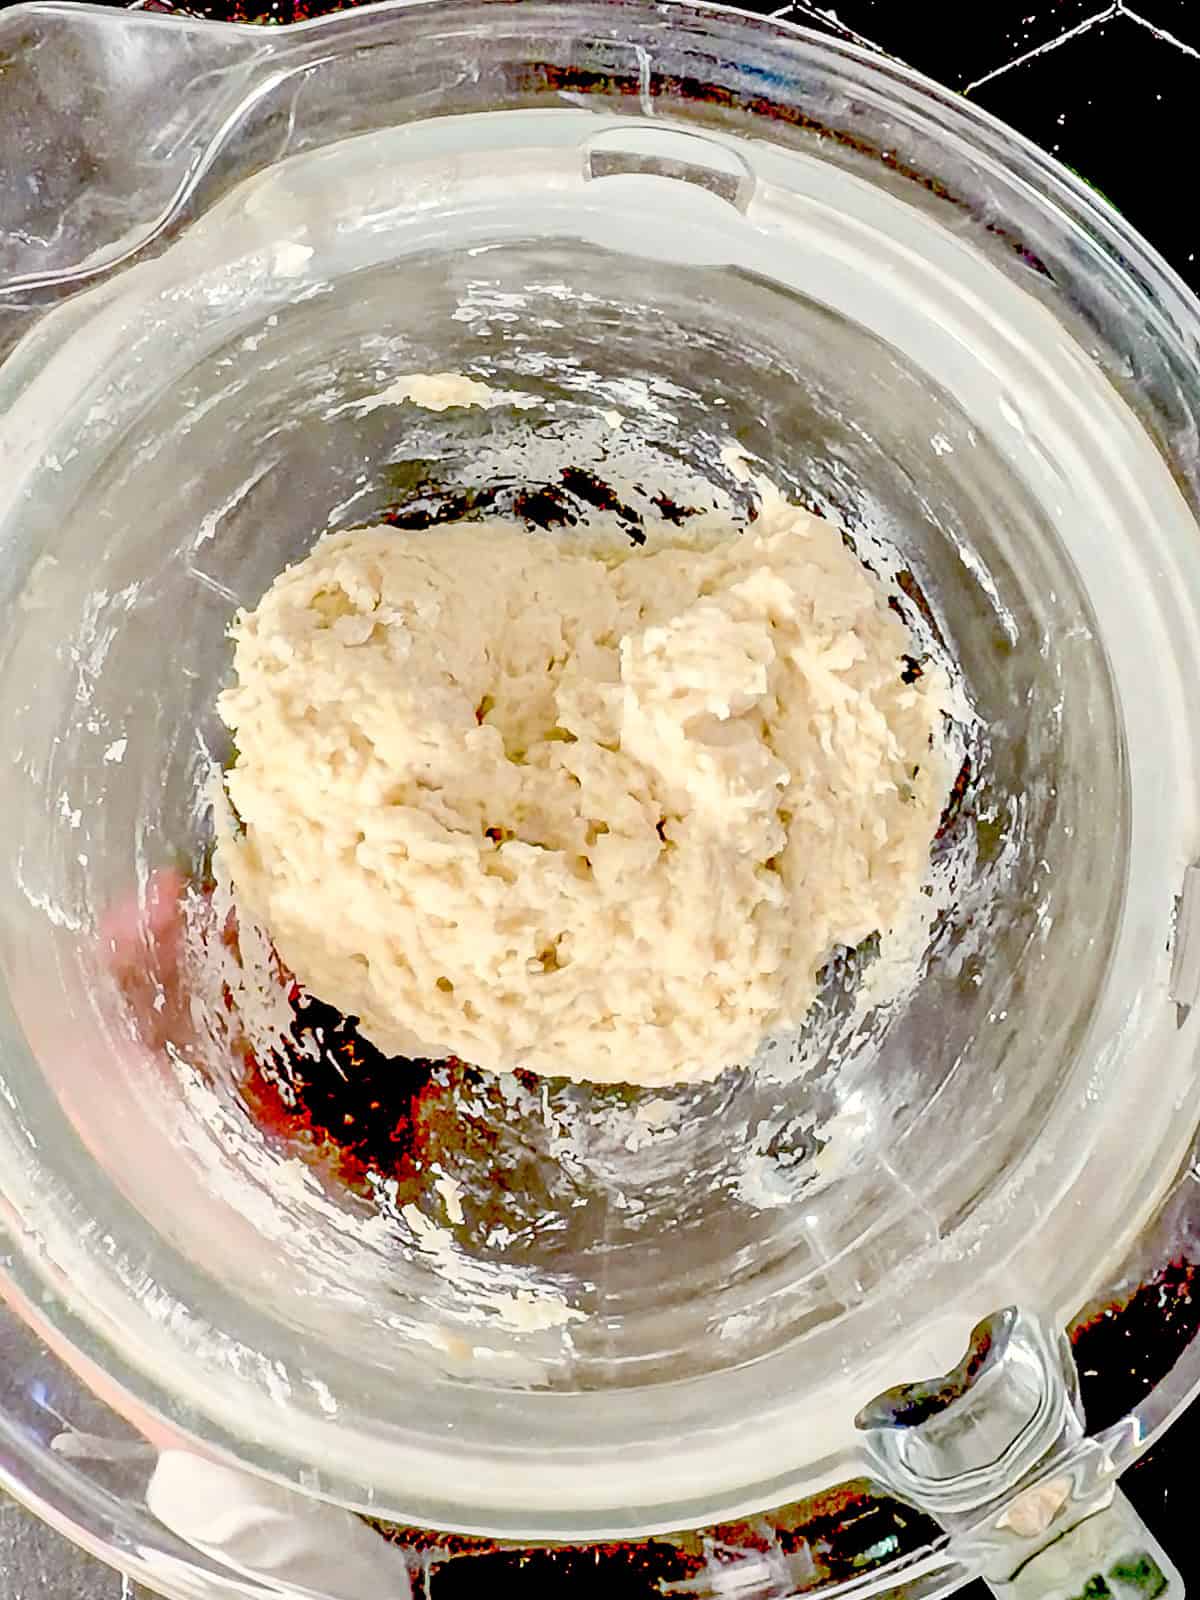
Step 2: Warm the milk and water to between 100°F and 110°F. Whisk in the egg and melted butter. Pour the wet ingredients into the dry and mix by hand until a shaggy dough forms.
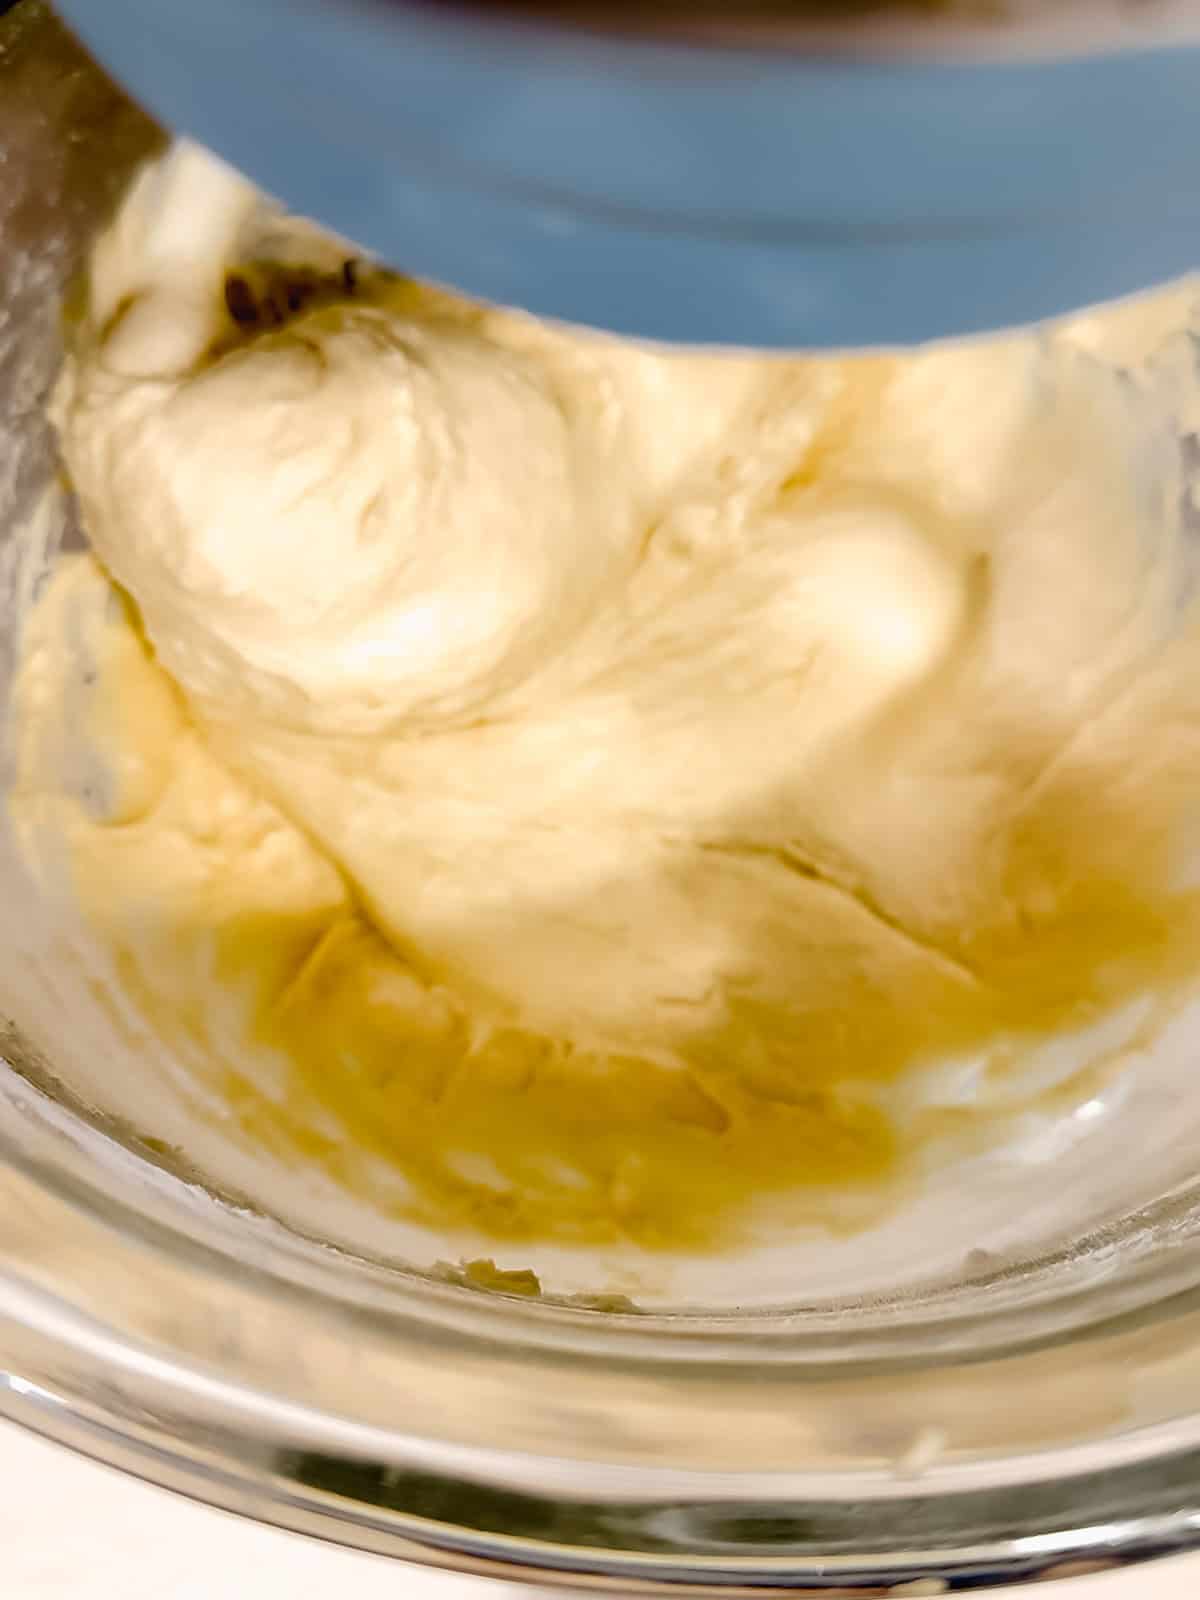
Step 3: Attach the dough hook and knead on medium-low speed for 3 minutes. The dough should begin pulling away from the sides of the bowl. If it is still sticking heavily, add 1 tablespoon of extra flour.
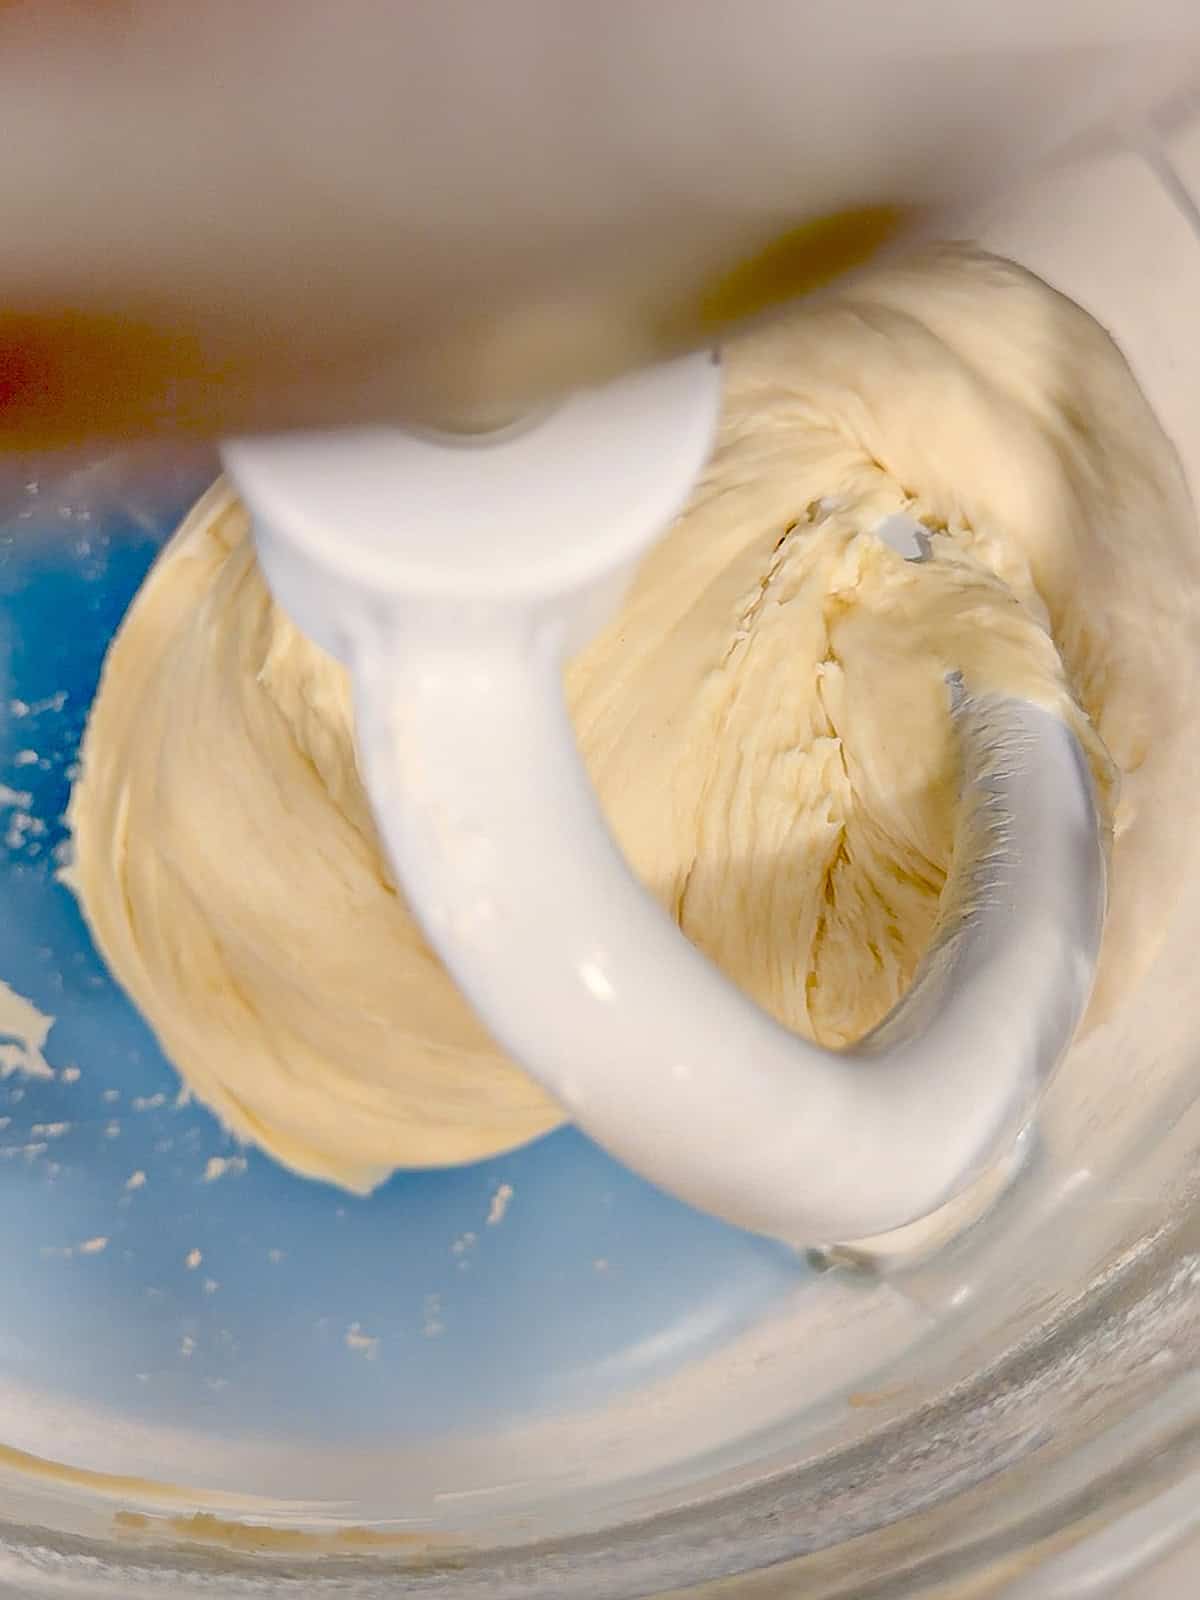
Step 4: Continue kneading for another 3 minutes, until the dough is smooth, elastic, and pulling away from the sides. The very bottom may still stick slightly and that is fine.
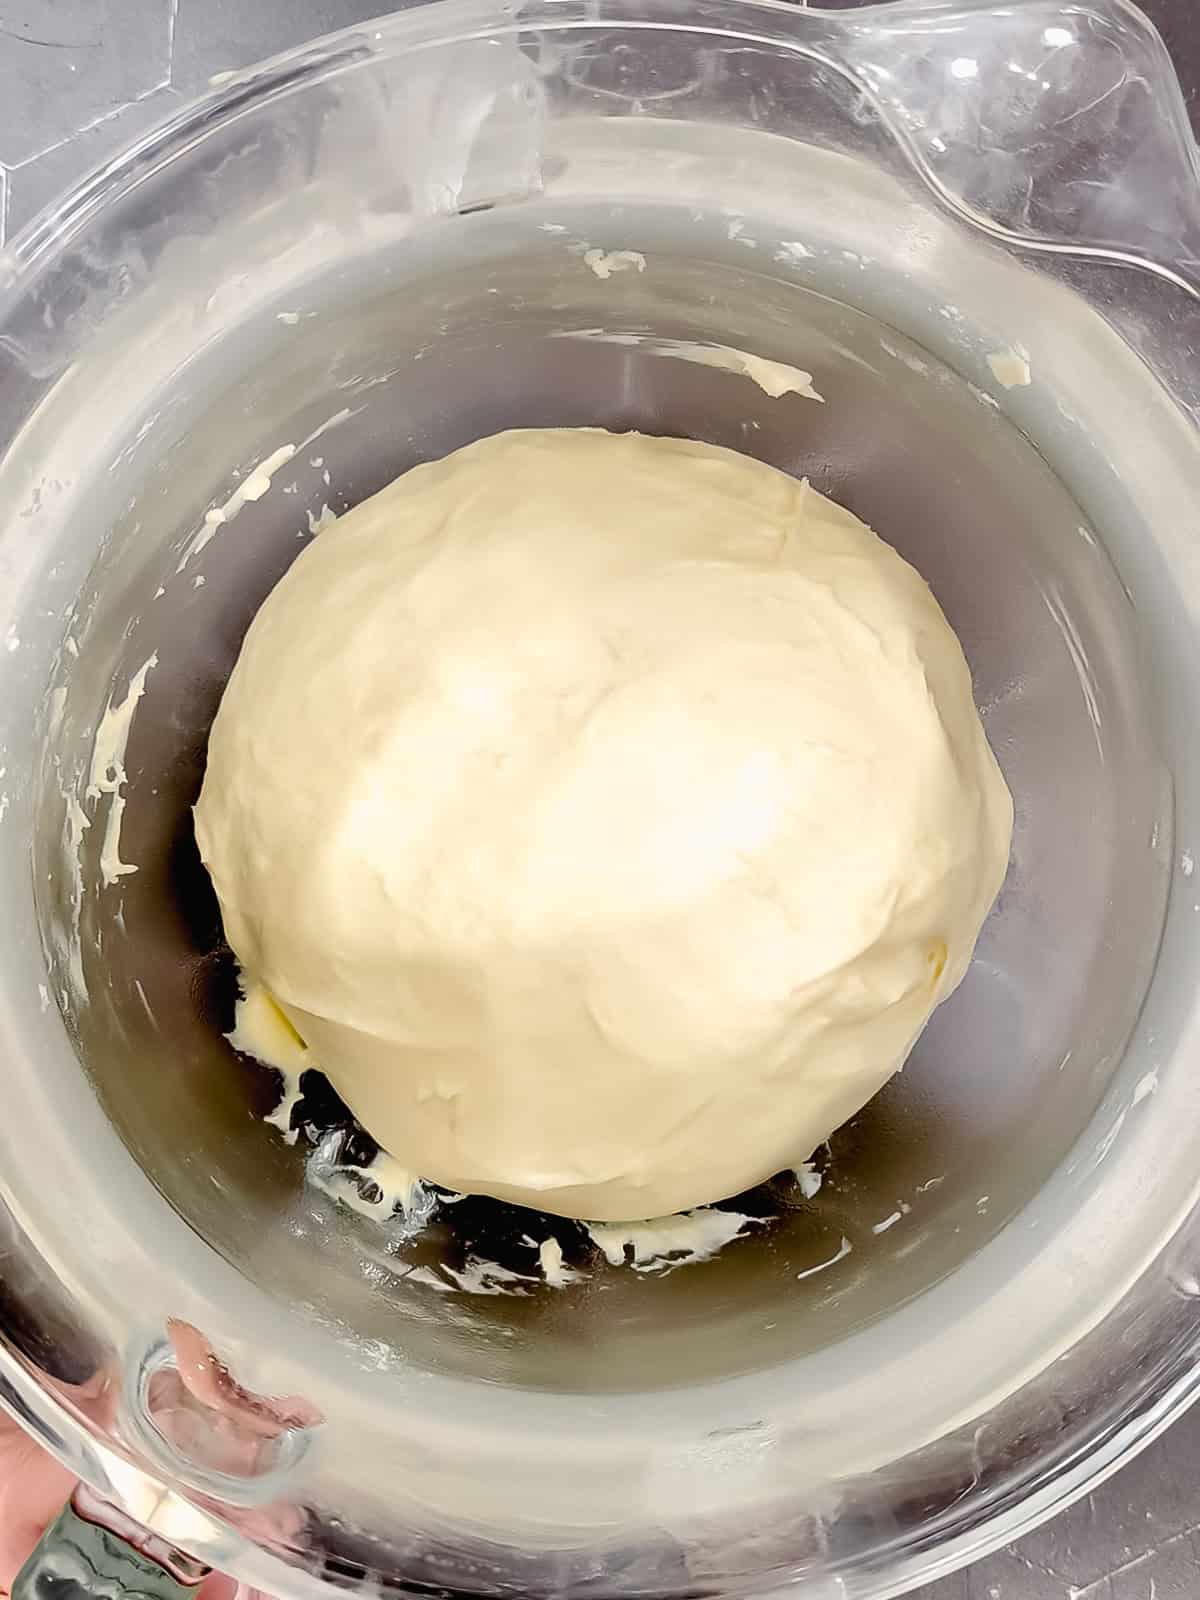
Step 5: Shape the dough into a ball and place in a lightly greased bowl. Cover and let rise in a warm spot for about 15 minutes. It does not need to double - just look noticeably puffier.
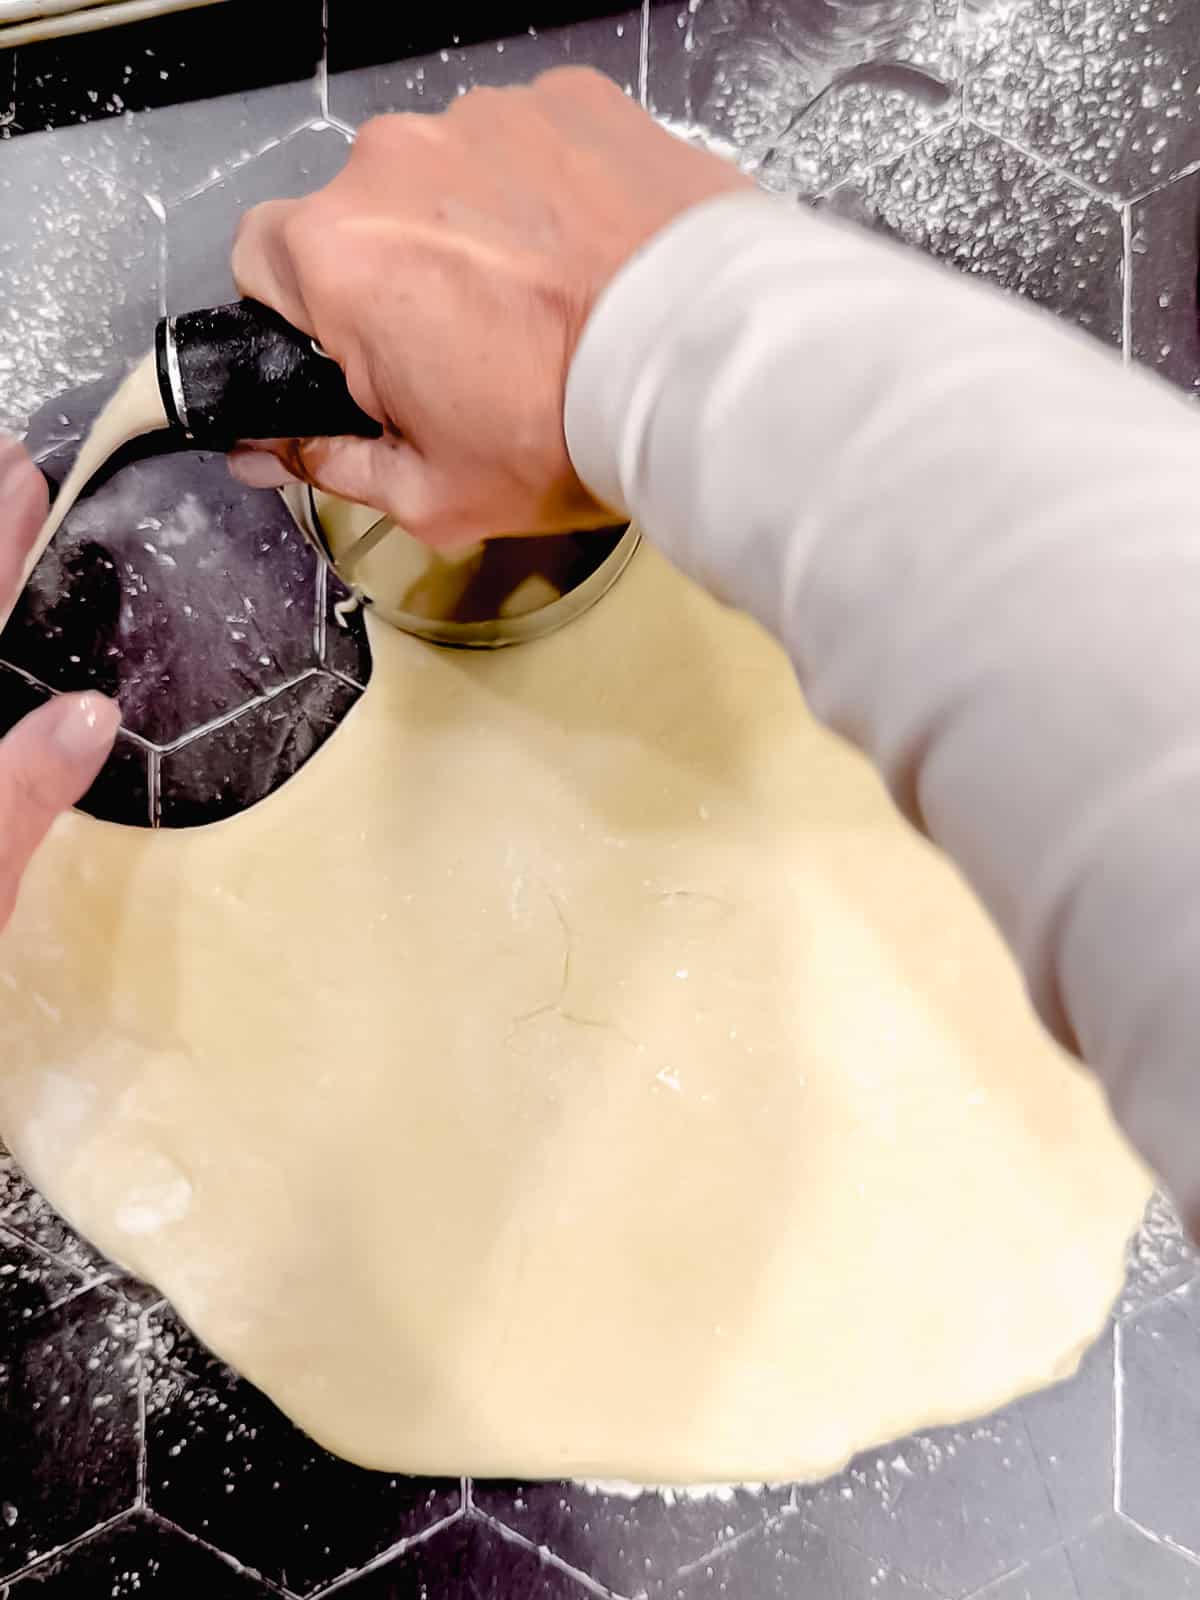
Step 6: Turn the dough onto a lightly floured surface and gently roll to about ½ inch thick. Cut with a doughnut cutter and place each donut on its own square of parchment paper on a sheet pan.
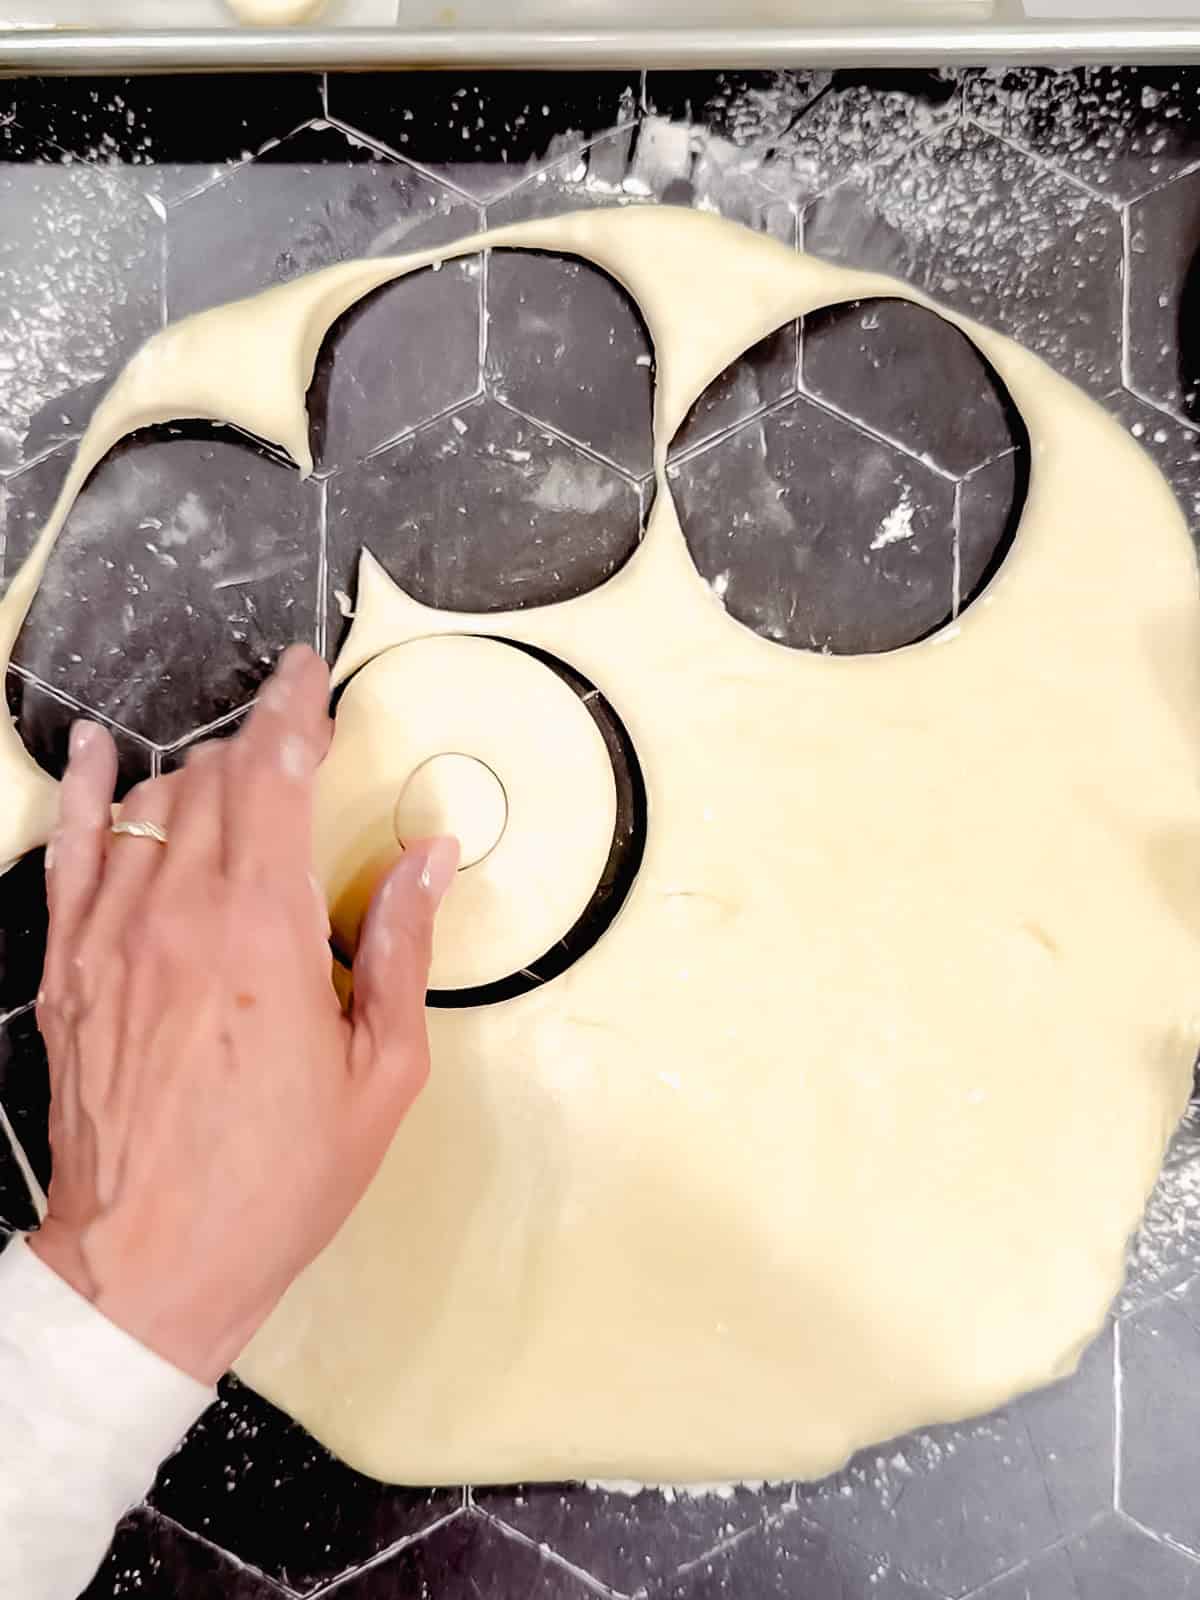
Step 7: Gather the scraps and press gently together. If the dough springs back and fights you, cover it and let it rest for 5 minutes before rolling again. Cut the remaining donuts and donut holes.
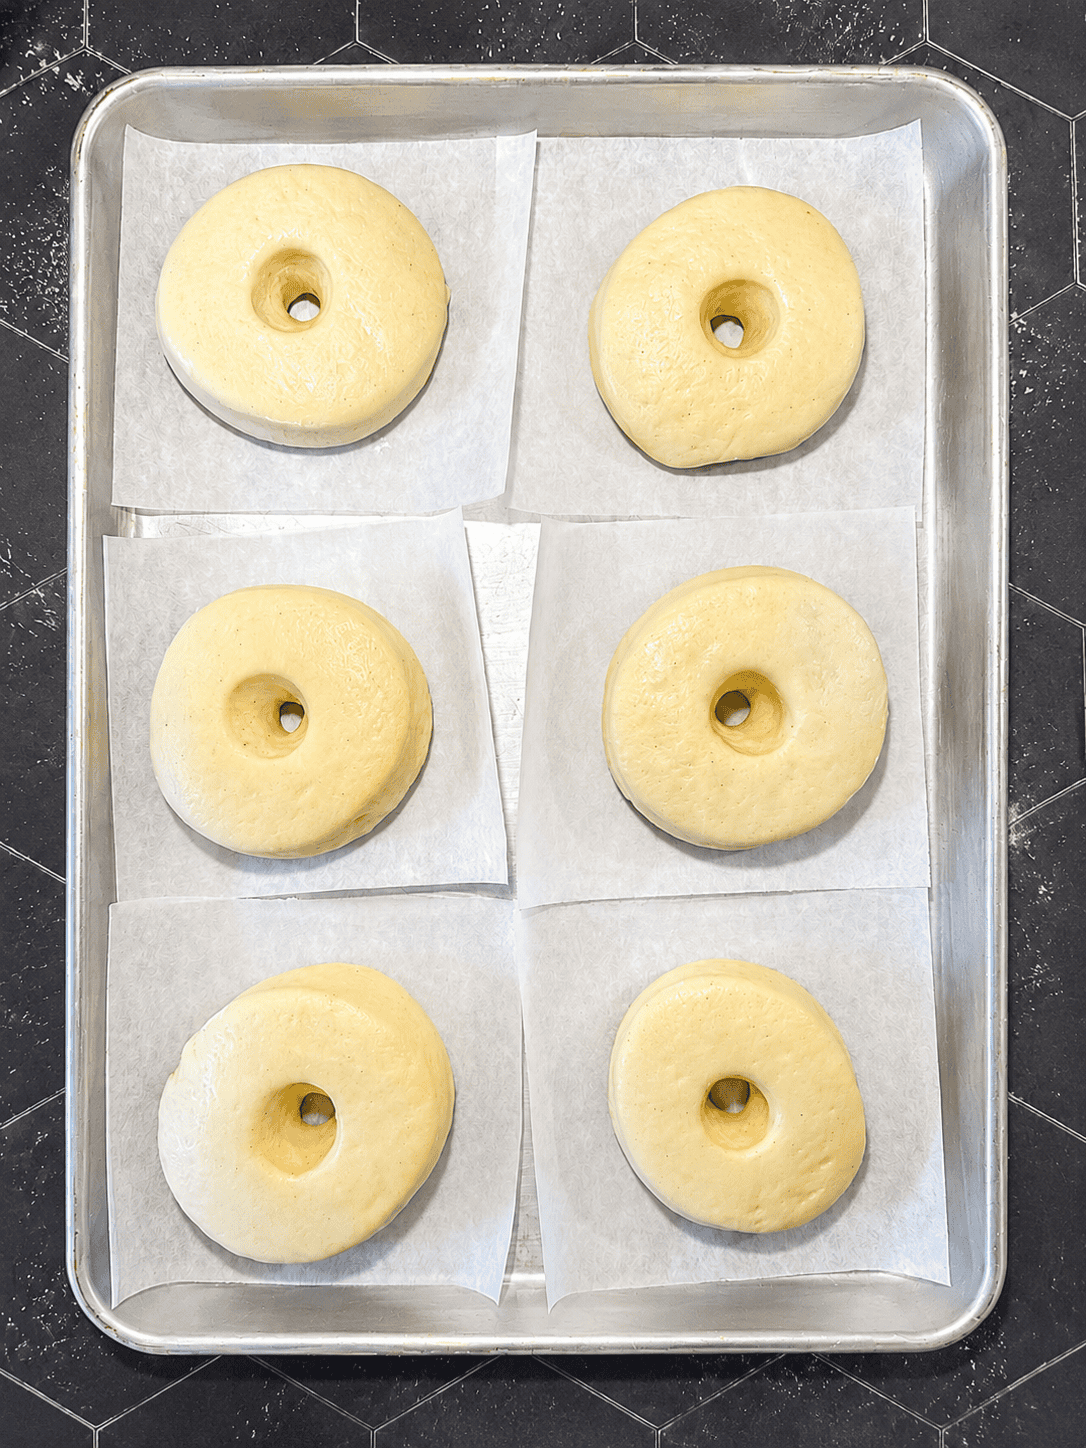
Step 8: Cover loosely and let rise in a warm place for about 20 minutes, until noticeably puffy and light. During the last 10 minutes of the rise, pour about 2 inches of neutral oil into your heavy pot and heat to 350°F.
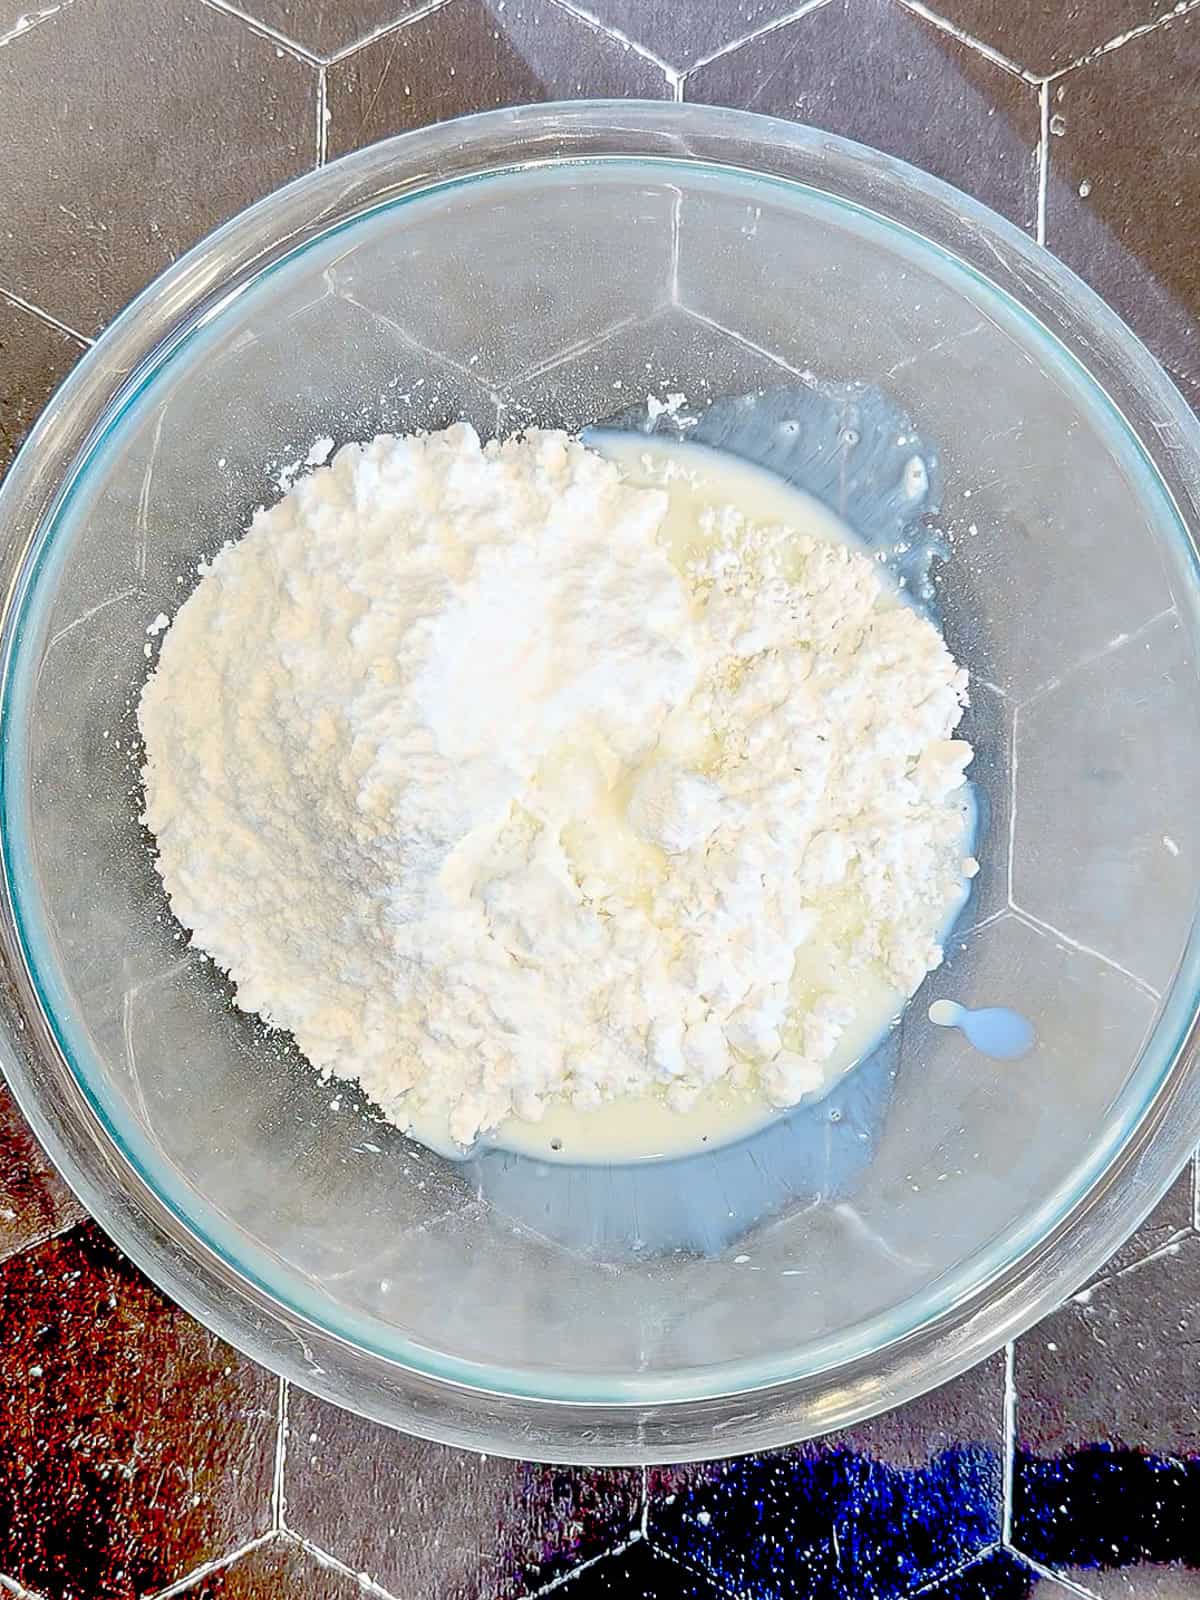
Step 9: Make the glaze. Whisk powdered sugar, milk, vanilla, and a pinch of salt in a wide, shallow bowl until smooth. It should be thin enough to coat easily while still leaving a visible layer.
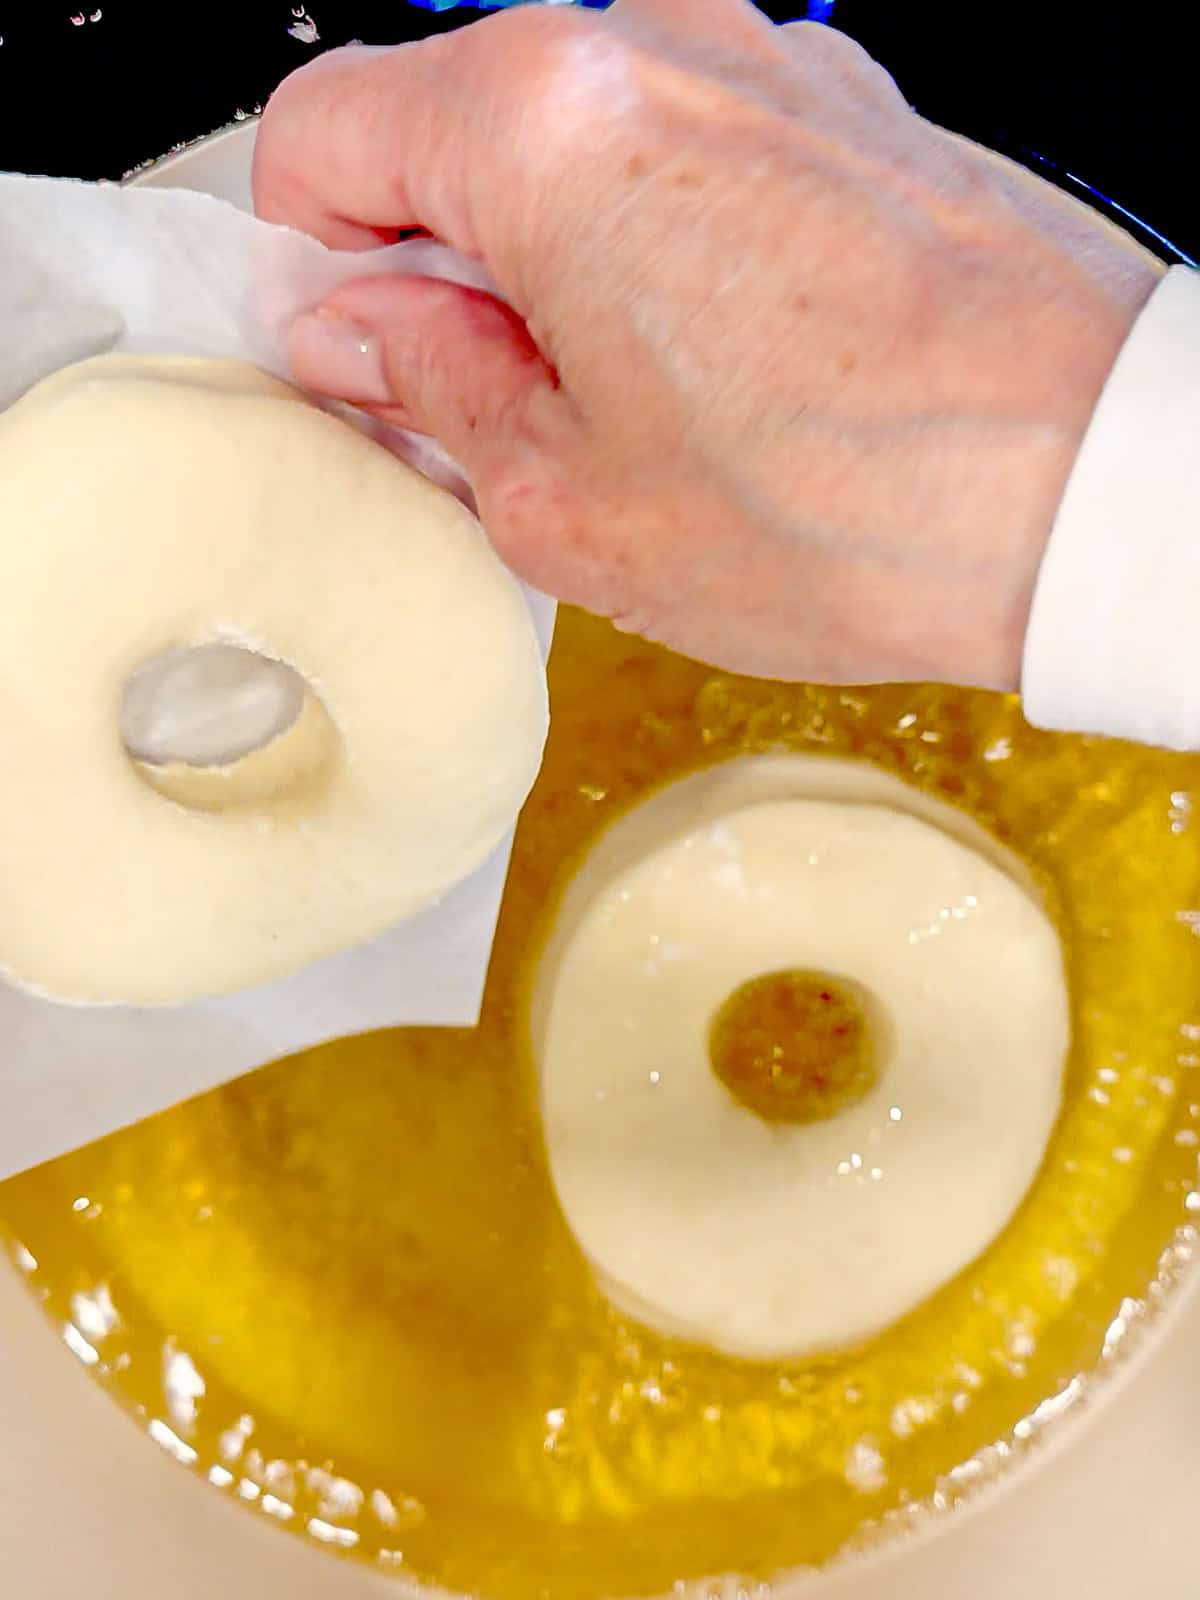
Step 10: Using the parchment squares, carefully carry each donut to the oil. Hold the parchment close to the surface and gently slide the donut in. The parchment can fall into the oil - just use tongs to fish it out.
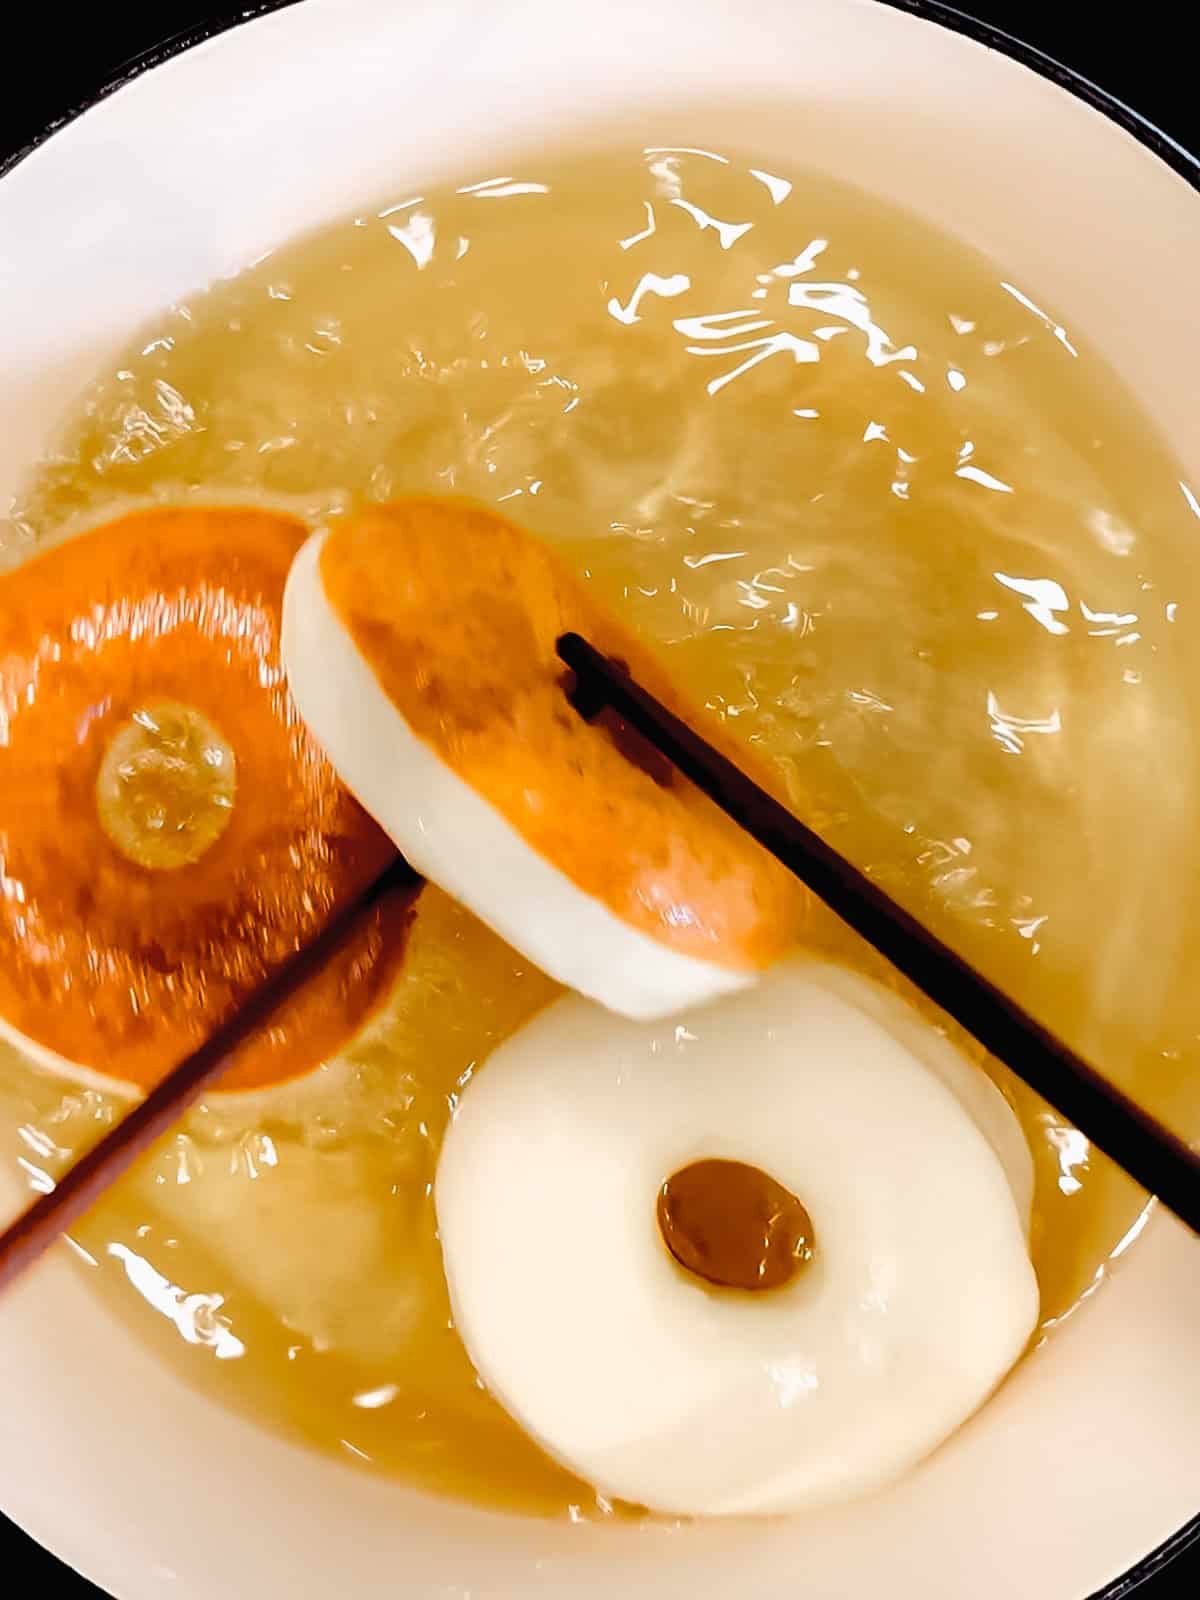
Step 11: Cook 2 to 3 donuts at a time for 45 to 60 seconds per side, until evenly golden brown. I like to turn mine with long chopsticks, but you can also use your spider strainer or slotted spoons.
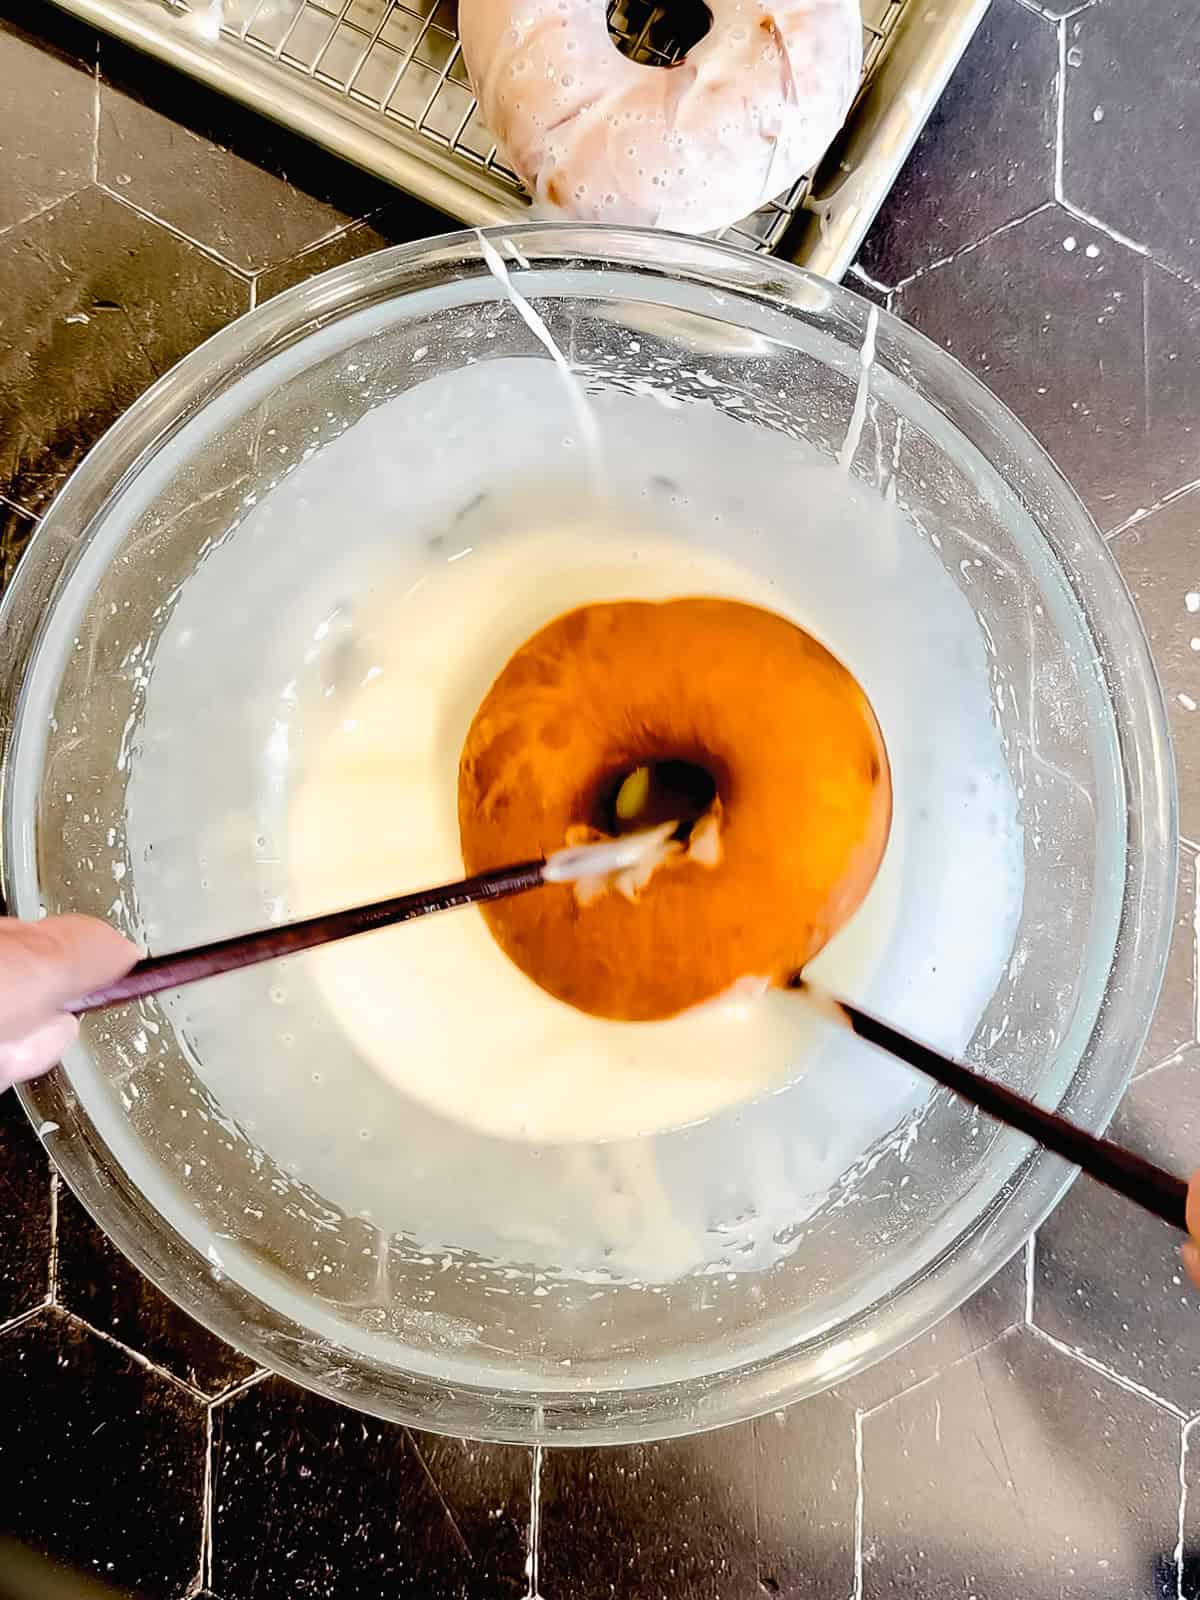
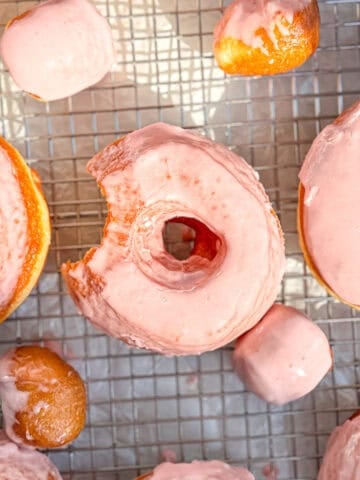
tep 12: Transfer fried donuts to a wire rack. Let cool for 2 to 3 minutes (still warm but not scorching), then dip into the glaze and let excess drip off. Return to the rack to set. Keep the oil as close to 350°F as possible between batches.
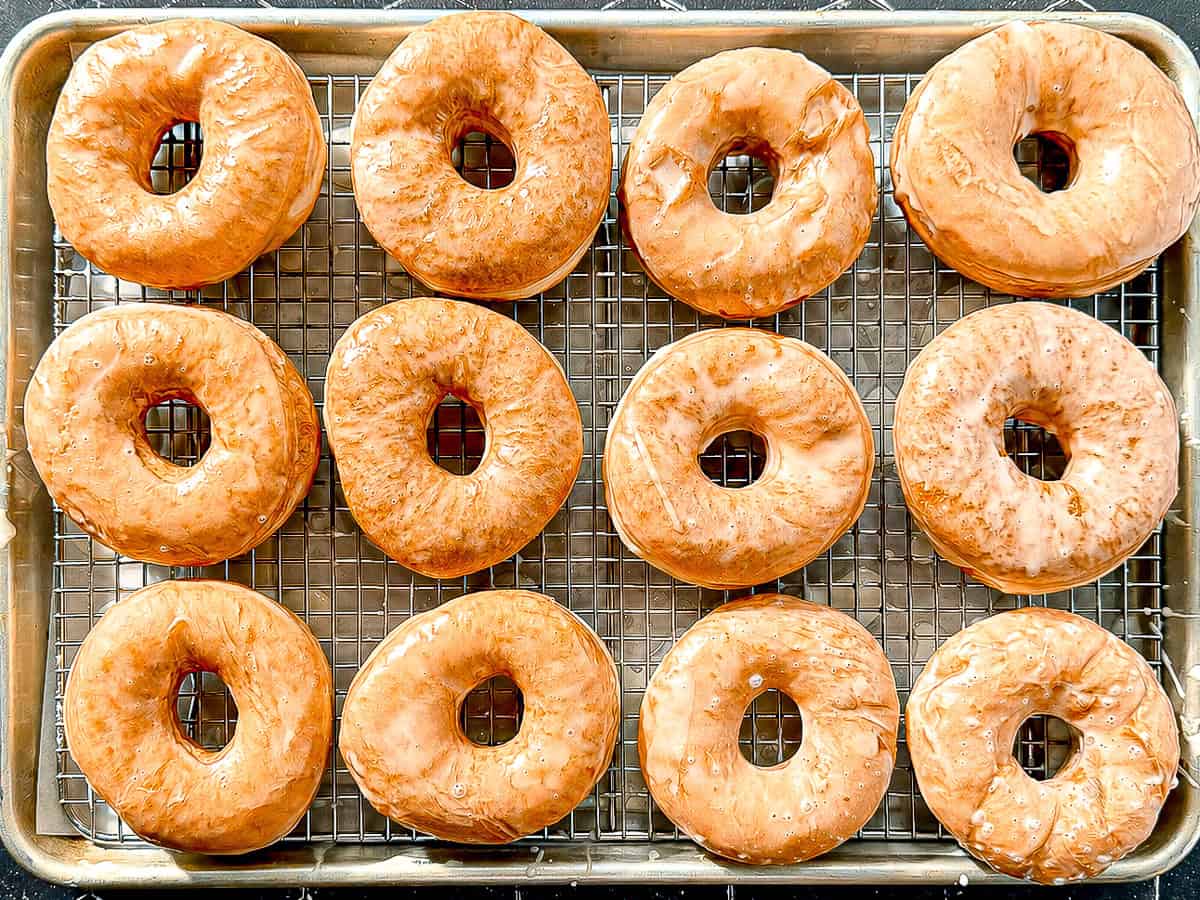
Rest: Let glazed donuts sit on the rack for 10 to 15 minutes until the glaze sets into that thin, slightly crackly coating. Try not to eat three of them right off the rack. I am not going to pretend I succeeded at that.
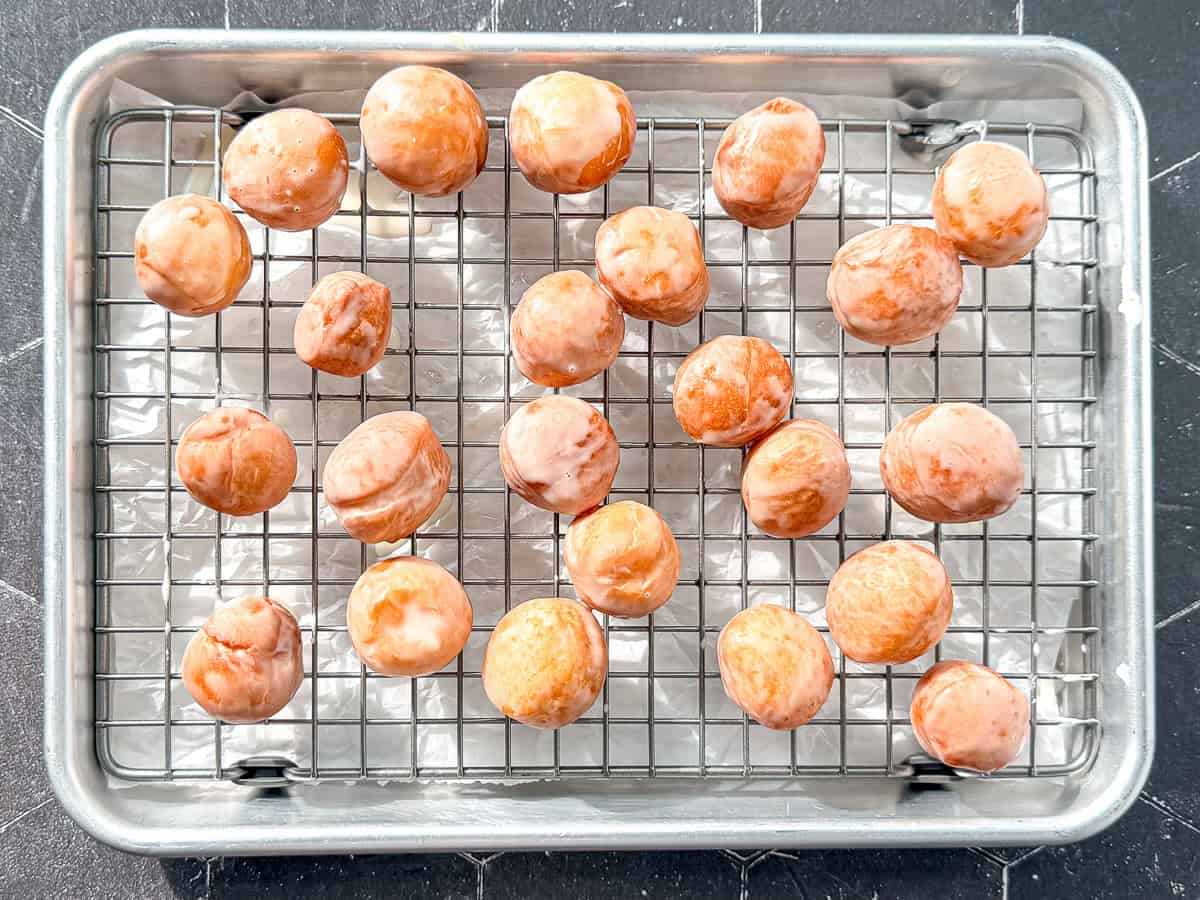
Doughnut holes: Fry for about 60 to 90 seconds. They will not want to flip on their own, so use your spider strainer to gently press them under the oil for a moment. Glaze them too. I mean, of course.
Cynthia's Helpful Tips
- Flour gradually - The dough should be slightly tacky. Only add the extra tablespoon of flour if it is genuinely clinging to the sides of the mixer bowl after the first round of kneading. Resist adding more flour than that.
- Warm rising environment - Dough rises best around 75 to 78°F. If your kitchen is cold, turn the oven on to 300°F for exactly 2 minutes, then turn it off. Let your dough rise in there. That little bit of warmth makes a real difference.
- Parchment squares are a huge help - These risen donuts are delicate. Trying to pick them up with your hands to move them to the oil might flatten them. The parchment method is the move.
- Work in two batches - Fry about six donuts and glaze them while still warm, then fry the second batch. This gives you a much nicer, more even glaze than waiting until everything is fried.
- Watch your oil temperature - 350°F is the target. Use a thermometer and adjust the heat between batches. This matters more than almost anything else in this recipe.
Troubleshooting Your Donuts
- Dough is springing back when rolling: Gluten is tight. Cover and rest for 5 minutes, then try again.
- Donuts are heavy and greasy: Your oil temperature dropped too low. Let it come back to 350°F before the next batch.
- Donuts are browning too fast but still raw inside: Oil is too hot. Turn down the heat and let the temperature drop before continuing.
- Glaze is sliding off instead of sticking: The glaze is too thin or the donuts are too hot. Let them cool for another minute or two before dipping.
- Donuts are flat after frying: They were either underproofed (needed more rise time) or they deflated when transferred to the oil. Watch your rising times, use the parchment square method, and be gentle with your dough babies.
Serving Suggestion
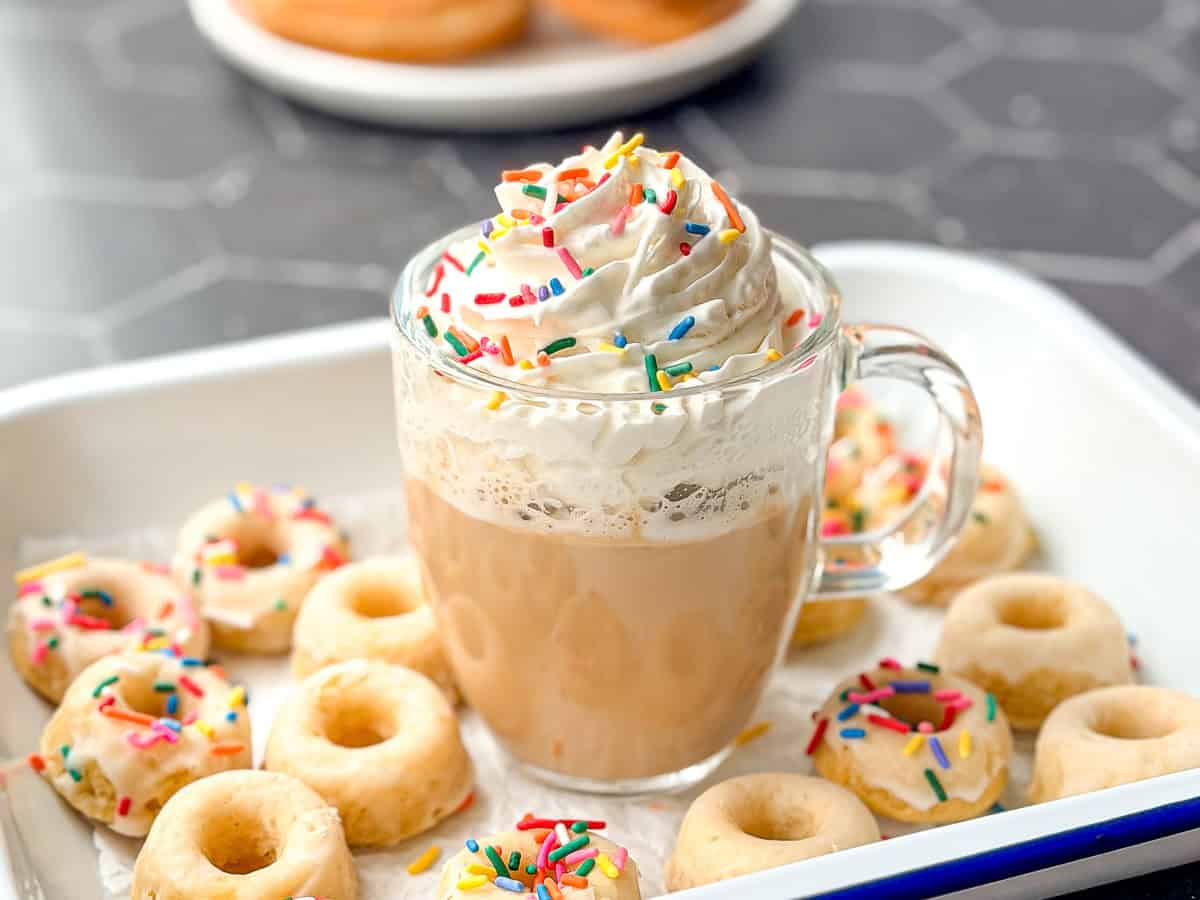
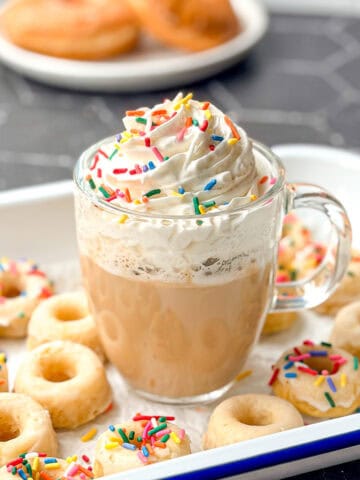
These are best served within a few hours of glazing when that crackly coating is at its finest. Serve them alongside a strong cup of coffee. Maybe sacrifice one donut to make my Glazed Donut Latte if you want to really commit to the theme.
Recipe FAQs
Yes. Use the same amount, but dissolve it in the warm milk and water first and let it sit for about 5 minutes until foamy before proceeding with the recipe.
This recipe is designed to be made within 90 minutes, two hours at the most. If you want to make donuts with an overnight rise, try my delicious homemade brioche donuts.
Store loosely covered at room temperature for up to 2 days. Microwave for 10 to 15 seconds to take the chill off. They will not be quite the same as fresh, but they will still be very good.
Use a large round cookie cutter or even the top of a wide mouth mason jar for the outer ring. A small bottle cap or the wide end of a piping tip works for the holes.
For the oil, yes. This is not a step you want to guess on. A simple candy thermometer or instant read thermometer keeps you in that 350°F zone where everything works perfectly.


Did you try this recipe?
Please consider leaving a comment with a ⭐️ rating below and tell me all about it! It helps me to continue to improve my content and lets others know what you think!
I appreciate it so much!
-Cynthia
📖 Recipe
90 Minute Classic Glazed Donuts
Recommended Equipment
Ingredients
For the donuts
- 3 ½ cups (420 g) all-purpose flour plus 1 tablespoon (8 g) if needed
- ¼ cup (50 g) granulated sugar
- 4 teaspoons (12 g) instant yeast
- 1 ¾ teaspoons (5 g) kosher salt half as much if using table salt
- ¾ cup (182 g) whole milk
- ¼ cup (60 g) water
- 1 large egg
- 4 tablespoons (57 g) unsalted butter melted and slightly cooled
- Neutral oil for frying
For the vanilla glaze
- 3 cups (360 g) powdered sugar
- 6 tablespoons (90 g) whole milk
- 1 ½ teaspoons vanilla extract
- Pinch kosher salt
Instructions
- Make sure you have a warm place for rising. Dough rises best at 75 to 78°F. If your kitchen is cool, turn your oven on to 300°F for about 2 minutes, then turn it off. You only want a warm, draft-free space, not a hot oven.
- Prepare the parchment. Cut parchment paper into individual squares large enough to hold one donut. Arrange them on a sheet pan so each shaped donut can rest on its own piece of parchment.
- In the bowl of a stand mixer, whisk together the all-purpose flour, sugar, yeast, and salt.
- Combine the milk and water and warm to between 100°F and 110°F. Whisk in the egg and melted butter. Pour the wet ingredients into the dry ingredients. Mix by hand until a shaggy dough forms.
- Place on the stand mixer and use the dough hook to work the dough on medium-low speed for 3 minutes. Check the dough. It should begin pulling away from the sides of the bowl. If it is still sticking heavily to the bowl, add 1 tablespoon of all-purpose flour.
- Continue kneading for another 3 minutes, or until the dough is smooth, elastic, and pulling away from the sides of the bowl. The bottom may still stick slightly.
- Shape the dough into a ball and place in a lightly greased bowl. Cover and let rise in a warm place for about 15 minutes. It does not need to double, but it should look noticeably puffier.
- Shape the donuts. Turn the dough onto a lightly floured work surface and gently roll to about ½ inch thick. Cut with a 3 to 3 ½-inch donut cutter and place each donut on its own parchment square.
- Gather the scraps and gently press them together. If the dough springs back and is difficult to roll, cover it and let it rest for 5 minutes before rolling again. Cut the remaining donuts and donut holes.
- Second rise. Cover loosely and let rise in a warm place for about 20 minutes, or until noticeably puffy and light. During the final 10 minutes of proofing, pour about 2 inches of neutral oil into a heavy-bottomed pot or Dutch oven. Heat to 350°F.
- Make the glaze. Whisk the powdered sugar, milk, vanilla, and salt together in a wide, shallow bowl until completely smooth. It should be thin enough to easily coat the donuts while still leaving a visible glaze.
- Fry the first six donuts. Use the individual parchment pieces to easily carry each donut to the oil. Hold the parchment close to the surface of the oil and gently slide the donut in (It's OK if the parchment paper falls into the oil. Use a pair of tongs to remove it.)
- Fry 2 to 3 donuts at a time, without crowding the pot, for about 45 to 60 seconds on each side, or until evenly golden brown. I like to turn mine with long chopsticks, but you can also use your spider strainer or slotted spoon.
- Glaze the first batch. Once the first six donuts have cooled for about 2 to 3 minutes but are still warm, dip them into the glaze, turning to coat. Again, I use my chopsticks to do this. Let the excess glaze drip off, then return them to the wire rack to dry. Maintain the oil temperature as close to 350°F as possible. Transfer the fried donuts to a wire rack set over a sheet pan.
- Fry and glaze the remaining donuts in the same way. Fry the donut holes for about 60 to 90 seconds. They won't want to flip over, so use your spider strainer to gently dunk them under the oil until done.
- Let all of the donuts rest on the rack for about 10 to 15 minutes, or until the glaze has set into a thin, slightly crackly coating.
Comments
No Comments