

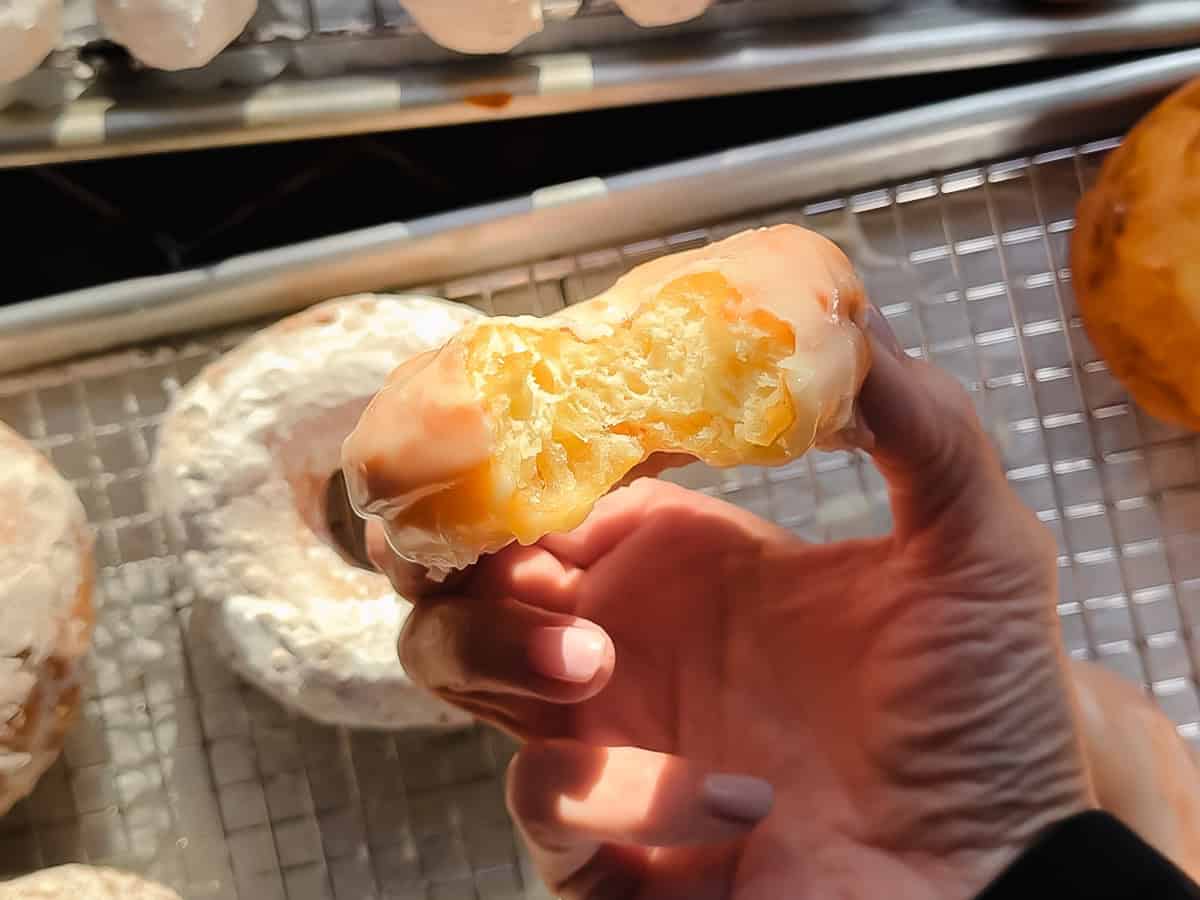
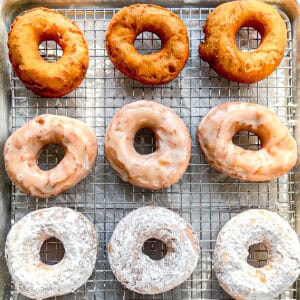
These Old Fashioned Buttermilk Donuts are crispy on the outside, ultra-fluffy on the inside, and can be served plain, dipped in a simple vanilla glaze, or with a layer of powdered sugar. Whichever way you like them, my cake donuts are easy to make and perfect for a few or a crowd.

Save This Recipe! 💌
These Old Fashioned Buttermilk Donuts take me straight back to childhood mornings at Shipley's Donuts. Instead of bringing home a box, my mom would let me and my brother pick our own still-warm donuts. He always went for a chocolate covered donut, I chose a glazed yeast donut, and my mom went for the plain old fashioned.
Back then, I just could not understand her choice. To me, a plain donut was for grown ups, served with burnt coffee in the basement after church. But one day, I saw glazed old fashioned donuts, and everything changed. The tender cake donut with crisp cracked surface that captured pools of the sweet glaze that stuck to my fingers made me a believer.
These homemade cake donuts bring that same mix of nostalgia and comfort. They have a soft, buttery crumb and just the right tang from buttermilk. Glaze them, coat them in powdered sugar, or leave them plain. As a grown up, I have learned to appreciate donuts of all kinds, and every version of these old fashioned buttermilk donuts has its own special charm.
Jump to:
Why this recipe works
- Make ahead - You can make this dough the day before and be mere minutes from donut heaven in the morning!
- No yeast - No worrying that your yeast is still good or waiting for a dough to rise.
- Easy to fry - These Old Fashioned Buttermilk Donuts only take about 3 minutes to fry. The donut holes (the best part, we all agree?) take less than a minute!
- Delicious glaze - The addition of hot milk or crean eliminates the graininess you get with some donut glazes, and a touch of butter makes this vanilla glaze extra delicious!
- No line - No more waiting in line, only to find your favorite donut is taken. You are the line!
Ingredients
I mean, look at this! You have everything you need, right? If not, we'll wait.
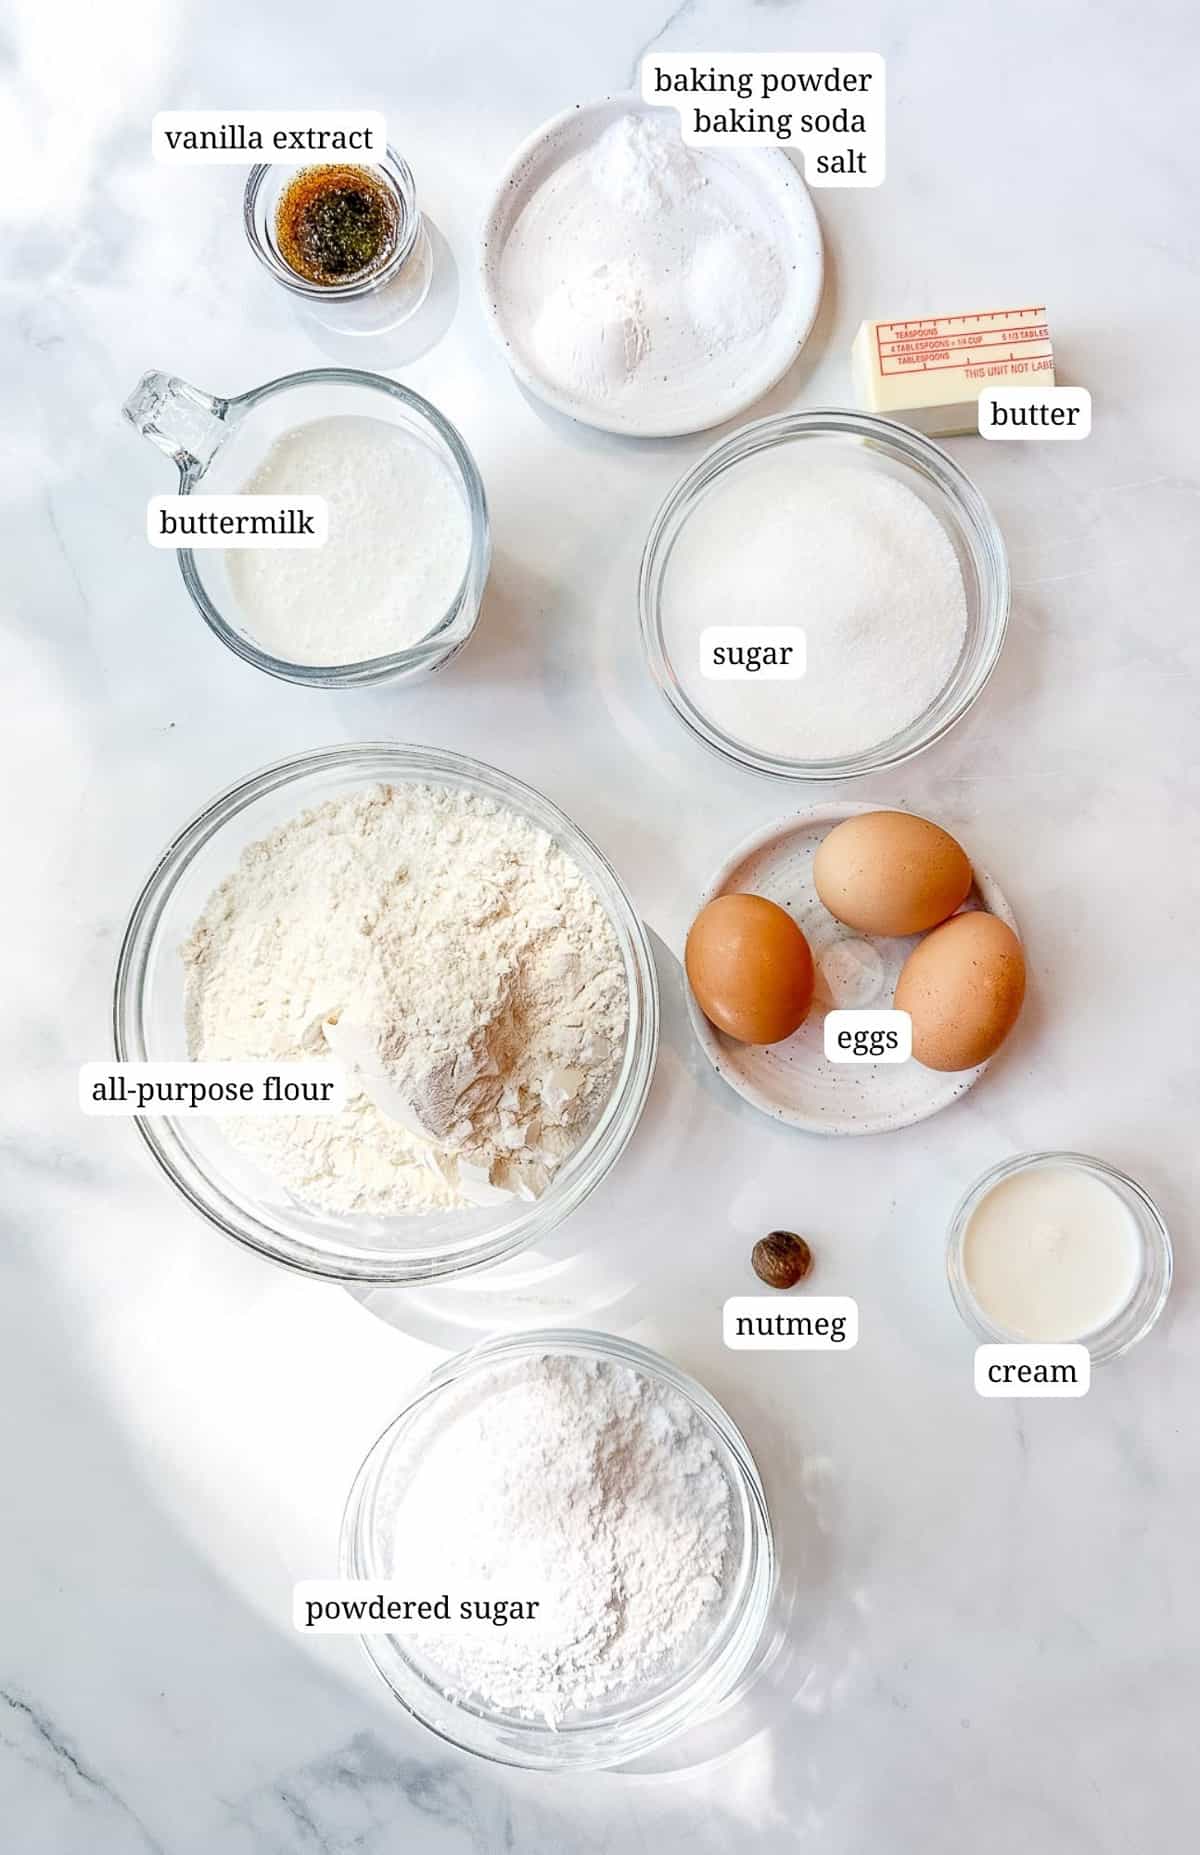
See recipe card below for quantities.
Substitutions
Here are a few subs you can make and still be in on the donut party!
- Buttermilk - They are called Buttermilk Donuts for a reason, but I never like to ingredient shame. These are amazing with sour cream or yogurt, though you may need to send them with just a little bit of milk to get the same consistency.
- Flour - I like playing all purpose flour, but have made these with cake flour with great results. I wouldn't use bread flour because your donuts will be a little bit more dense. I don't have experience with gluten-free flours, but if you do and you try it let me know in the comments!
- Sugar - I have made these with brown sugar, and they are pretty amazing.
- Nutmeg - Ask any donut expert and they will tell you that old-fashioned donuts need nutmeg. I don't make the rules, and I'm not much of a rule follower, but I follow this one. I prefer to use whole nutmeg and grate it with a fine zester, but you can use a pinch of ground nutmeg in its place.
Variations
Here's a couple of ways to play with your Old Fashioned Donuts
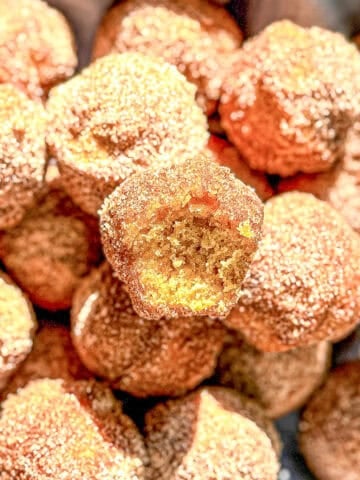
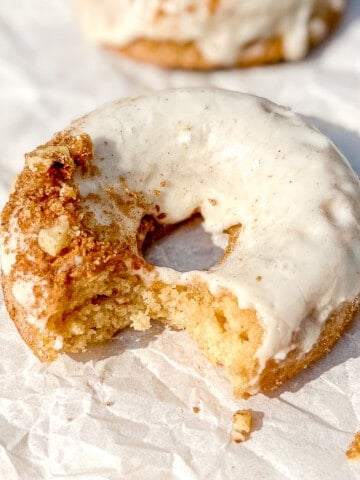
- PSL - Crazy right? Add 2 teaspoons of pumpkin spice to your dry ingredients and 1 teaspoon of instant coffee to your glaze, just before adding the hot water. Tastes just like a Pumpkin Spice Latte! Mind blown 🤯
- Cinnamon sugar - Add 1 teaspoon of cinnamon and a pinch of nutmeg to your dry ingredients, and in place of your glaze, roll your donuts in cinnamon sugar (1 cup sugar + 1 teaspoon cinnamon) as soon as they come out of the fryer.
Equipment
The most important step in recipes that involve frying, is preparation. Once you start making the donuts, everything moves kinda fast. You wanna be ready:
- Flour duster - You will be dusting the counter, top of your dough, rolling pin, and maybe even your hands. I use a can style flour duster to make a light or heavy layer, depending on the situation.
- Dutch oven - Unless you fry a lot, you probably don't need a dedicated deep fryer. I used to own one, but hated the cleaning process, and I now use a large dutch oven on my stovetop. It is the perfect size, retains heat well, and I also use it to bake my No Knead Bread. Bonus!
- Transfer device - You need something to transfer your donuts to and from the hot oil. I typically use a metal spider strainer, but have also used my fish spatula. Both of them allow you to scoop up and safely lower your donut into the oil.
- Chopsticks - Believe it or not, these are the best tools for flipping donuts. Even small donut shops use a pair of elongated wooden sticks to flip their donuts. You just place on of the chopsticks into the hole to stabilize the donut, and use the other one to flip it over. Genius!
- Wire rack and sheet pan - Your finished donuts are going to need a place to land when they come out of the fryer. I like to lay a wire rack inside of a large sheet pan lined with paper towels. I place it alongside my stove before I even start cutting out my donuts. When my donuts are done, they go onto the rack to drain excess oil, and when I glaze them, they go back on to drip off the excess.
Instructions
This is such a super simple recipe and, even better, the dough can be made the night before. In the morning, cutting out your donuts is as simple as cutting out biscuits. Let's do this!
Make old fashioned donut dough
- Start your Old Fashioned Buttermilk Donut adventure by whisking together flour, baking powder, baking soda, nutmeg, and salt.
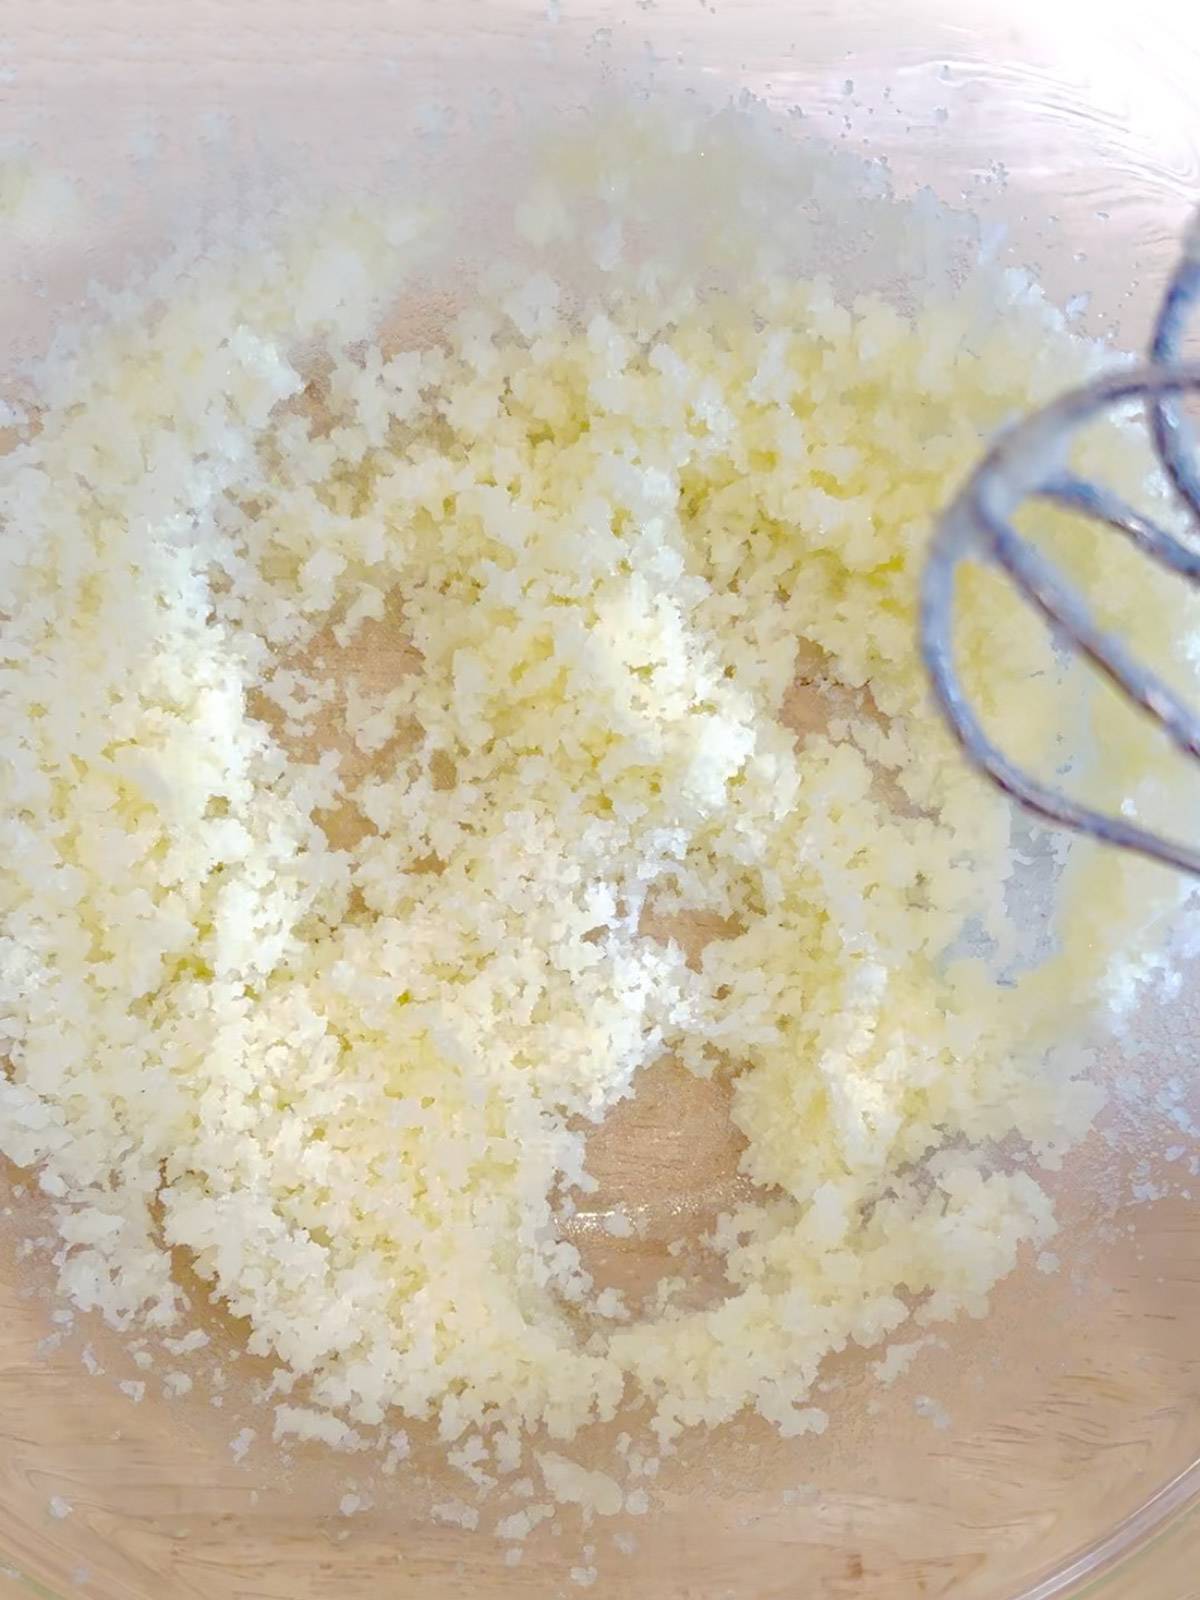
2. Next, use a large whisk or a hand mixer to blend sugar with melted butter. You can also cream your butter and sugar, but in testing I found that it doesn't make a difference.
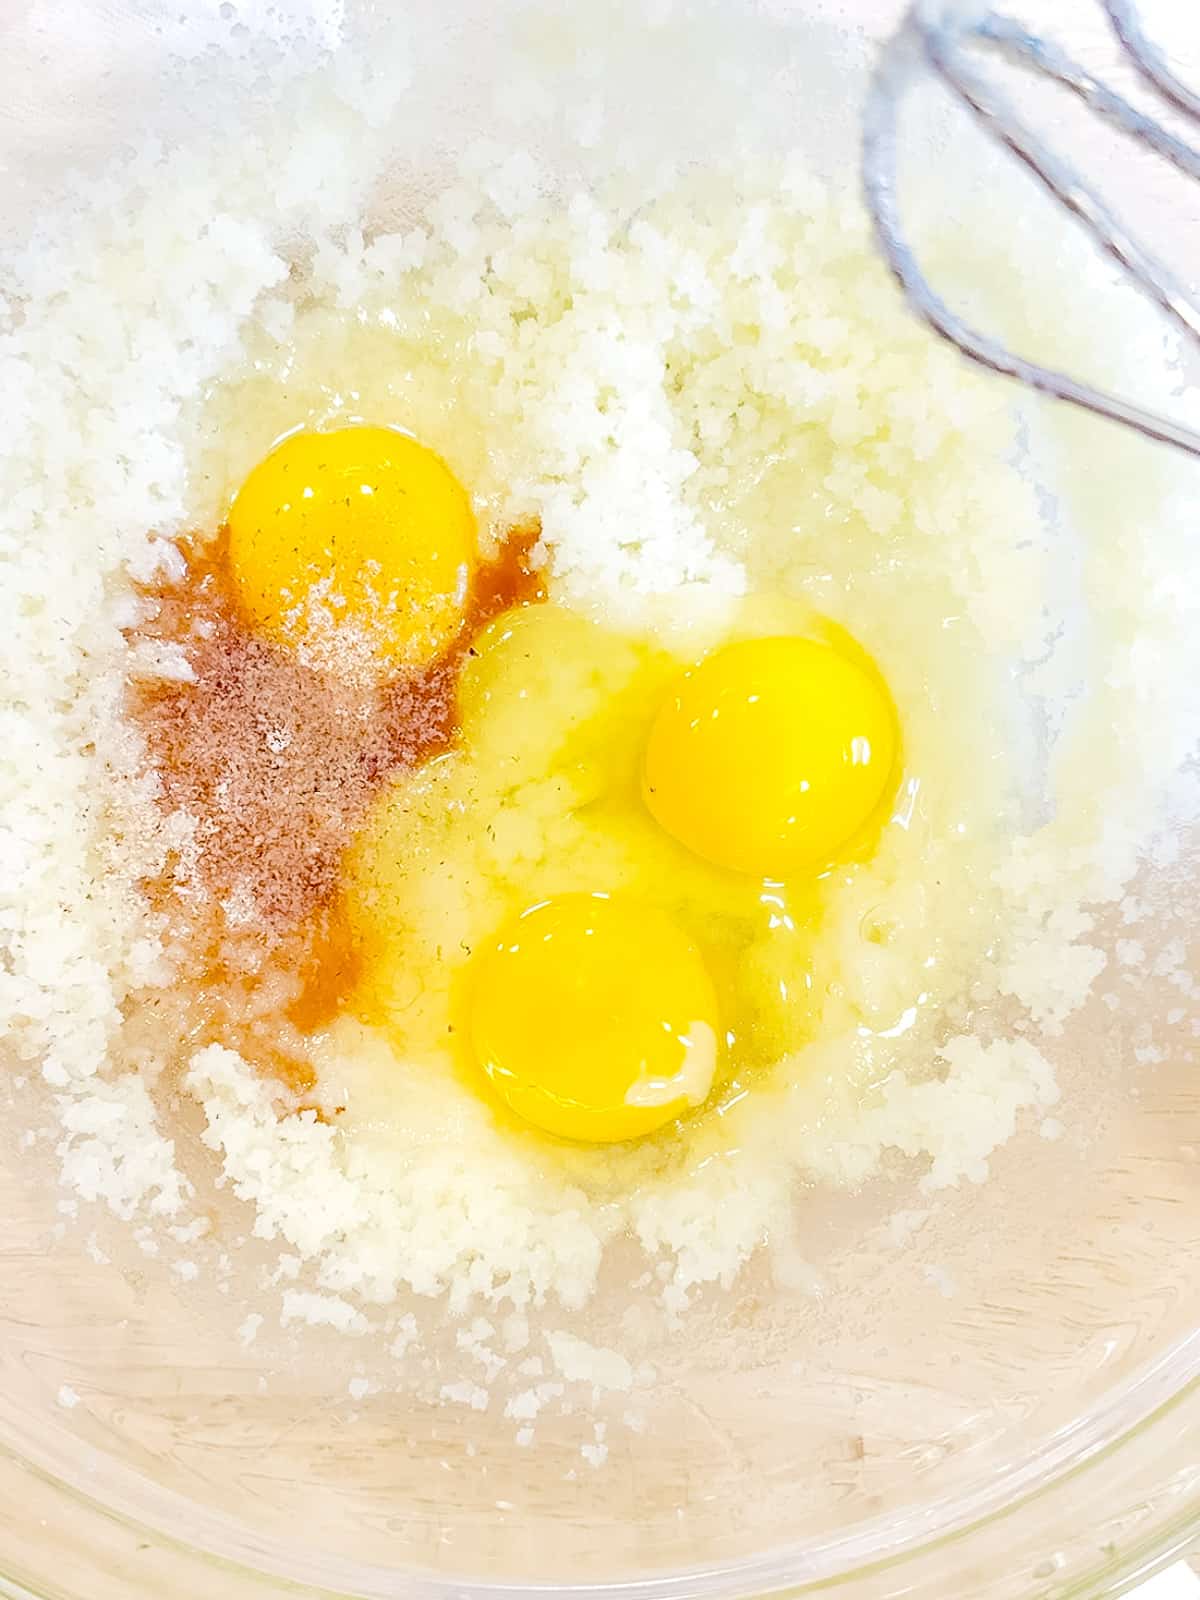
3. Add eggs and vanilla and mix until fully combined.
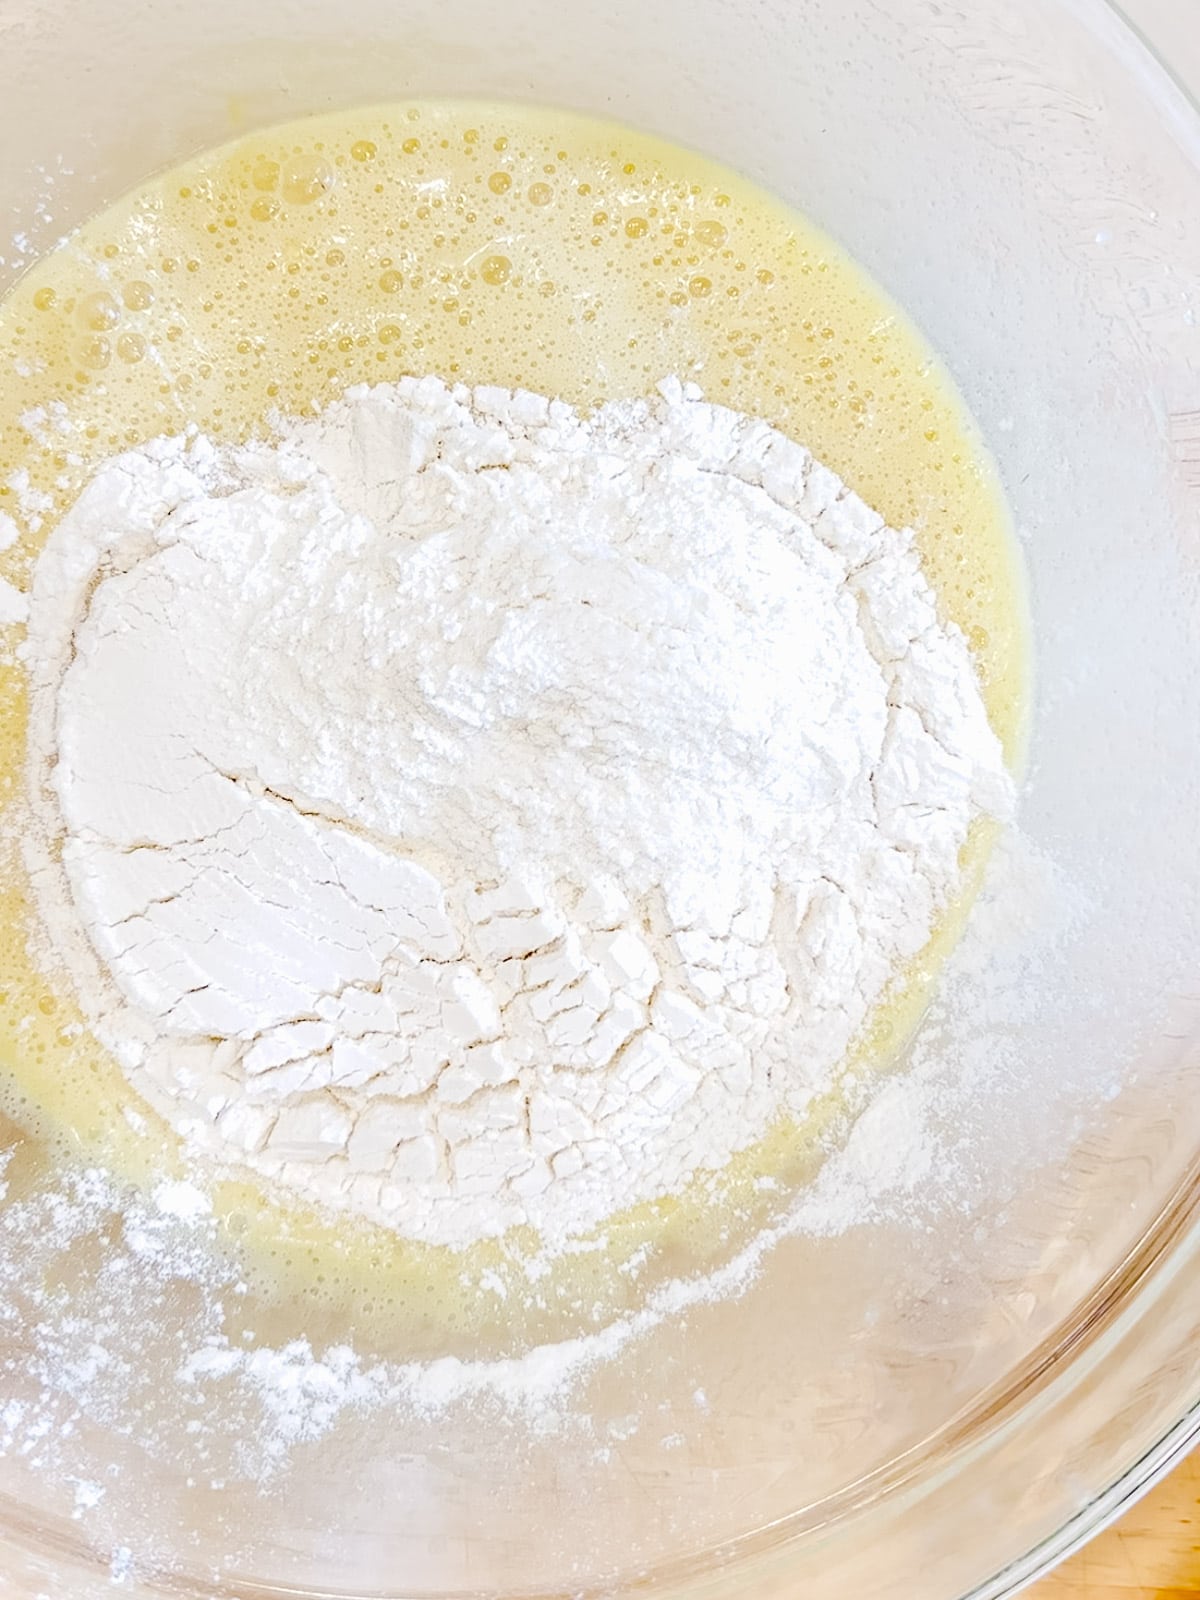
4. Fold in about a third of your flour mixture ...
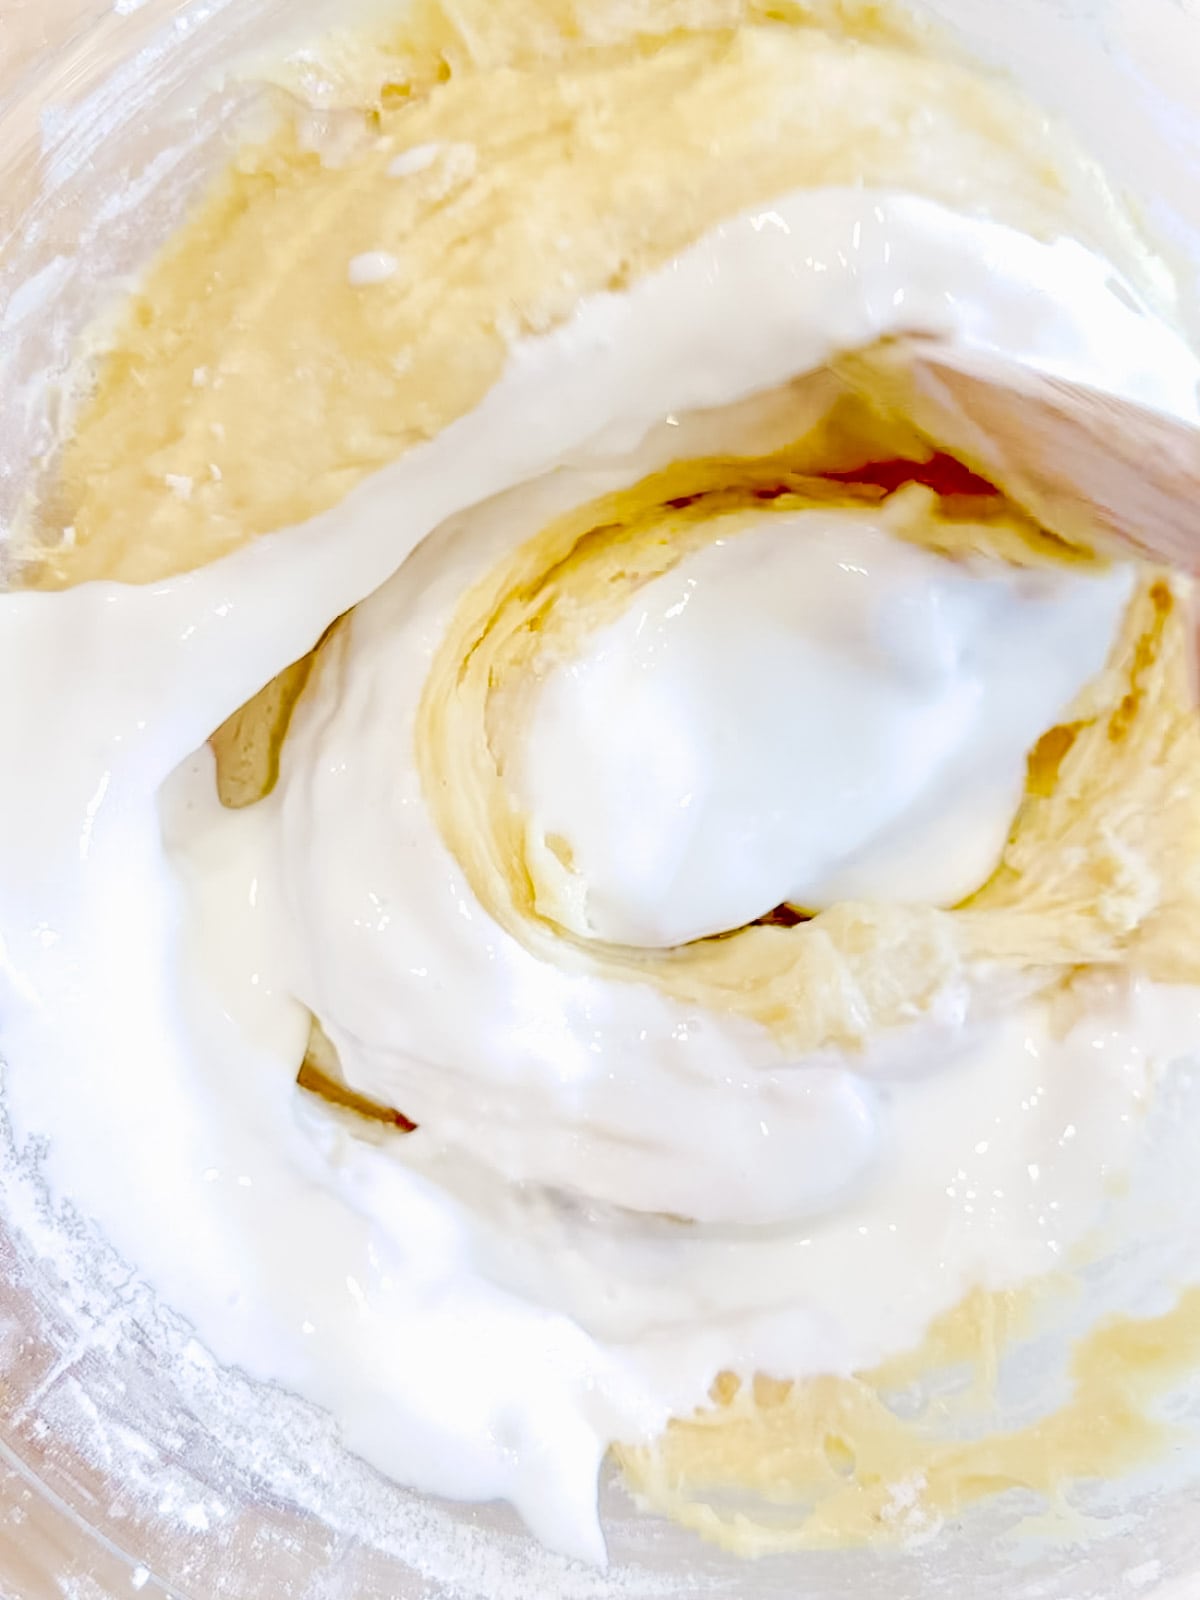
5 ... followed by half of your buttermilk. Continue by adding a third of your flour, then the remaining buttermilk, and finish with the last of the flour, mixing after each addition until just incorporated.
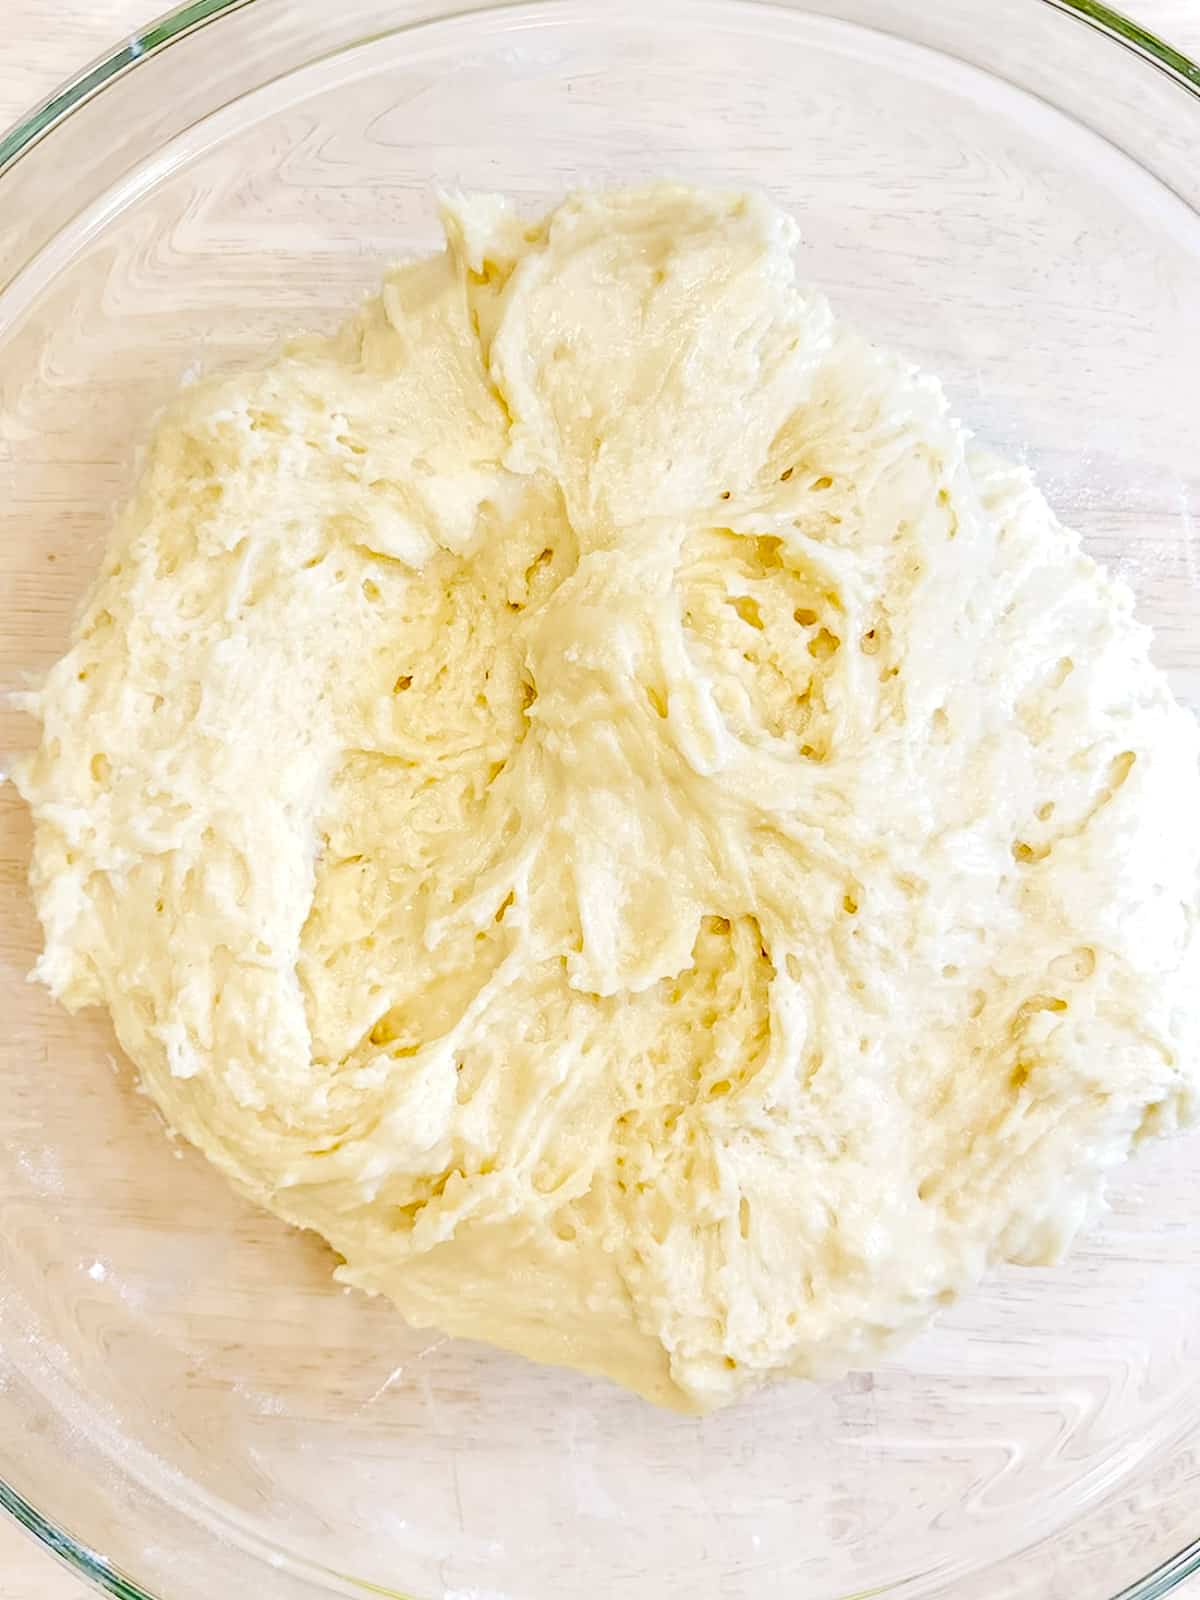
6. Cover bowl with plastic and refrigerate your dough for at least one hour, and up to 24 hours. When ready to make donuts, heat oil in a large dutch oven or heavy pot, to 350°F.
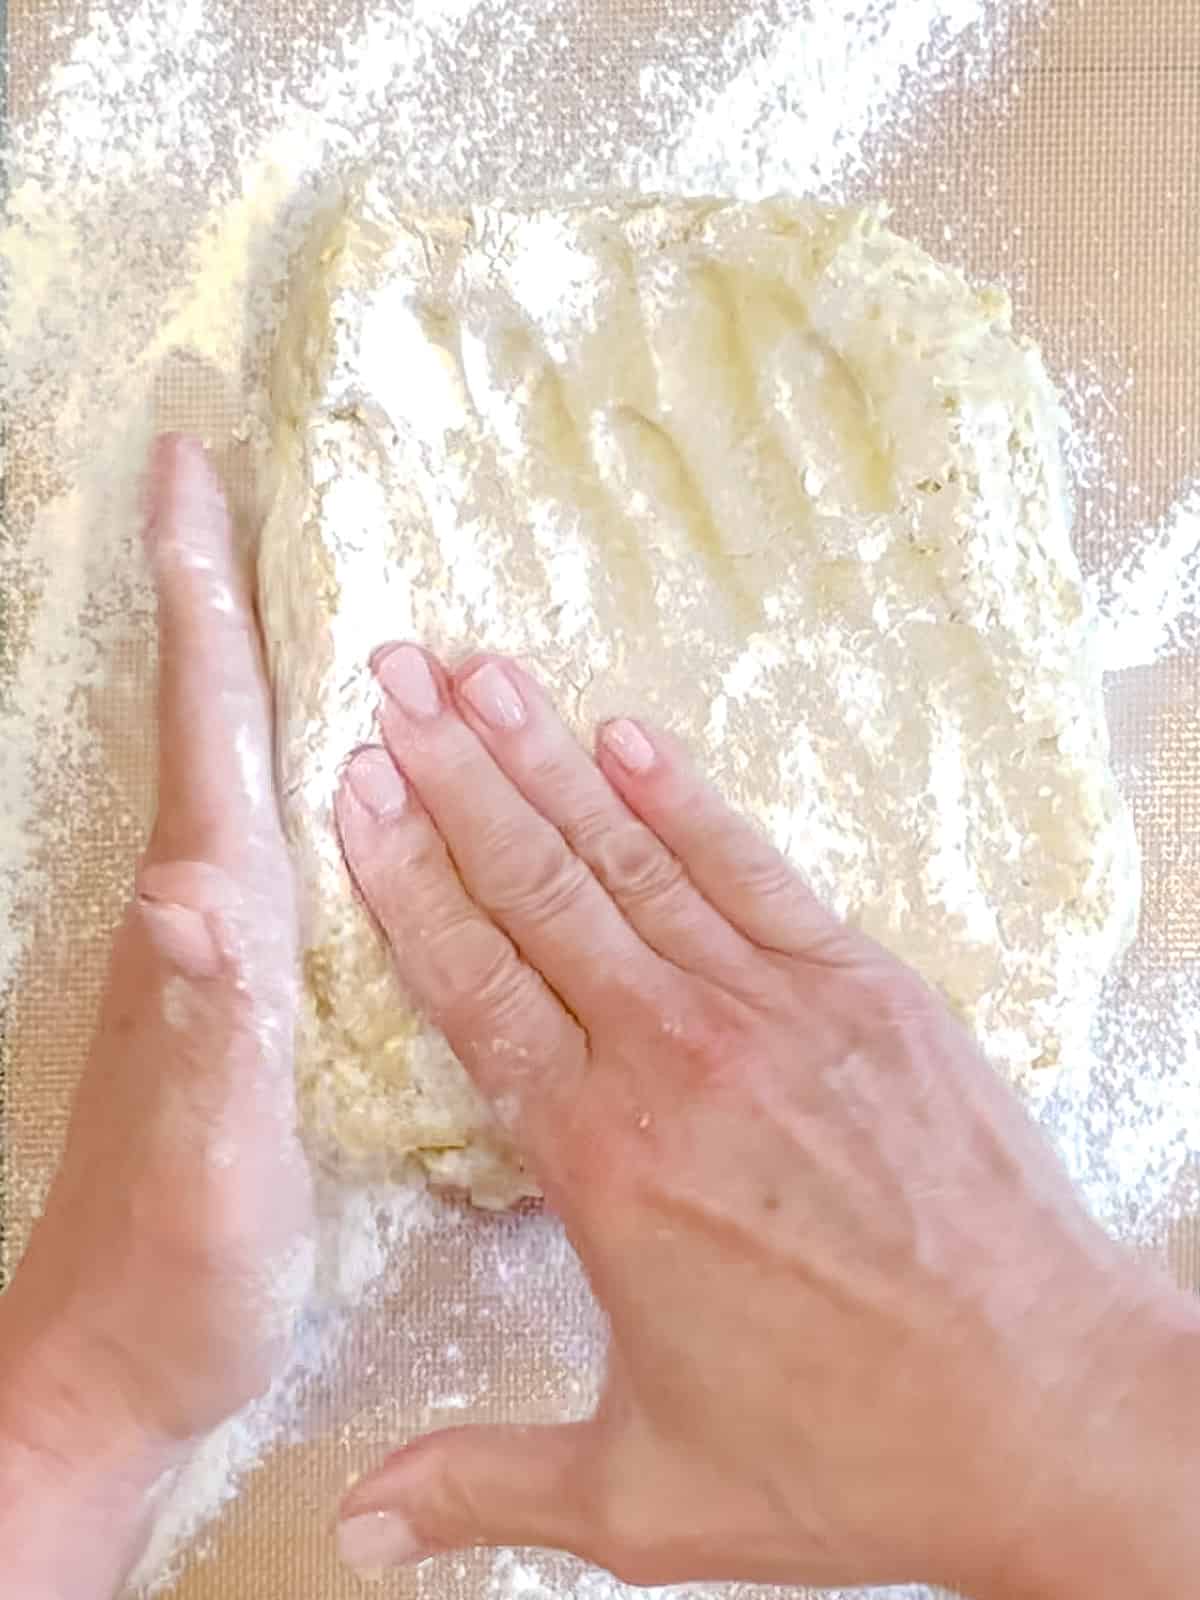
7. Place your dough on a floured surface, like your counter, and roll out to about ¼ to ½ inch thickness.
Cutting out and frying the donuts
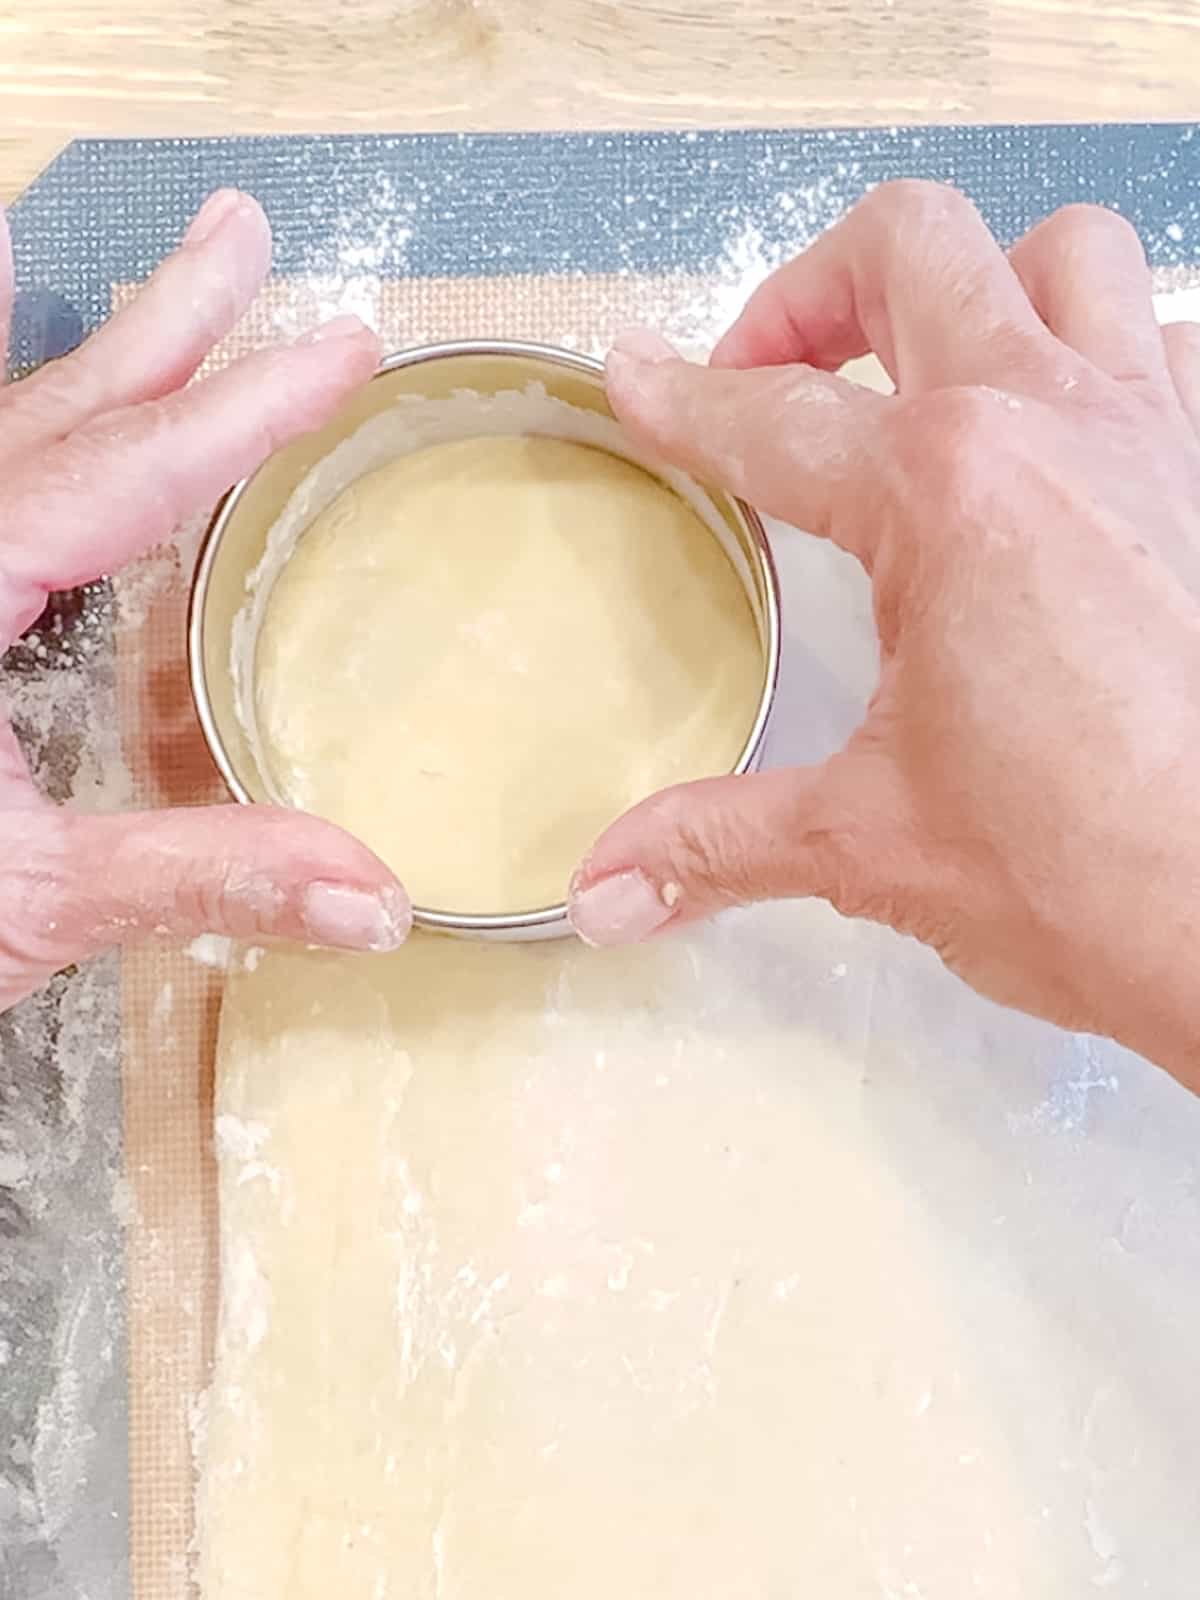
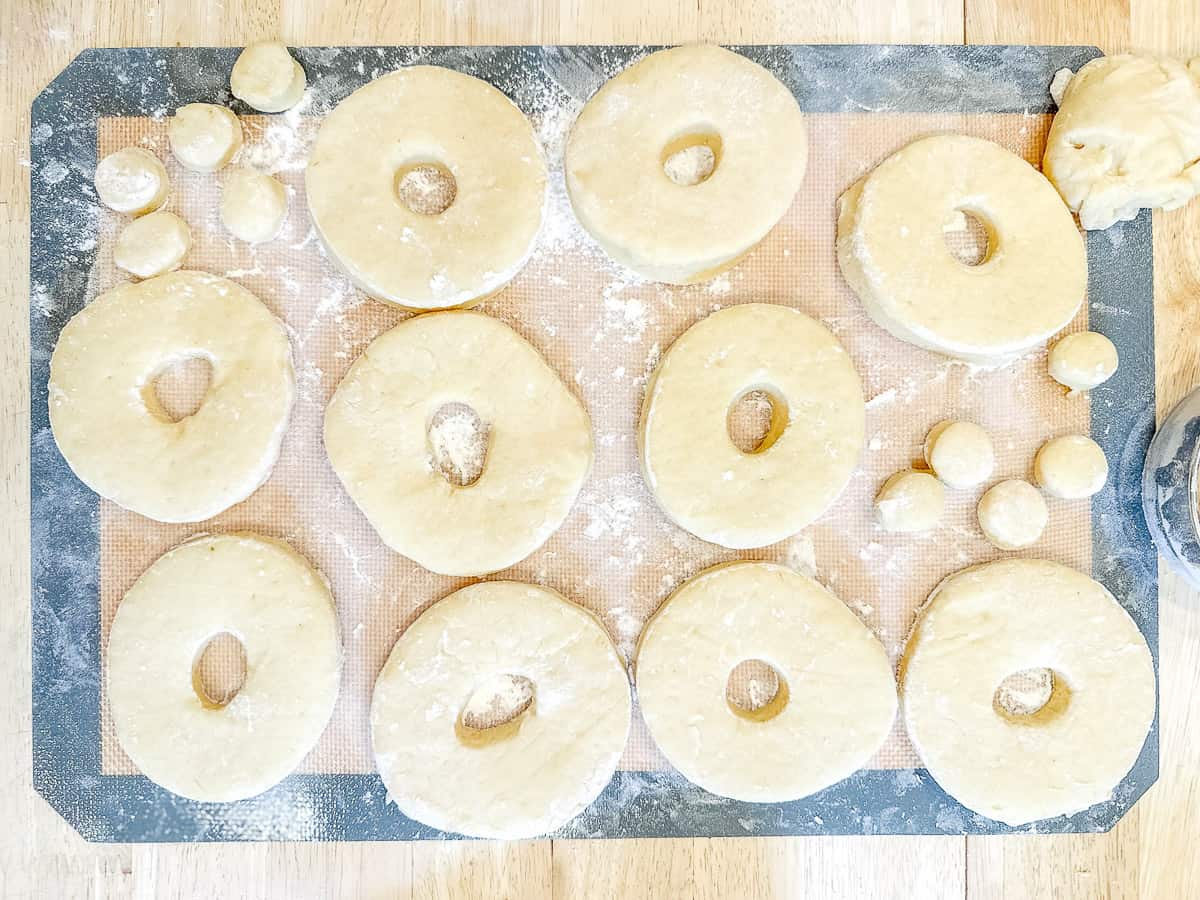
1. Use a three inch ring cutter or biscuit cutter to cut out donuts.
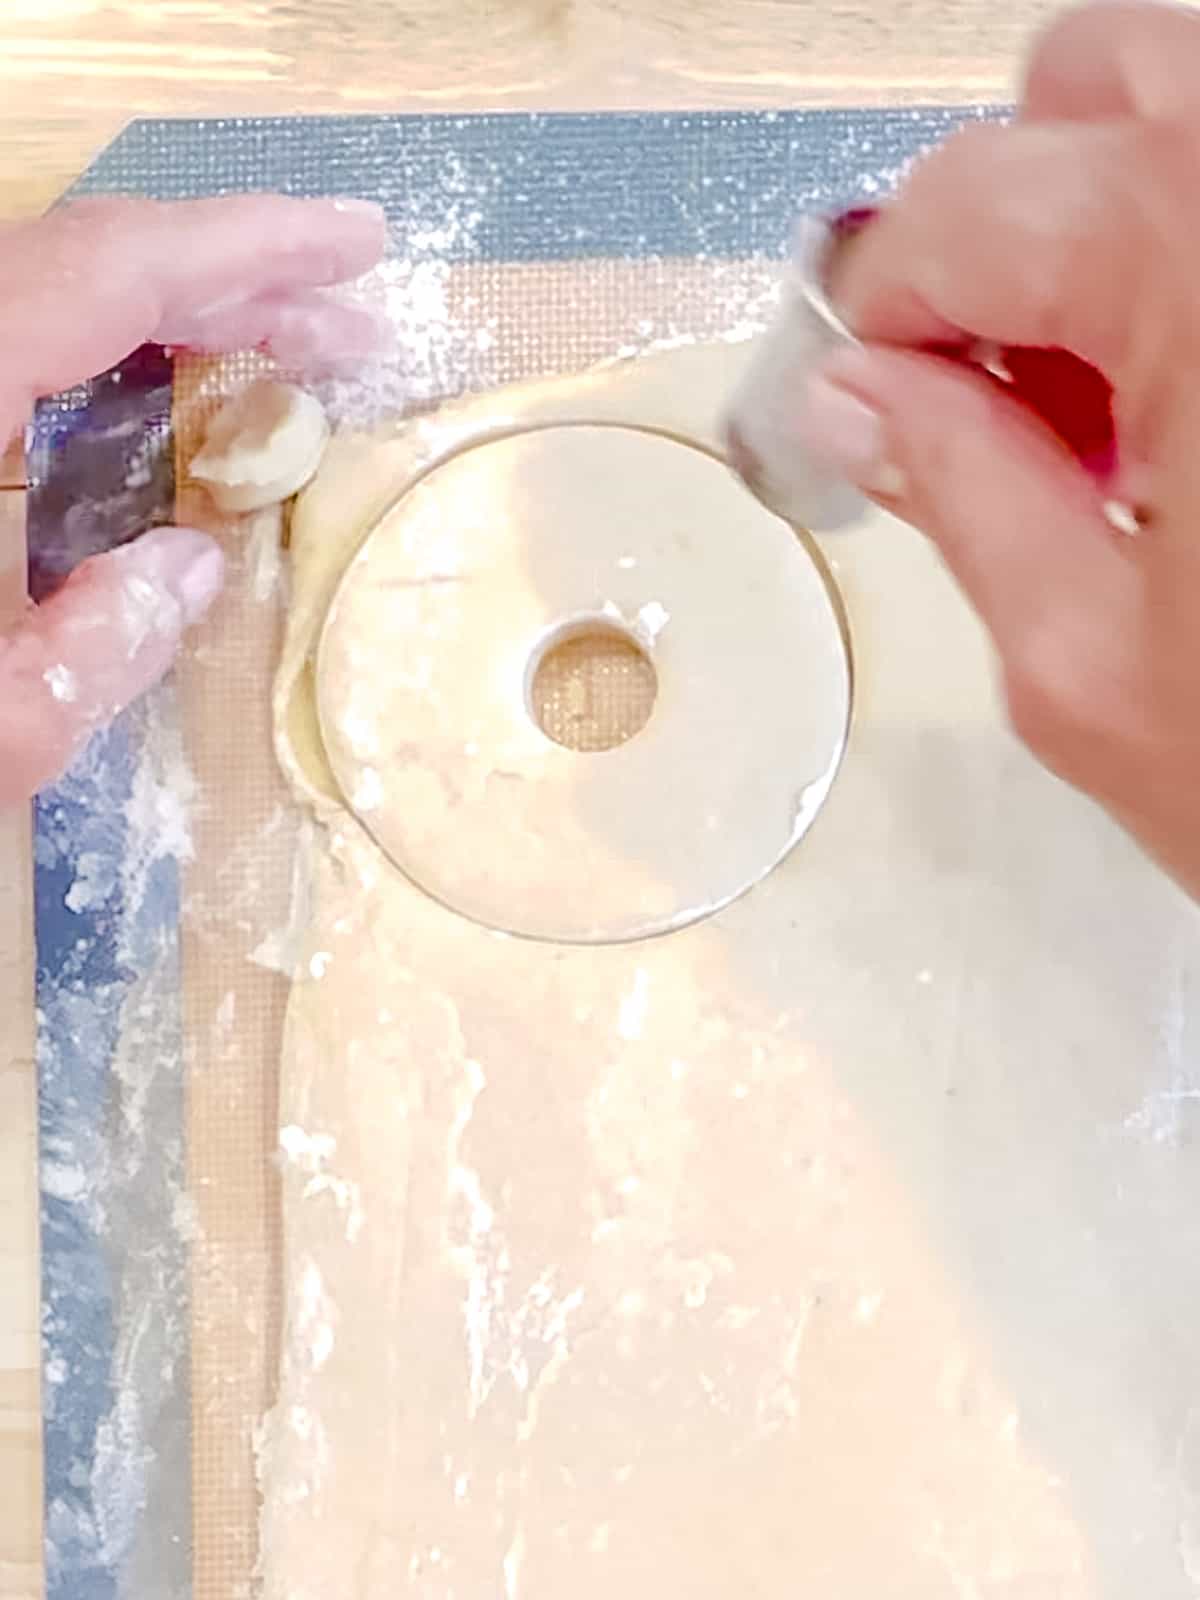
2. Use a small ring cutter, or the wide end of a piping tip, to cut out donut holes too.
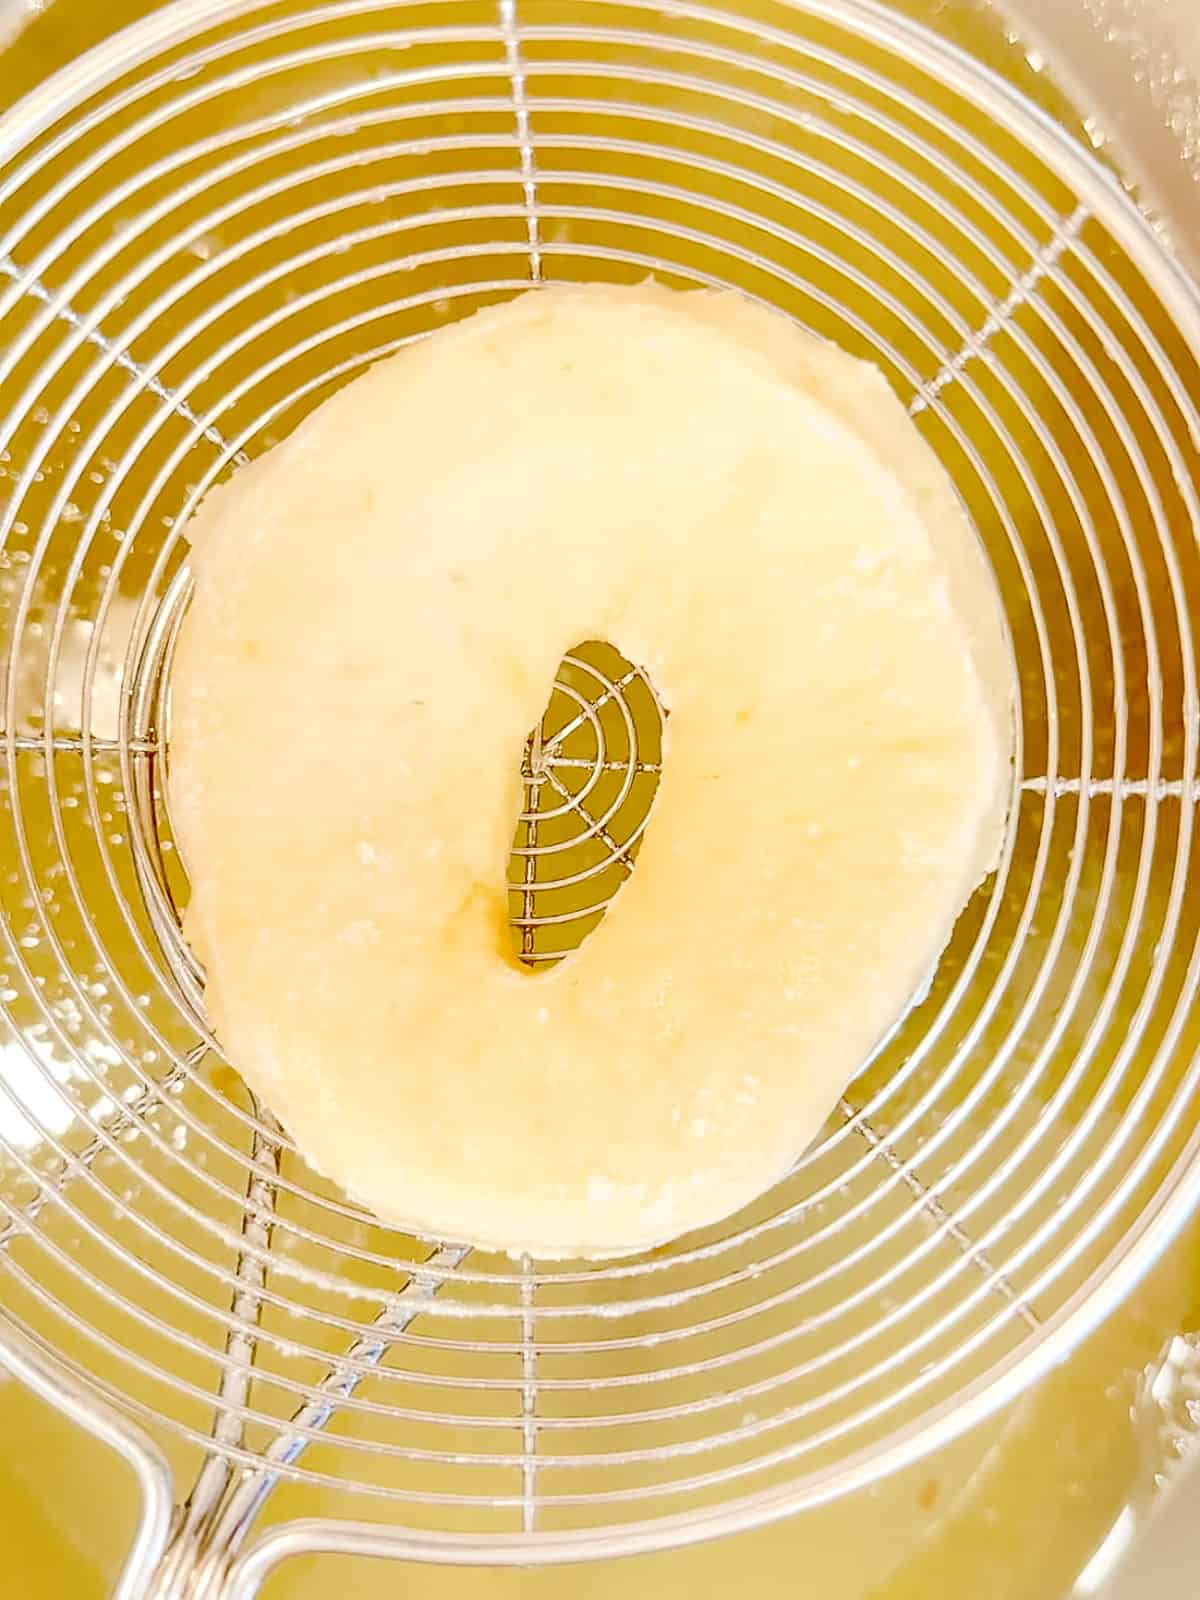
3. Use a spider strainer, or fish spatula, to lower individual donuts into the hot oil. Fry 2 to 4 donuts at a time, to avoid crowding or dropping the oil temperature.
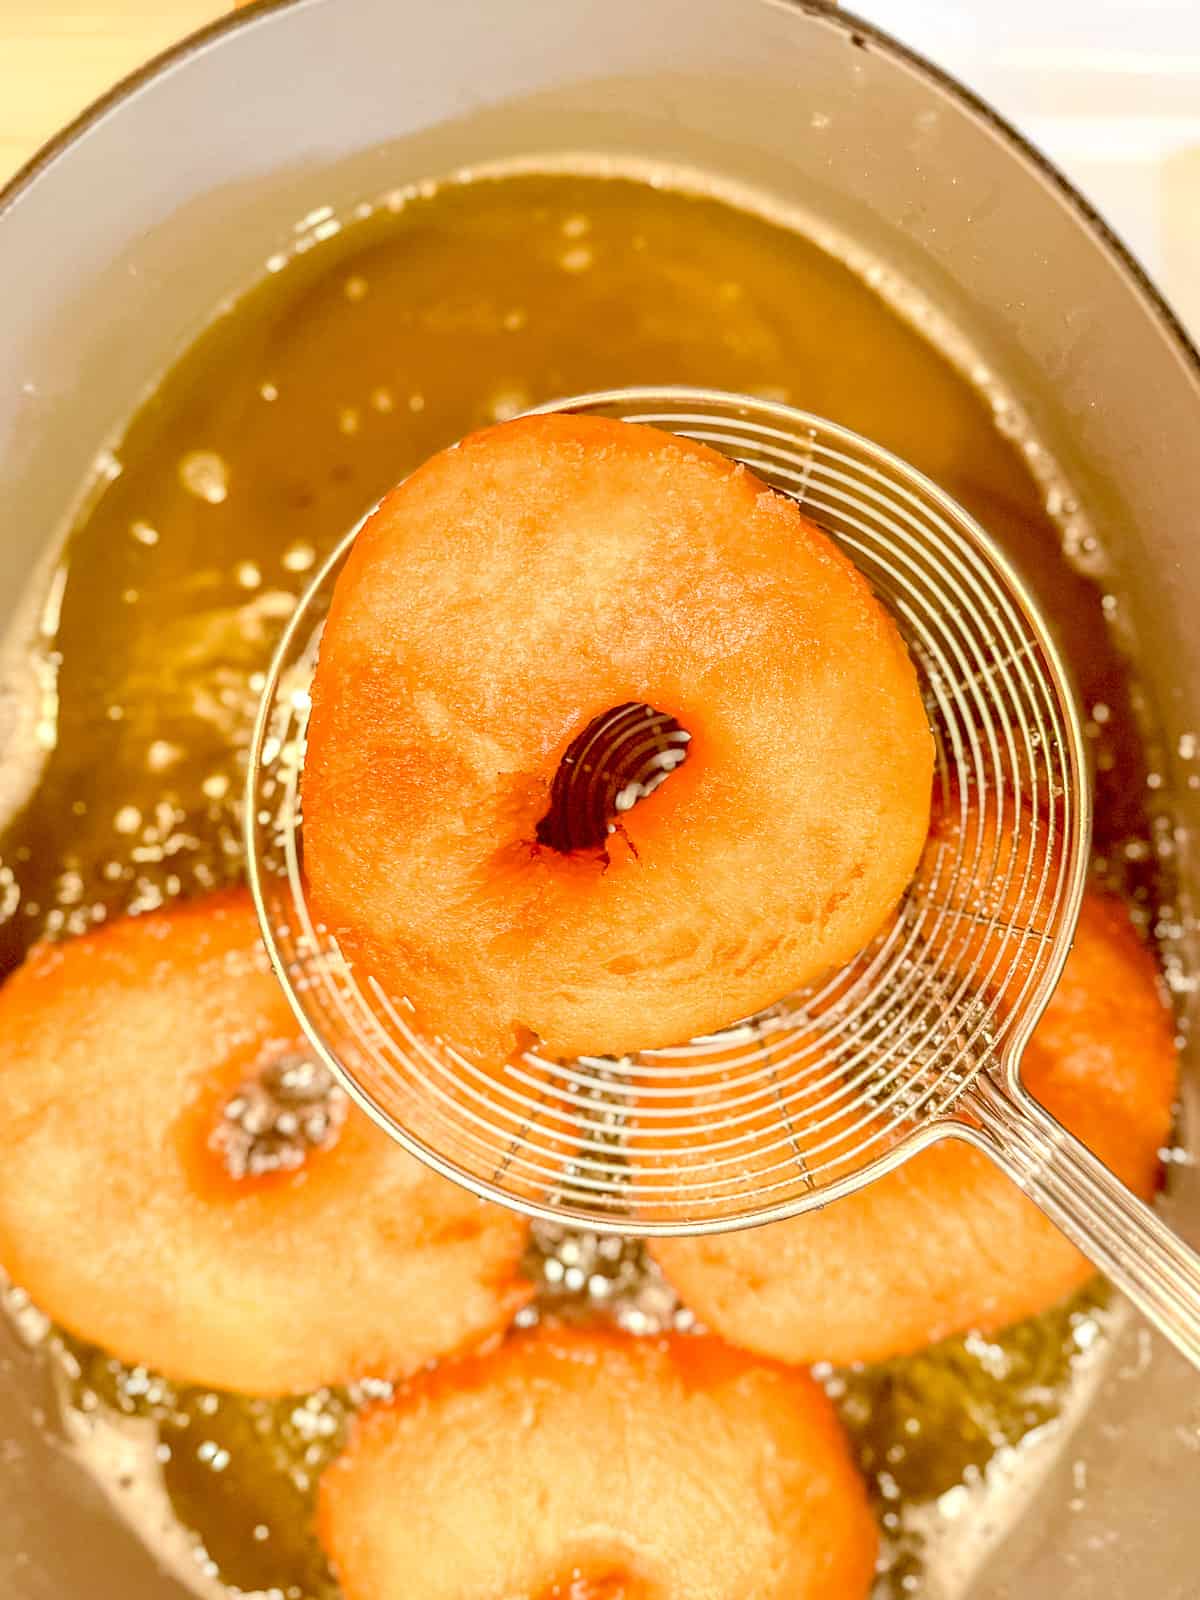
4. Fry donuts about 90 seconds on the first side, flip over, and fry another 90 seconds on the second side. Fry donut holes about 45 seconds to a minute, total. Remove from oil and place on a wire rack set in a large sheet pan.
Glazing the donuts

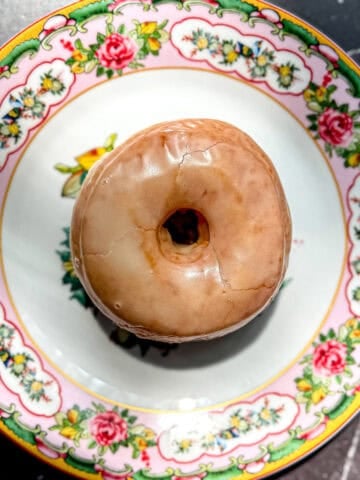
1. In a medium bowl, combine hot cream (or milk), vanilla, and powdered sugar with melted butter. The consistency of the glaze should be fairly thin, about the consistency of half-and-half. When set, it will dry into a thin crackly layer.
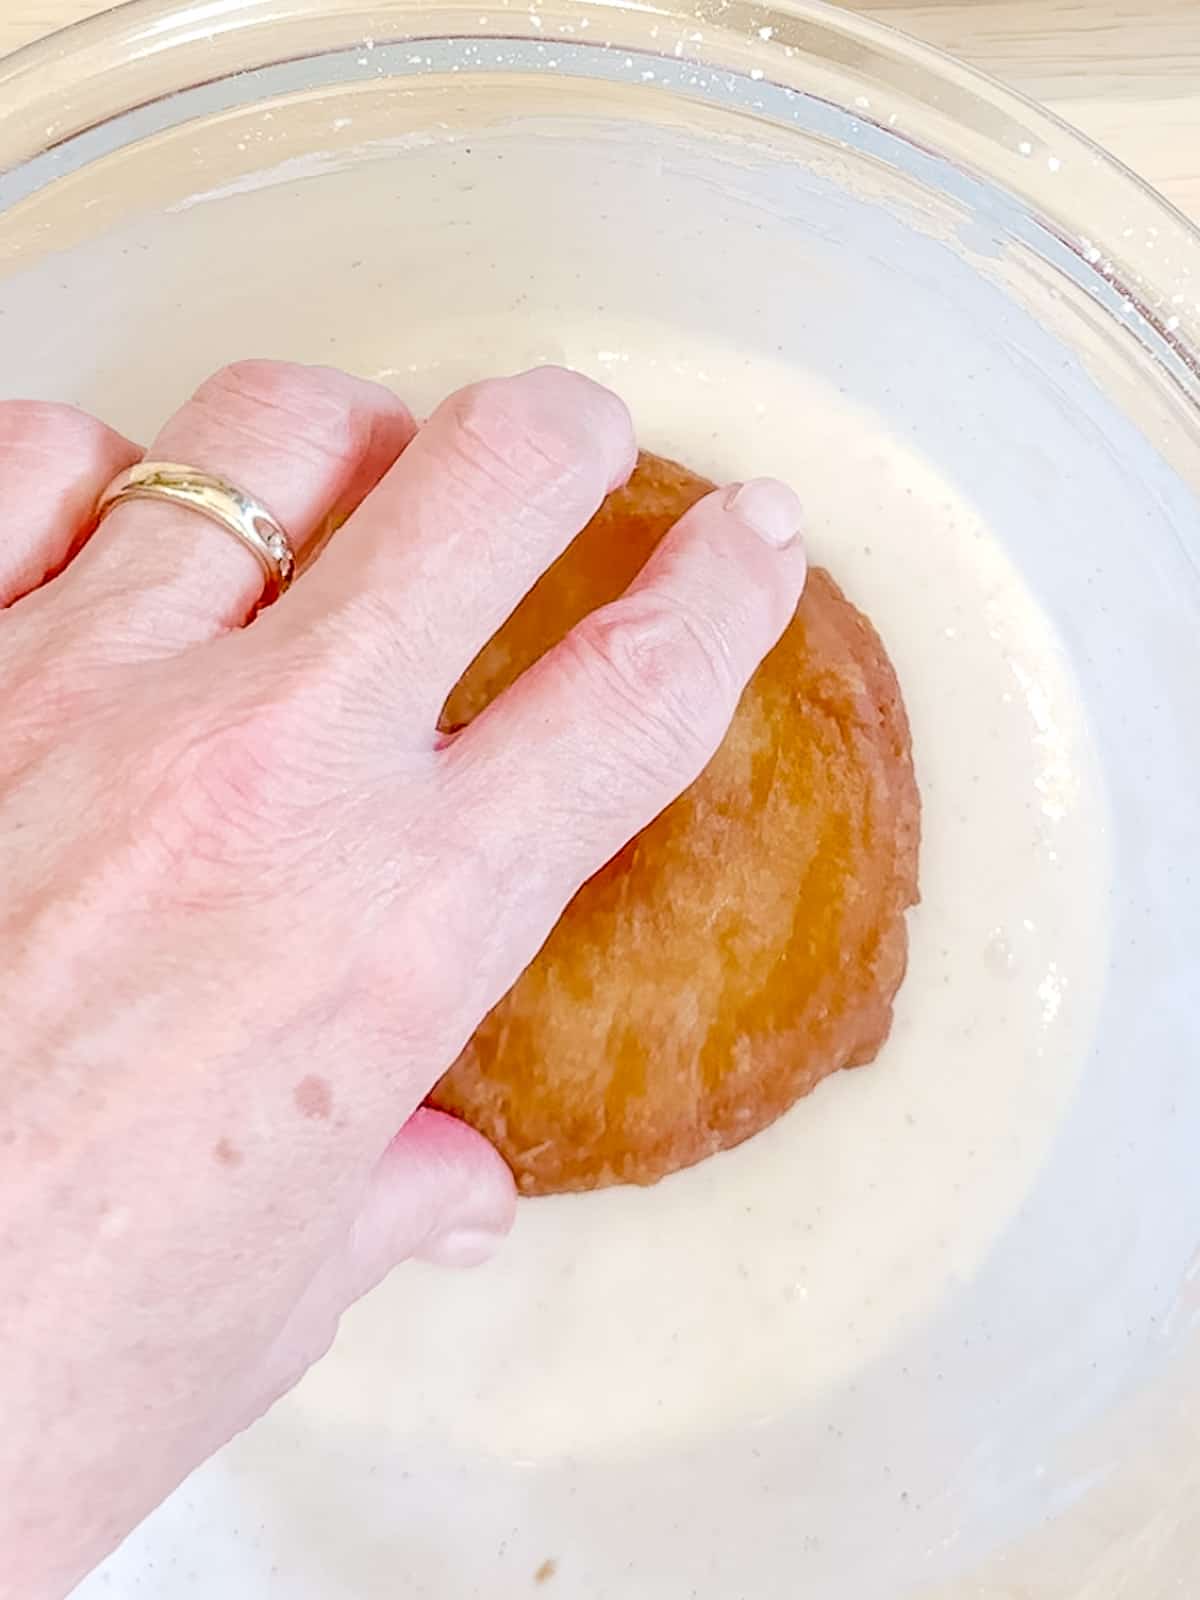
2. Dip still warm donuts in glaze and place back on the rack to dry and set.
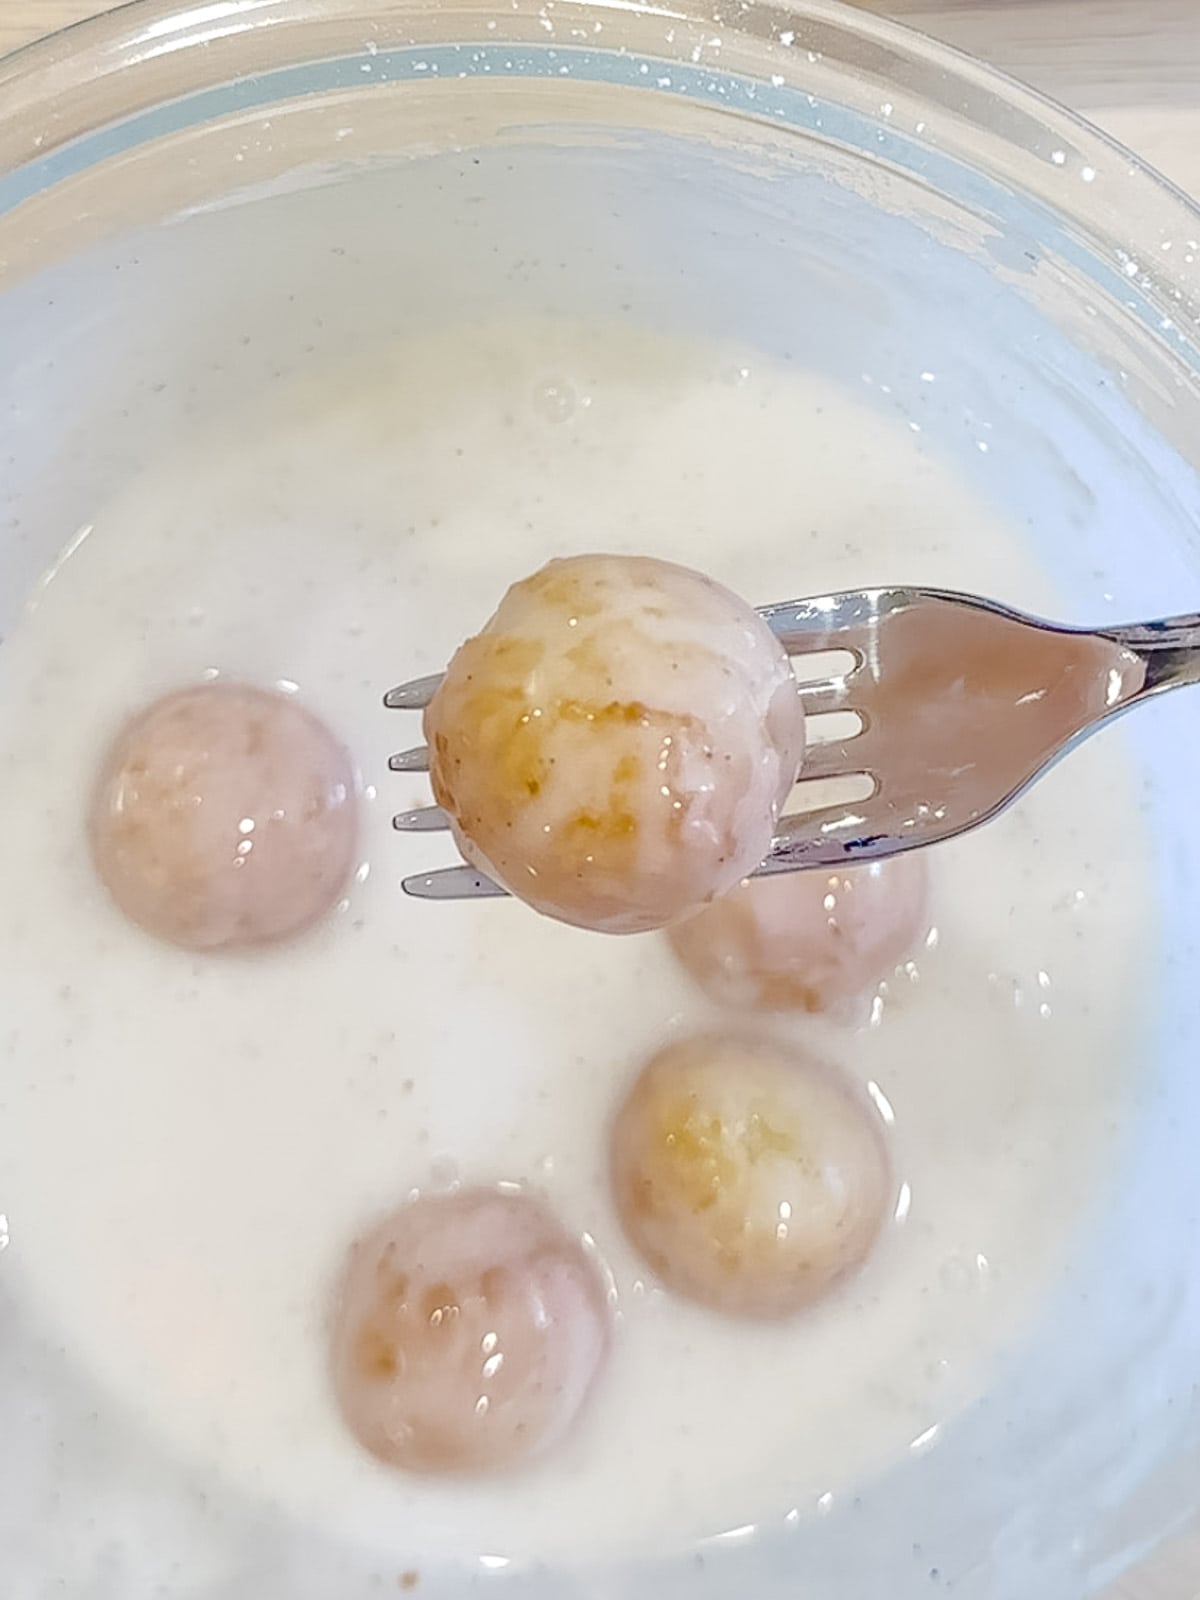
3. Don't forget to dip your donut holes as well!
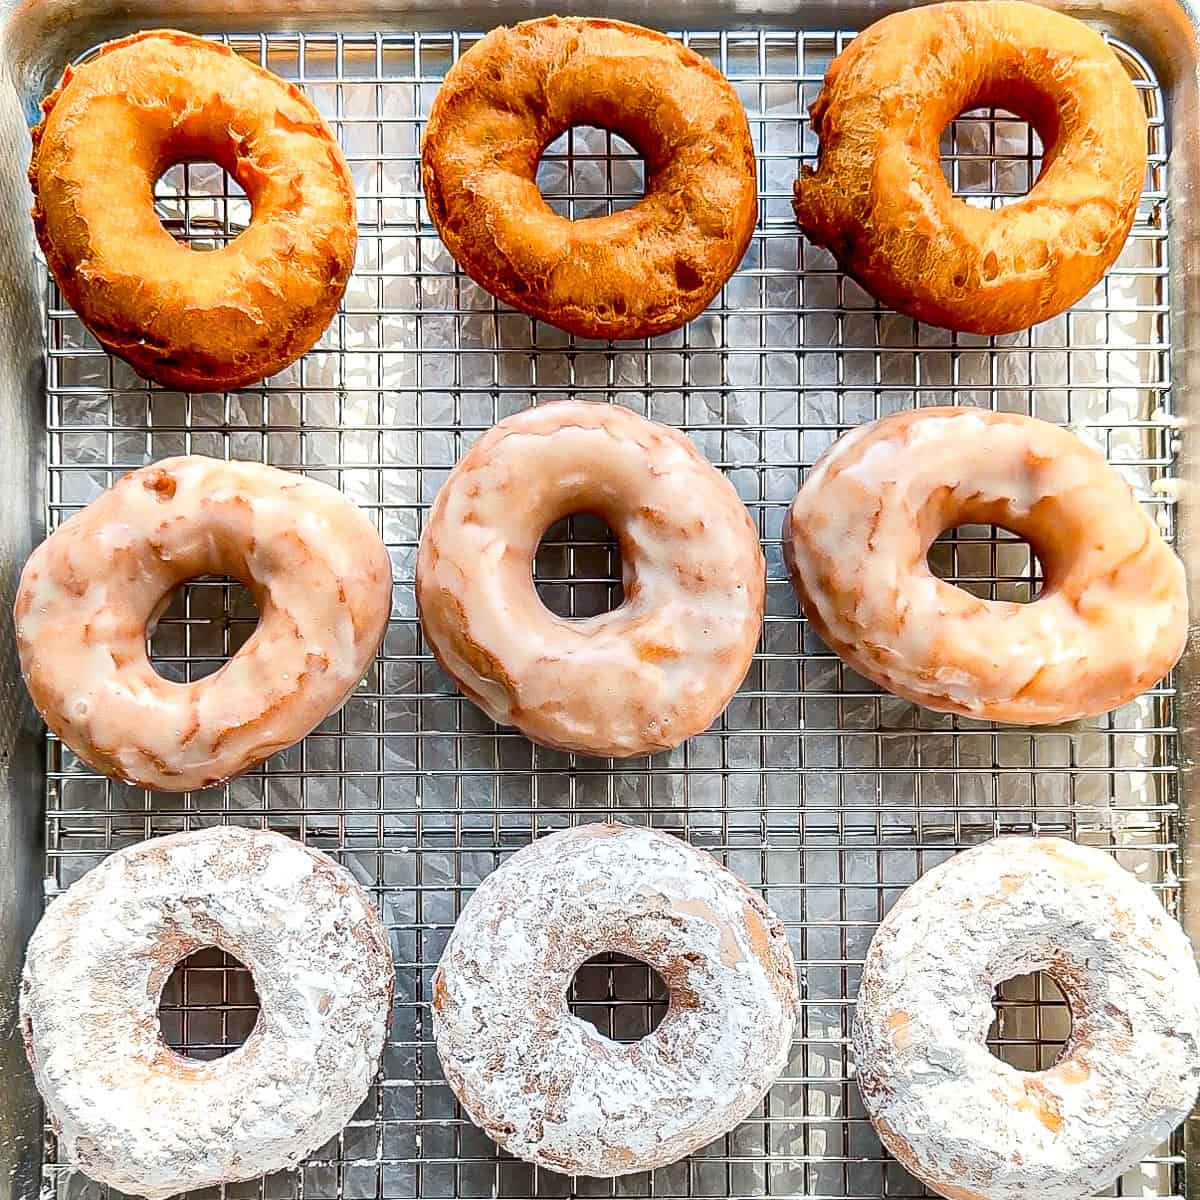
4. Let set at least 10 minutes before eating - unless you don't mind getting a little sticky and messy (I mean, you will anyway.) Alternatively you can just leave them plain, the way my mom and dad always ate them, or you can just roll them through a bowl of powdered sugar. All good choices 🙌
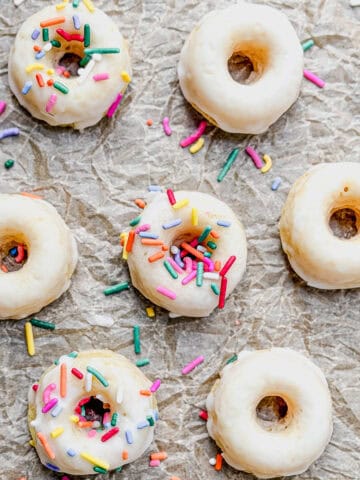
Looking for another quick and easy donut? Try my Chocolate Glazed Donuts. A fluffy baked vanilla donut, dipped in a rich chocolate glaze, and hello sprinkles!
Expert tips
This cake donut dough is sticky. There's just no getting around the fact. You can, however, deal with this easily.
- Be more chill - The longer your dough has to chill, the more the butter in the dough has a chance to solidify, decreasing its stickiness. You can do this for as little as an hour, but I find an overnight chill is best. I just make my dough whenever I have a few minutes (10 minutes tops) the day before I want donuts and take it out when I'm ready to fry.
- Store flat - I like to place my dough on a folded piece of parchment paper and press it flat so that in the morning rolling it out as a breeze. It also takes less room in the refrigerator, which is always a plus.
- Flour is your friend - Even cold, your dough is going to be a bit sticky. You can lessen the situation by using plenty of dusting flour. It won't incorporate into your dough, but it will keep it from sticking to... well, everything. I dust my counter before dumping out my dough. I dust the top of the dough and my rolling pin before rolling it out. I dip my ring cutter in flour before cutting out each donut. And finally, I place my donuts on a flour dusted piece of parchment paper or a silicone baking mat.
Make it mini Don't feel like rolling out a dough? Make my Easy Donut Holes. Just mix the batter, scoop it, and fry it and you're deep in donut country in less than 30 minutes!
Re-use and disposal of oil
You don't need to discard your cooking oil after frying one batch of donuts. You do, however, need to strain, store, and dispose of it correctly.
- When frying, I try to always use a mono-unsaturated, high smoke point oil that is higher in oleic acid, such as peanut or canola oil. Mono-unsaturated fats are one of the healthier fats and oleic acid is a cholesterol lowering agent. Safflower and soybean oil are also good.
- Save your original oil bottle to store the used oil.
- After your oil cools completely, use a piece of cheesecloth or a coffee filter to strain out all loose crumbs or bits of dough.
- You can reuse fryer oil up to four times, provided you haven't burnt anything while frying, which can leave the oil with a bitter flavor.
- Sweet before savory. You wouldn't want to fry your homemade donuts in the oil you used to fry a batch of shrimp, would you? Nope. In general, once you've used the oil to fry protein or vegetables, that oil should only be used to fry more proteins or vegetables. Fry dessert first!
- If the oil smells at all funky or rancid, or if it's cloudy or has a foamy residue, it's done! Never use an oil that has a prominent smell or residue of any kind.
- Never pour old oil, or any fat, down your sink. I don't care if you follow it up with hot water. It clogs municipal waste systems and is a real environmental problem. If your community doesn't have a program for recycling oil, place the used oil in a tightly sealable container, or add in an oil solidifier, and throw it out in your trash.
Serving Suggestion
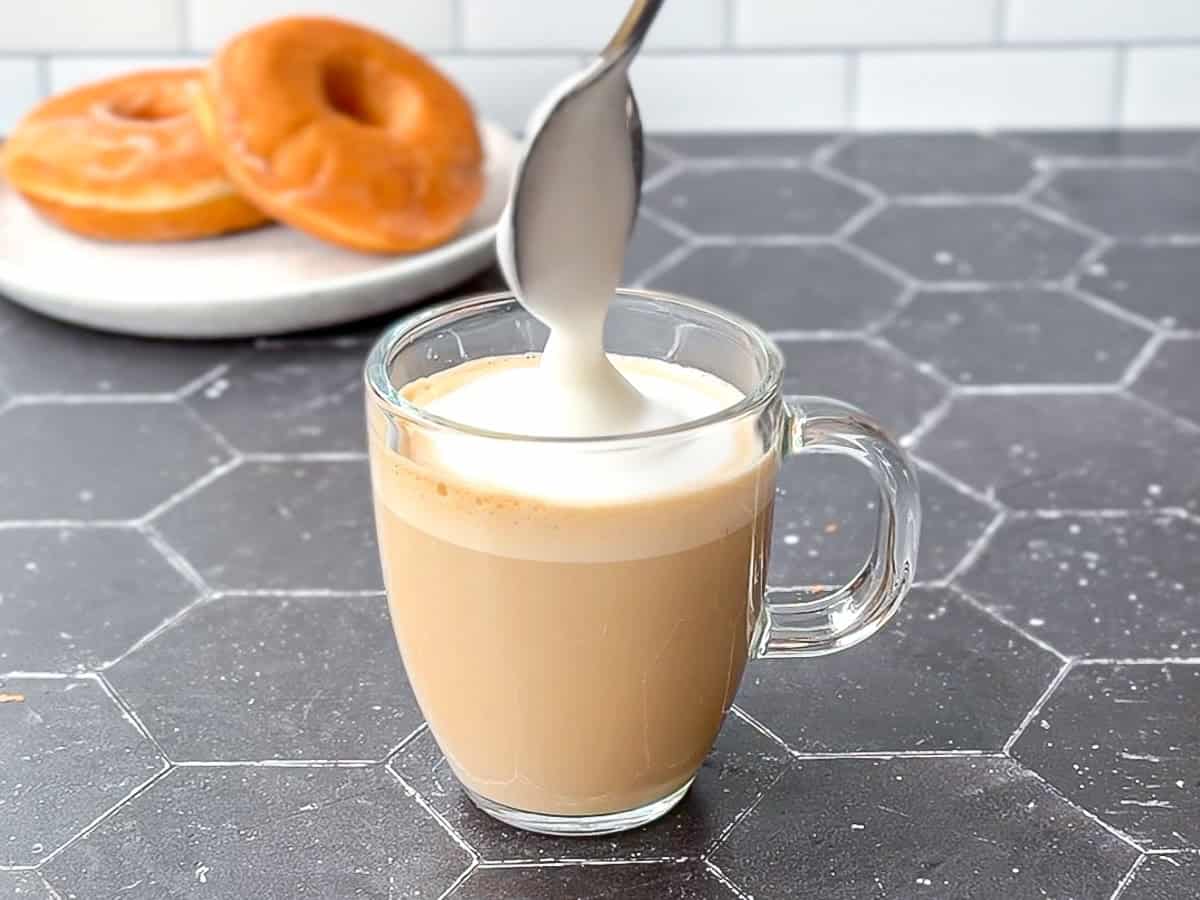
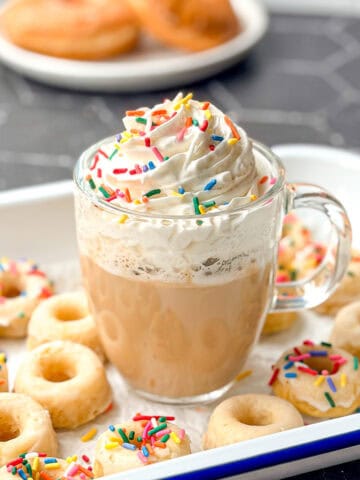
I especially love to serve one of these alongside my Glazed Donut Latte, which really lets the flavor of the donut shine - no dunking required!
Recipe FAQ's
You don't. I personally hate single use kitchen gadgets! You can use a biscuit cutter, ring mold or cutter, even a large drinking glass, to cut them out.
The best way to tell is by using a frying or candy thermometer. If you don't have one, do it the way my Grandma (and I did when I lost my thermometer) did it. Place the end of a wooden spoon into your hot oil. If bubbles form around it and float to the top, it's ready. If it bubbles vigorously, turn down the temperature of the stove and try again in 10 minutes.
Another way is to drop a piece of popcorn into the oil. When it reaches a good frying temperature, the kernel will pop! Fish it out and start making donuts!
DO NOT drop water in to check oil temperature!! You can cause a serious oil burn or fire! Never ever use water to check oil temperature.
Storage and Reheating
Storage
As with all donuts, this recipe is best on the day it's made. I make them in the morning and then we try to eat them on the same day. If you do have leftovers, keep them in an almost-airtight container at room temperature for a day, max. Leave the container cracked a bit, to let in some air, to avoid the glaze getting too tacky.
If you keep them longer than a day, the fluffy inside will absorb some of the oil from the outside, which came into contact with the oil, making the donuts taste greasy.
Reheating
You don't want to reheat these donuts, or really any donuts. The oil will permeate and they will be... squishy is the word that comes to mind.
tl:dr Fresh is best when it comes to donuts.

Did you try this recipe?
Please consider leaving a comment with a ⭐️ rating below and tell me all about it! It helps me to continue to improve my content and lets others know what you think!
I appreciate it so much!
-Cynthia
📖 Recipe
Old Fashioned Buttermilk Donuts
Recommended Equipment
Ingredients
Donuts
- 4 tablespoons (56 g) butter melted
- ½ cup (100 g) sugar
- 2 large eggs
- 1 teaspoon vanilla extract
- 3 ½ cups (420 g) all-purpose flour
- 2 teaspoon baking powder
- ½ teaspoon baking soda
- ¾ teaspoon salt
- ¼ teaspoon nutmeg freshly grated if possible
- ¾ cup (180 g) buttermilk
- 6 cups oil for frying
Glaze
- 2 cups (240 g) powdered sugar sifted if lumpy
- 4 tablespoons (60 g) milk warmed
- 4 tablespoons (56 g) unsalted butter melted
- 1 teaspoon vanilla extract
- Pinch of salt
Instructions
Make donut dough
- Place 4 tablespoons unsalted butter in a small microwave-safe bowl. Microwave on high until melted. Set aside to cool.
- In a medium bowl, whisk together the flour, baking powder, baking soda, and salt. Set aside.
- In a large bowl, with a whisk or a hand mixer, combine the melted butter and the sugar. Add in the eggs one at a time, mixing each one completely before adding the next one. Add in the vanilla extract. and the nutmeg and mix.
- Fold in about a third of your flour and then add in about half of your buttermilk and combine. Continuing alternating the flour and buttermilk, ending with the flour. Your dough will be very sticky. Cover the bowl with plastic wrap and chill in the fridge for at least 1 hour, or overnight.
Make glaze
- Place powdered sugar and a pinch of salt in a medium glass bowl. Add melted butter, warm milk, and vanilla extract and whisk until smooth.
Fry donuts
- In a large dutch oven or heavy bottomed pot, add about 2 inches of oil. Heat the oil to about 375°F.
- While oil heats, flour a large flat work surface and dump out your dough from the bowl. Roll the dough out, flouring it on top to prevent it sticking to your rolling pin. Roll out to about ¼ inch thickness. Using a 3 inch ring cutter, or biscuit cutter, cut out your donuts. Place on a floured piece of parchment paper or silicone mat until ready to fry. Use a 1 inch ring cutter, or the wide end of a piping tip, to cut out donut holes. Reroll the dough and cut out more donuts, flouring the dough as needed.
- When the oil temperature reaches 375°F, use a metal spider, or fish spatula, to transfer individual donuts to the hot oil, 2 to 3 at a time, depending on the size of your pot. Fry the doughnuts for about 90 seconds per side, or until golden brown. Flip carefully using your spider strainer, fish spatula, or even 2 chopsticks.
- Carefully transfer the donuts to your rack with the spatula. Repeat frying the remaining donuts. Finally, fry donut holes about 1 minute total, rolling to get all sides brown, and let cool on rack.
Glaze donuts
- Drop the still warm donuts into the glaze mixture and place back onto the wire rack to drain. Continue glazing the rest of the donuts and allow to set about 20 minutes.

Comments
No Comments