

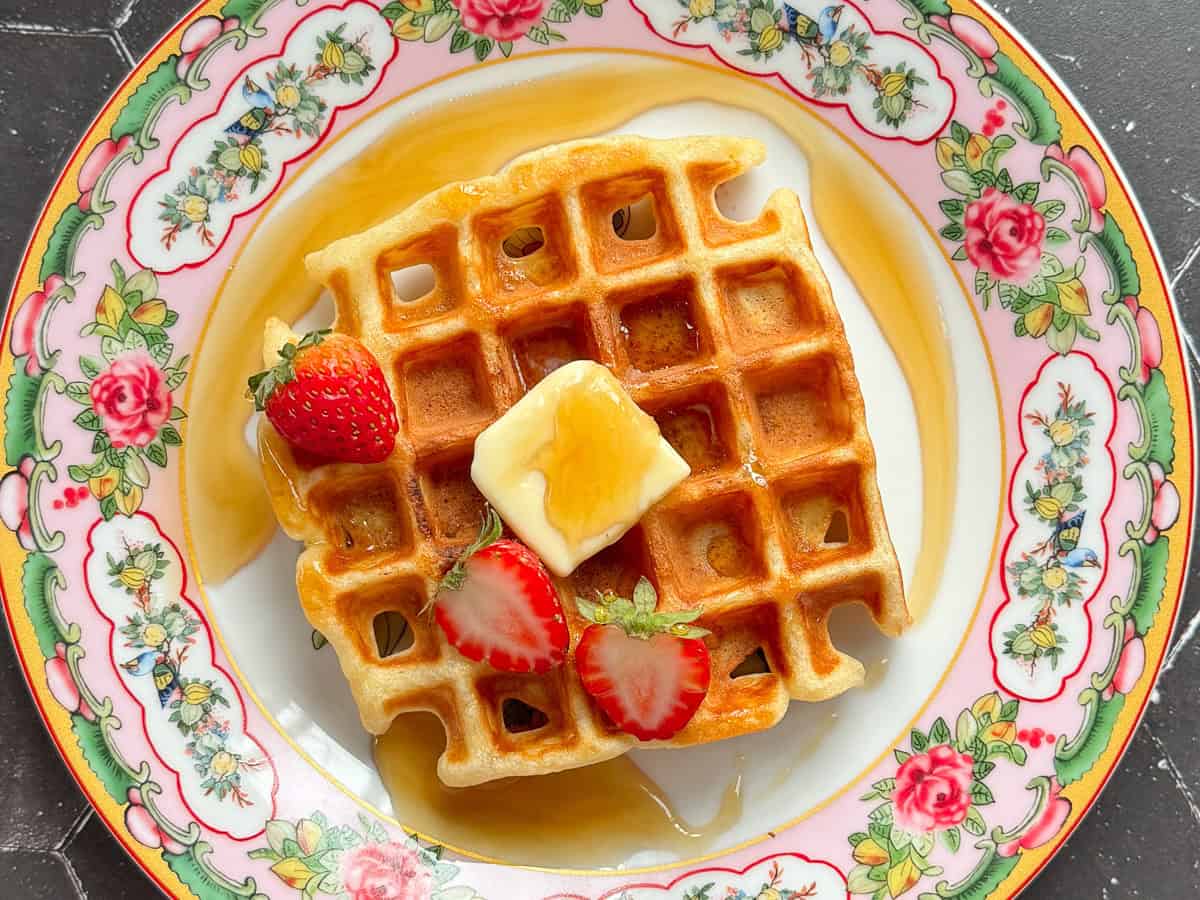
Looking for a Classic Homemade Waffle Recipe? Look no further! This step-by-step guide will show you how to make fluffy homemade waffles that are crispy on the outside and fluffy on the inside with simple ingredients you probably already have on-hand. These will become one of your go-to easy breakfast recipes for busy mornings and lazy weekends.

Save This Recipe! 💌
Everyone knows I love my buttermilk waffles. Passed to me by my father, who learned from his mother - they are amazing. But, to be a well-rounded breakfast and brunch blogger I have to have a Classic Waffle Recipe that absolutely anyone can easily make. I'm talking about 'your 10-year-old child could go into the kitchen and whip up these waffles' easy. This is that recipe!
(Note: this is assuming your 10-year-old-child has helped out in your kitchen before. I'm not talking about the child that only runs through to grab snacks and leave the refrigerator door open 😆)
Jump to:
Ingredients & Substitutions
I realize that not everyone keeps self rising flour in their pantry, so we're making this batch of homemade waffles with all-purpose flour, baking powder, and salt, but after that there's just eggs and milk. Maybe a little vanilla extract, if you like. And some butter. Gotta have butter. Let's look at all the major players and see where you can make changes if you need to:
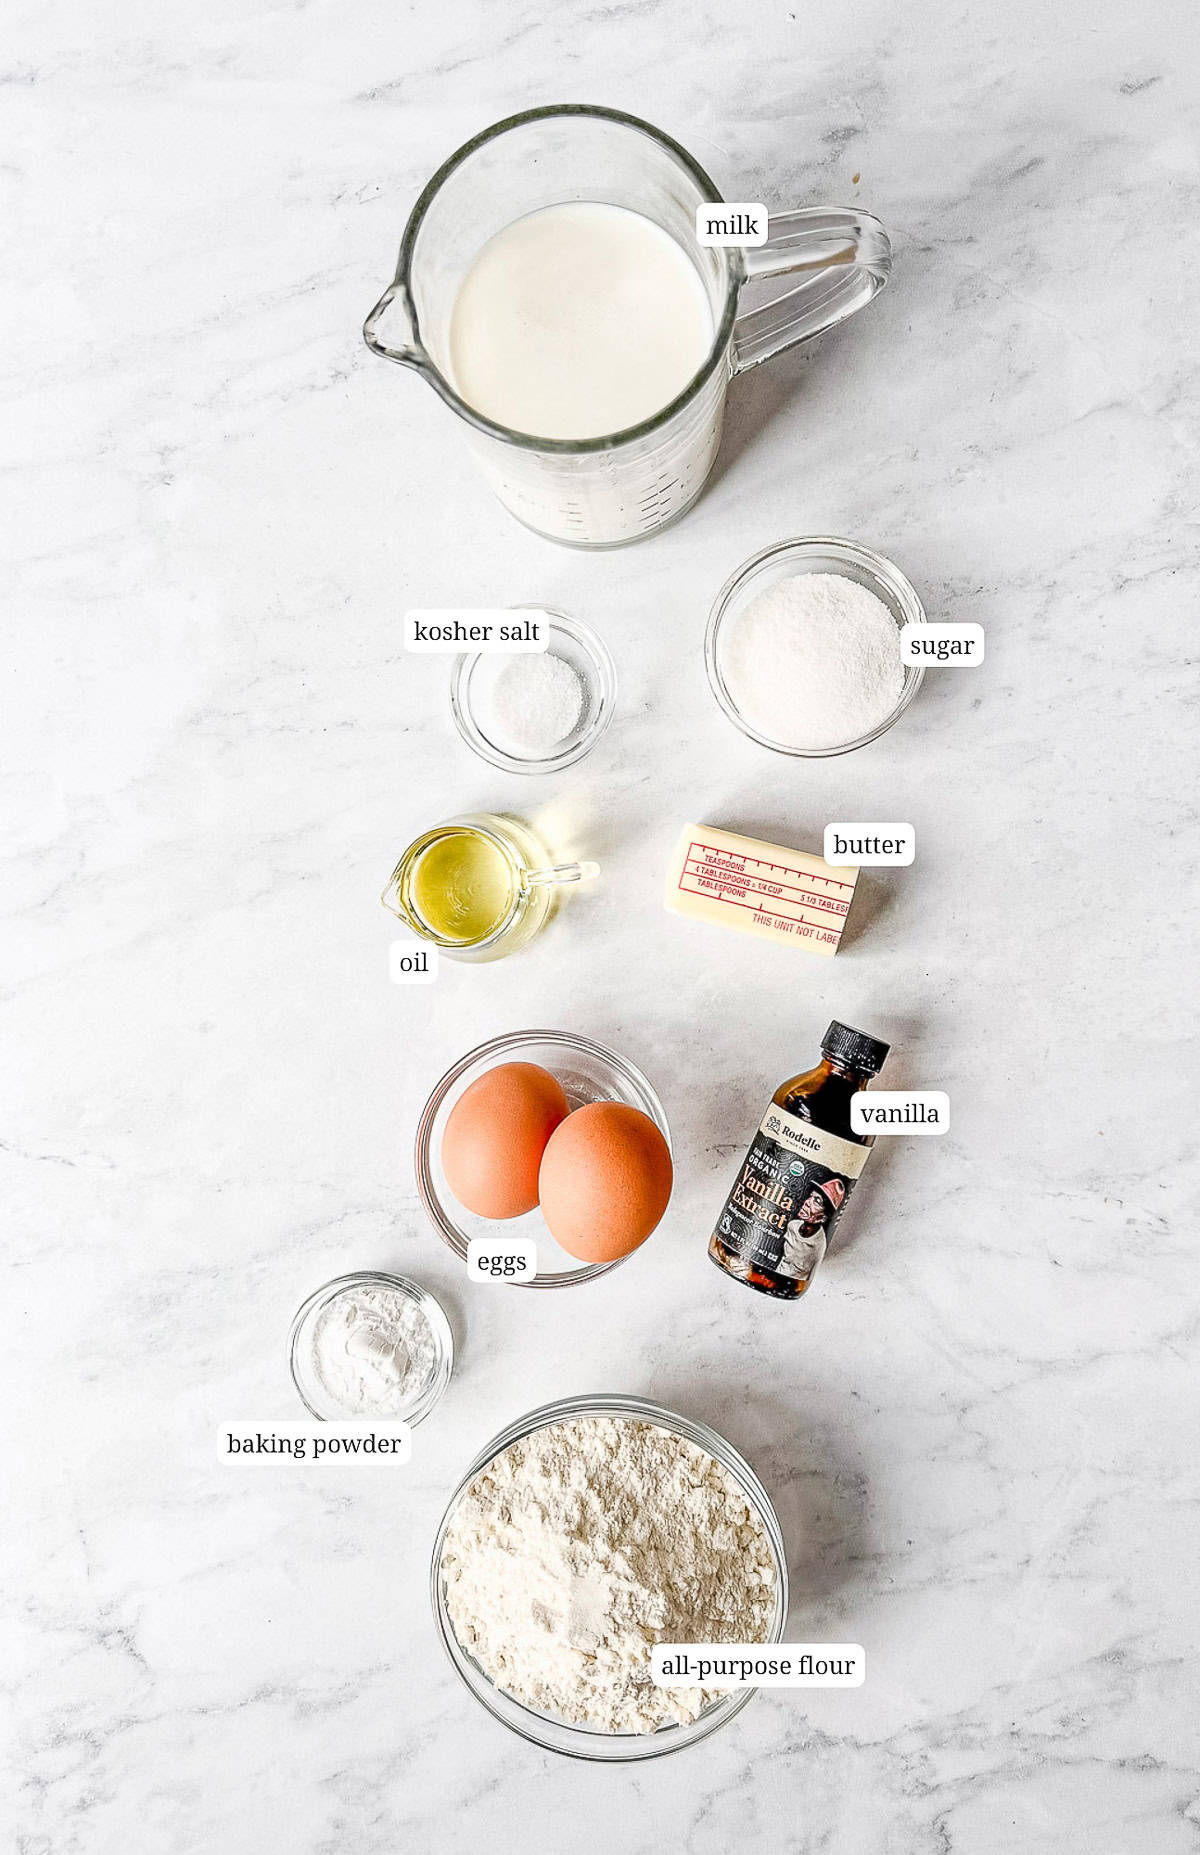
- All-purpose flour, baking powder, and salt - These are the base ingredients you need to make good waffles. If you have leftover self-rising flour from making my two ingredient biscuits, my easy bagels, or my English muffins, use that here and skip the baking powder and salt.
- Milk - Whatever milk tickles your fancy. I like whole fat dairy milk, but maybe you like coconut milk. Maybe you like almond milk or oat milk. Let your milk flag fly.
- Eggs - You need 2 large eggs to make these waffles. If you are living in the part of our timeline where eggs are both super expensive and hard to find, you can use an egg substitute for these waffles. Go take a look at my egg substitute for pancakes post and apply it here. If replacing both of the eggs, add another half teaspoon of baking powder to the dry ingredients to ensure good fluff.
- Sugar - Some people leave out the sugar, creating a more savory waffle, and I'm not mad about it. But I like a little sweetness to my pancakes and waffles. I'm a sweet girl 😀 You can substitute the sugar with brown sugar or use a natural sugar like maple syrup or even a mashed banana.
- Fat - My Dad would never think to leave out the butter from his waffles, and he is my waffle inspiration, but I usually like to substitute half of the butter for a neutral vegetable oil. This way I get the flavor of butter and the extra crispiness from the oil. Of course you can substitute any plant-based butter that you like.
See recipe card below for a full list of ingredients and measurements.
Variations
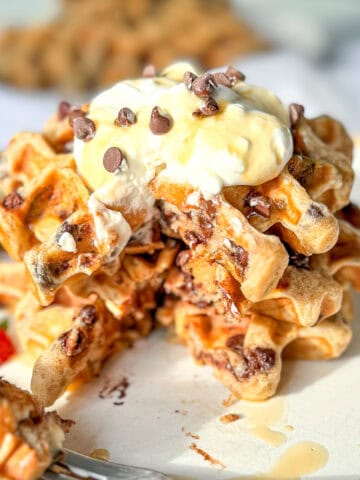
Y'all, waffles are a blank canvas for anything you want to put in them or on them. Here are a few of my favorite plays on a waffle:
- Salty and sweet - My Bacon and Cheddar Waffles are the ultimate combo of salty and sweet and savory. Every bite is exciting!
- Tangy and creamy - I adore the sweet and zippy combo of my Lemon Ricotta Waffles. I rub lemon zest into the sugar, to replace some of of the milk with creamy ricotta cheese, and I like to add a little swirl of blueberry jam into the batter before I scoop it. Delicious!
- Over the top - Topping a crispy waffle with caramelized bananas foster sauce is a bold move, but I'm that girl. Rum optional 😉
- Yeast - You should really try my super crispy yeast waffles. Also made with milk, and with only 5 minutes hands-on time the night before and again in the morning, it's a real keeper!
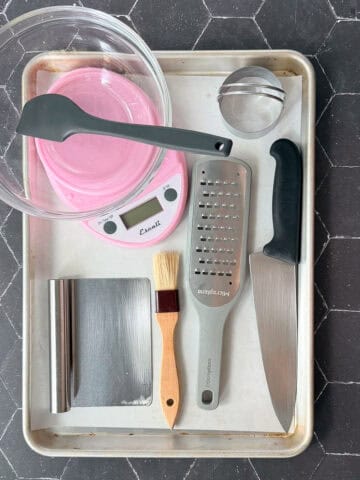
Equipment
When I bought my very first grown-up waffle iron I went with an inexpensive belgian waffle maker that I found for $9 at Kmart. It did a great job of making waffles for my family for years. It's such a great value that they still make and sell the same one to this day.
However, when I became a big deal professional waffle-lady I splurged on a smaller version of the one Ina Garten uses: a Cuisinart waffle maker. It has a drip catcher for when I'm too enthusiastic with the batter portions, and it makes two deep pocketed Belgian style waffles that help my waffles come out incredibly crispy every time! Use the best waffle maker that you can afford. It's the waffle batter that counts! Let's make some!
Quick Recipe Video
Step-by-Step Instructions
Like I said this waffle recipe is so easy a child could make it. A trustworthy child of course. A child you would trust with a whisk and small appliances. You know your kid.
- Start by melting your butter, either on the stove or in the microwave. Add oil to the melted butter to cool it down to room temperature. Set aside

Step 1: Mix your all-purpose flour, sugar, baking powder, and kosher salt in a large bowl.

Step 2: Whisk together your milk of choice, eggs, and vanilla if you want to use it.

Step 3: Pour the wet ingredients into the ingredients and start mixing.
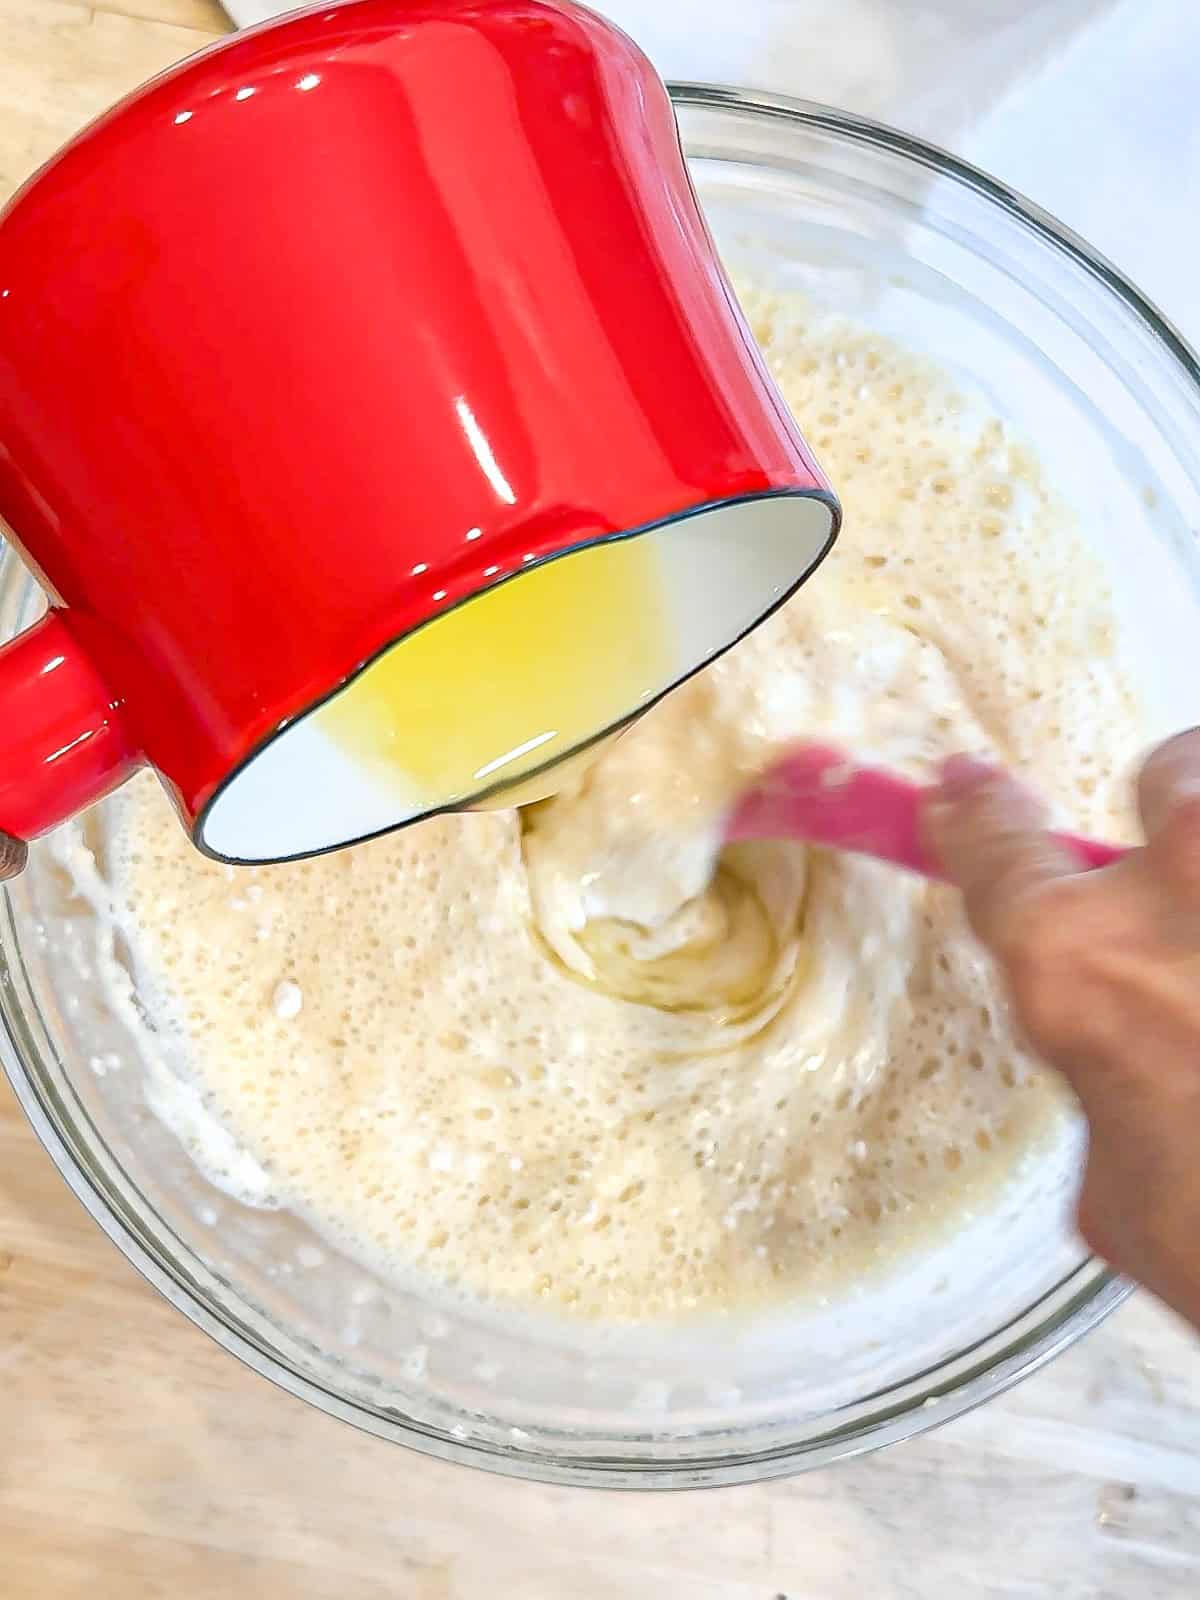
Step 4: While mixing, drizzle in the melted butter and oil, continuing to stir until the last of the dry ingredients just disappear. Let your batter rest for 15 minutes while you preheat your waffle maker.
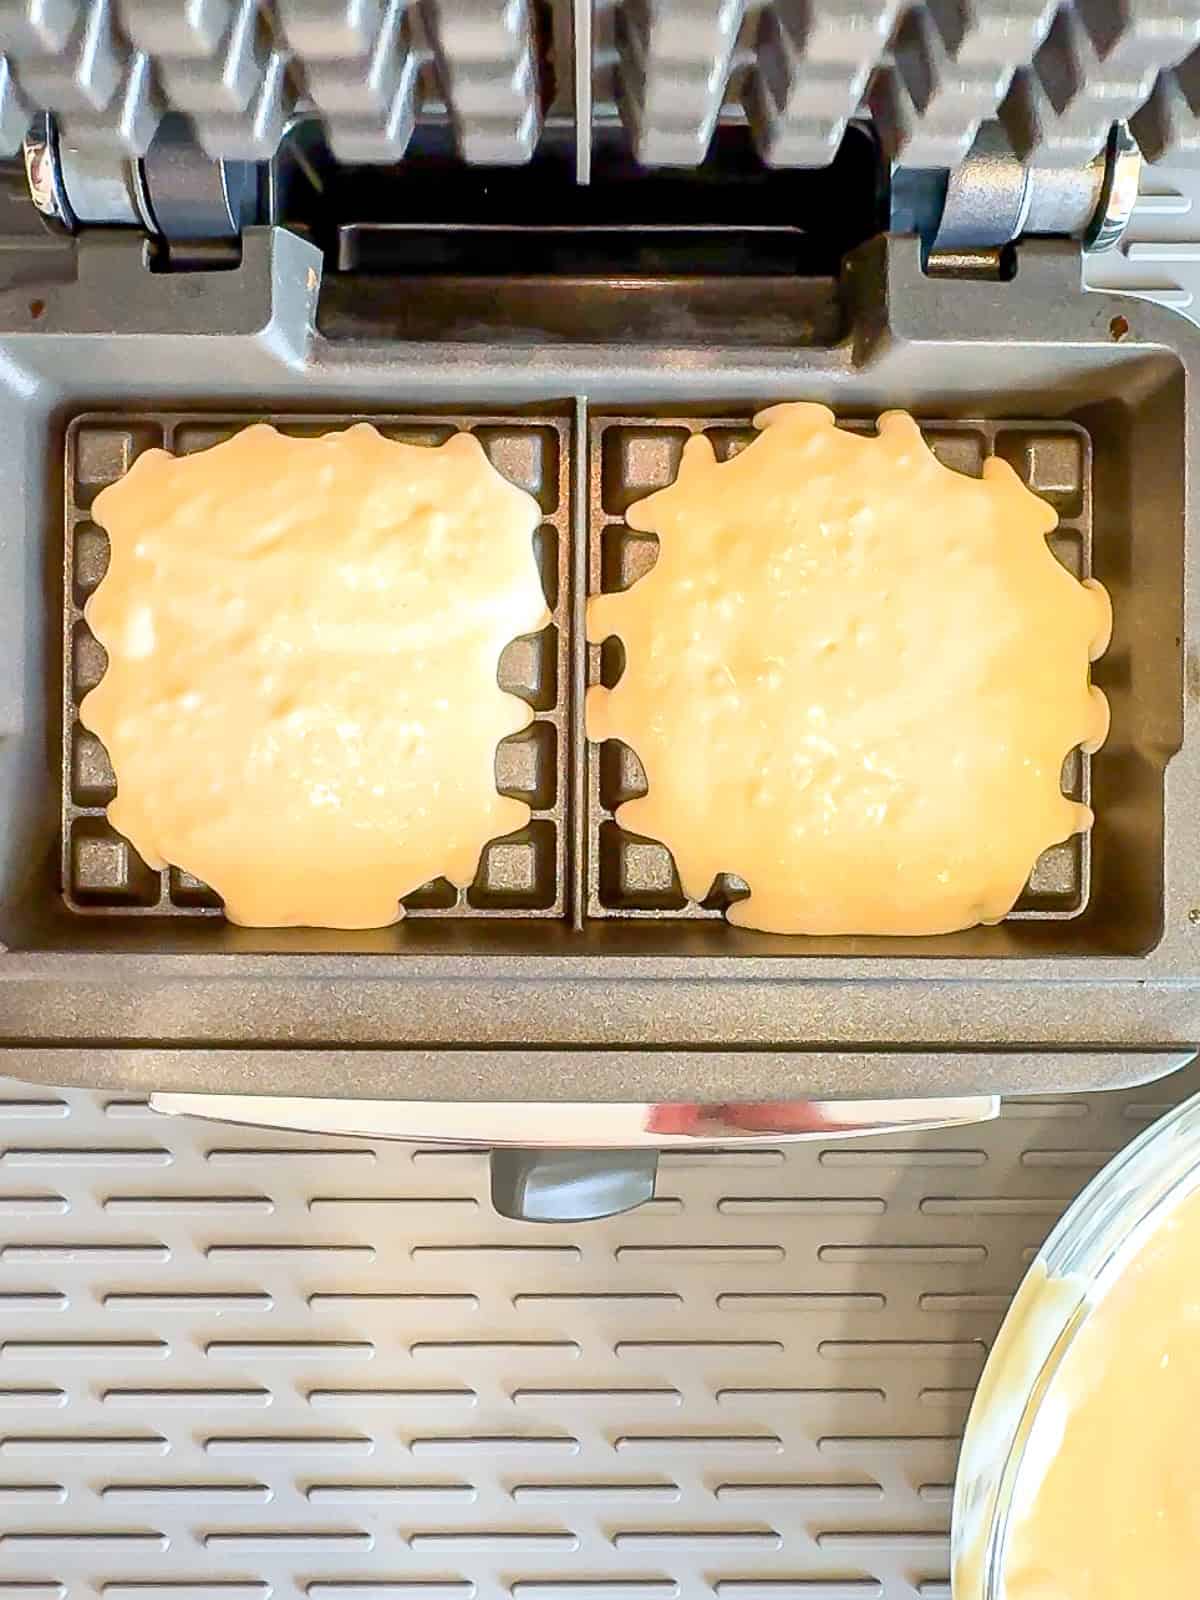
Step 5: Scoop about ½ cup, or your waffle iron manufacturer's suggested amount, into each well.
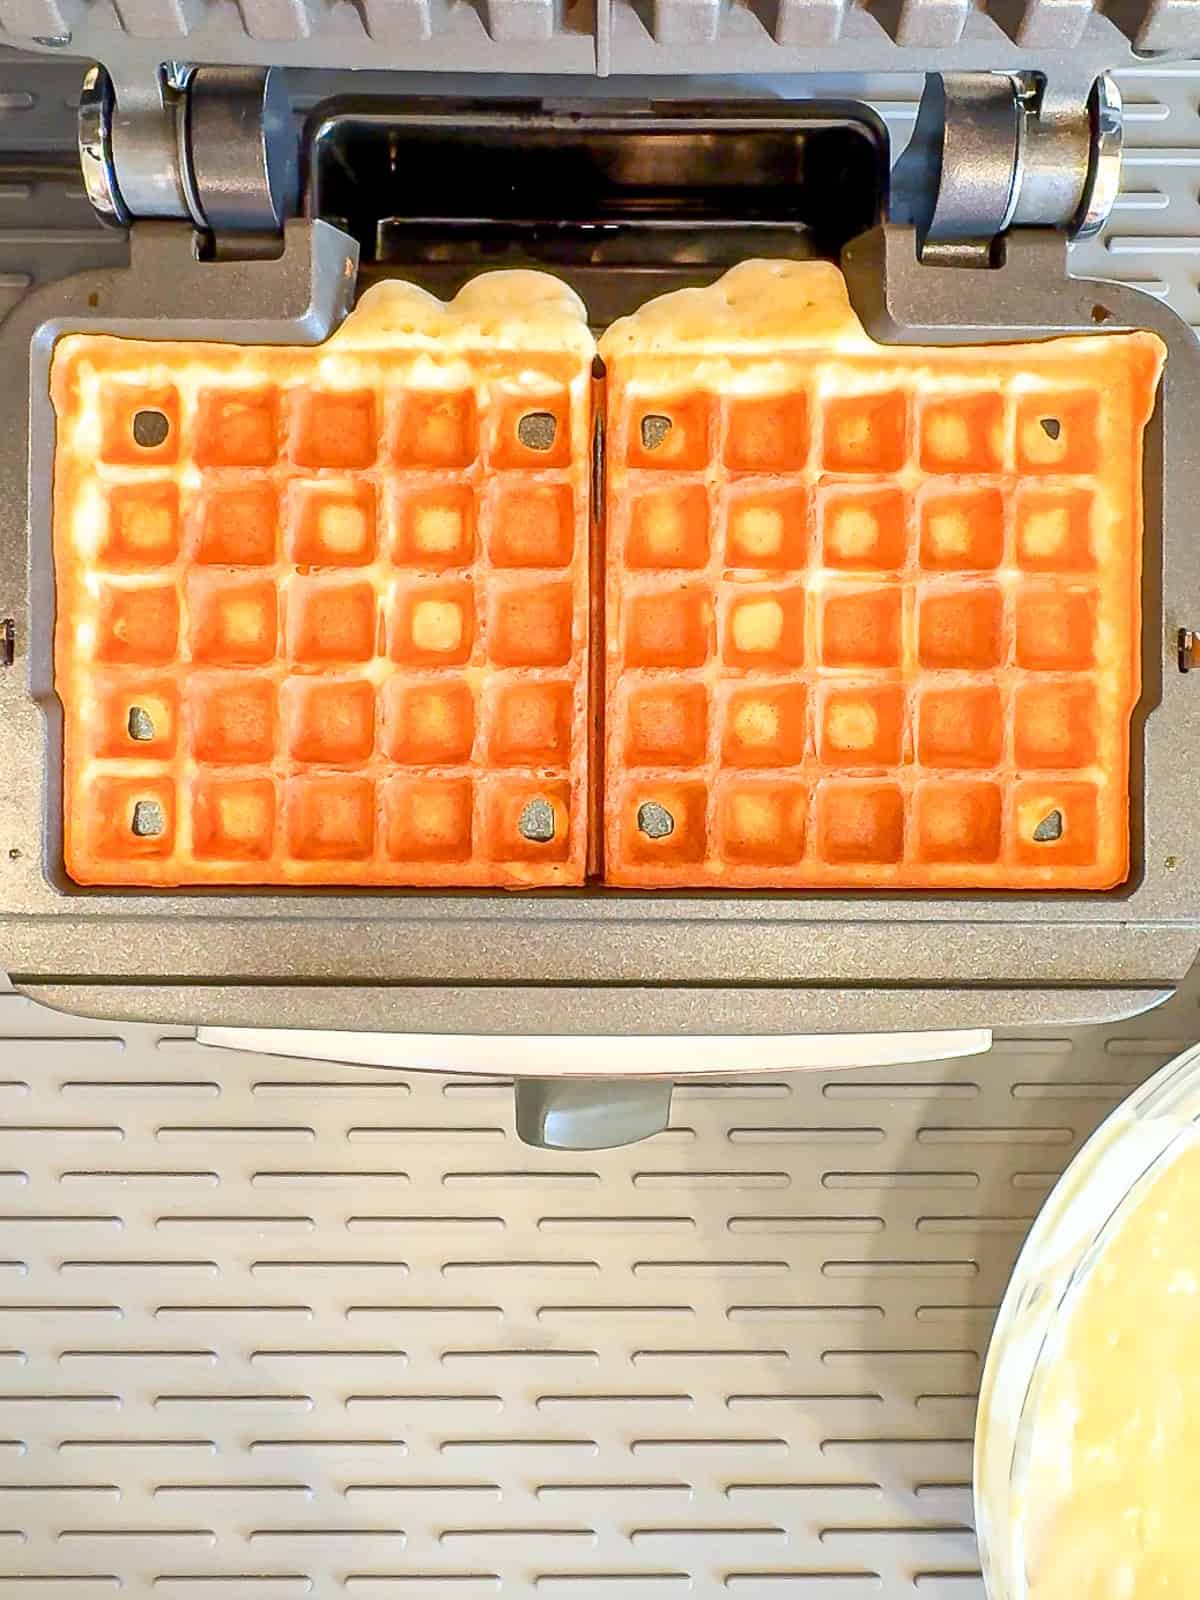
Step 6: Cook until you achieve your desired level of golden brown deliciousness.

Place finished waffles on a wire rack set over a baking sheet in a 200°F oven. This will allow access exterior moisture to evaporate leaving behind a beautifully crispy exterior.
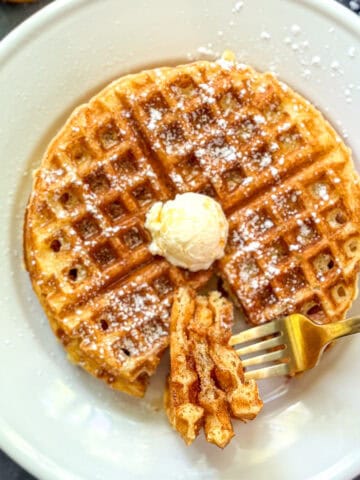
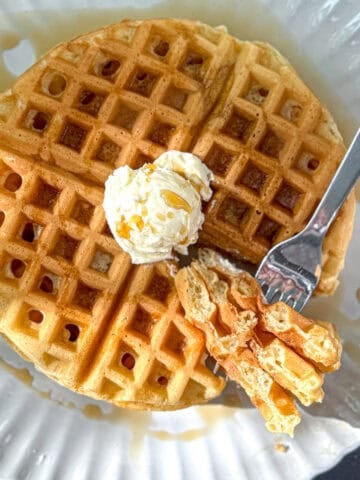
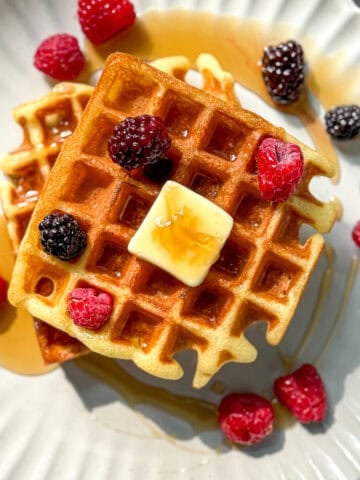
Serve: I like to serve mine with fresh berries, butter and syrup, and a dish of sweetened yogurt for dipping. Use your favorite waffle toppings.
Expert tips
- Use Enough Fat for Crispiness - We add butter and oil to our waffles for flavor and texture. Butter gives great flavor, while oil ensures crispiness-using both gives the best of both worlds.
- Don't overmix the batter - Stir just until the ingredients are combined-lumps are fine! Overmixing develops gluten, leading to tough waffles.
- Let the Batter Rest - Resting the batter for 15 to 30 minutes allows the flour to hydrate and the gluten to relax, resulting in a fluffier and softer interior.
- Keep waffles warm & crispy - Place finished waffles on a wire rack in a 200°F oven instead of stacking them. This prevents sogginess. If you place them directly on a plate the steam will make them soft.
Recipe FAQs
Let waffles cool completely and then transfer to a zip top bag and store in the refrigerator for up to three days. You could also freeze them in a single layer before transferring to a freezer bag to keep them in the freezer for up to a month.
You can use a toaster or a 350°F oven for 5-10 minutes, but my favorite method is just to place your waffle back into your waffle maker for 2 to 3 minutes.
My old waffle maker stopped lighting up a couple of years after I bought it. I knew that my waffle was finished when the steam significantly reduced or stopped coming from the iron. If you're dealing with an old machine, that's your best clue that your waffles finished. Opening it too soon can cause your waffle split in half. Look for the steam to stop.

Did you try this recipe?
Please consider leaving a comment with a ⭐️ rating below and tell me all about it! It helps me to continue to improve my content and lets others know what you think!
I appreciate it so much!
-Cynthia
📖 Recipe

Classic Homemade Waffles Recipe
Recommended Equipment
Ingredients
- ¼ cup (60 g) vegetable oil
- ¼ cup (56 g) unsalted butter melted
- 2 cups (240 g) all-purpose flour
- 3 Tbs (36 g) sugar
- 2 teaspoons baking powder
- ½ teaspoon kosher salt
- 1 ½ cups (360 g) milk
- 2 large eggs
- 1 teaspoon vanilla
Instructions
- Start by melting your butter, either on the stove or in the microwave. Add oil to the melted butter to cool it down to room temperature. Set aside
- Mix your all-purpose flour, sugar, baking powder, and kosher salt in a large bowl.
- Whisk together your milk of choice, eggs, and vanilla if you want to use it.
- Pour the wet ingredients into the ingredients and start mixing.
- While mixing, drizzle in the melted butter and oil, continuing to stir until the last of the dry ingredients just disappear. Let your batter rest for 15 minutes while you preheat your waffle maker.
- Scoop about ½ cup, or your waffle iron manufacturer's suggested amount, into each well.
- Cook until you achieve your desired level of golden brown deliciousness.
- Place finished waffles on a wire rack set over a large sheet pan in a 200°F oven. This will allow access exterior moisture to evaporate leaving behind a beautifully crispy exterior.
- I like to serve mine with fresh fruit, butter and syrup, and a dish of sweetened yogurt for dipping. I'm crazy like that.
Save This Recipe! 💌
Video
Notes
Let waffles cool completely and then transfer to a zip top bag and store in the refrigerator for up to three days. You could also freeze them in a single layer before transferring to a bag and throwing in the refrigerator for up to a month. Reheating
Reheat in a toaster or a 350°F oven for 5–10 minutes, but my favorite method is just to place your waffle back into your waffle maker for 2 to 3 minutes.
I make these waffles at least once a week. On constant rotation because they're that good!