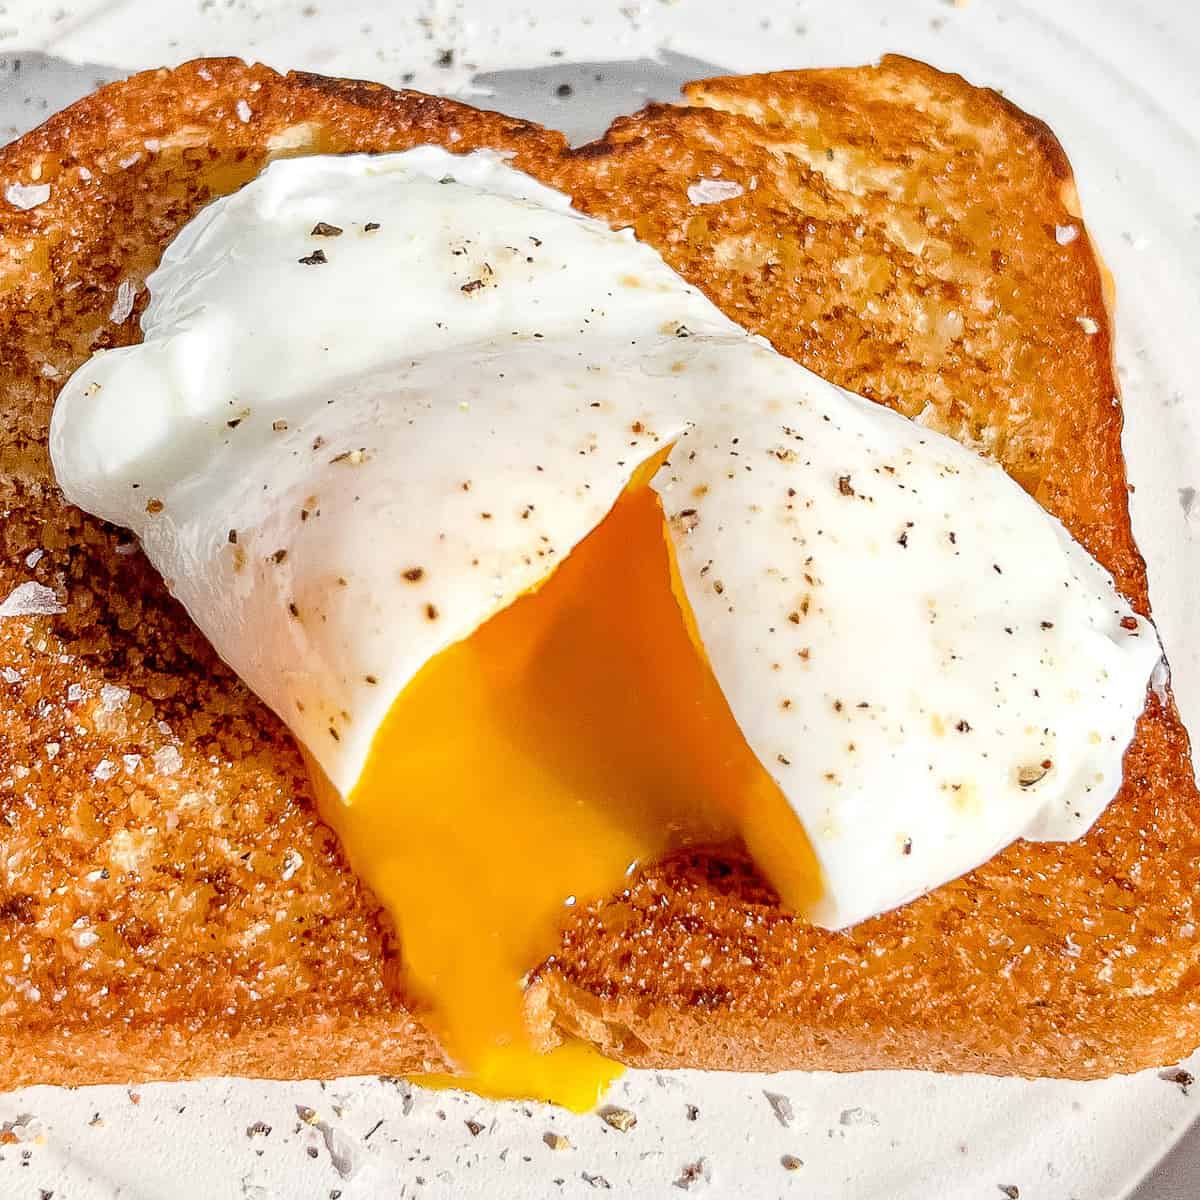
Learn how to make Foolproof Poached Eggs - without boiling water! Perfectly runny yolks nestled in a soft white exterior with no hassle and no egg anxiety!
Save This Recipe! 💌
Poached eggs are the perfect addition to any breakfast or brunch, but making them can be a terrifying concept for most home cooks. We've all seen enough food competition shows where the chef goes through a dozen eggs, just trying to get a perfect poached egg for my Eggs Benedict.
I've already mastered the art of the Fluffy Scrambled Egg. Next on my list: Poached Eggs. I found the mechanics of making poached eggs to be too fussy, too prone to mistakes, and just plain terrifying to me. Not any more. This recipe will lead you to perfect poached eggs - every time! No boiling water, no whisking a whirlpool, and no egg anxiety!
Jump to:
Ingredients
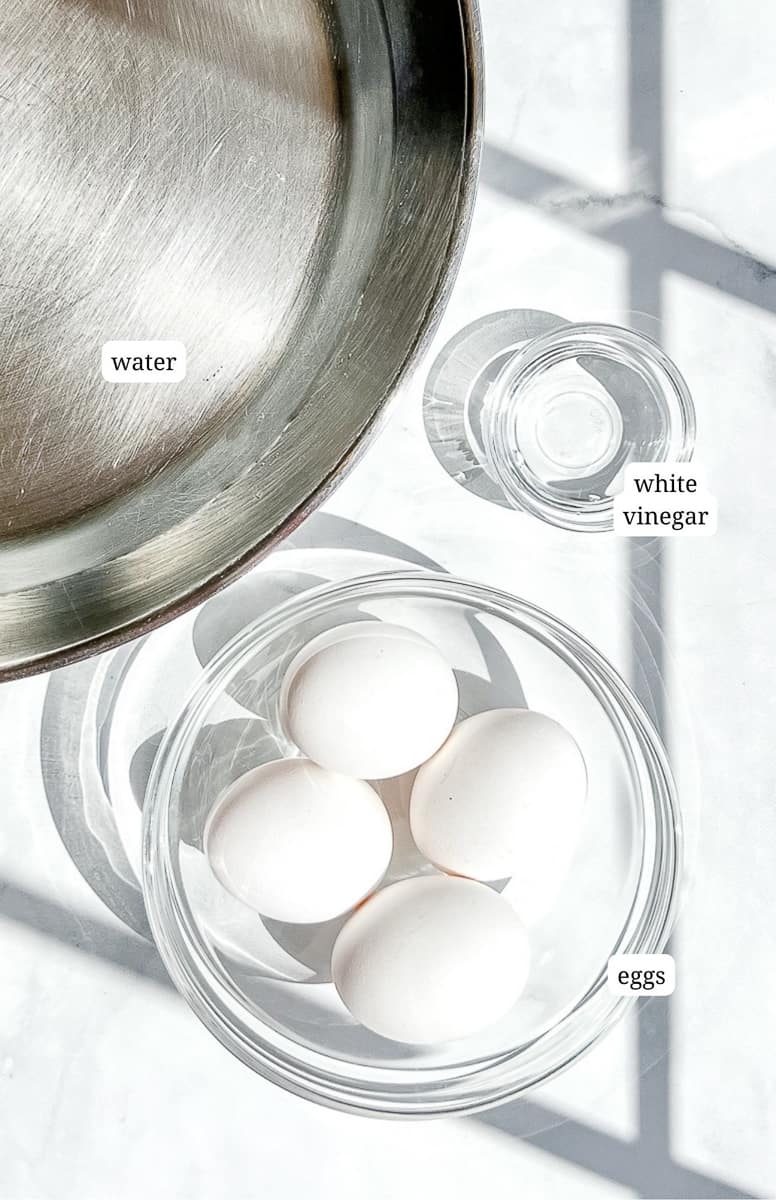
The ingredients just don't get easier than this. Water, eggs, and a little bit of white vinegar. That's it!
Substitutions
Some people can't stand the smell or taste of vinegar. If you are one of those people, you can replace the vinegar with an equal amount of lemon juice. Your egg won't taste like lemon juice, but most importantly, your kitchen won't smell like vinegar.
This recipe is written and timed using standard large eggs. If you use small or medium eggs, they could be ready as soon as 2 minutes 30 seconds. Extra large eggs may take 30 seconds to a full minute more than the recipe states. Set your timer accordingly. See Expert Tips below for more info.
Instructions
Straining the egg with a fine mesh strainer removes the watery portion of the whites that turn into wispy whites in the hot water. Adding vinegar helps to lasso in the rest of the whites, resulting in a perfect poached egg shape.
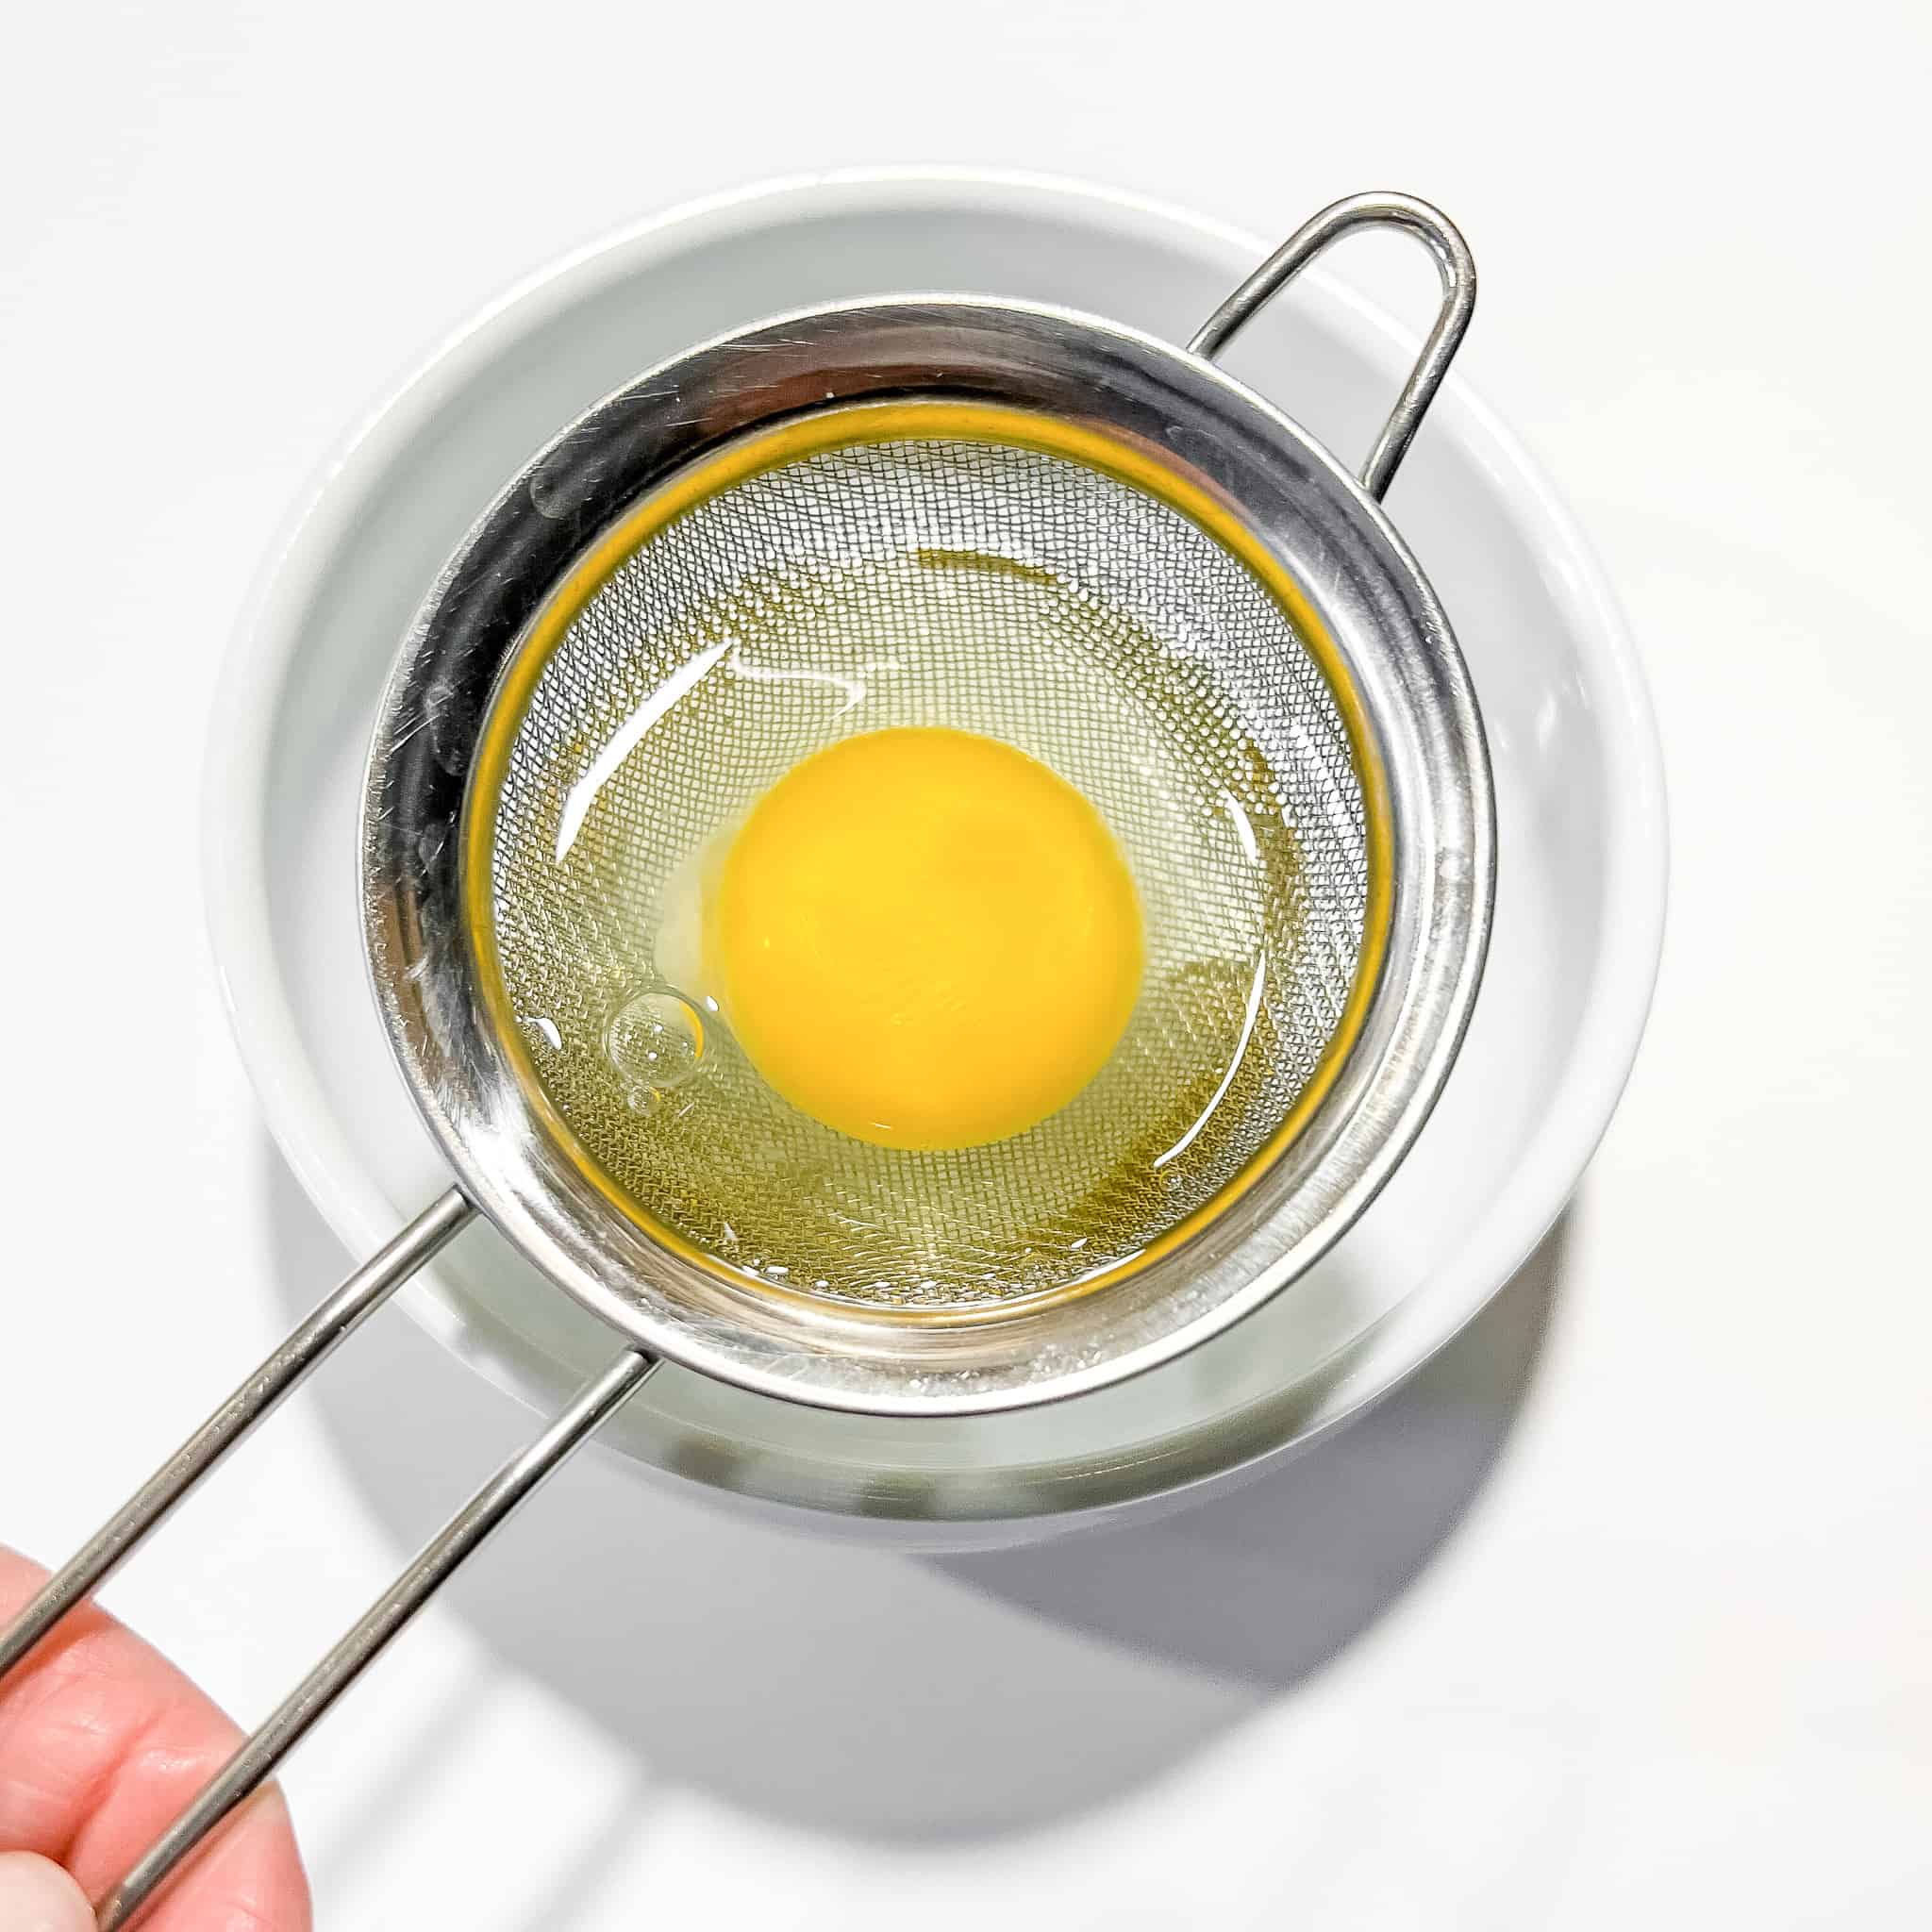
1. Crack an egg into a fine mesh strainer to remove the more watery portion of the whites. Transfer egg to a small bowl.
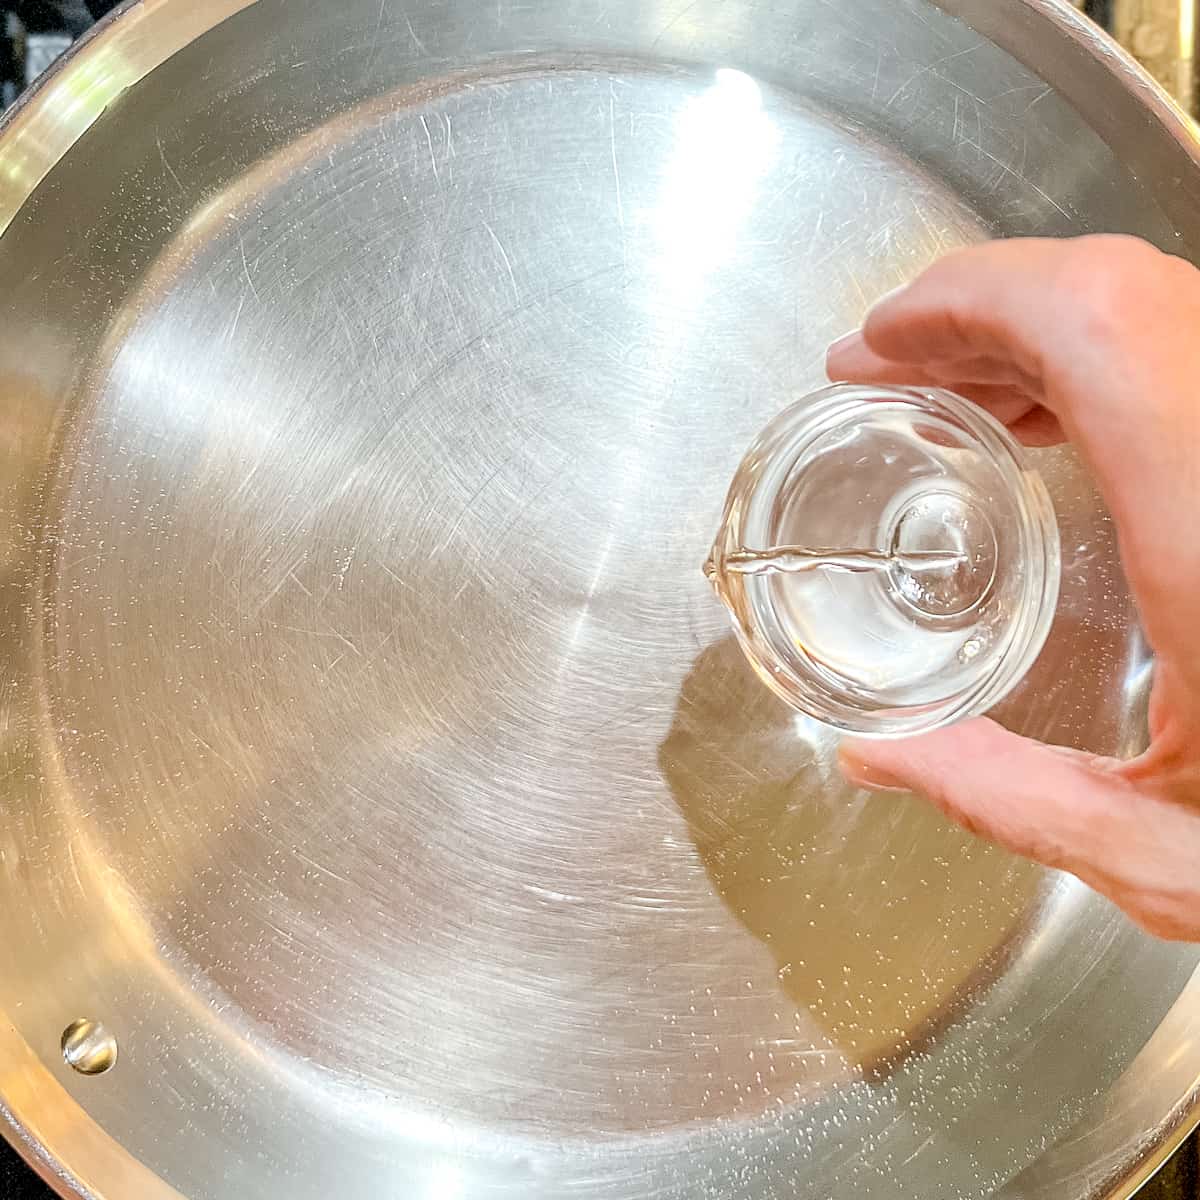
2. Add 1 tablespoon of vinegar to a pan that has been filled with at least 3 inches of water over high heat.
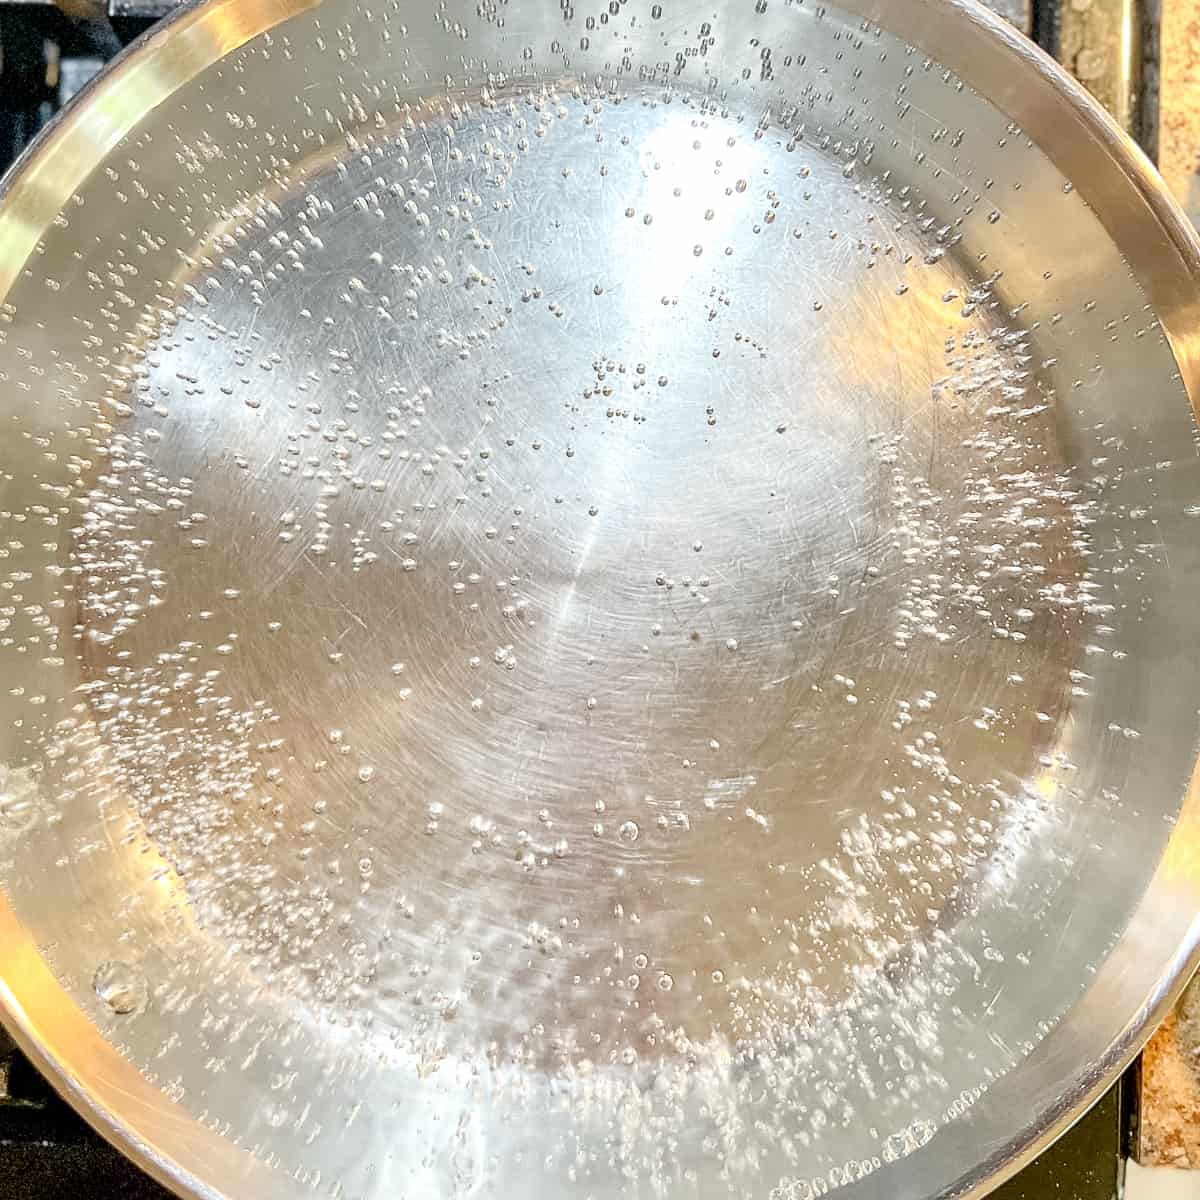
3. Bring the water almost to a boil, where small bubbles have formed and are rising to the surface and popping (about 200°F, if you really want to measure). Remove pan from the heat.
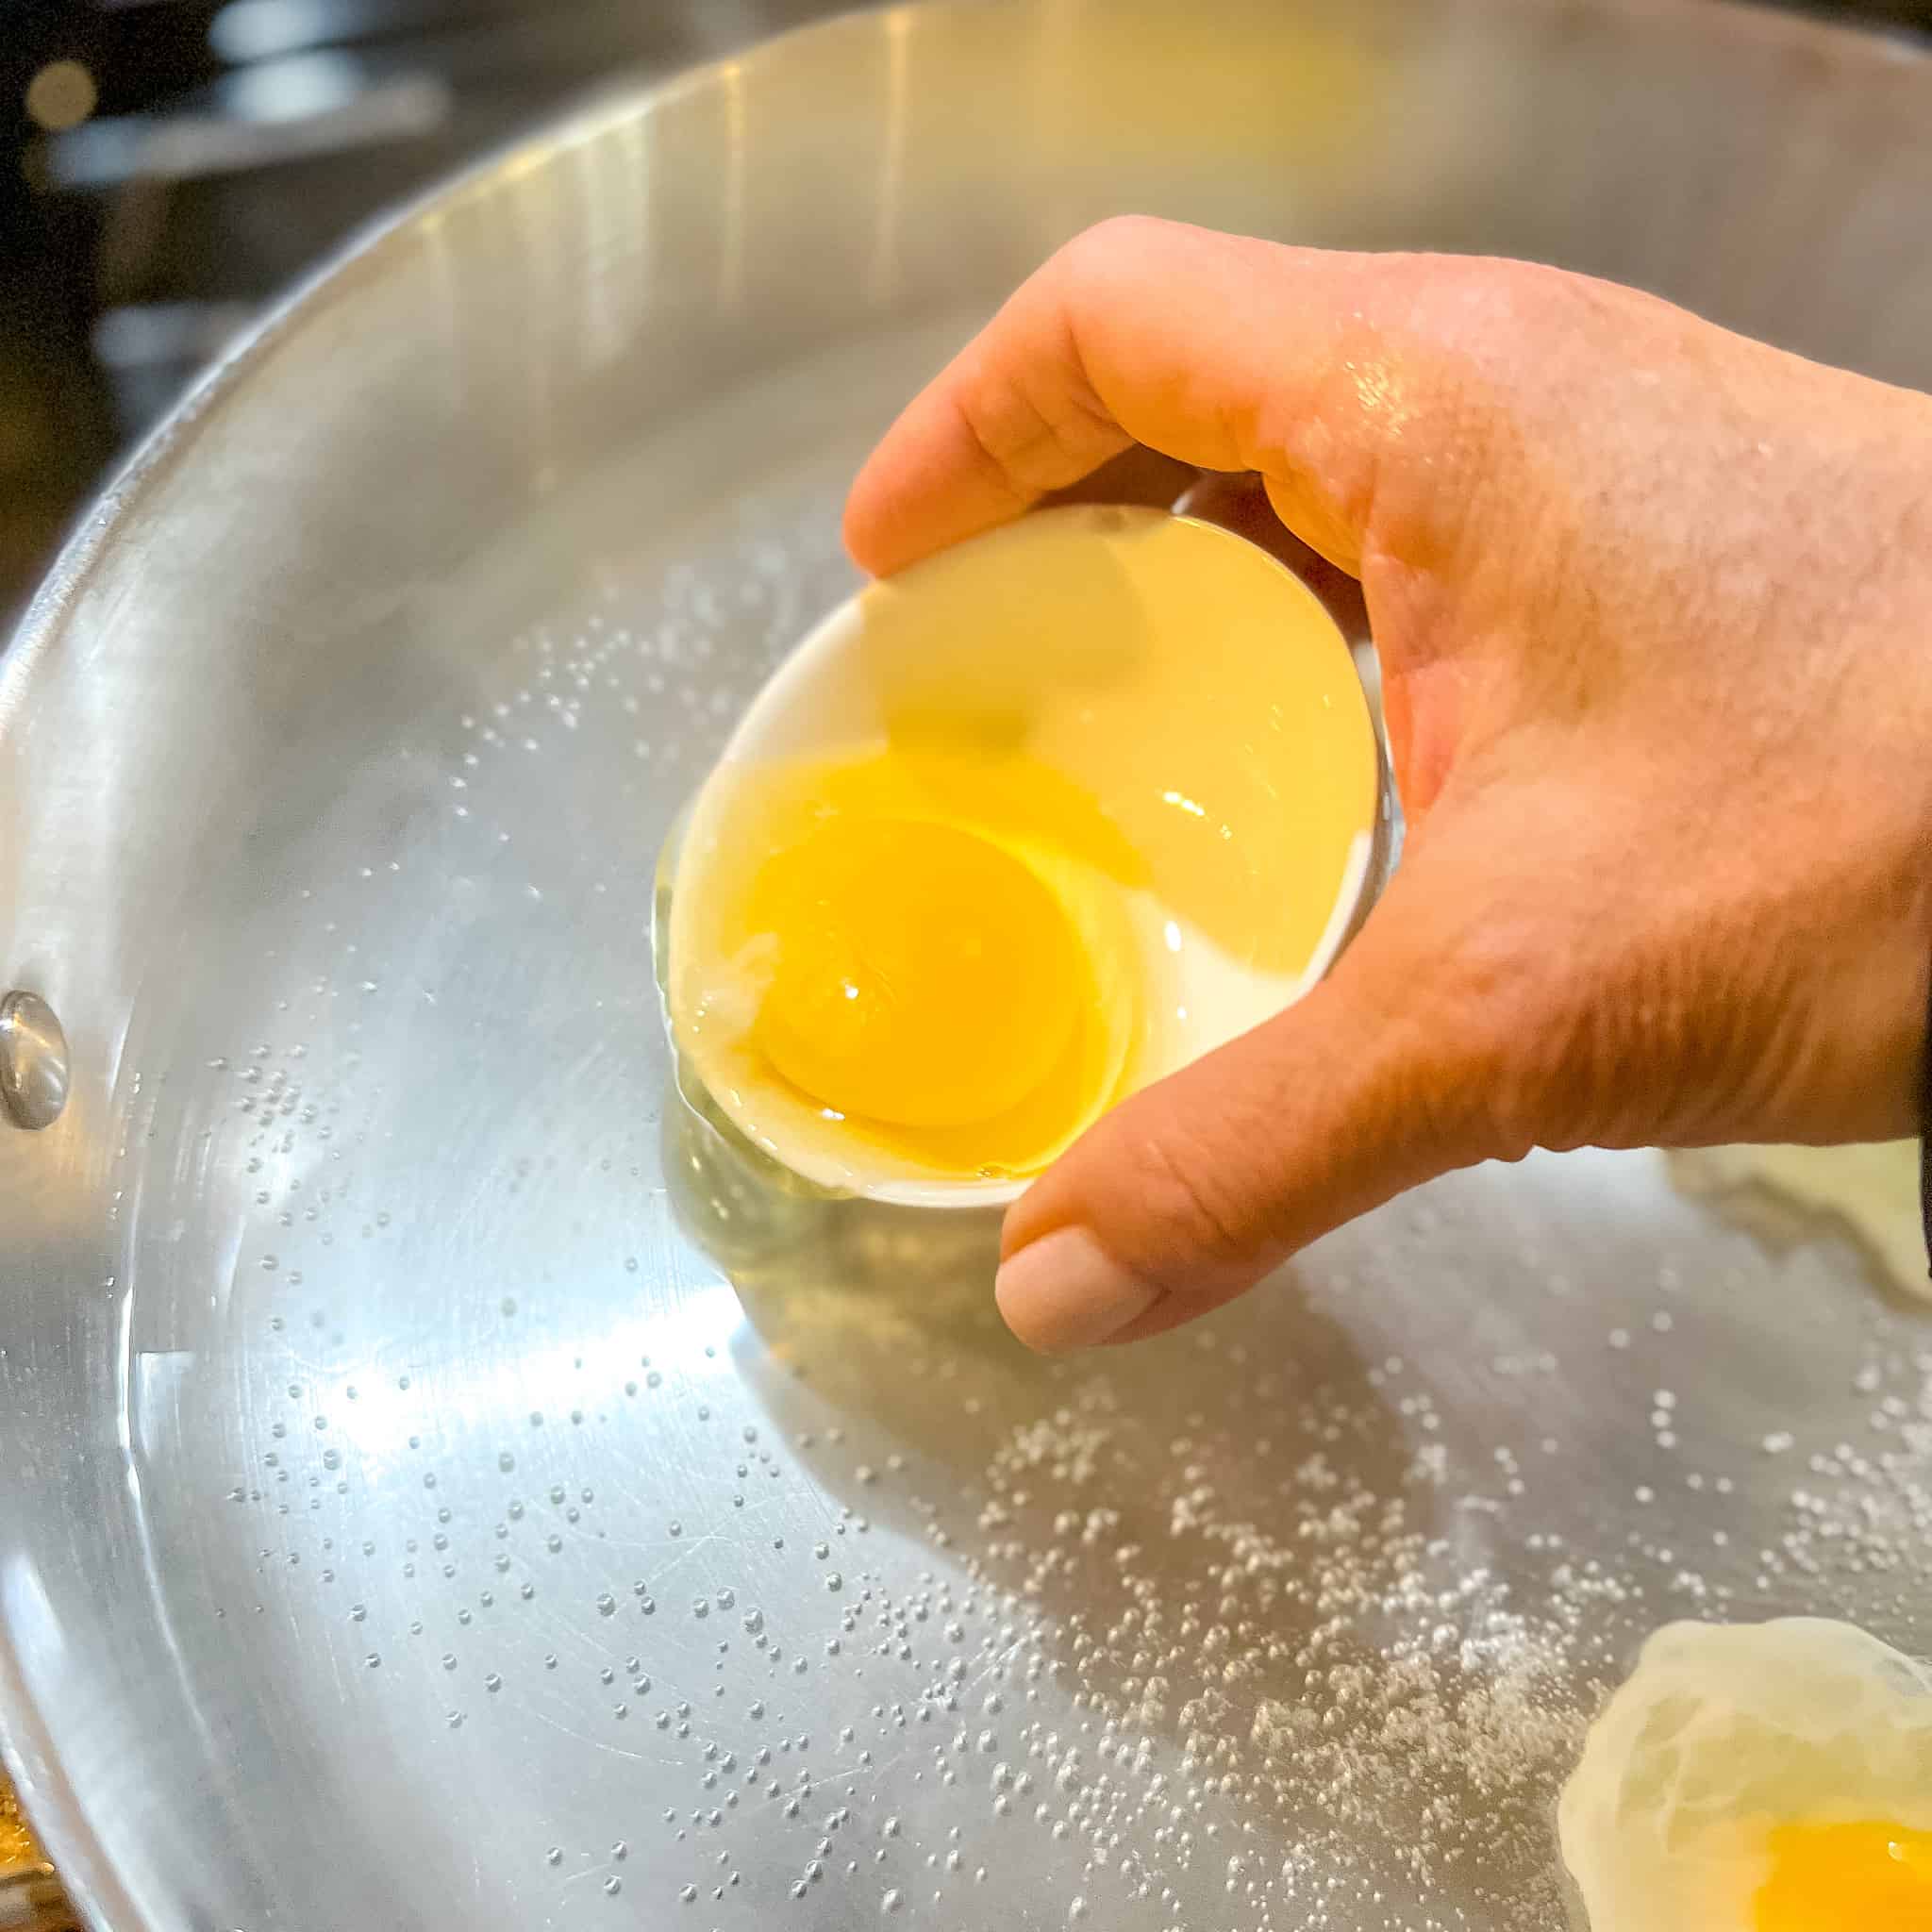
4. Gently tip the eggs into the hot water, one at a time, leaving enough room between the eggs that the whites don't touch.
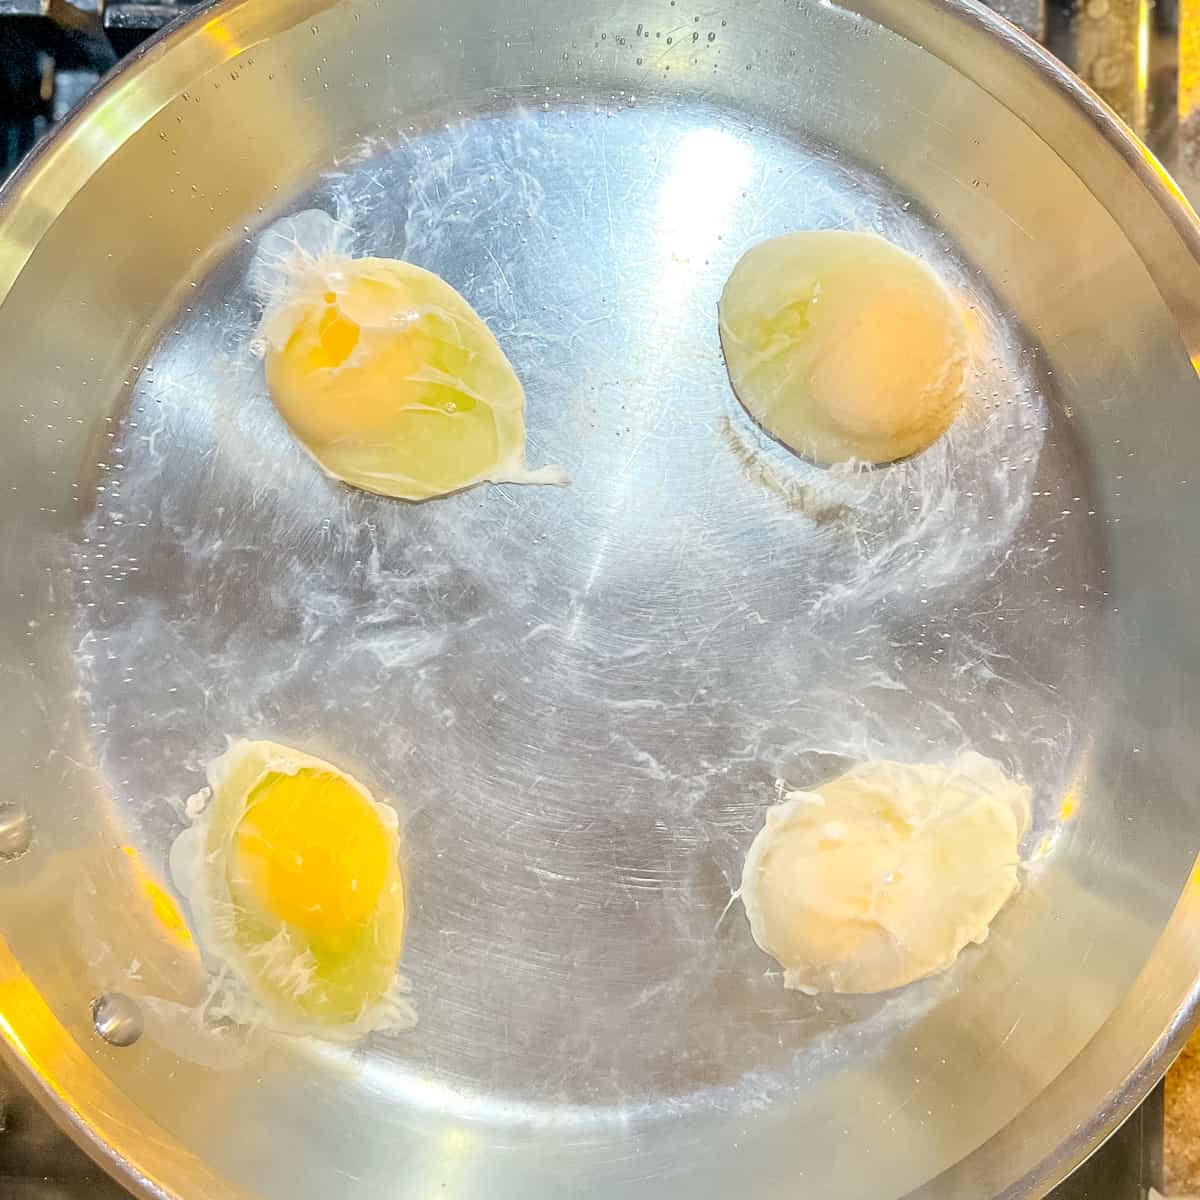
5. You can add 4 to 6 eggs, depending on the size of your pan, making sure to leave room between eggs.
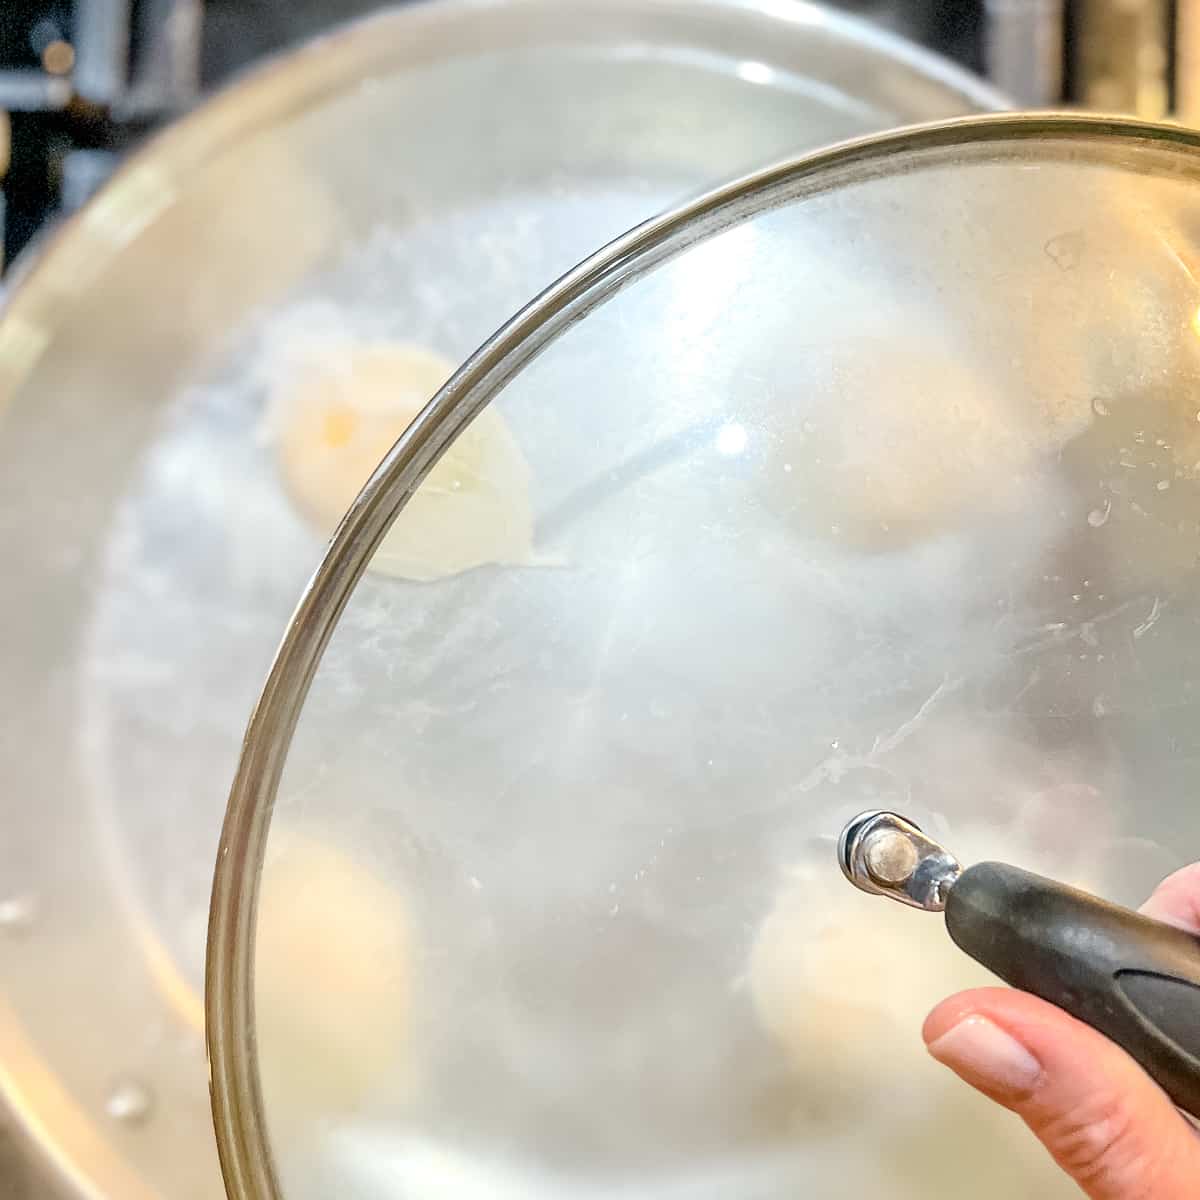
6. Place lid on the pan and set the timer for 3 minutes and 30 seconds for large eggs.
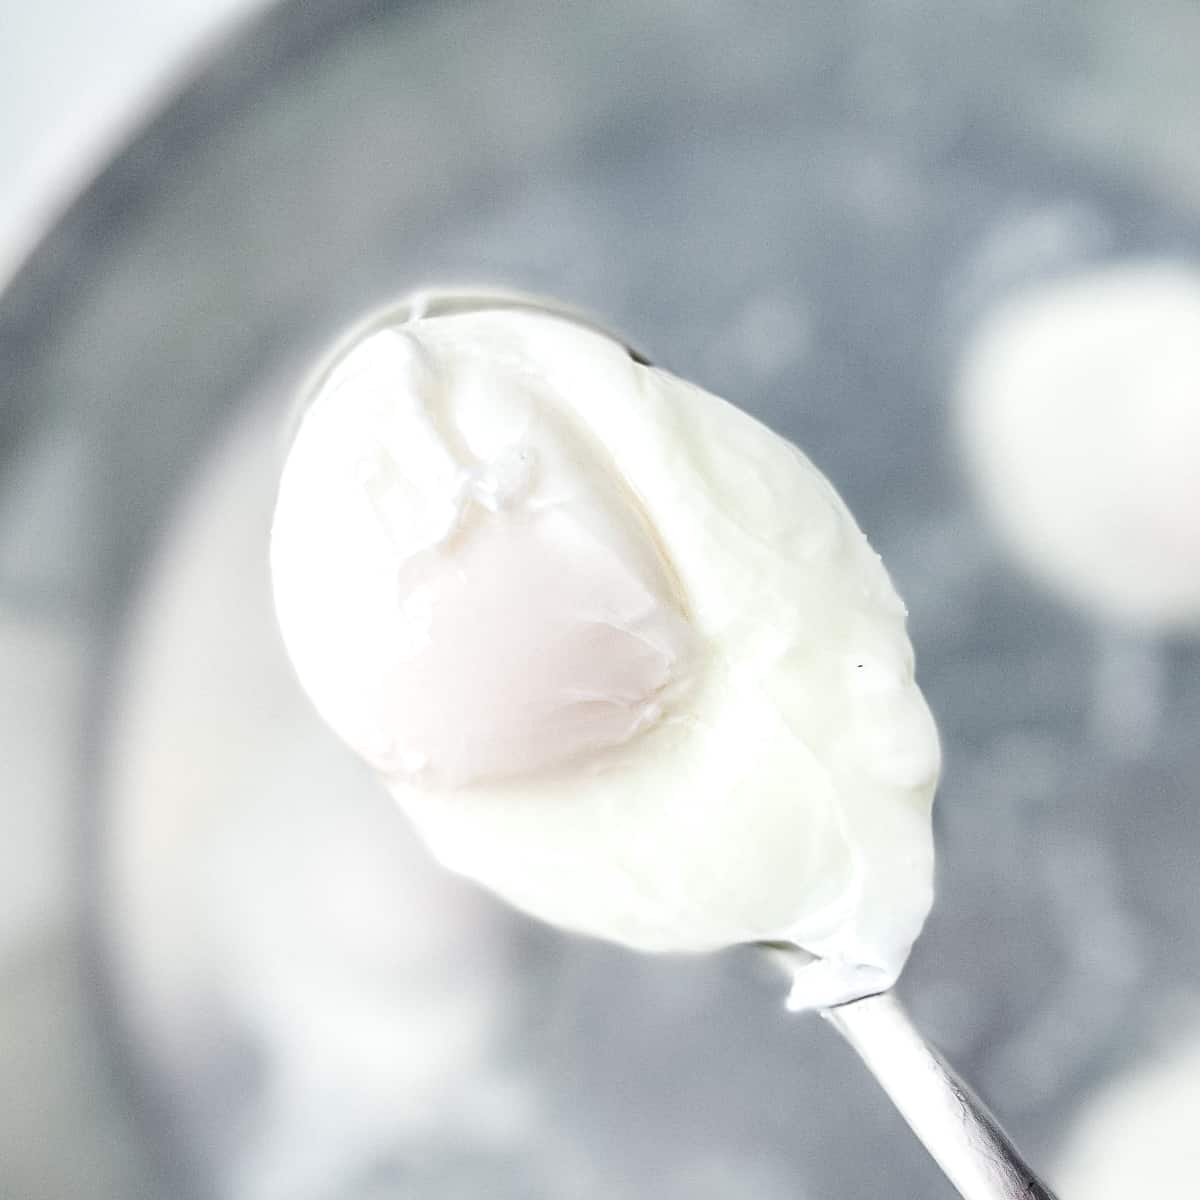
7. Using a slotted spoon, remove eggs from the water in the order that you added them to the water. Test for doneness by gently poking the white. If you want them more cooked, dip them back in for 30 seconds. Any more than that and your yolk will be overdone.
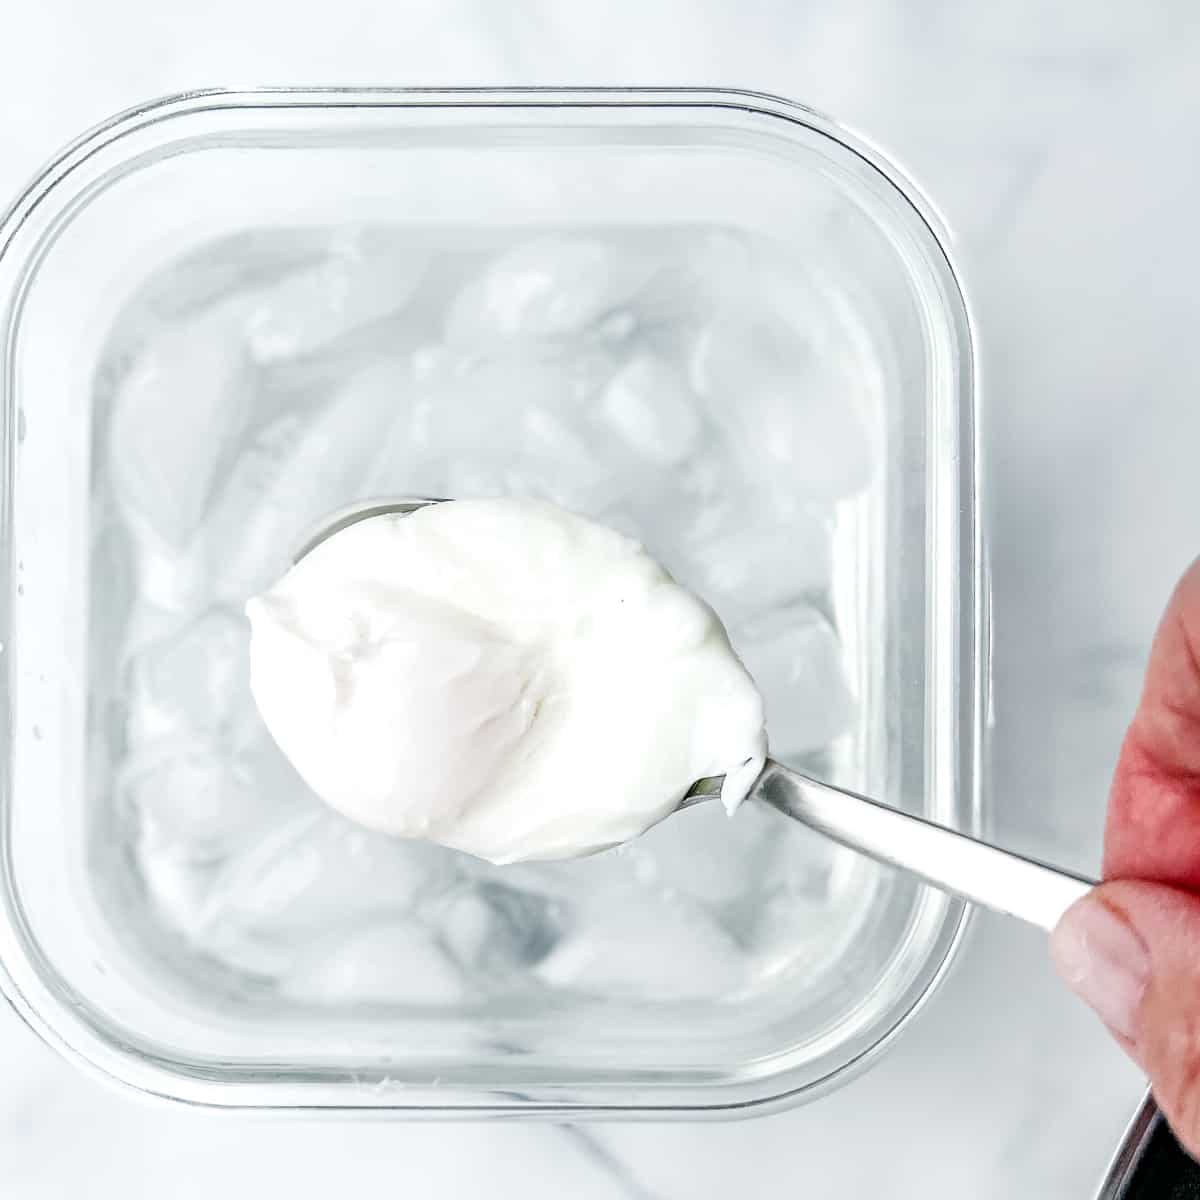
8. If making poached eggs ahead, or for a crowd, place finished eggs in a bowl of ice water. You can reheat them individually when ready to serve. (See storage and reheating instructions, below)
Expert tips
- Fresh eggs poach better than older eggs. As an egg 'ages' the whites become more watery and can be more wispy when cooked. For poaching, try to use eggs that you have purchased within the last 2 weeks, if possible.
- If you are afraid of burning yourself when tipping in the eggs, try placing your egg in a teacup or coffee mug with a handle, then transferring to the hot water.
- If you are using small or medium eggs, they could be done anywhere between 2 minutes 30 seconds up to 3 minutes. Extra large eggs may need 30 seconds to 1 minute more. Set your timer accordingly and check for doneness by removing an egg with a slotted spoon and giving the white a gently poke.
- After removing eggs from the pan, place your egg on a towel for a couple of seconds, to remove excess water, then transfer to your plate.
Storage
Storage: After the eggs are cooked, place in a container of ice water and store for up to 2 days in the refrigerator.
Reheating: To reheat, heat a small pan of water to almost boiling and turn off the heat. Add the poached egg to the water for 20-30 seconds. Remove with a slotted spoon and serve. Repeat with additional eggs, as desired. If you are reheating a large number of eggs, you may need to reheat the water again as it cools.
Uses for poached eggs
Poached eggs can make almost any breakfast or brunch dish even better, but you aren't limited to just the morning! Everyone puts an egg on a Classic Eggs Benedict, but here are other things you can make better by putting an egg on it!
- Potato Hash
- Grain bowls
- Savory oats
- Breakfast tostada
- Sheet Pan Potatoes
- Avocado toast
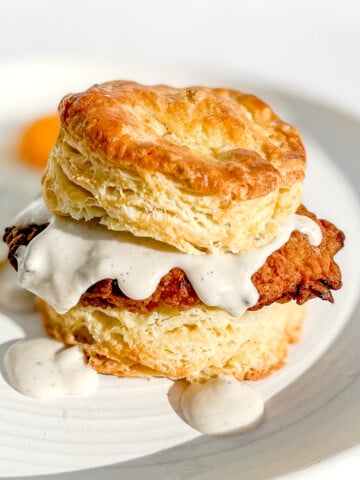
And finally, try adding your poached eggs to my Chicken Fried Steak Biscuits with Country Gravy for a Cowboy twist on your Eggs Benny!
Recipe FAQs
An older egg will either float or stand on its end when placed in a cup of water. A fresh egg will sink to the bottom. This is because, as an egg ages and the whites break down a bit, the air pocket in the egg gets bigger, and it floats!
No. Creating a vortex in the water is a popular way of poaching eggs, but I find it to be too much of a hassle. You have to get the speed of the vortex just right, not too fast, not to slow, and you can only do one egg at a time.
I am comfortable doing 4 at a time with this method, although you can do as many as 6, if your pan is big enough. Just remember to remove them from the water in the order that you added them, to keep the timing consistent.
Because water boils at a different temperature at high heat, cooking time also has to be adjusted. I would add 1 minute to my poaching time and then check for doneness. You can always return your egg to the water for another 30 seconds to a minute, if needed.
Sauce it up! Nothing goes better with poached eggs than my Easy 5 Minute Blender Hollandaise Sauce! Try it for yourself!
More Breakfast Recipes You'll Love

Did you try this recipe?
Leave a comment with a ⭐️ rating below to tell me all about it, and don't forget to tag me on Instagram!
I appreciate you!
-Cynthia
📖 Recipe
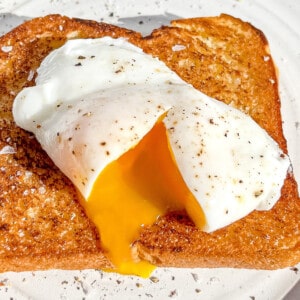
Foolproof Poached Eggs (No Boil Method)
Equipment
Ingredients
- 3 inches water
- 4 large eggs
- 1 tablespoon white vinegar
Instructions
- Add at least 3 inches of water to a large skillet over medium high heat. Bring the water close to a boil, where small bubbles have formed and are rising to the surface and popping (about 200°F, if you really want to measure). Add 1 tablespoon of vinegar to the pan and mix in.
- Crack an egg into a fine mesh strainer to remove the more watery portion of the whites. Transfer egg to a small bowl. Remove pan from the heat.
- Gently tip the eggs into the hot water, one at a time, leaving enough room between the eggs that the whites don't touch. You can add 4 to 6 eggs, depending on the size of your pan, making sure to leave room between eggs.
- Place lid on the pan and set the timer for 3 minutes and 30 seconds for large eggs.
- Using a slotted spoon, remove eggs from the water in the order that you added them to the water. Test for doneness by gently poking the white. If you want them more cooked, dip them back in for 15 to 30 seconds.
- After removing eggs from the pan, place your egg on a towel for a couple of seconds, to remove excess water, then transfer to your plate.
Save This Recipe! 💌
Notes
- Fresh eggs poach better than older eggs. As an egg 'ages' the whites become more watery and can be more wispy when cooked. For best poaching results, try to use eggs that you have purchased within the last 2 weeks, if possible.
- If you are afraid of burning yourself when tipping in the eggs, try placing your egg in a teacup or coffee mug with a handle, then transferring to the hot water.
- If you are using small or medium eggs, they will probably be done at 3 minutes, so set your timer accordingly. Extra large eggs may need 30 seconds to 1 minute more.
- If making poached eggs ahead, or for a crowd, place finished eggs in a bowl of ice water. Store for up to 2 days in the refrigerator.
- You can reheat eggs individually when ready to serve by dipping each egg in hot water for 30 to 60 seconds.




nicole says
this was SO. EASY. holy cow?? genuinely had a moment after making these of standing over my plate of perfectly poached eggs, thinking'...thats it?? it just worked?!' making poached eggs has always been such a pain in the butt, but this technique makes it so quick and effortless. even when i was rushing on one and didnt let the thin part drain off enough, it worked beautifully. the only difference was that one looked less picturesque, but it still held in one shape and cooked perfectly. im so excited to have found this recipe, i LOVE poached eggs but never want to make them, and this is going to change all that! (also go make her hollandaise, its the perfect pairing!)
the only oops i did that might actually affect them is that i misread 'take the pan off the stove' and just turned the pan off and left it, which means the bottom of the pan still had contact with the hot stove top. so nothing over cooked, but i did get the slightest sticking of one egg to the bottom of the pan as i removed it. it was the teeniest bit and i easily unstuck with some spoon jiggling, but if i had been rougher or they stuck a ton it probably would have torn the egg as it was moved, so just dont be like me! follow the instructions XD
Cynthia Christensen says
It makes me so happy when I relieve a person’s egg anxiety!
Kelsey C says
Absolutely perfect! It was so easy to make perfectly poached eggs using this method, even when I totally forgot to add the vinegar hahaha. Thank you for this recipe!
Cynthia says
I’m glad you like the recipe so much!
Sarah says
Tried this method today and was happy with the results! I've never used a pan for Poached eggs before, only ever used a pot so this was fun! Served them over English muffins with Canadian bacon and hollandaise!
Cynthia says
They’re perfect for a good eggs Bennie!!