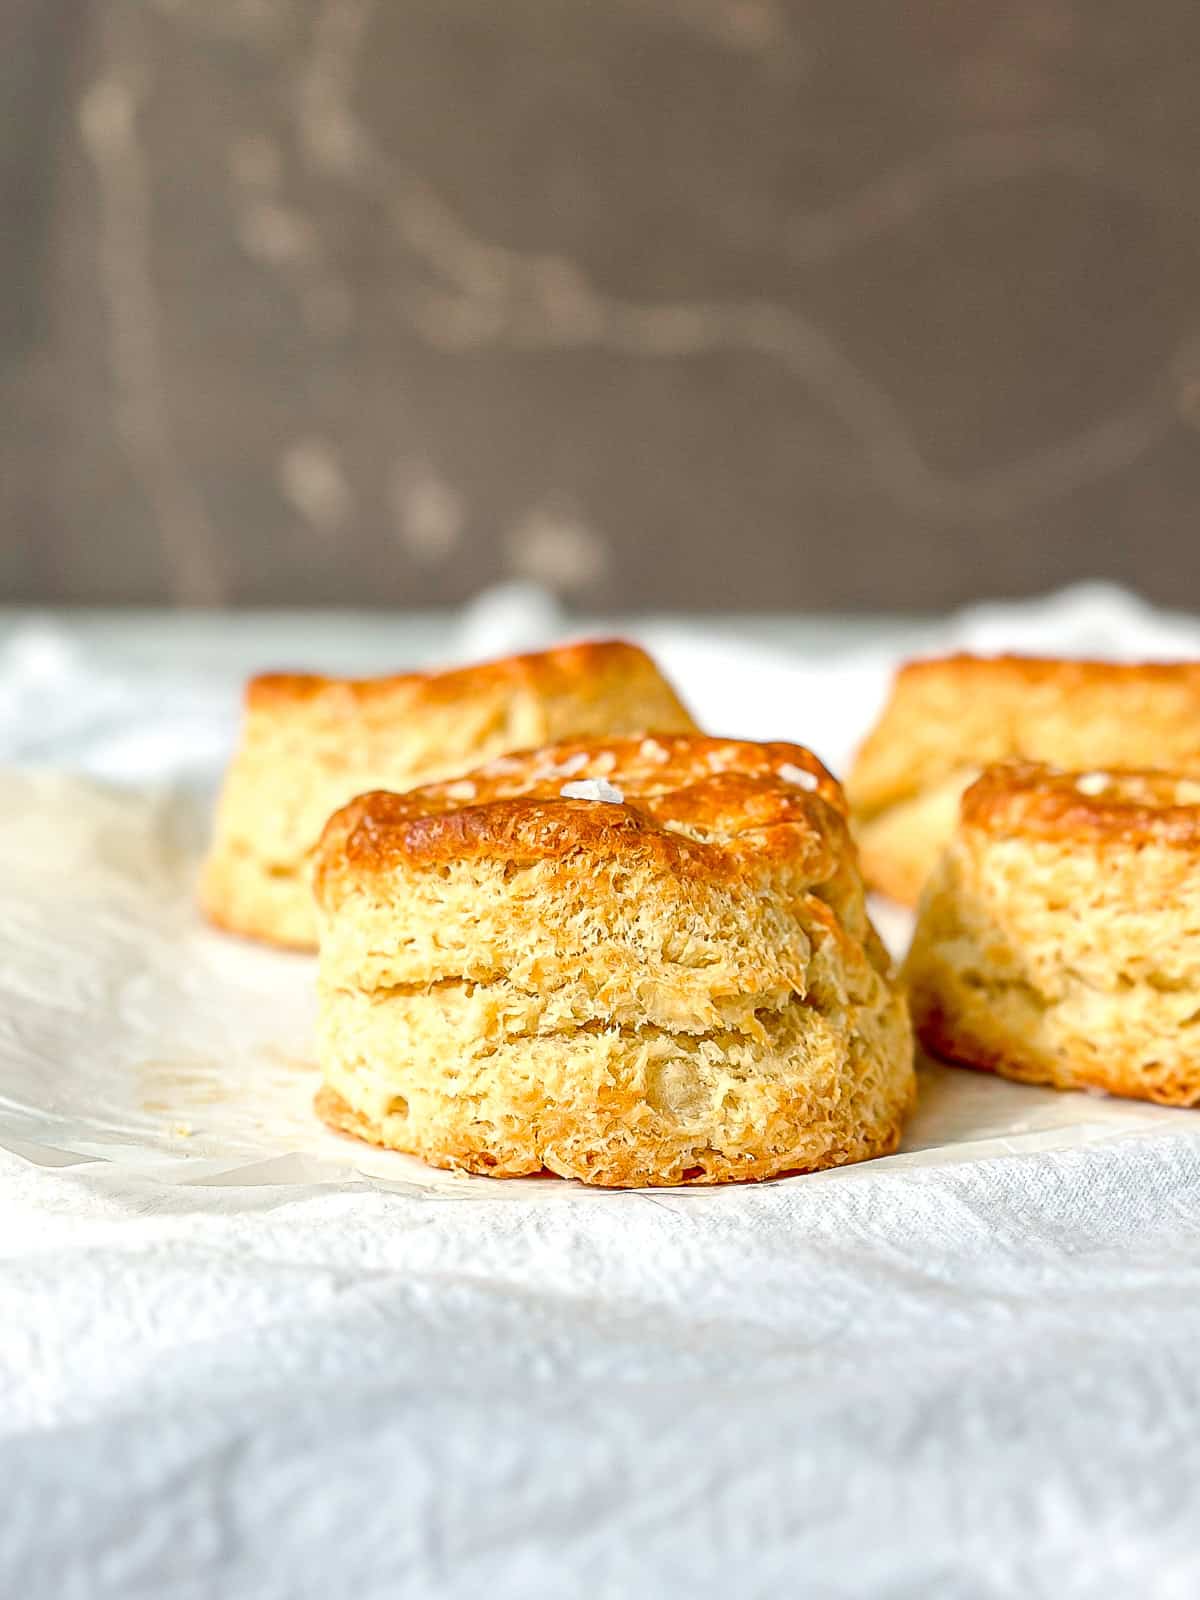
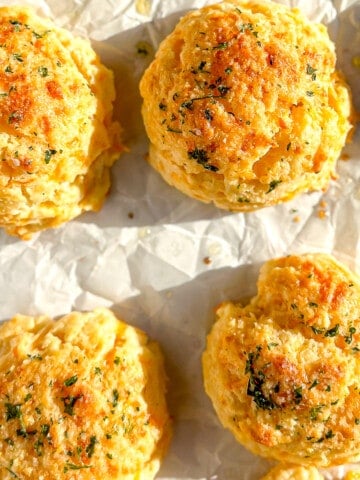
Soft, fluffy, and oh-so-satisfying, these jumbo Southern-style Cathead Biscuits have a tender crumb and a golden, buttery crust that's simply irresistible. Perfect for breakfast, brunch, or alongside your favorite savory dishes, these biscuits are a true taste of Southern hospitality.
Save This Recipe! 💌
What is a Cathead Biscuit? It is, in the most technical of terms, a biscuit that is approximately the size of a cat head. They are not small and precious. They are large and presumptuous. At least 3 to 4 inches across and at least an inch high, they are made with soft wheat flour, buttermilk, and real butter that ensures they will be rich and flaky, full of flavor, and the absolute best biscuits ever. A staple in Southern cuisine, they are often served hot with butter, jam, gravy, or honey.
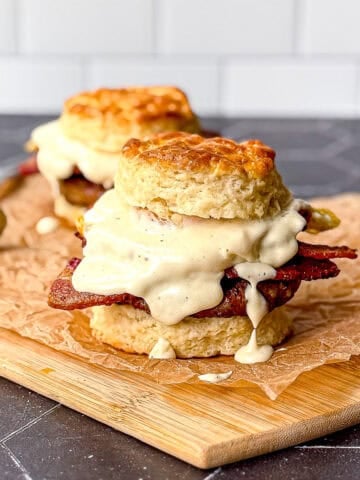
For me, biscuits aren't just a side dish, they're the reason I showed up at all. I want a tall, proud flaky-layered biscuit that is also soft and tender and buttery. I also want to be able to split one open and fill it with all my favorite things, like bacon and eggs and cheese, sandwich style. My Cathead Biscuits can hold all the fillings without falling apart, and that my friends is worth showing up for.
Jump to:
❤️ What you'll love about these biscuits
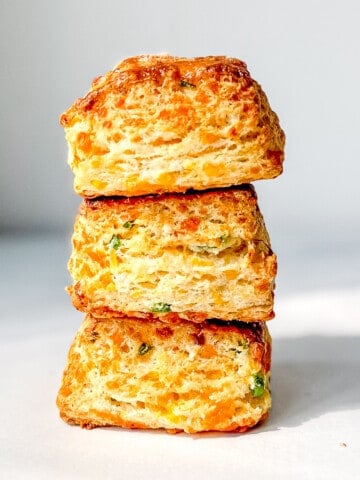
Fluffy Texture: These Cat's Head Biscuits are known for their fluffy, tender texture. The inside is soft and airy, while the outside has a nice crust. Add flaky layers to this list and you have a real good biscuit.
Versatility: These biscuits are incredibly versatile and can be alongside savory dishes like fried chicken and gravy, or enjoy them with sweet toppings like honey or jam. They're also perfect for building a Southern-style breakfast burger.
Rich Flavor: These homemade biscuits have a rich, buttery flavor that are sure to satisfy your taste buds.
Southern Tradition: Cathead biscuits are simply good Southern cooking. For me, eating them evokes memories of my Grandma making Sunday supper with fried chicken, butter beans and cathead biscuits with sawmill gravy.
Make-ahead: There's something special about homemade cathead biscuits. Making them ahead and freezing them makes sure you can always pop one, or two, in the oven to satisfy a biscuit craving.
Ingredients
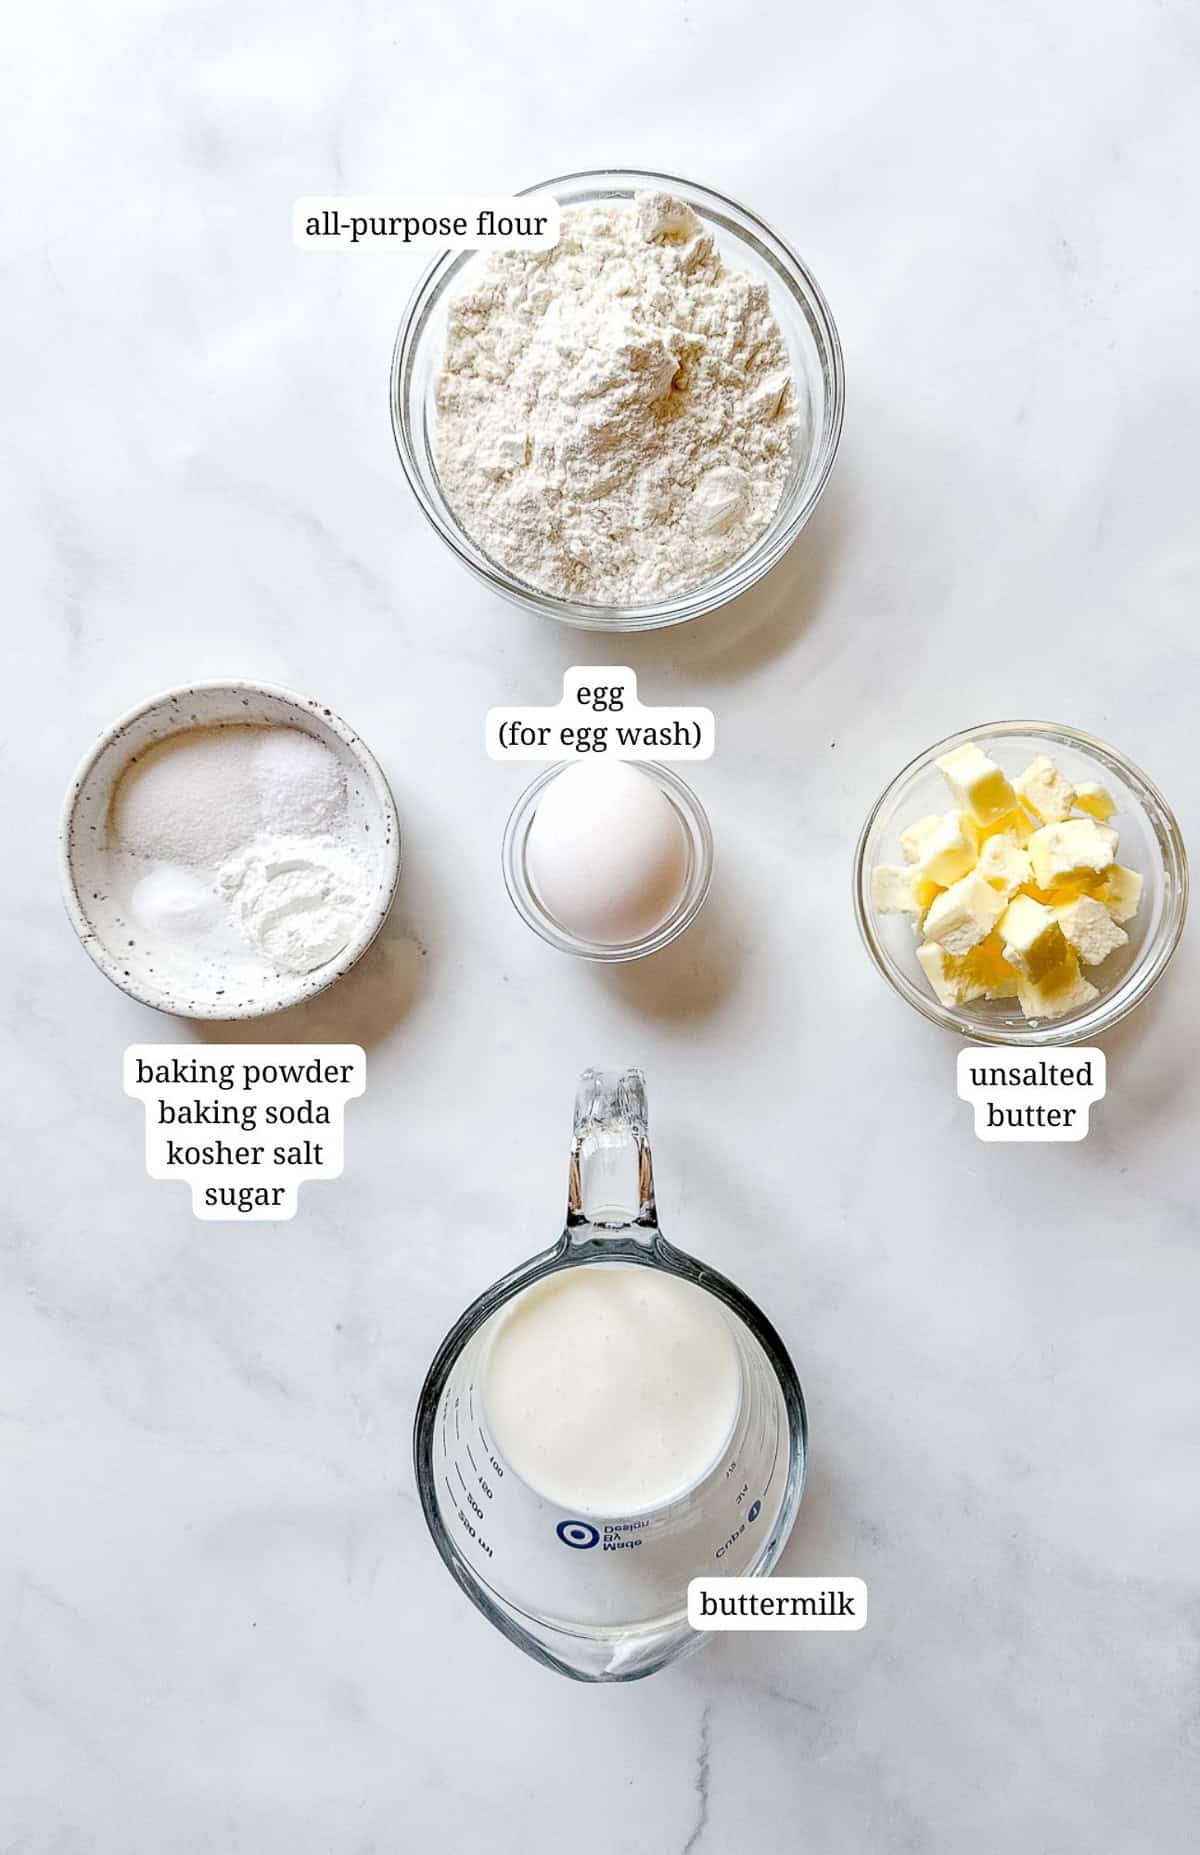
- All-purpose flour No fancy flours here. I use King Arthur unbleached all-purpose flour or White Lily Flour, but any brand will do. Pastry flour and cake flour are too light for these large catheads and may result in a biscuit that falls apart.
- Baking soda Baking soda reacts with the buttermilk right away to give your biscuits a nice lift.
- Baking powder Baking powder also works immediately when combined with liquid (the buttermilk), but is “double acting”, meaning it also lifts your biscuits when it hits the heat. To ensure you get all that lift, check the expiration date of your baking powder. You want to use the freshest possible to ensure you get tall biscuits!
- A touch of sugar The biscuits I love the most always have just a touch of sugar. Sugar not only balances the tartness of the buttermilk, it helps cut down on gluten formation, making a more tender biscuit.
- Kosher salt Salt doesn't just make things salty, it balances other flavors, making them taste more like themselves. I always use Diamond Crystal brand kosher salt in all my cooking and baking. If using table salt, whish actually tastes saltier, cut the amount in half.
- Buttermilk Buttermilk helps to create an overall taller, tastier, flakier, fluffier biscuit. Who doesn’t want that? If you don't have it, you can substitute with plain yogurt.
- Unsalted butter There is no standard amount of salt between brands of butter, so one may have more salt than another. I use only unsalted butter so that I can control the saltiness of my food.
Instructions
Like most things worth making, cathead biscuits take practice to perfect. But using my techniques will give you flaky, fluffy, buttery biscuits that you'll be proud to serve. Besides, catheads are meant to be a bit rough around the edges, so don't worry too much. They're gonna be terrific!
Mixing the dough
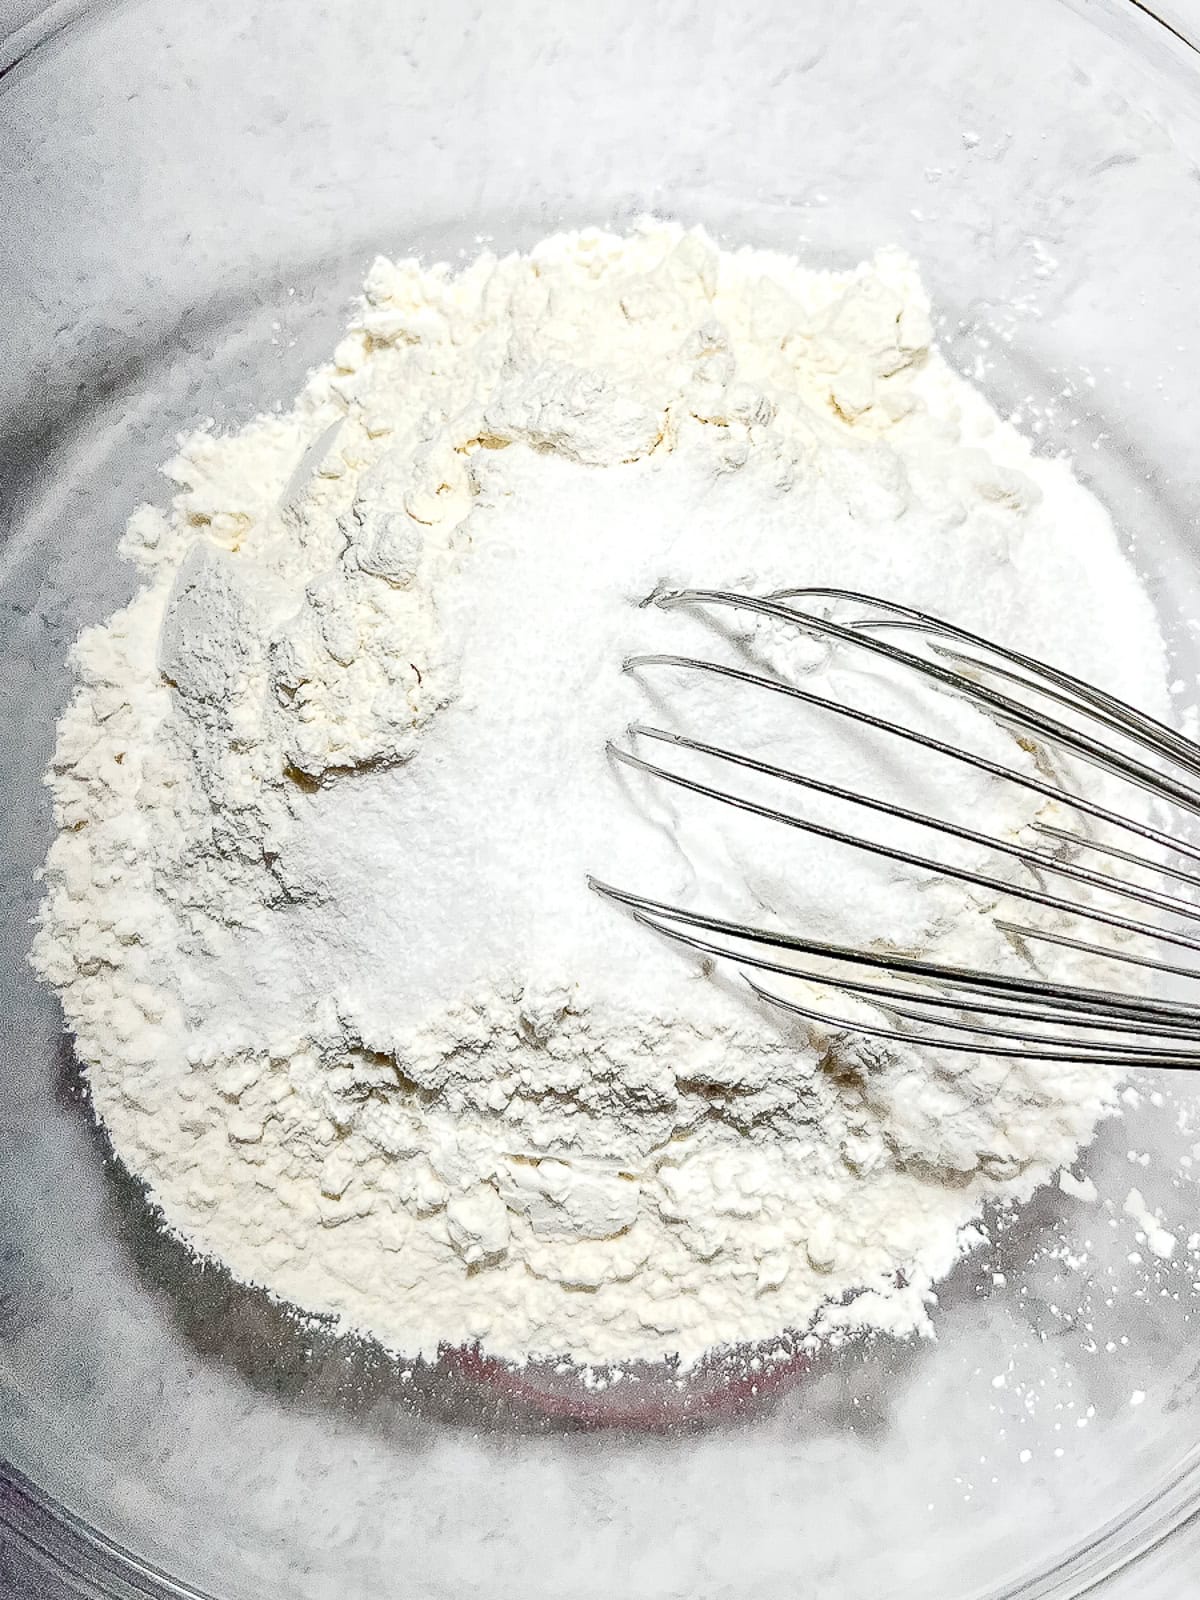
Step 1: In a large mixing bowl, whisk together the dry ingredients; flour, baking powder and baking soda, sugar, and salt.

Step 2: Add in cold butter that has been cut into cubes. Toss to coat with flour mixture.
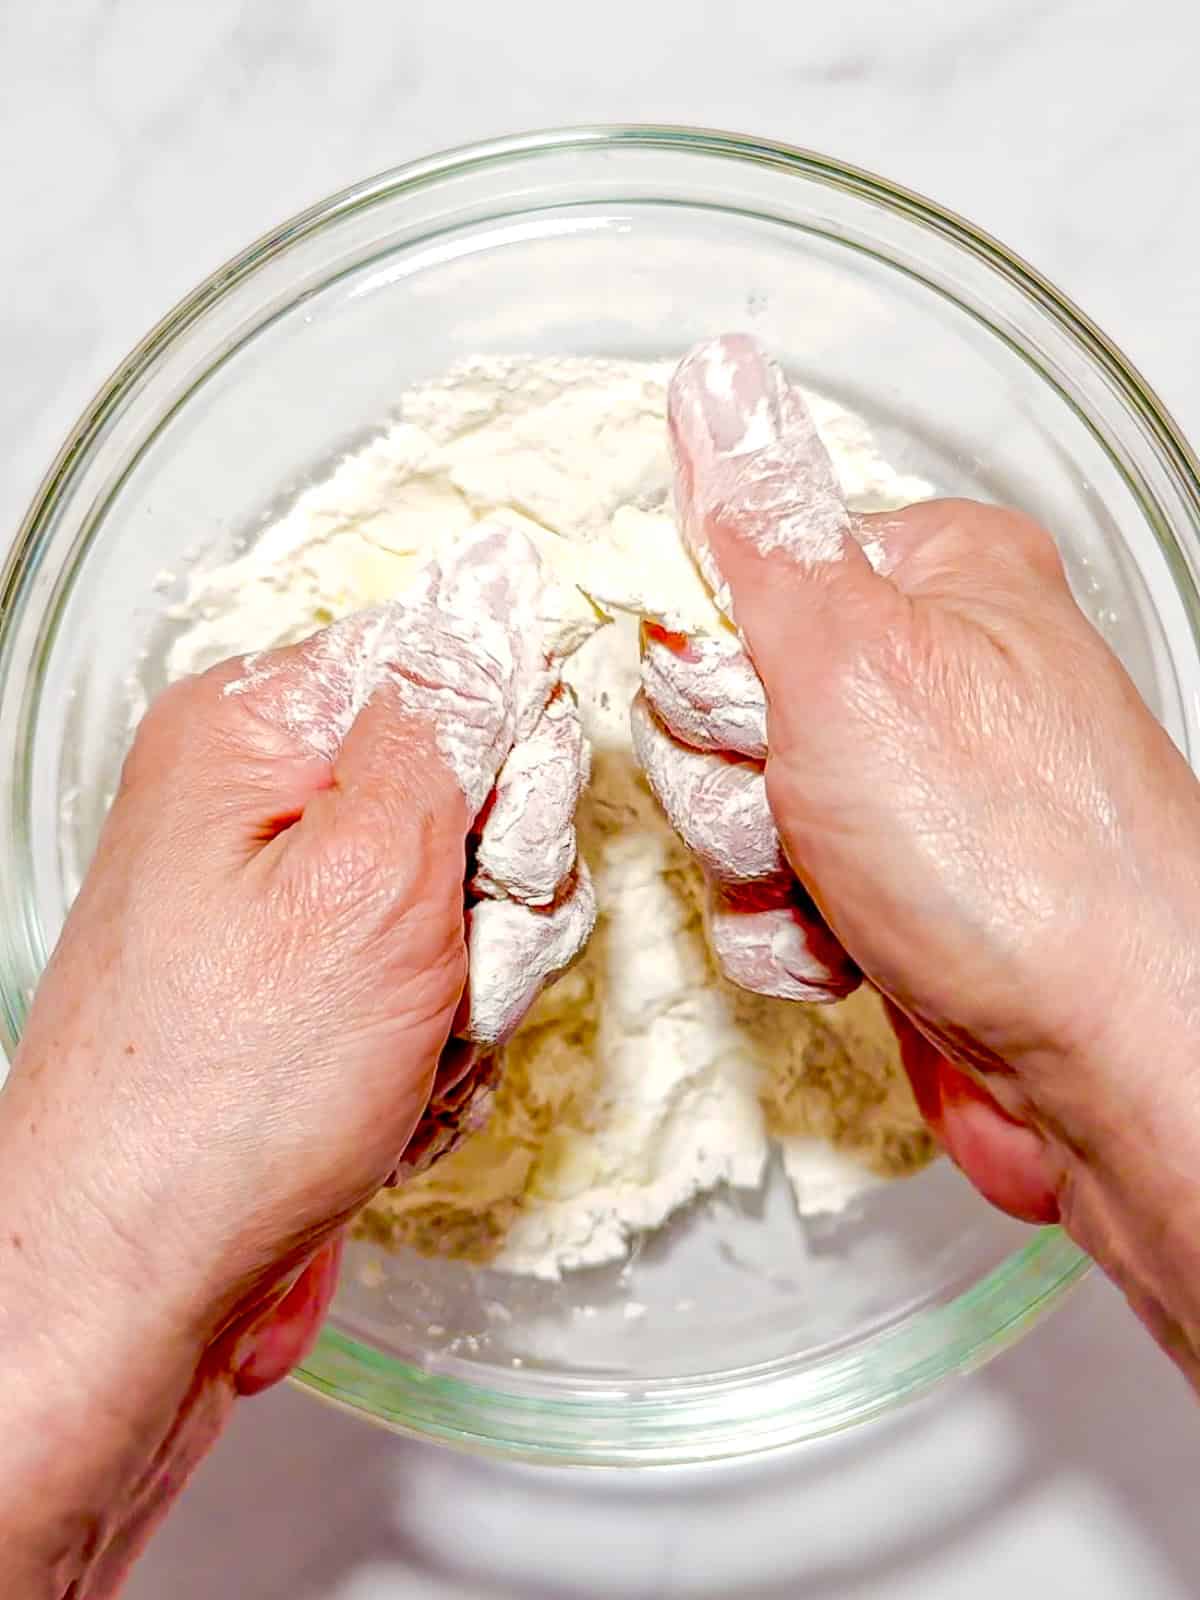
Step 3: Use a finger snapping motion to press the butter and flour together, a process known as "cutting in the butter".
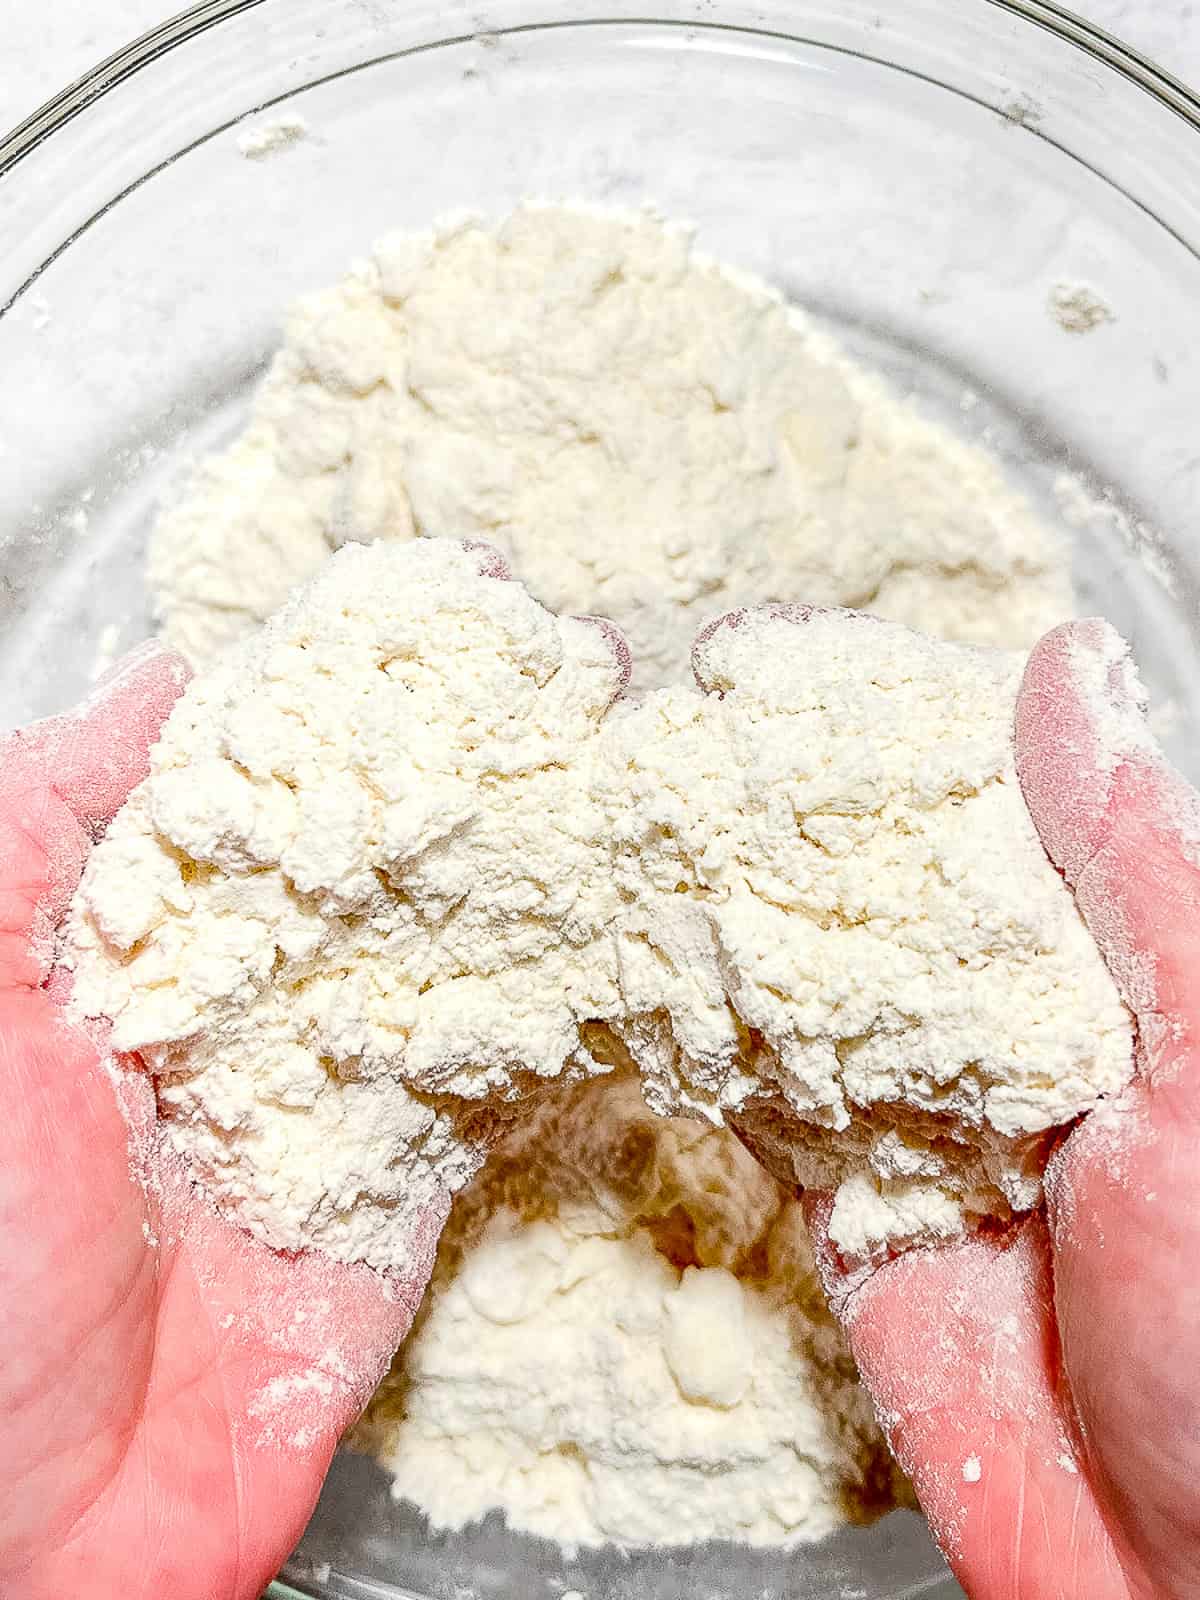
Step 4: You should end up with small and large pieces of butter incorporated into flour with the texture of lumpy sand. You can use a food processor for this step, giving it just 5 or 6 pulses then dumping the mixture into a large bowl.

Step 5: Shake your buttermilk well and pour ¾ cup buttermilk over the butter and flour mixture. Using a danish dough whisk, or wooden spoon, mix the buttermilk and flour mixture together.
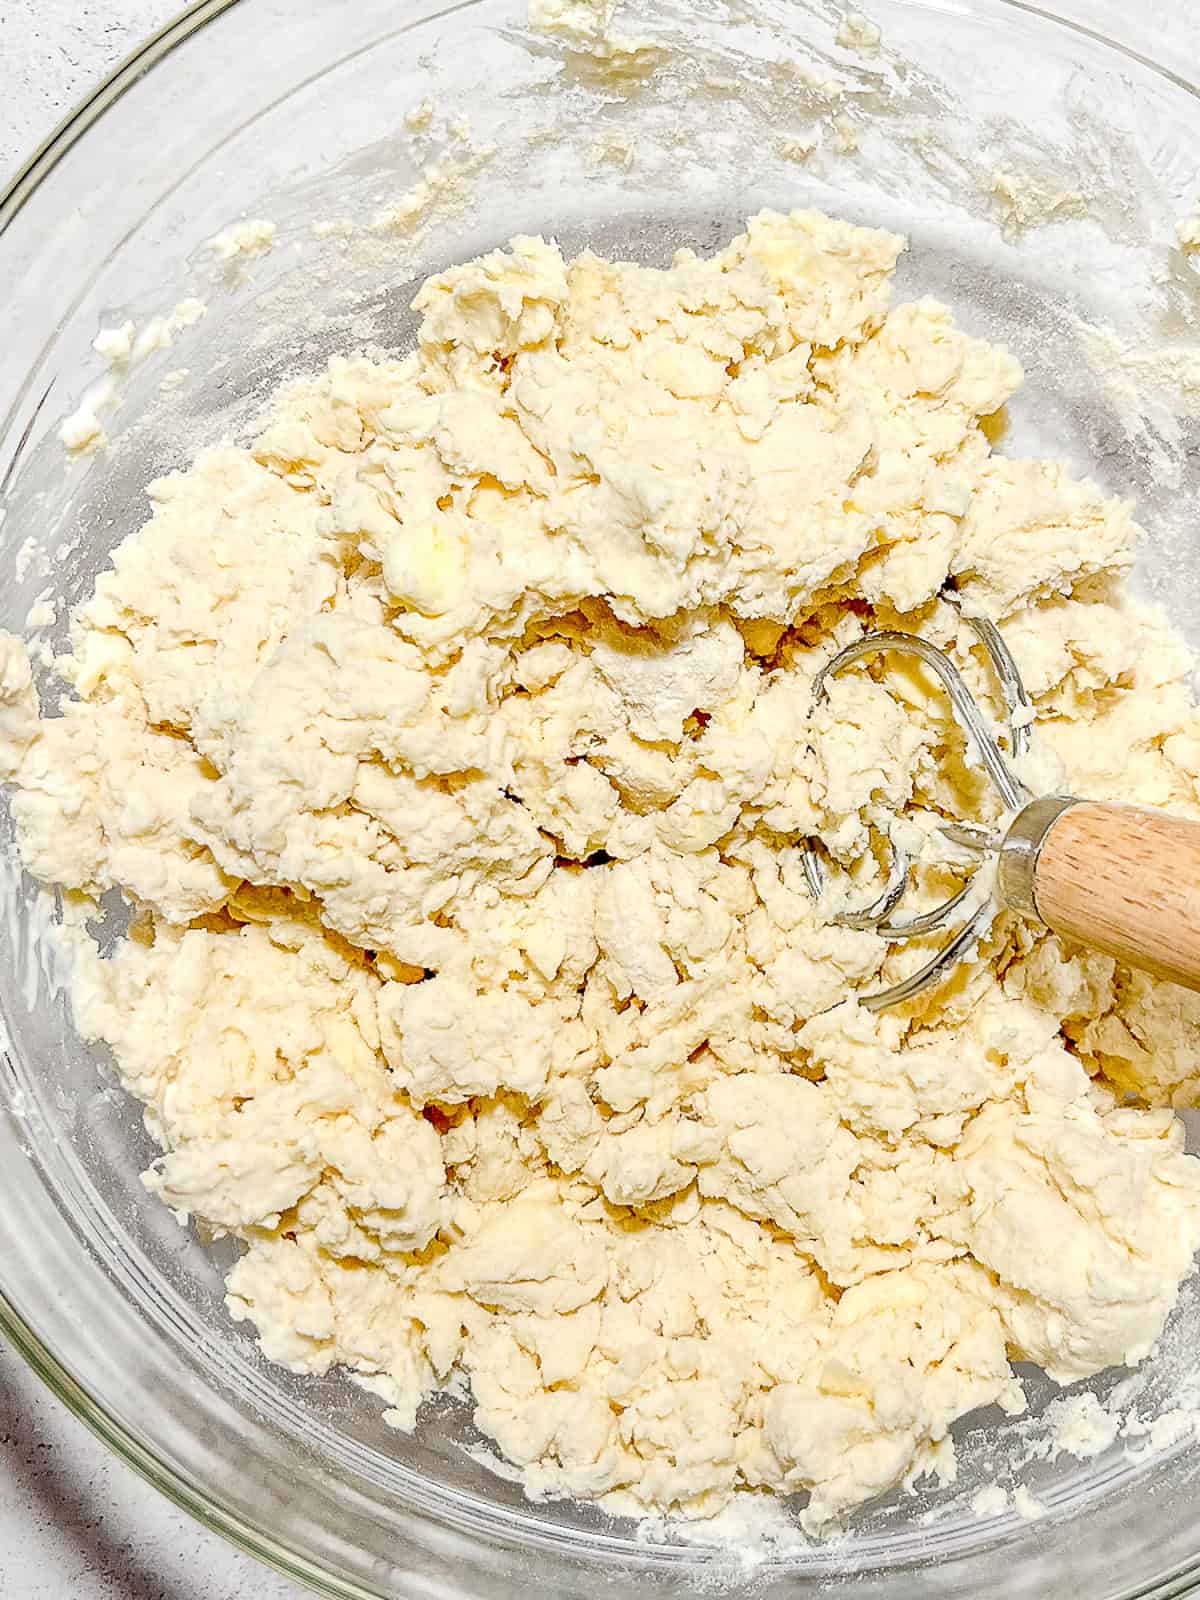
Step 6: You will make a shaggy biscuit dough, with dry floury bits at the bottom of the bowl. That is fine. It will all combine in the next steps.
Making the biscuits

Step 1: Lightly dust your counter with flour and dump the shaggy dough out. Press the dough into a rough square.

Step 2: Using a bench scraper, or sharp knife, cut the dough into four pieces.
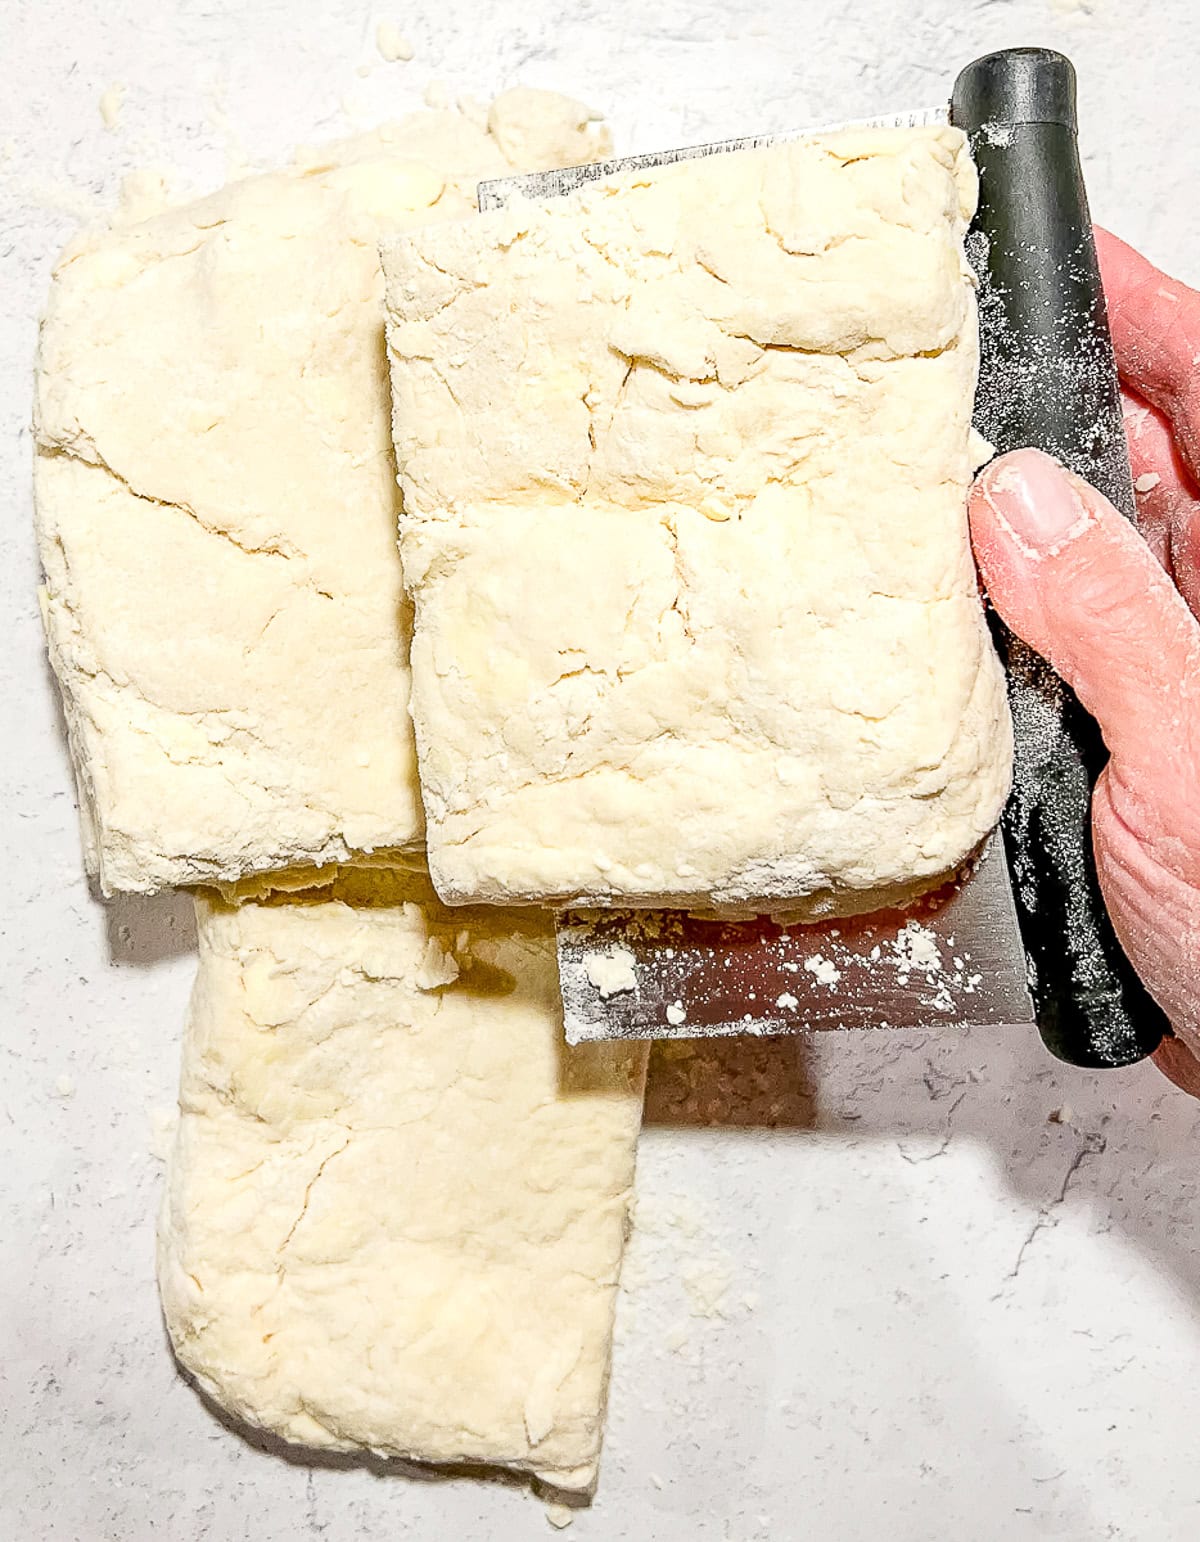
Step 3: Stack the dough quarters on top of each other and press down, forming another square. Repeat 2 more times, for a total of 3 cut and stacks.
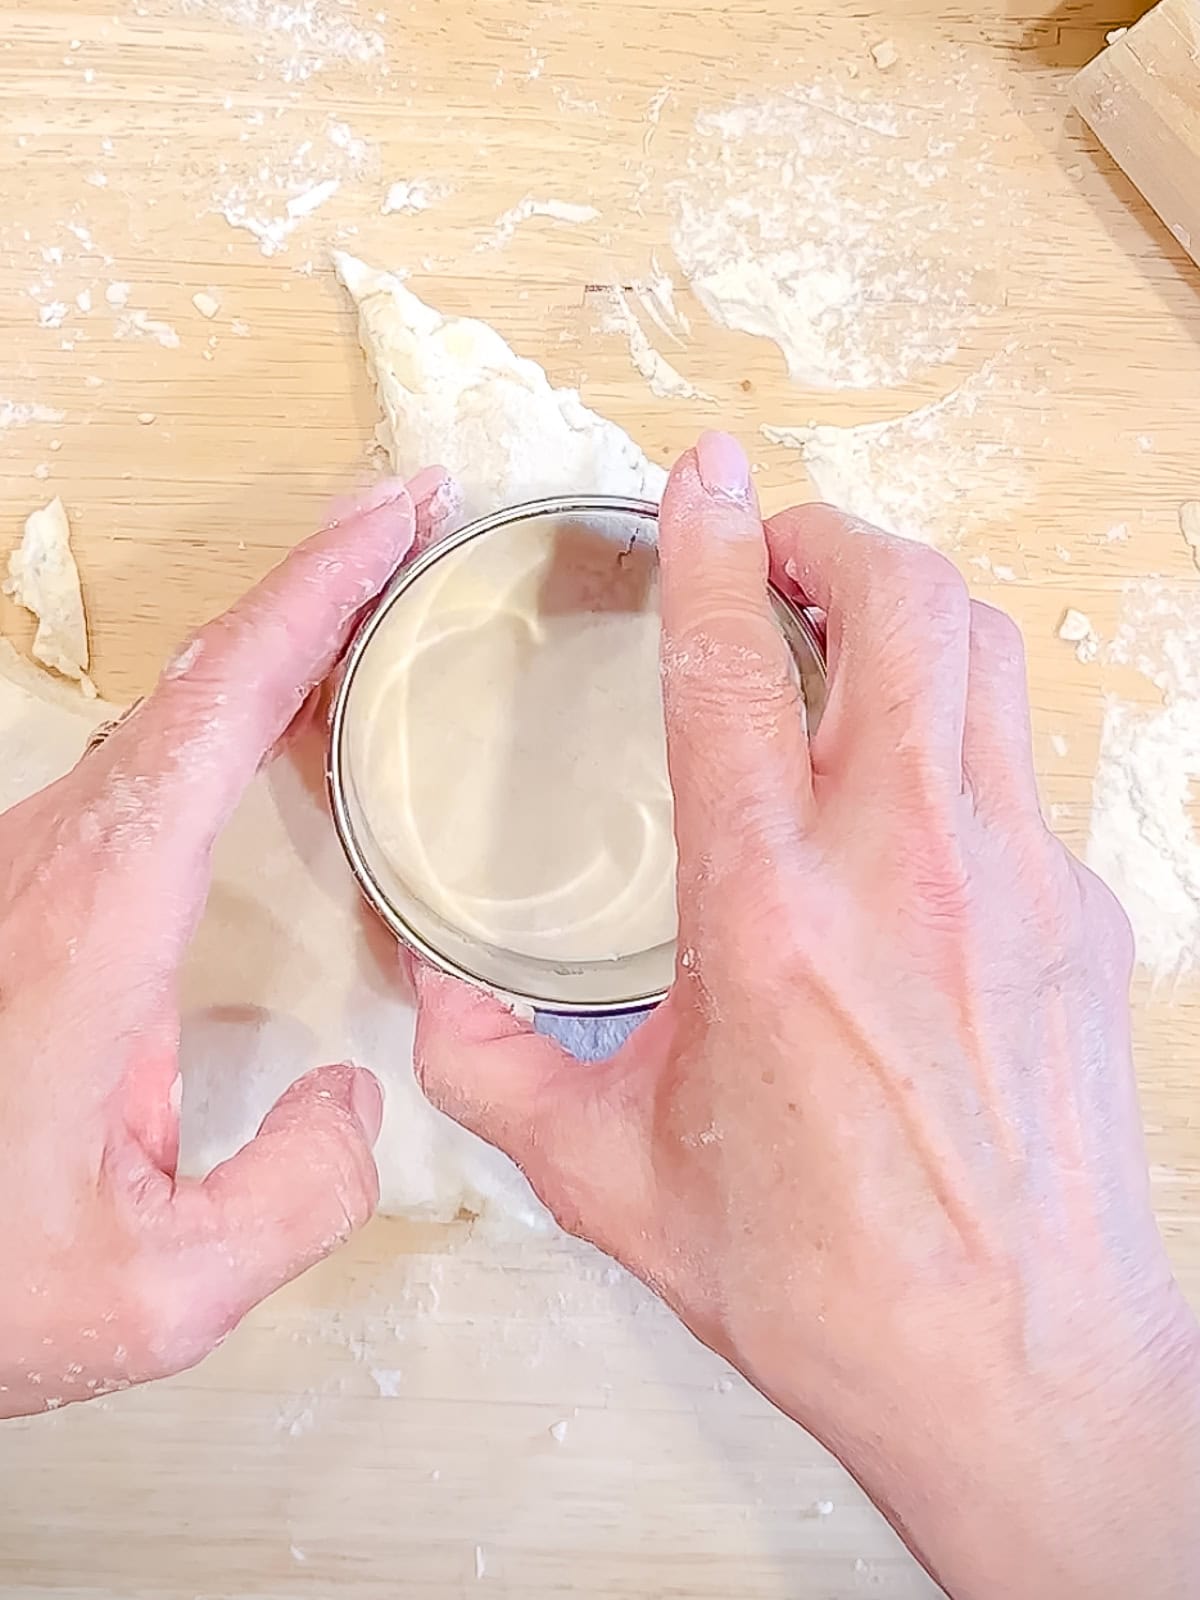
Step 4: Press or roll out with a rolling pin to ½ inch thickness. Using a 3 to 4 inch biscuit cutter or cookie cutter, cut out biscuits. You should get 4 to 6 biscuits. Place on a large sheet pan lined with parchment paper.
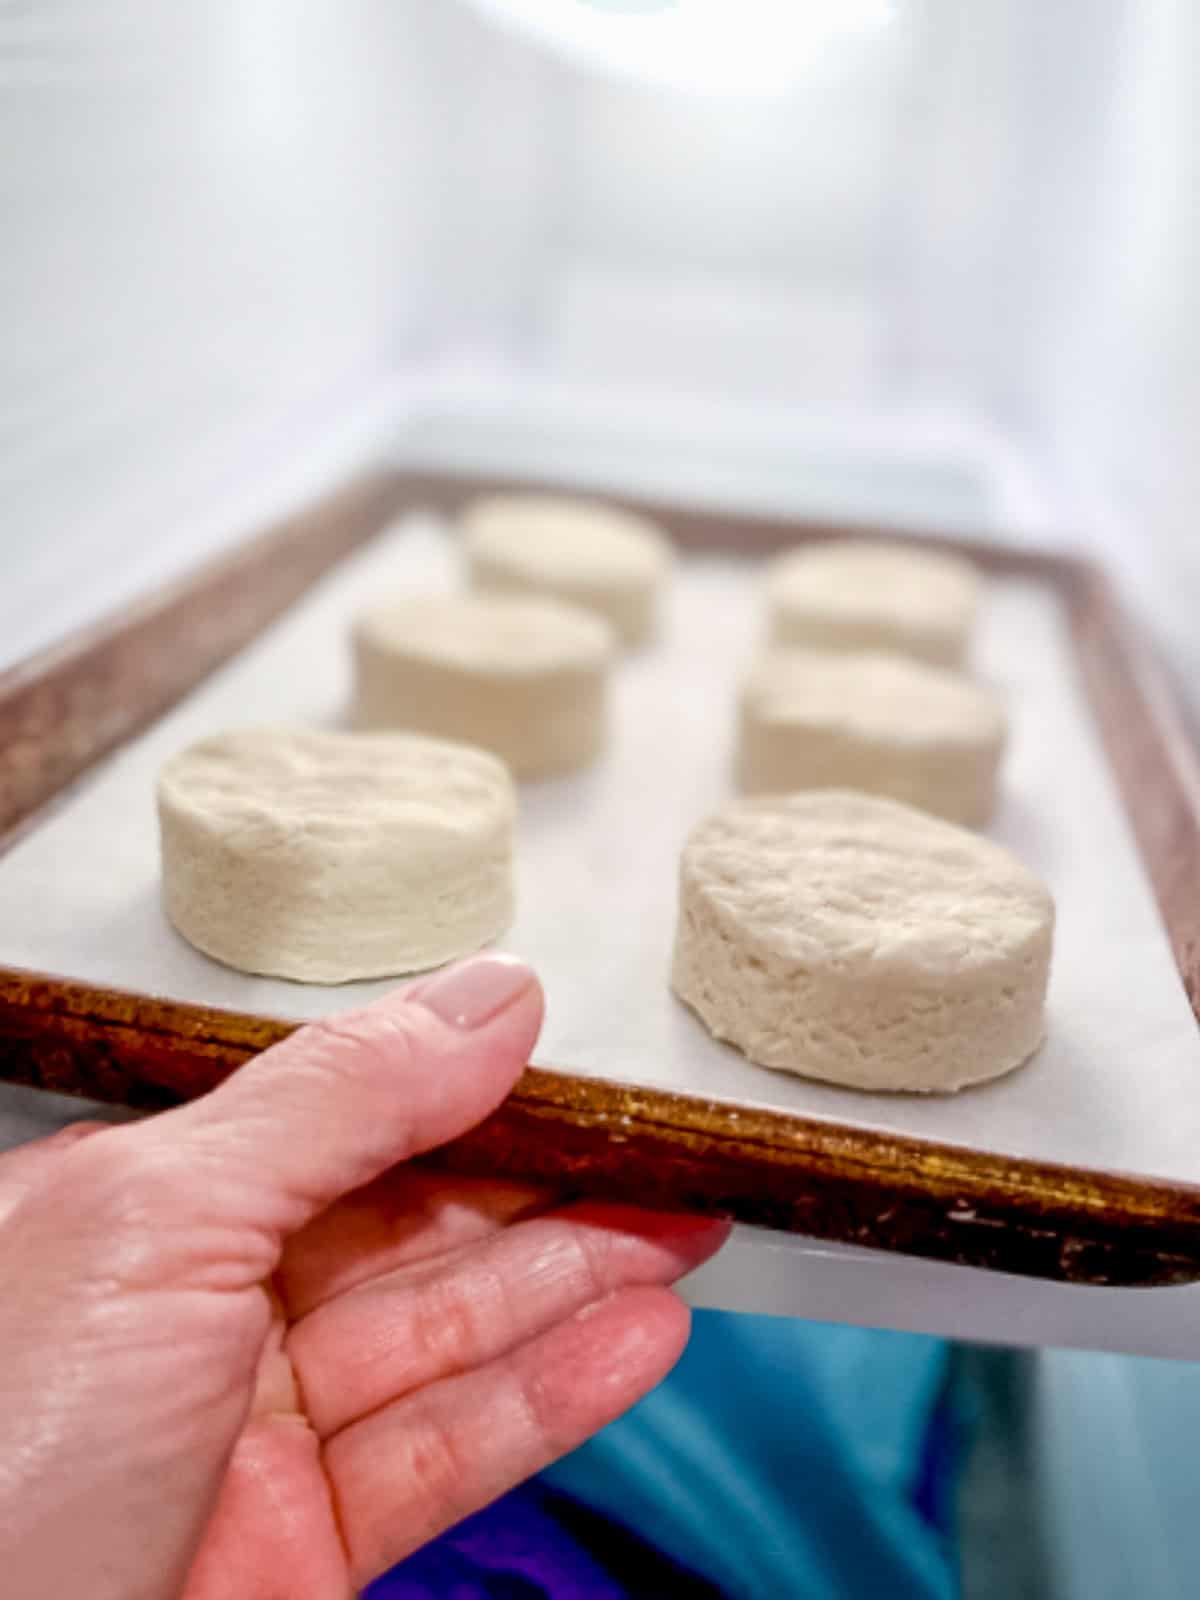
Step 5: Place the tray of biscuits into the freezer while you preheat the oven to 425°F. This will allow the butter to get cold again, encouraging flakier layers.

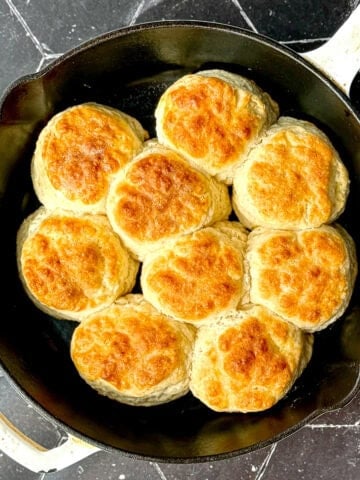
Step 6: When the oven is at temperature, remove biscuits from the freezer. You can bake them on the baking sheet or transfer them to a buttered cast-iron skillet, or round cake pan, if desired. Brush tops of the biscuits with an egg wash or melted butter and sprinkle with flaky salt, if desired. Bake at 425°F for 20 to 25 minutes, or until golden brown.

Hint: Cathead buttermilk biscuits are already big, but if you make your biscuits 4 inches or larger, gently pull one open to see if it has fully cooked inside. If it still looks a little raw, tent the pan loosely with aluminum foil (don't wrap it tightly) and place back into the oven for 5 minutes. That should do it.
Work smarter, not harder For those days when everything is just a lot, try making my Easy Food Processor Biscuits. All the work is done in your machine, and then all you have to do is cut, and bake!
Variations
Now that you know how to make Cathead Biscuits, you can play around with them and make them your own!
- Biscuits and Gravy - What else is there to say? Flaky Buttermilk Biscuits with sausage gravy or sawmill gravy (also known as country gravy.)
- Sausage Biscuits - Fluffy cathead biscuits are great as is, but they're even better with homemade breakfast sausage patties... but store-bought sausage is fine too.
- Strawberry Biscuits - My Strawberry Biscuits are studded with red, ripe strawberries and are drizzled with a vanilla glaze. Tender and flaky and a little bit sweet, these are gonna be your new favorite!
- Mix-ins - I like to toss in herbs and cheese, as well as different proteins to my dry mix, just before I add in the buttermilk, to jazz up the flavor! I've made Ham and Swiss, Bacon and Gruyere, rosemary and romano cheese, and my Cheddar and Chive, and Cacio e Pepe Biscuits are always a huge hit!
Serving suggestion
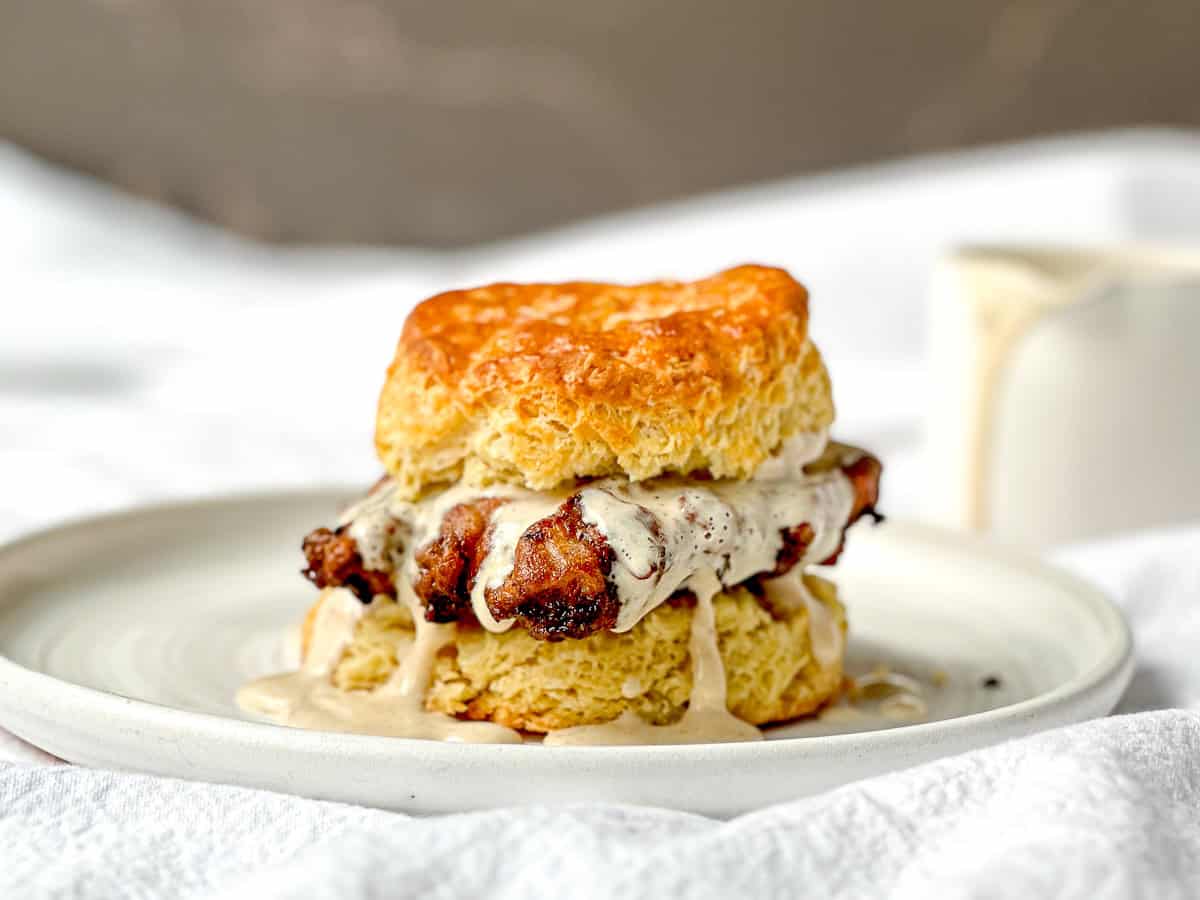
These biscuits are all the things light and tender, while also being sturdy enough to hold up a big crispy chicken fried steak with gravy.
Expert tips
- Don't twist the cutter when cutting out biscuits. Doing so will press the layers shut, and your biscuits won't reach their tall and flaky potential! Press straight down and pull straight back up!
- If you don't have a biscuit or cookie cutter, resist the urge to use a drinking glass, or any old round thing, to cut out your biscuits. You need a crisp, sharp edge to cut them or you will seal the layers and they won't fully rise. If you don't have a biscuit cutter, remove both the top and the bottom from a clean food can (like a tomato can) and use that, or make square biscuits by cutting with a bench scraper or knife.
- If you aren't making big cathead biscuits (3 inches or larger), don't make your biscuits thicker than ½ inch. If you do, they will have a tendency to fall over due to their flaky layers. Still delicious, but in a Leaning Tower of Pisa kind of way.
Biscuits in a hurry: Out of butter, buttermilk, or time? Make my 5 Ingredients Cream Biscuits, made with common pantry ingredients and heavy cream. In 20 minutes you can have light and fluffy biscuits on the table!
Recipe FAQs
You can, although your biscuits won't have the same fluffiness as they would with buttermilk. If you use milk, use the highest fat content you can, which contributes to the tenderness.
Your biscuits are best eaten the day they are baked. If you have leftovers, store in an airtight container for up to 3 days.
Because butter is a solid at room temperature, they will feel and taste "dry" if eaten cold. Wrap your biscuits in aluminum foil and reheat in a 350°F oven for 10 minutes, or until warmed through, or heat in microwave for 15 seconds.
My favorite biscuit recipes

Did you try this recipe?
Leave a comment with a ⭐️ rating below to tell me all about it, and don't forget to tag me on Instagram!
I appreciate you!
-Cynthia
📖 Recipe

Cathead Biscuits
Ingredients
- 2 cups (240 g) all-purpose flour
- 1 tablespoon (12 g) baking powder
- ¼ teaspoon baking soda
- 2 teaspoon (8 g) sugar
- 1 teaspoon (6 g) salt
- 8 tablespoon (113 g) unsalted butter very cold and cut into small cubes
- ¾ cup (180 g) buttermilk very cold
- 1 large egg whisked with 1 tbs water for egg wash
Instructions
- Preheat oven to 425°F. Line a large baking sheet with parchment paper or butter a cast iron pan and set aside.
- Whisk together the flour, baking powder and baking soda, sugar, and salt.
- Add in cold butter that has been cut into cubes. Toss to coat with flour mixture.
- Use a finger snapping motion to press the butter and flour together, a process known as "cutting in the butter". You should end up with small and large pieces of butter incorporated into flour with the texture of lumpy sand.
- Shake your buttermilk well and pour over the butter and flour mixture. Using a danish dough whisk, or sturdy spoon, mix the buttermilk and flour mixture together.
- You will make a shaggy dough, with dry floury bits at the bottom of the bowl. That is fine. It will all combine in the next steps.
- Lightly dust your counter with flour and dump the shaggy dough out. Press the dough into a rough square.
- Using a bench scraper, or sharp knife, cut the dough into four pieces.
- Stack the dough quarters on top of each other and press down, forming another square. Repeat 2 more times, for a total of 3 cut and stacks.
- Press or roll out to ½ inch thickness. Using a 3 to 4 inch biscuit cutter or cookie cutter, cut out biscuits. Gather scraps and re-roll to cut more biscuits. You should get 4 to 6 biscuits, depending on the size you choose. Place on a parchment paper lined large sheet pan.
- Place the tray of biscuits into the freezer while you preheat the oven to 425°F. This will allow the butter to get cold again, encouraging flakier layers.
- When the oven is at temperature, brush biscuit tops with an egg wash made of one egg whisked with one tablespoon of water. Sprinkle with flaky salt, if desired and bake at 425°F for 20 to 25 minutes, or until golden brown.


Comments
No Comments