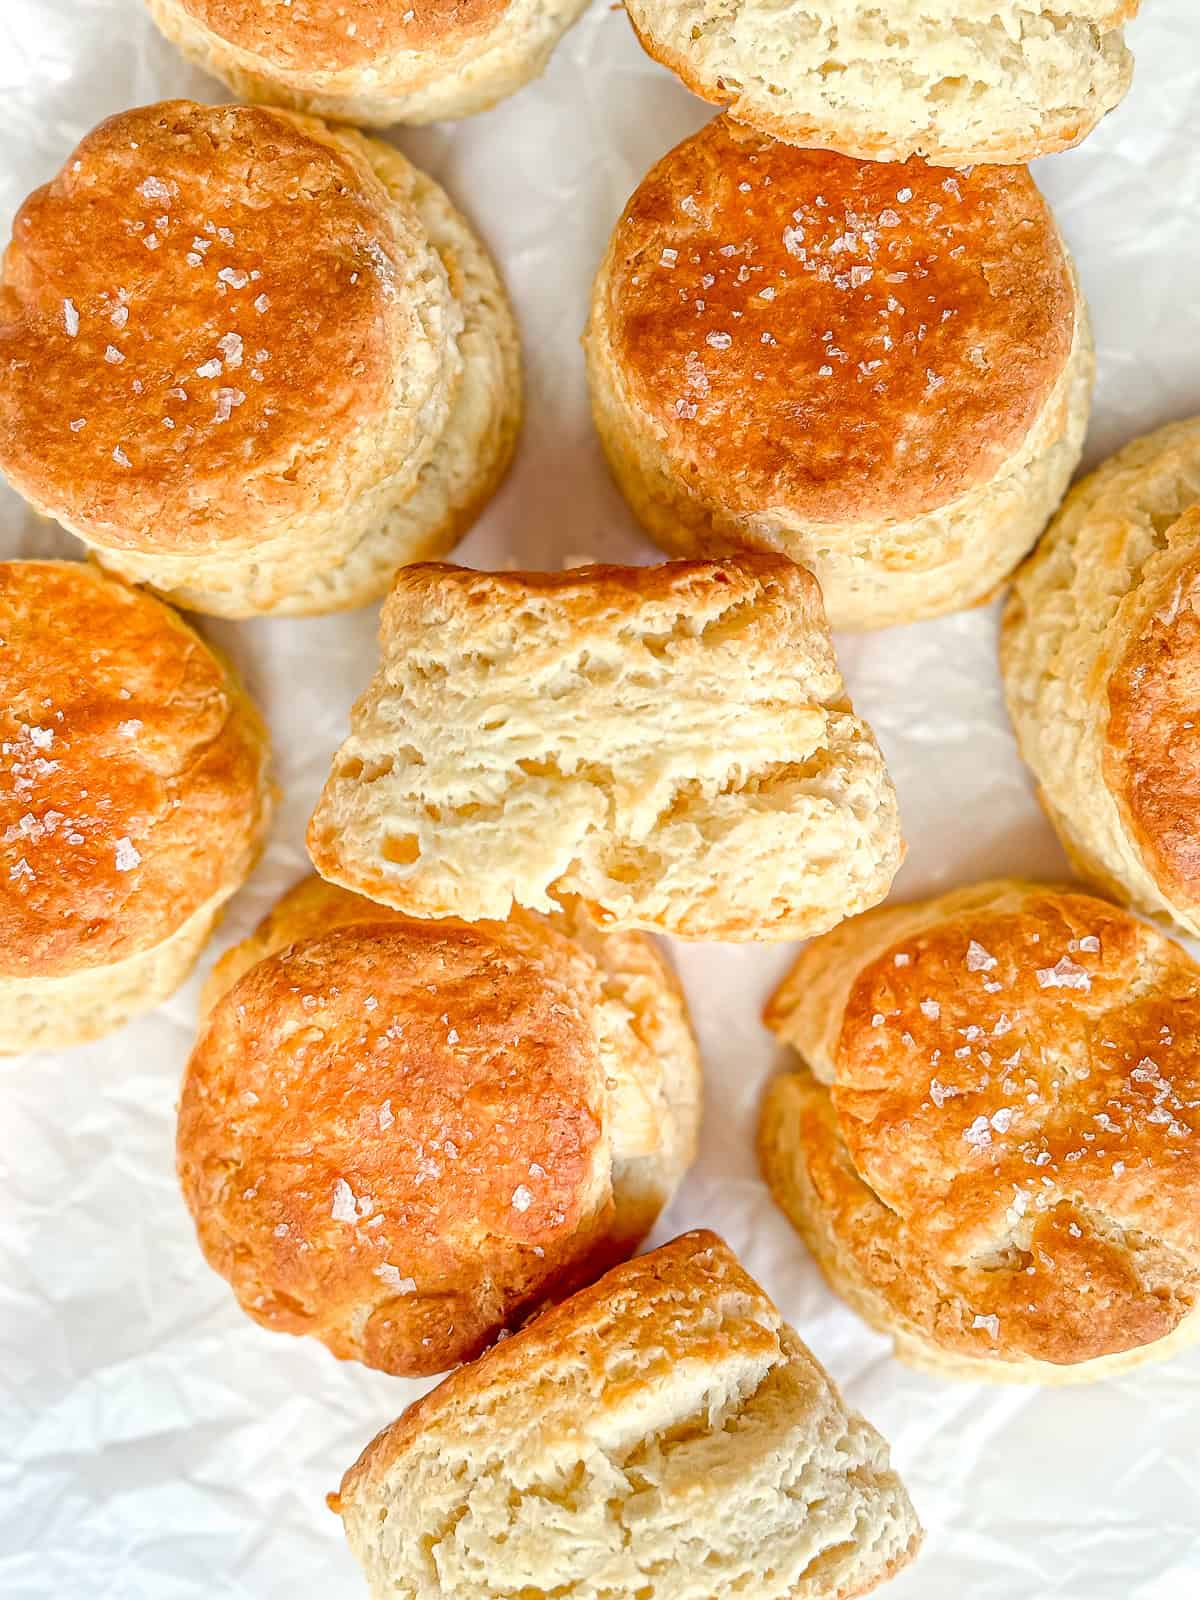
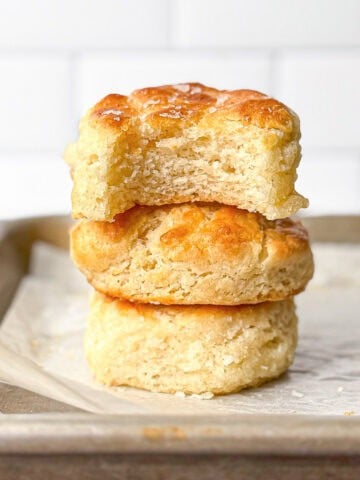
These Simple Homemade Biscuits are made with milk, and are buttery and soft with a delicious crispy golden crust. The 3-ingredient recipe is simple to make with things you probably already have in your pantry, and gets tall biscuits on the table in a snap!
Save This Recipe! 💌
This recipe for Simple Homemade Biscuits made with milk are what my Grandma Olga Mae called her 'sweet milk biscuits'. She had what seemed like endless biscuit recipes and she always started with self-rising flour. With it she would make cream biscuits, drop biscuits, cheddar biscuits, and these easy biscuits made with just self-rising flour, butter, and whole milk.
Even I, with all the biscuits, and the muffins, and even cornbread, all made with buttermilk, sometimes run out of buttermilk. If I don't have it, I can make my 2 ingredient biscuits or biscuits with yogurt, but I really wanted to recreate the sweet milk biscuits of my childhood, and use my milk for something more than ricotta cheese!
Jump to:
Ingredients & Substitutions
This easy homemade biscuits recipe uses just a few really simple ingredients. I mean, THREE INGREDIENTS YOU GUYS, including milk, which you probably already have! Read on for more info about each one.
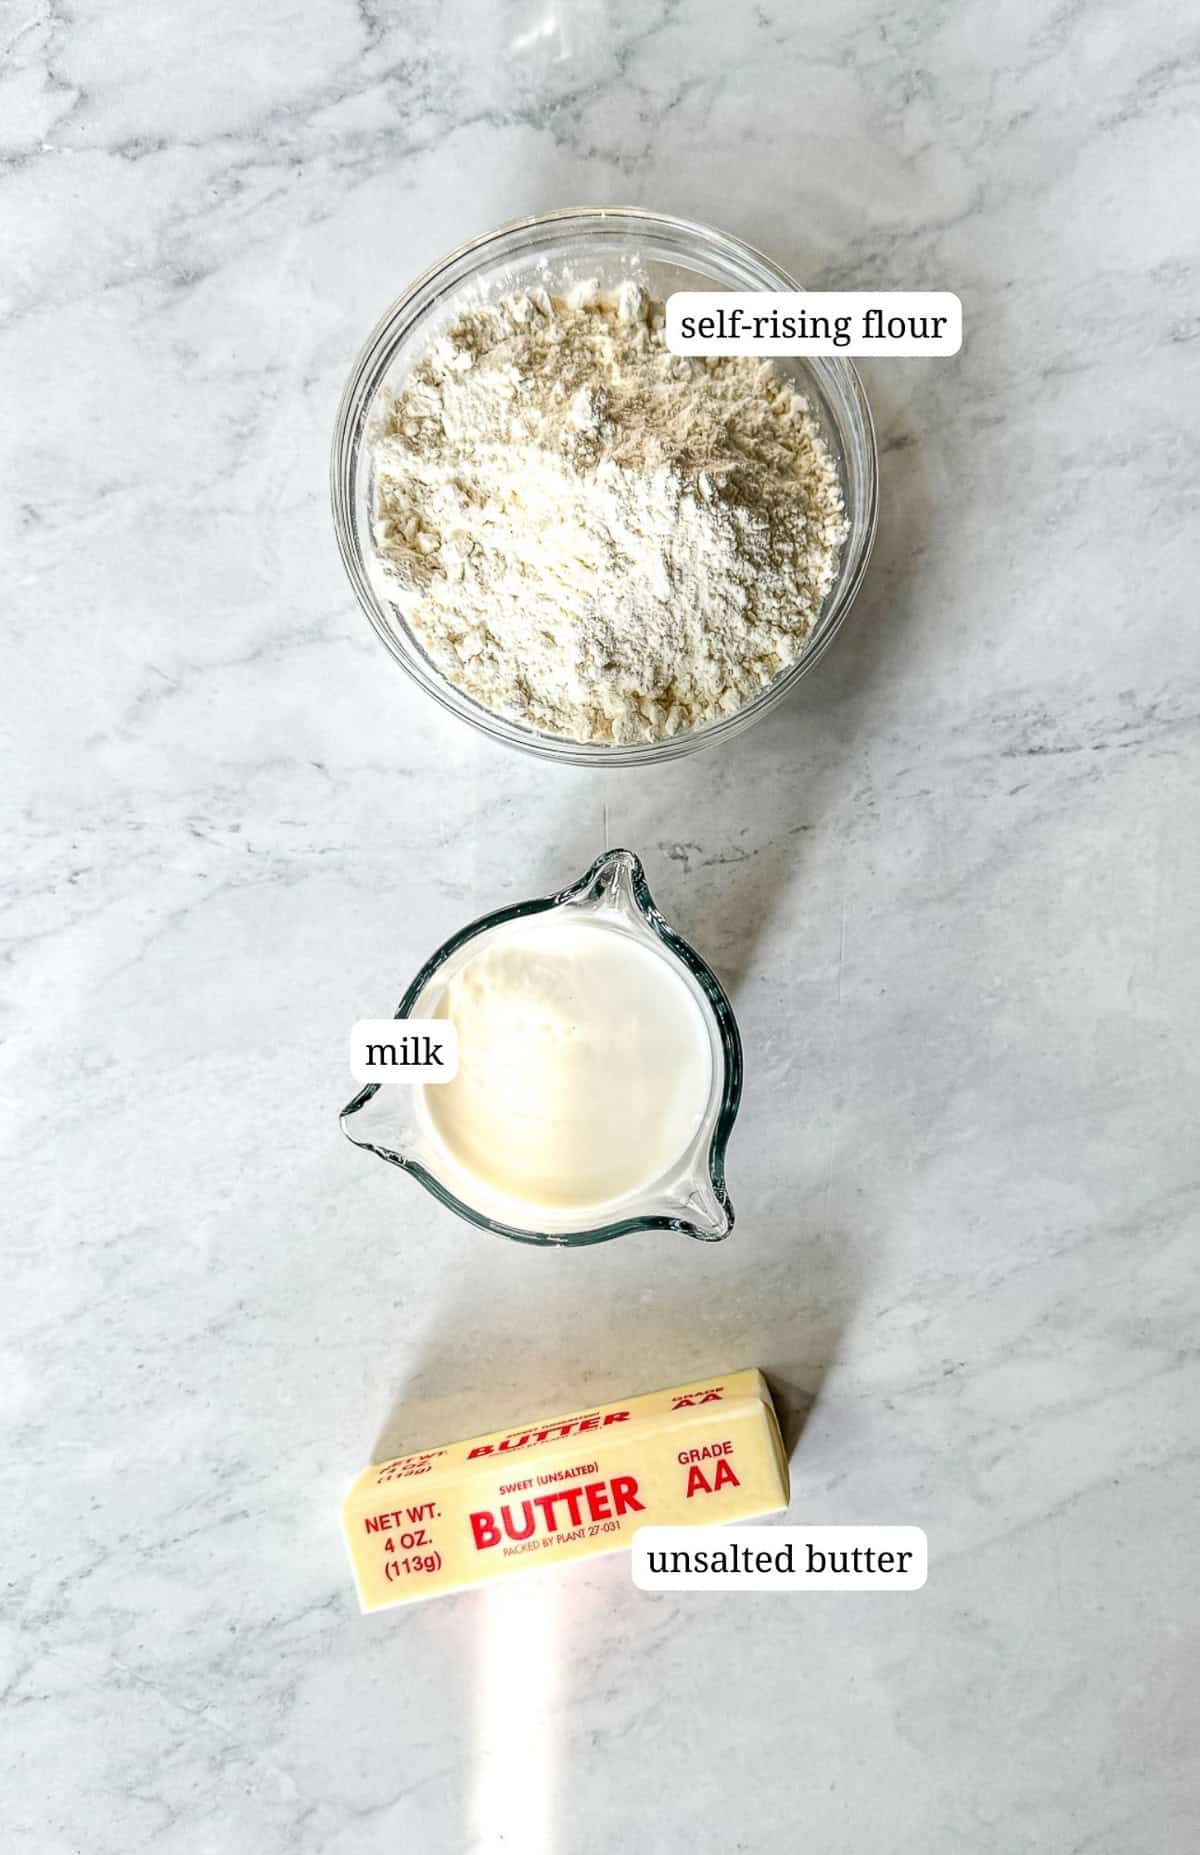
- Self-rising flour - You can use all-purpose flour if you don't have self-rising, but you need to add a leavening agent. Read the tips in the next section for more information about self-rising flour and how to substitute it properly.
- Milk - I use whole milk, and I feel it works best in this biscuit recipe, but if you only have 2%, that will do. I wouldn't suggest using skim or nonfat milk, as the fat content is essential for making the biscuits both flavorful and tender.
- Unsalted butter - In all of my recipes, I specifically call for unsalted butter. There is no standard amount of salt in salted butter, so every brand has a different salt content. I want to be able to control the amount of salt I add to all of my muffins, my coffee cake, and my scones. Using unsalted butter means I know how much salt is in everything I make. You can also use vegan butter, shortening, or even lard to make your biscuits.
See recipe card below for exact quantities.
Have a lot of sour cream to use up? Try making my simple Sour Cream Biscuits. Light, fluffy, and flaky, they're the perfect side for breakfast or dinner!
What is self rising flour?
Self-rising flour is quite common in England (where they call it self-raising flour) and in the American South, where we use it to make cornbread and biscuits, and just about every other baked good you can think of.
Although similar to all-purpose flour, self rising flour already contains baking powder and salt, eliminating the need to add either to your recipes. This means you can make light and fluffy muffins, pancakes and waffles, and even an easy cream biscuit quickly and easily.
If you don't have self-rising flour, no problem, you can make your own. For every cup of self-rising flour that you need combine 1 cup of all-purpose flour and add 1 ½ teaspoons of baking powder and ½ teaspoon of kosher salt. If you don't have kosher salt, use ¼ teaspoon of table salt.
Instructions
In most of my biscuit recipes I use my cut-and-stack technique for building flaky layers. I don't do that with this recipe, because Grandma's sweet biscuit recipe was tender and soft, without distinct layers, and I really loved them so much.
As always, I recommend you read all of the instructions, look at the pretty pictures, gather your ingredients, and make some delicious soft textured biscuits.
- Start by lining a large sheet pan with parchment paper or with aluminum foil sprayed with nonstick spray.
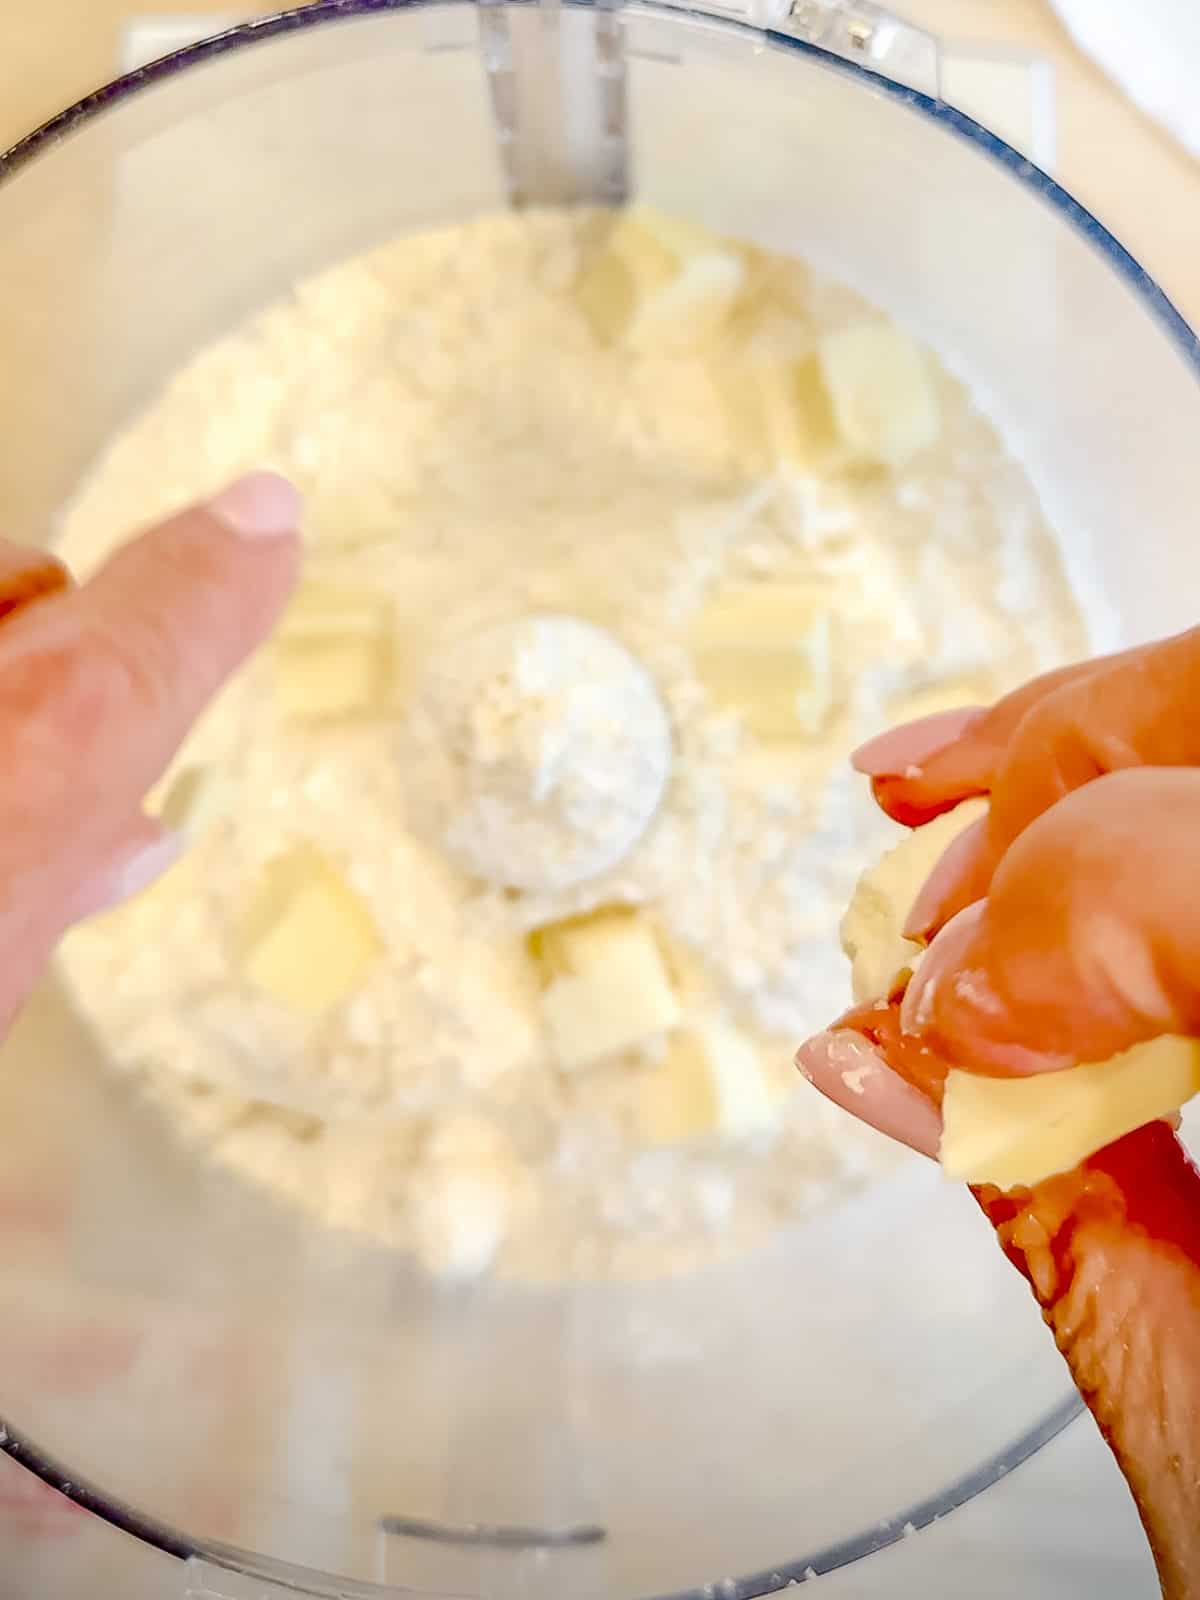
Step 1: Place self-rising flour and cold butter cut into cubes into the bowl of your food processor and pulse 6 to 8 times.
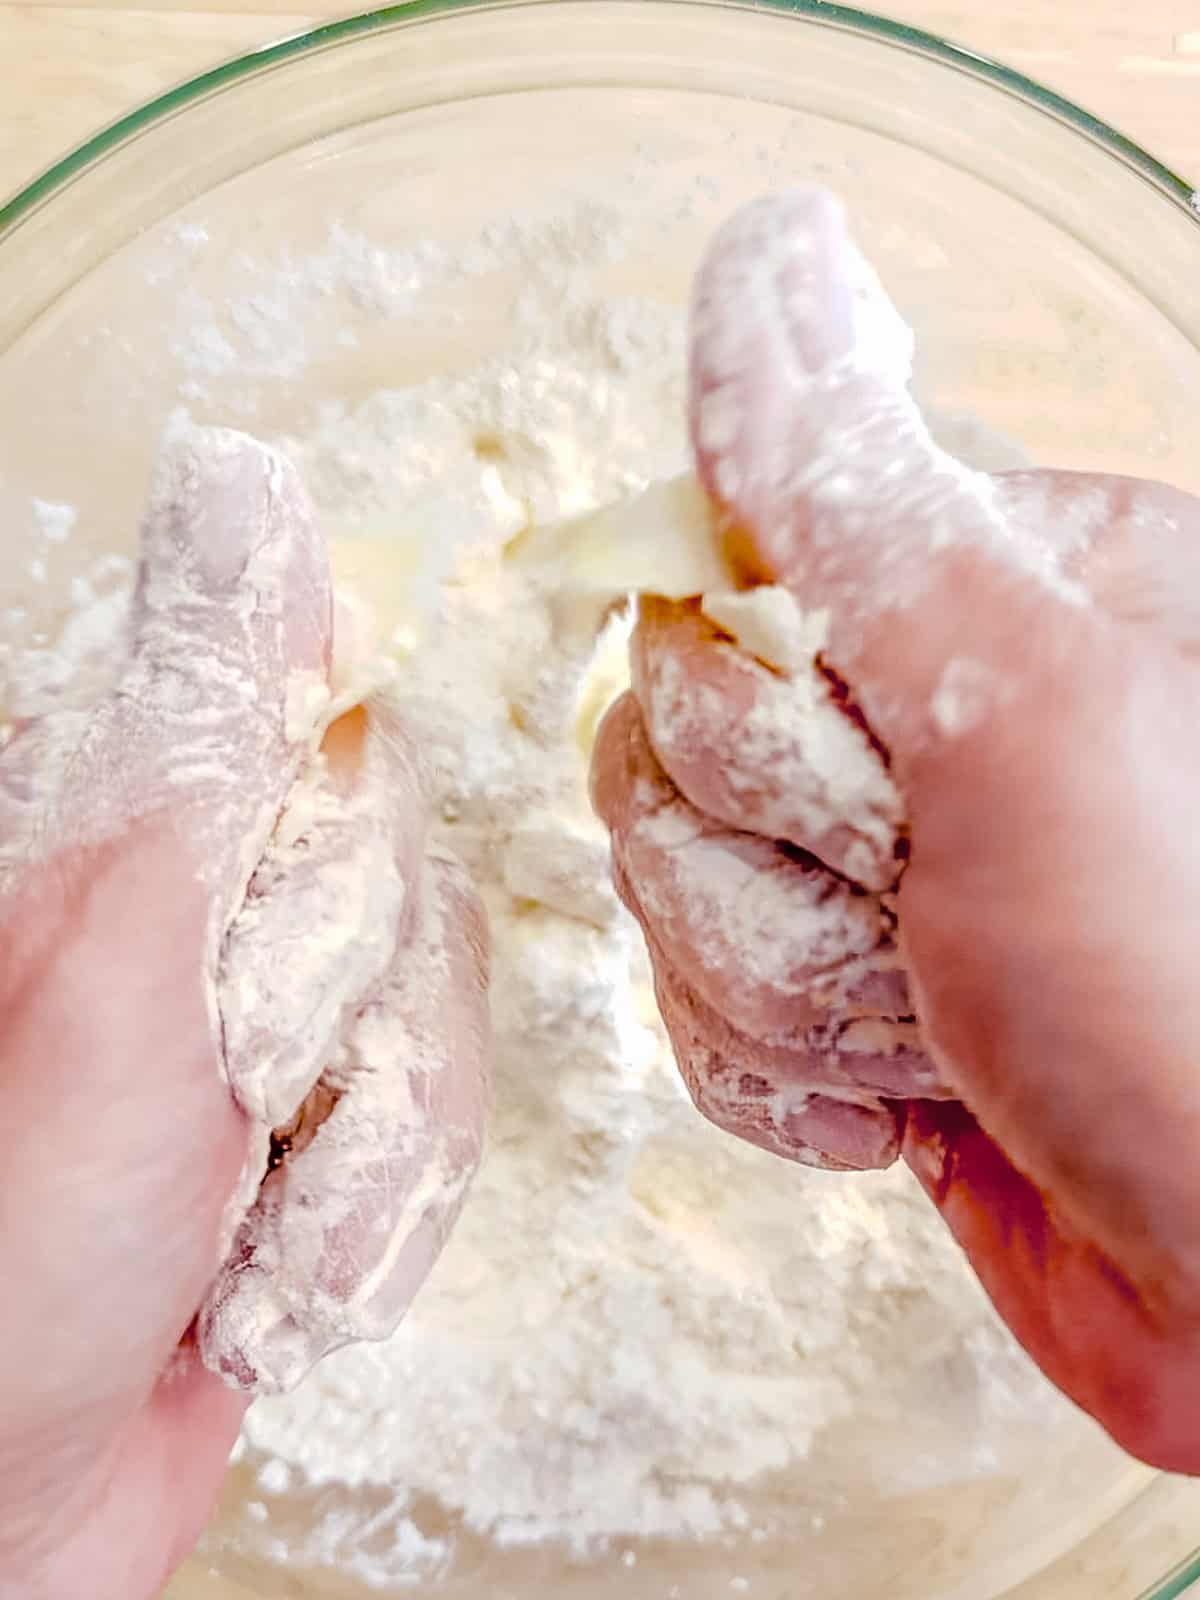
Step 2: Alternatively you can use a pastry cutter or use a finger snapping motion to bring the flour and butter together.
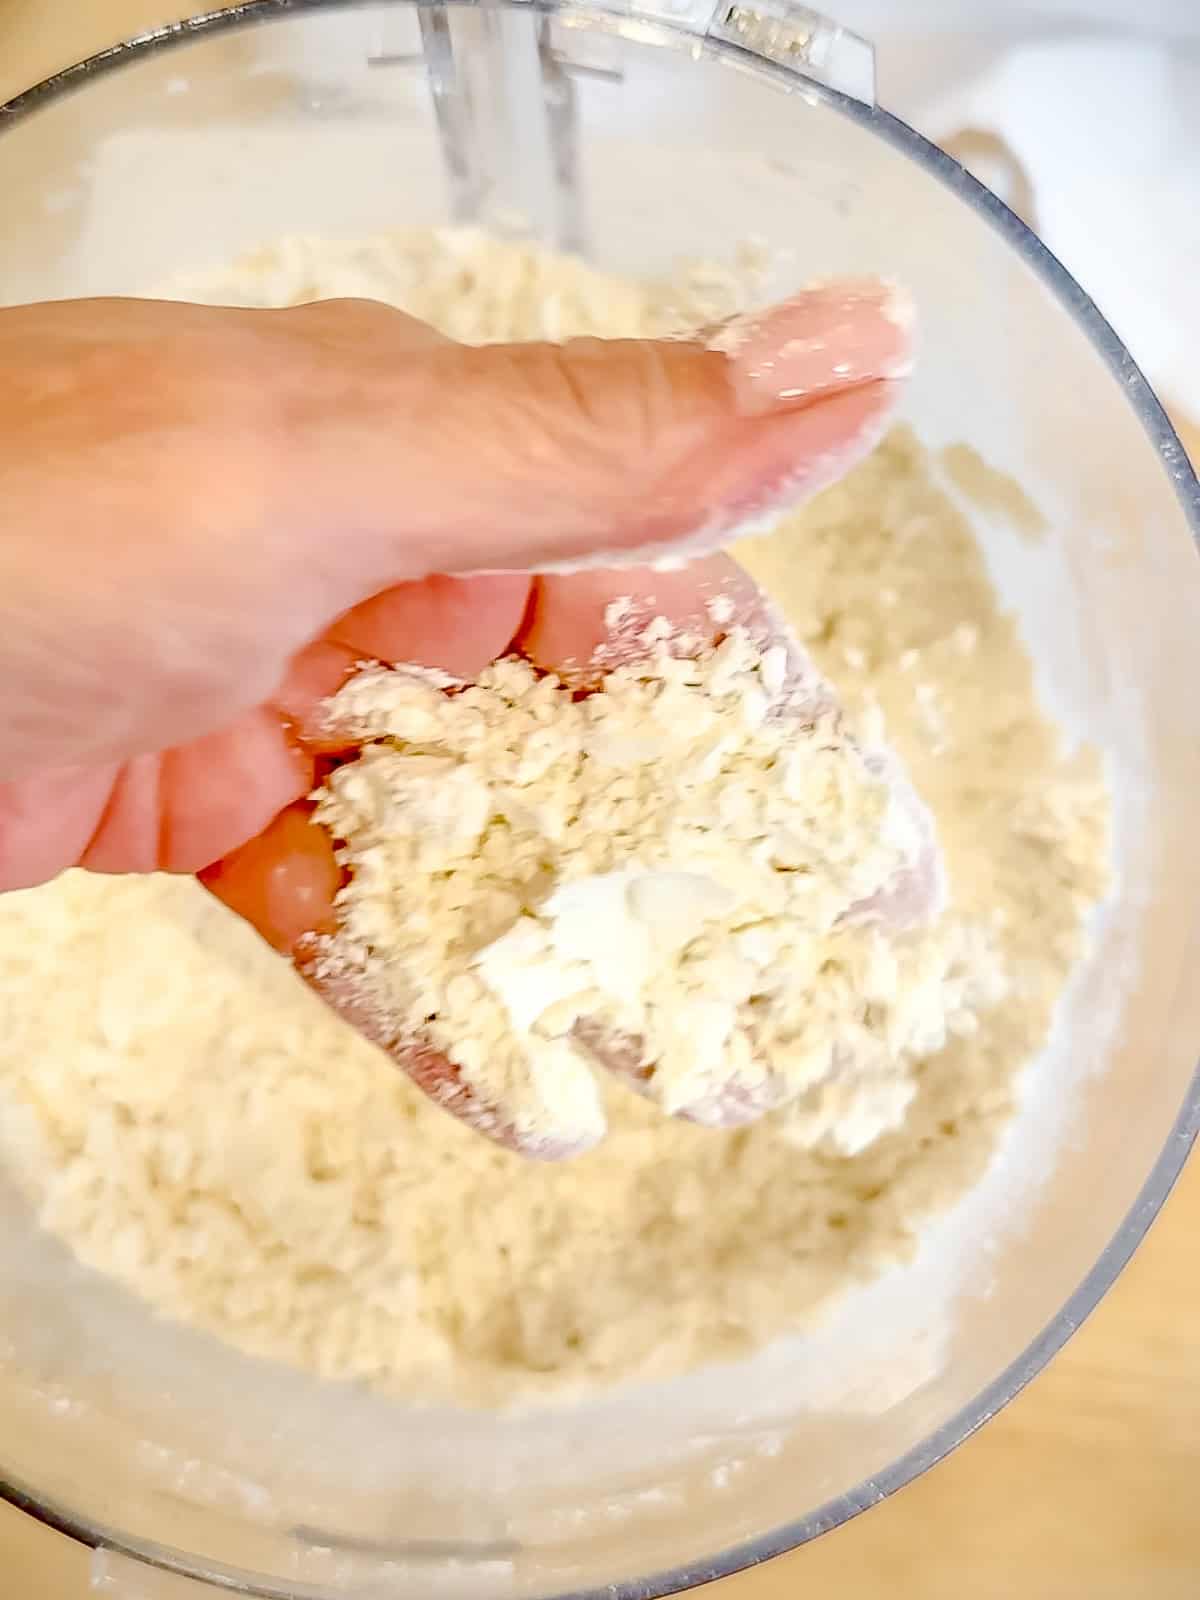
Step 3: You should end up with butter and flour the texture of lumpy cornmeal with some larger pieces of butter.
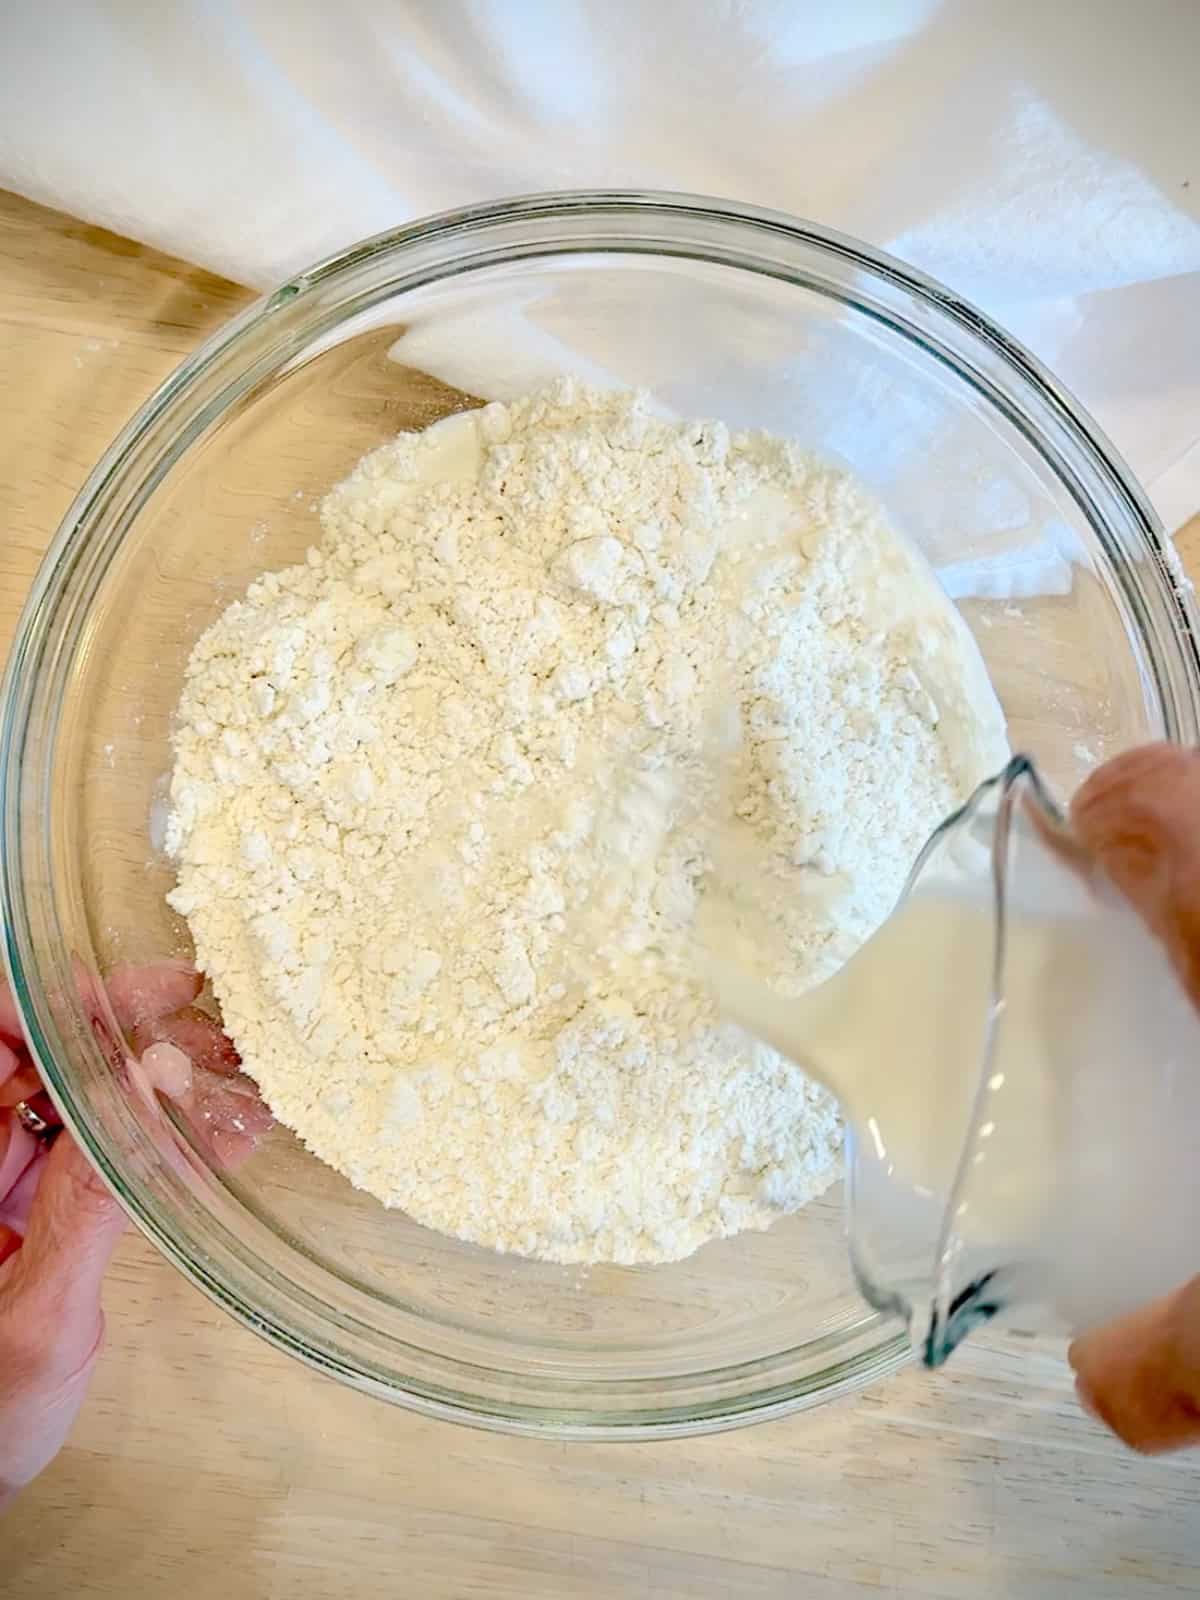
Step 4: Transfer flour mixture to a large bowl and pour in milk.
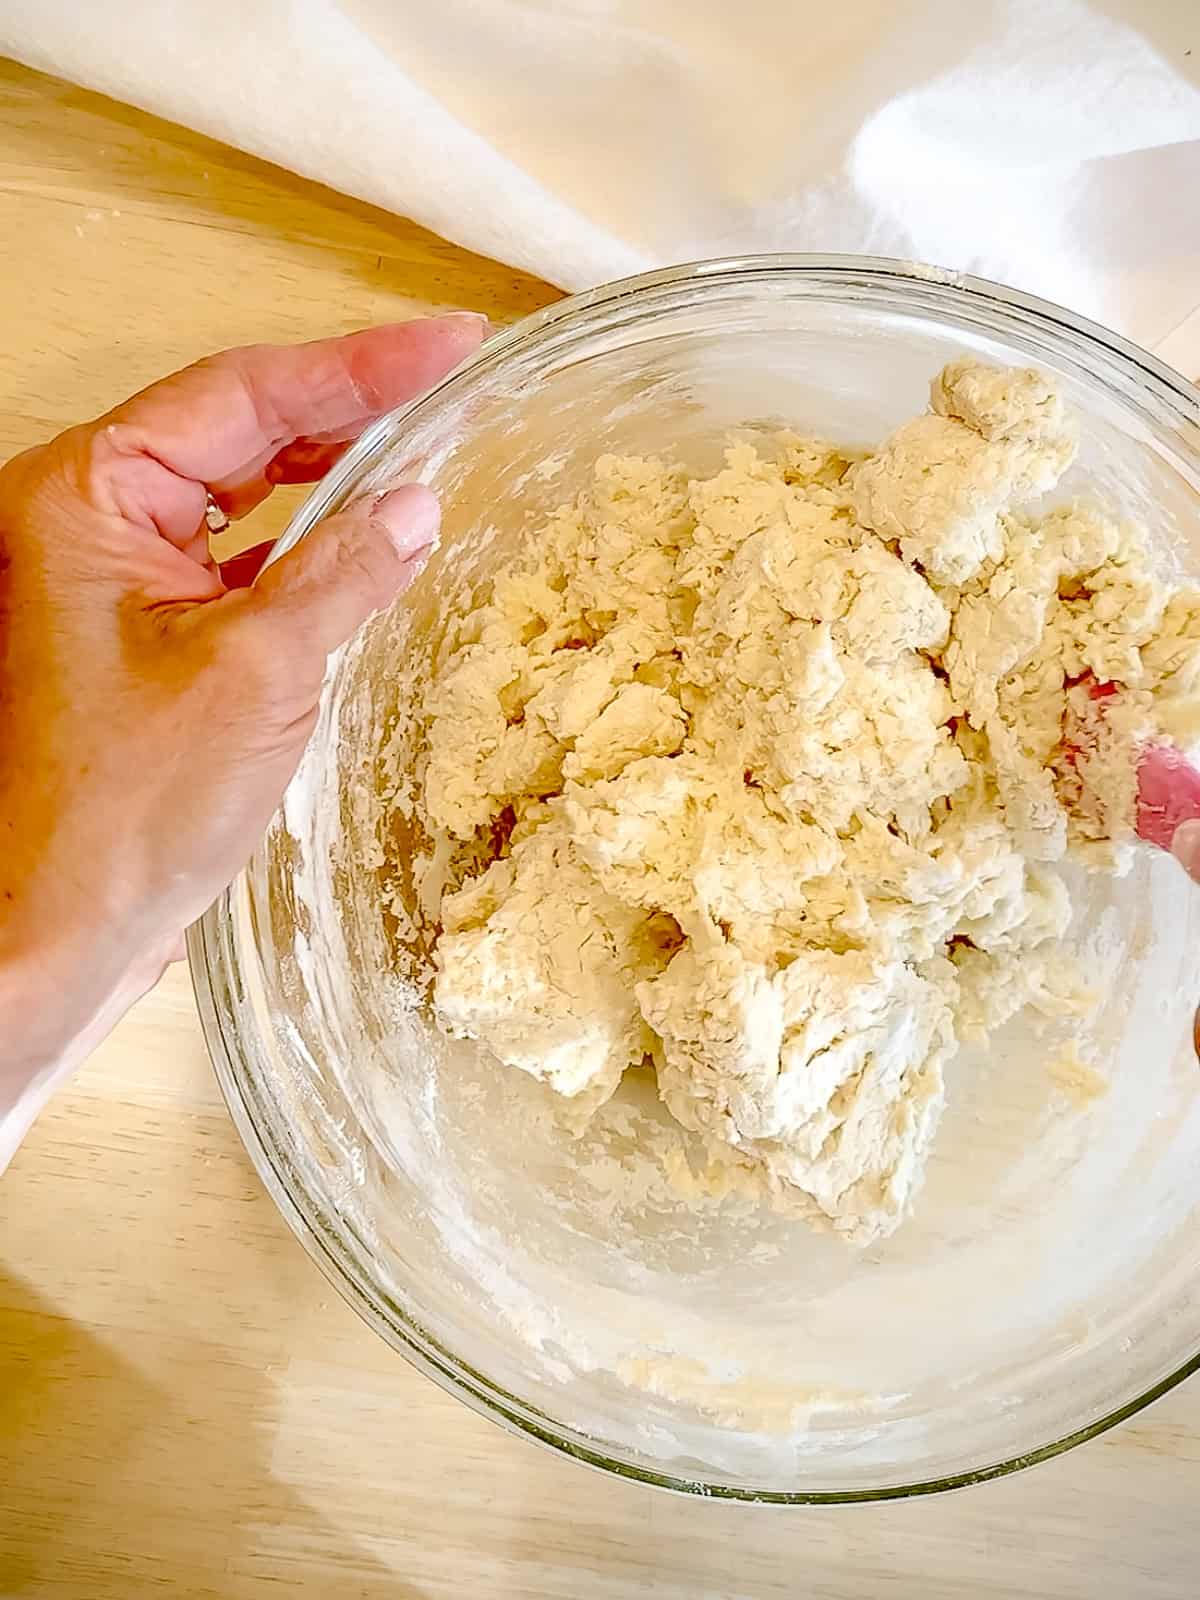
Step 5: Mix until you have a shaggy dough with just a little bit of dry flour at the bottom.
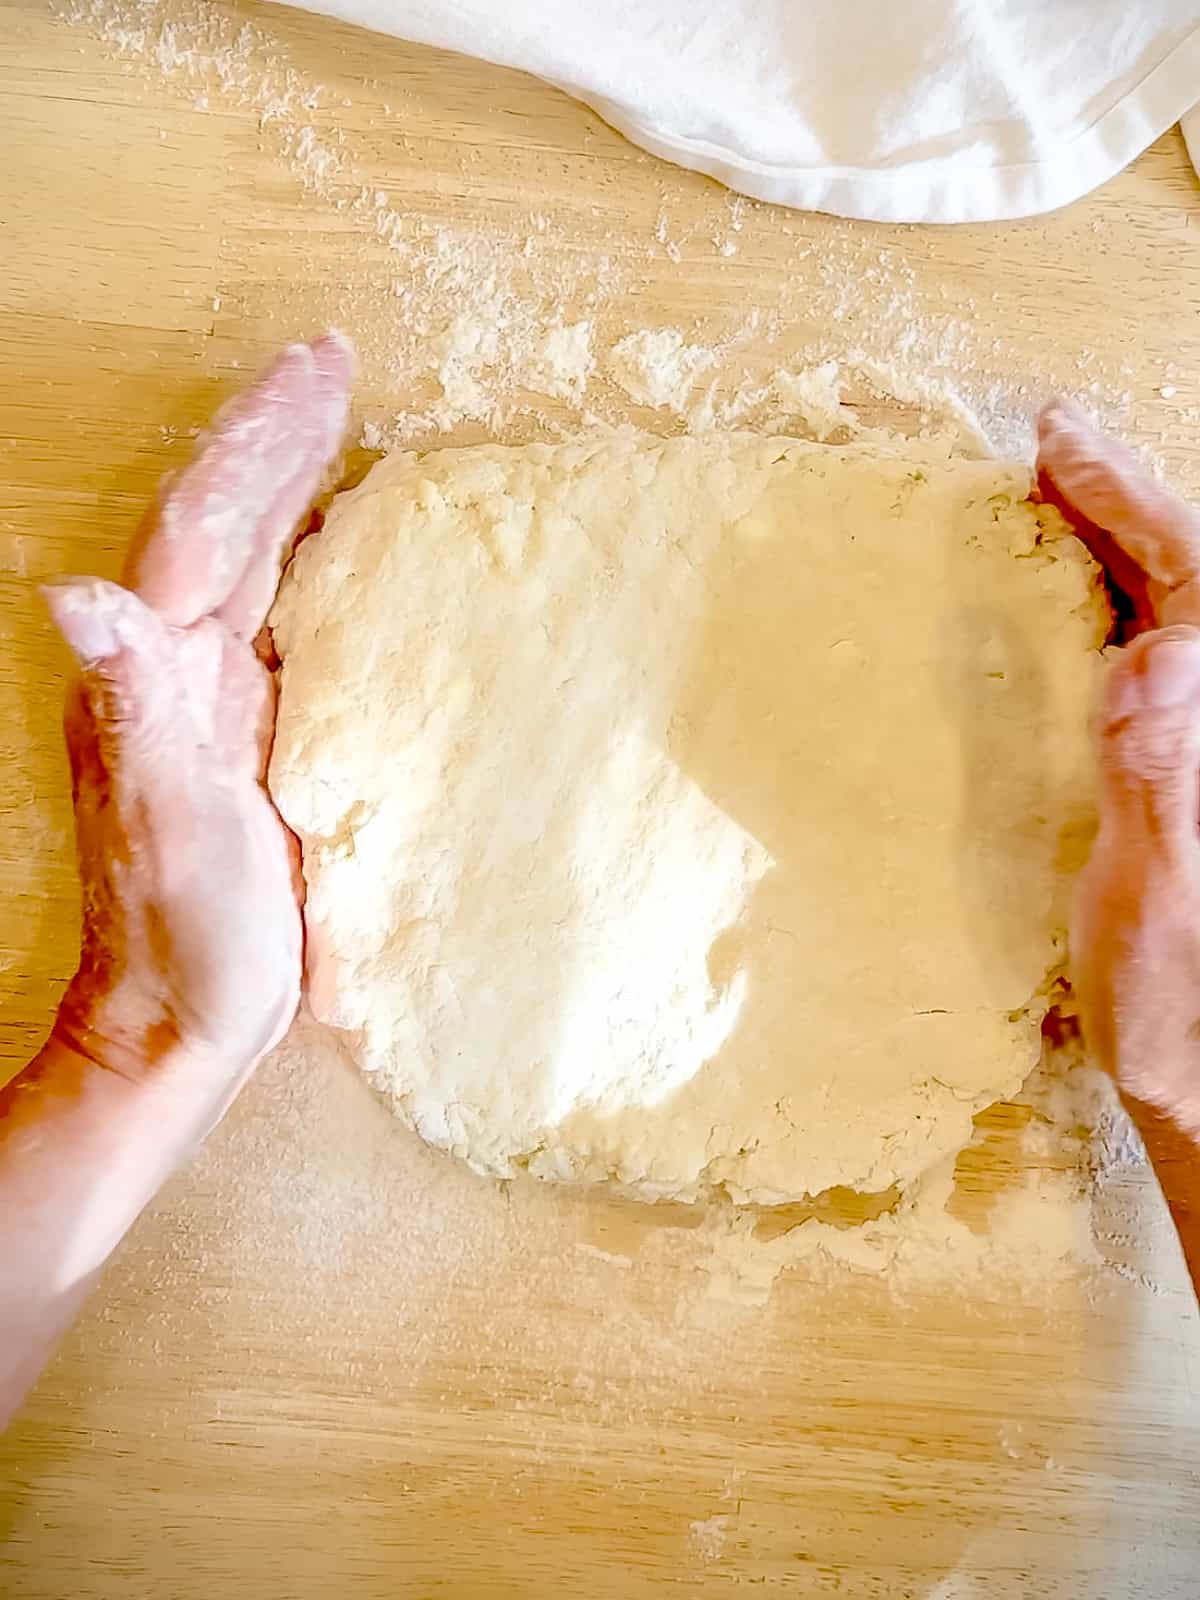
Step 6: On lightly floured surface, fold dough over on itself just until smooth. Use your hands, or a rolling pin, to press out biscuit dough to about ½ to
¾ inch thickness.
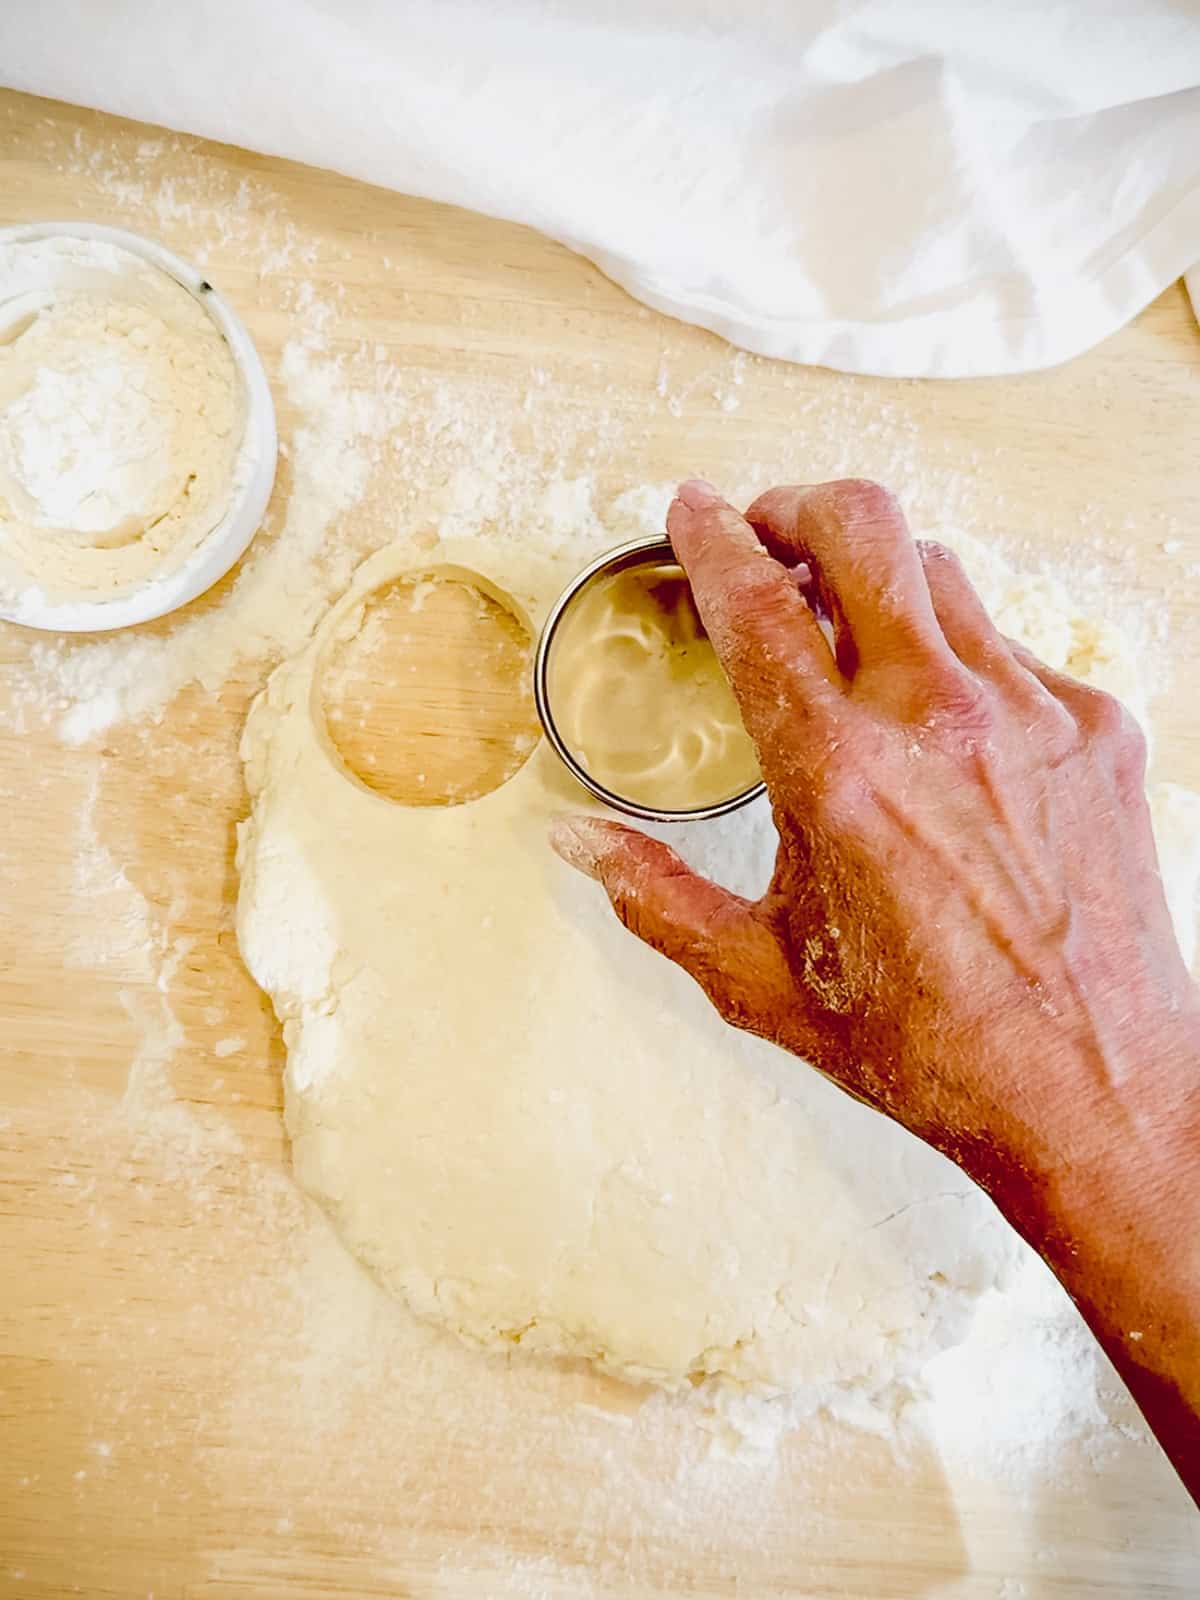
Step 7: Use a floured 2-inch round cutter or cookie cutter to cut biscuits. Gather together your scraps and cut out as many biscuits as you can. Place biscuits on your prepared baking sheet.

Step 8: Put the biscuits into the freezer to chill up the butter while you preheat the oven to 450°F. Brush the tops with more milk and bake for 12 to 15 minutes, or until golden brown and well risen.

Step 9: Remove from the oven and let cool for at least 10 minutes. I like to brush the tops of the biscuits with melted butter and sprinkle with flaky sea salt.
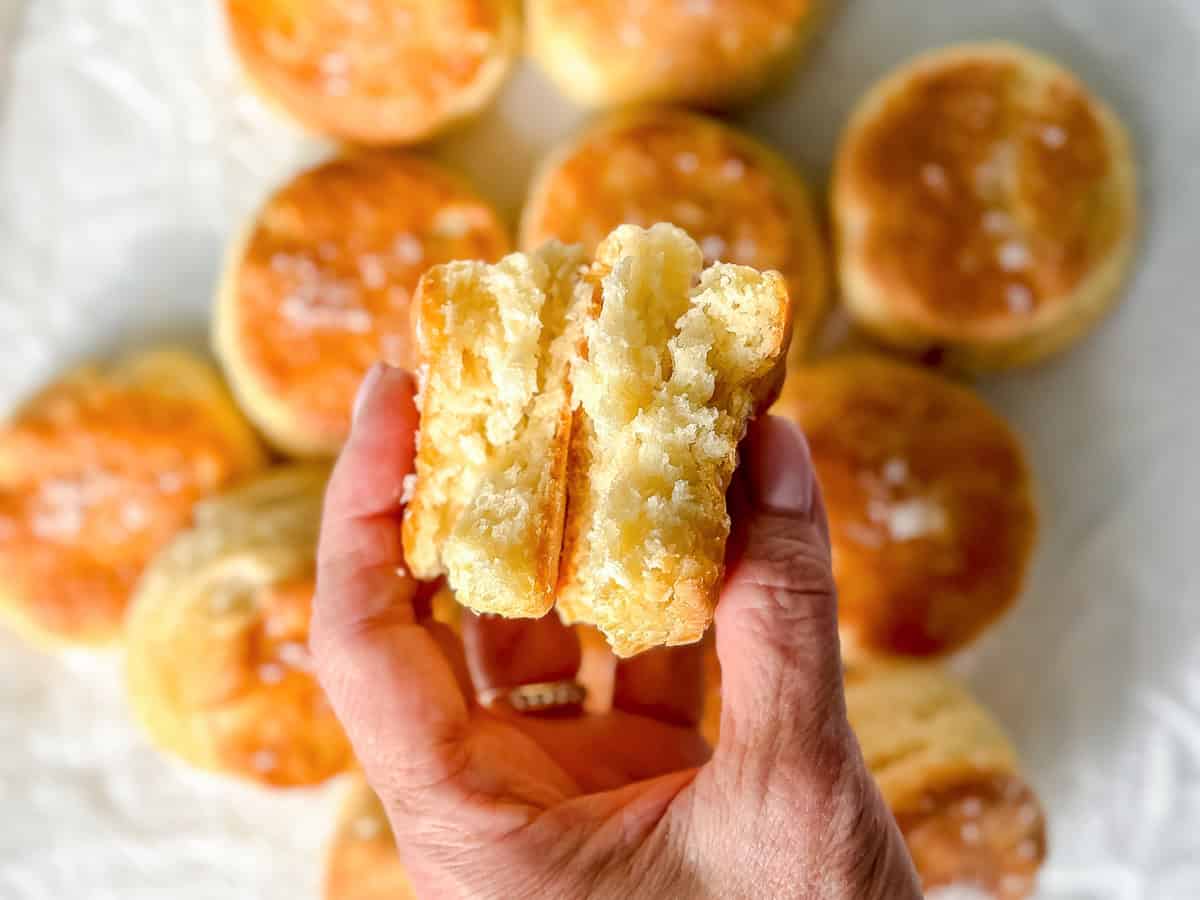
(p.s. Despite not doing my cut-and-stacks, I still get pretty flaky biscuits because I put them into the freezer to firm up the butter and I'm pretty happy about that.)
Work smarter, not harder For those days when everything is just a lot, try making my Food Processor Biscuits. All the work is done in the machine, and then all you have to do is cut, and bake!
Expert tip
Cutting out biscuits: Don't twist the cutter when cutting out biscuits. Doing so will compress the edges of the biscuits and they won't reach their full potential! Press straight down and pull straight back up!
If you don't have a biscuit or cookie cutter, resist the urge to use a drinking glass, or any old round thing, to cut out your biscuits. You need something sharp to cut them as this will also seal the edges and your biscuits won't rise as tall. If you don't have a biscuit cutter, make square biscuits by cutting with a bench scraper or knife.
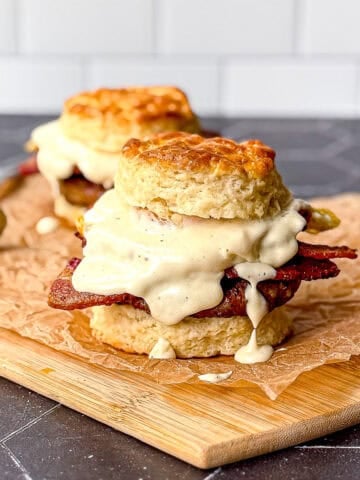
Leftover biscuits? No problem. Use them to make strawberry shortcake, cover them in sausage gravy, or reheat them and serve with honey butter for a late night snack!

Recipe FAQs
Yes you can, and I sometimes do. Since buttermilk is thicker than whole milk, you will need to use slightly more buttermilk to get the dough to the right consistency. Start with one cup and add more if needed, a couple tablespoons at a time.
Depending on how thick I roll the dough, and the size of my biscuit cutter, I can get up to 12 biscuits. If you want big 4 inch cathead biscuits, you can get about 6 with this recipe.
I like to serve biscuits warm, but wrap any leftovers or keep them covered for 2 days at room temperature. You can reheat for 10 seconds in the microwave, if needed.
Yes, you can freeze biscuits unbaked for up to 3 months. Remove desired number of biscuits from freezer and place on lined baking sheet. Brush tops with egg wash and sprinkle with flaky salt, if desired. Bake in a preheated to 425°F oven for 15 to 20 minutes, or until tall and golden brown. See my large batch freezer biscuit recipe for more details.
Take it easy For the easiest biscuits and gravy, try my 3 ingredient biscuits and gravy. Using just self rising flour, butter and milk, you can have a delicious biscuits and gravy on the table in less than 30 minutes!
More recipes using self-rising flour

Did you try this recipe?
Please consider leaving a comment with a ⭐️ rating below and tell me all about it! It helps me to continue to improve my content and lets others know what you think!
I appreciate it so much!
-Cynthia
📖 Recipe

Simple Homemade Biscuits (made with milk)
Equipment
Ingredients
- 2 ¼ cups (270 g) self-rising flour
- 8 tablespoons (112 g) unsalted butter very cold
- ¾ cup (183 g) whole milk very cold (can use 2% milk)
Instructions
- Place self-rising flour and cold butter cut into cubes into the bowl of your food processor and pulse 6 to 8 times. You should end up with butter and flour the texture of lumpy cornmeal with some larger pieces of butter.(Alternatively you can use a pastry blender or do a finger snapping motion with your hands to rub the flour and butter together.)
- Pour in your milk. Mix until you have a shaggy dough with just a little bit of dry flour at the bottom.
- On lightly floured surface, fold dough over on itself just until smooth. Roll out dough to about ½-inch thickness.
- Cut with floured 2-inch round cutter. Gather together your scraps and cut out as many biscuits as you can. Place on your prepared baking sheet.
- Put the biscuits into the freezer to chill up the butter while you preheat the oven to 450°F. Brush the tops with more milk and bake for 12 to 15 minutes, or until golden brown and well risen.
- Remove from the oven and let cool for at least 10 minutes. I like to brush the tops of the biscuits with melted butter and sprinkle with flaky sea salt.





Jacqueline says
This recipe was super easy and quick to whip up. And the biscuits were very yummy. Everyone loved them. I had to make them somewhat dairy free (lactose free milk, clarified butter for brushing the baked biscuits) for a friend with dietary issues and they still came out great and did not bother her stomach. Add yet another biscuit recipe to the arsenal! How am I to choose which one to make? Thank you Cynthia
Jacqueline says
This recipe was super easy and quick to make. They were very delicious. I used lactose free milk and they still came out great. Everyone enjoyed them.
Cynthia Christensen says
I’m so glad everyone enjoyed them!
Rebecca says
Such an easy recipe! I didn't think I would be able to make 1 batch let alone 2! Can't wait to pair them with your sausage gravy recipe for dinner tonight!
k says
fantastic recipe! great as is. i have also had a handful of chopped jalapenos or berries from my garden for a weird twist that is always pleasant and refreshing. thank you for this base!
Cynthia Christensen says
Okay so now I want to make a blueberry jalapeno biscuit!
Cynthia Webb says
So easy to make 3 ingredients that's it taste so good I didn't have the tool to cut the butter into the flour,so use I my fingers with a snap 🫰
Lauren Wills says
Hi Cynthia, so I made your recipe for the biscuits they are very very delicious but the only problem I had was I couldn't get the dough to pull together so I added a couple cap fulls of milk and that seemsedf to do the trick! I don't own a food processor so that could have been my problem 😀. They're definitely tall and fluffy, and went great with my sausage gravy. I will definitely make these again
Cynthia Christensen says
The dough may not always come together perfectly, depending on a number of factors. Did you weigh your ingredients on a scale? Everybody's "scoop” of flour is a little bit different, which is why I always include weight in grams. And did you know that not every measuring cup is exactly the same? I had a friend check flour by weight using 4 different measuring cups that she owned and there were differences between them of as much as 20 or 30g, which makes a huge difference in baking! Sometimes even the humidity in the room can affect the way the flour absorbs the milk, leading you to need to add a little extra. Great job in looking for the right texture and adjusting! That's what makes a great baker ❤️
Edgar Neal says
I think it’s a 10 very easy to follow.
Cynthia Christensen says
That’s great to hear! Thank you!
Teresia Sexton says
I made these biscuits but substituted unsalted butter with salted butter. They came out perfect and they are very delicious.I’ll be keeping this recipe as my biscuit recipe. Just like my grandmother used to make. I love them, they’re scrumptious!!! Thanks for sharing your recipe with us.
Cynthia Christensen says
Comparing my biscuits to your grandmother's is the highest compliment! Thank you so much 🥰