



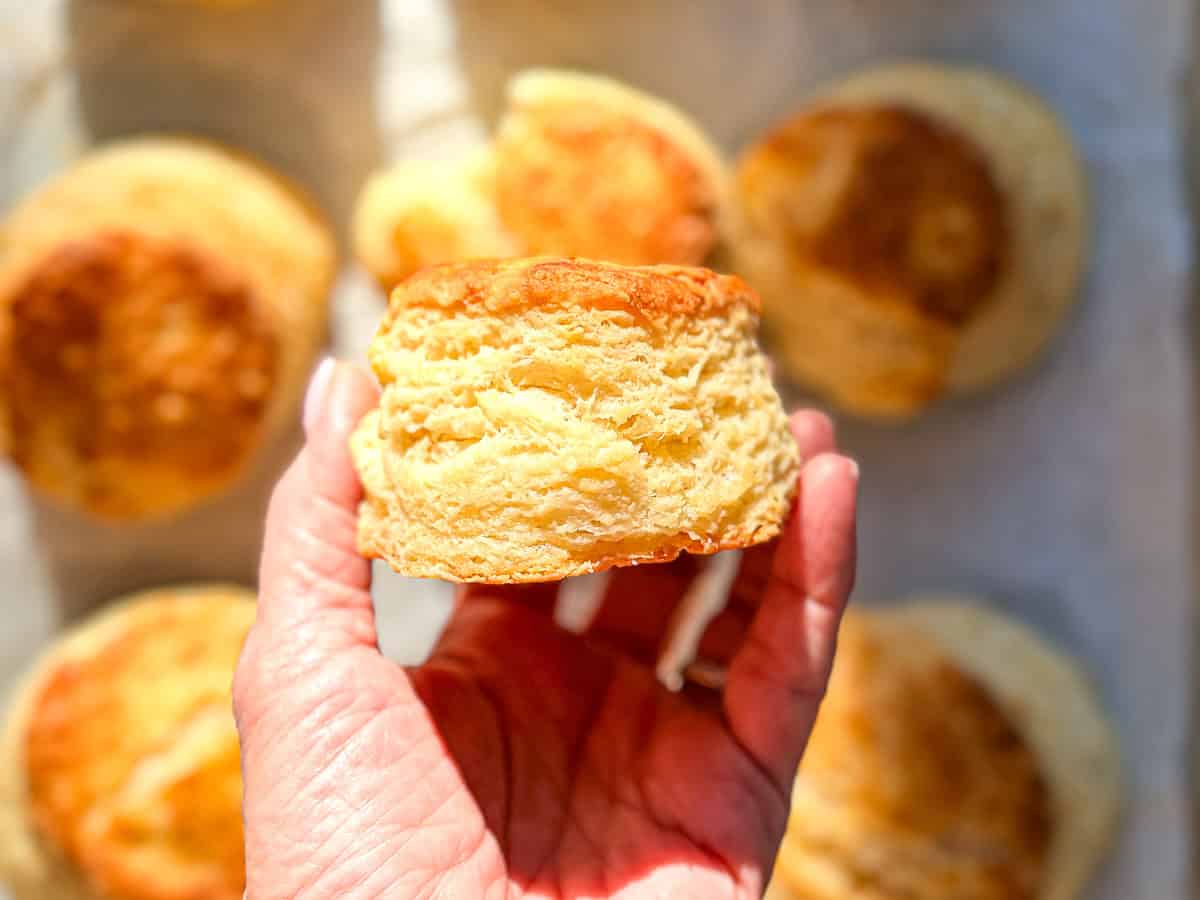
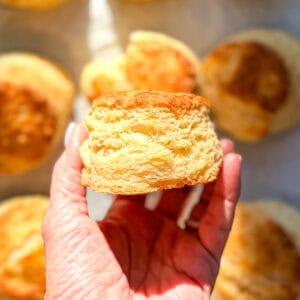
These Easy Buttermilk Biscuits are tall, buttery, and full of flaky layers, with golden tops and tender centers that steam when you pull them apart. Made with simple ingredients, they come together quickly and are my go-to classic buttermilk biscuit recipe for breakfast, brunch, , or any plate that just needs one more warm biscuit on it.
Save This Recipe! 💌
Flaky Buttermilk Biscuits were my personal baking Everest. For someone born in Chattahoochee County, Georgia, you would think I would have had these mastered from childhood. Nope. Flaky biscuits, fluffy biscuits, hockey puck biscuits... I baked them all, usually by accident.
Every now and then, I got lucky enough to eat my Grandma Olga Mae's biscuits. She made all butter biscuits with more layers than seemed humanly possible. Every Sunday before church she would shape them like it took no effort at all, and those biscuits lived rent free in my head for decades.
As soon as I became a grown-up with my own kitchen, I was determined to make biscuits like hers. I read every flaky biscuit recipe I could find, tested every technique, and made a solid amount of questionable bread-like objects. But I never quit. And finally, these biscuits became the ones I had been dreaming about. Tall. Soft. Golden. And full of flaky layers you can actually see.
Jump to:
IN THIS POST YOU WILL LEARN
- Real time biscuit troubleshooting so you can fix problems as they happen.
- How to get tall flaky layers without overworking the dough.
- What buttermilk does in a biscuit recipe.
- How cold butter affects texture.
- The stacking method that creates visible layers.
Why you'll love this recipe
- Flaky layers - Cold butter and the cut-and-stack method create tall biscuits with distinct, pull-apart layers.
- Speed - The dough takes about 10 minutes to mix and shape.
- Simplicity - Basic pantry ingredients turn into bakery-worthy biscuits.
- Versatility - Great for breakfast, brunch, biscuits and gravy, or alongside savory dishes.
- Beginner friendly - Clear steps, process photos, and troubleshooting tips help you know what the dough should look and feel like.
The secret to perfect flaky layers in buttermilk biscuits is keeping the butter cold and using the cut-and-stack method. Stacking the dough builds distinct layers without overworking it, and when those cold pieces of butter hit the hot oven, the water in the butter turns to steam and helps separate the layers as the biscuits rise.
If you grew up with canned biscuits like I did, or if biscuit making has ever felt intimidating, this recipe walks you through every step in a way that feels doable. From mixing to cutting to stacking, the photos show you exactly what to look for along the way.
Perfect match There's nothing better than buttermilk biscuits, except maybe for biscuits and gravy, especially when it's my dad's bacon gravy recipe. It goes great ladled generously over these biscuits.
Ingredients & Substitutions
The photo below shows everything you need to make this recipe. Below are the major ingredients and how you can substitute them if needed.
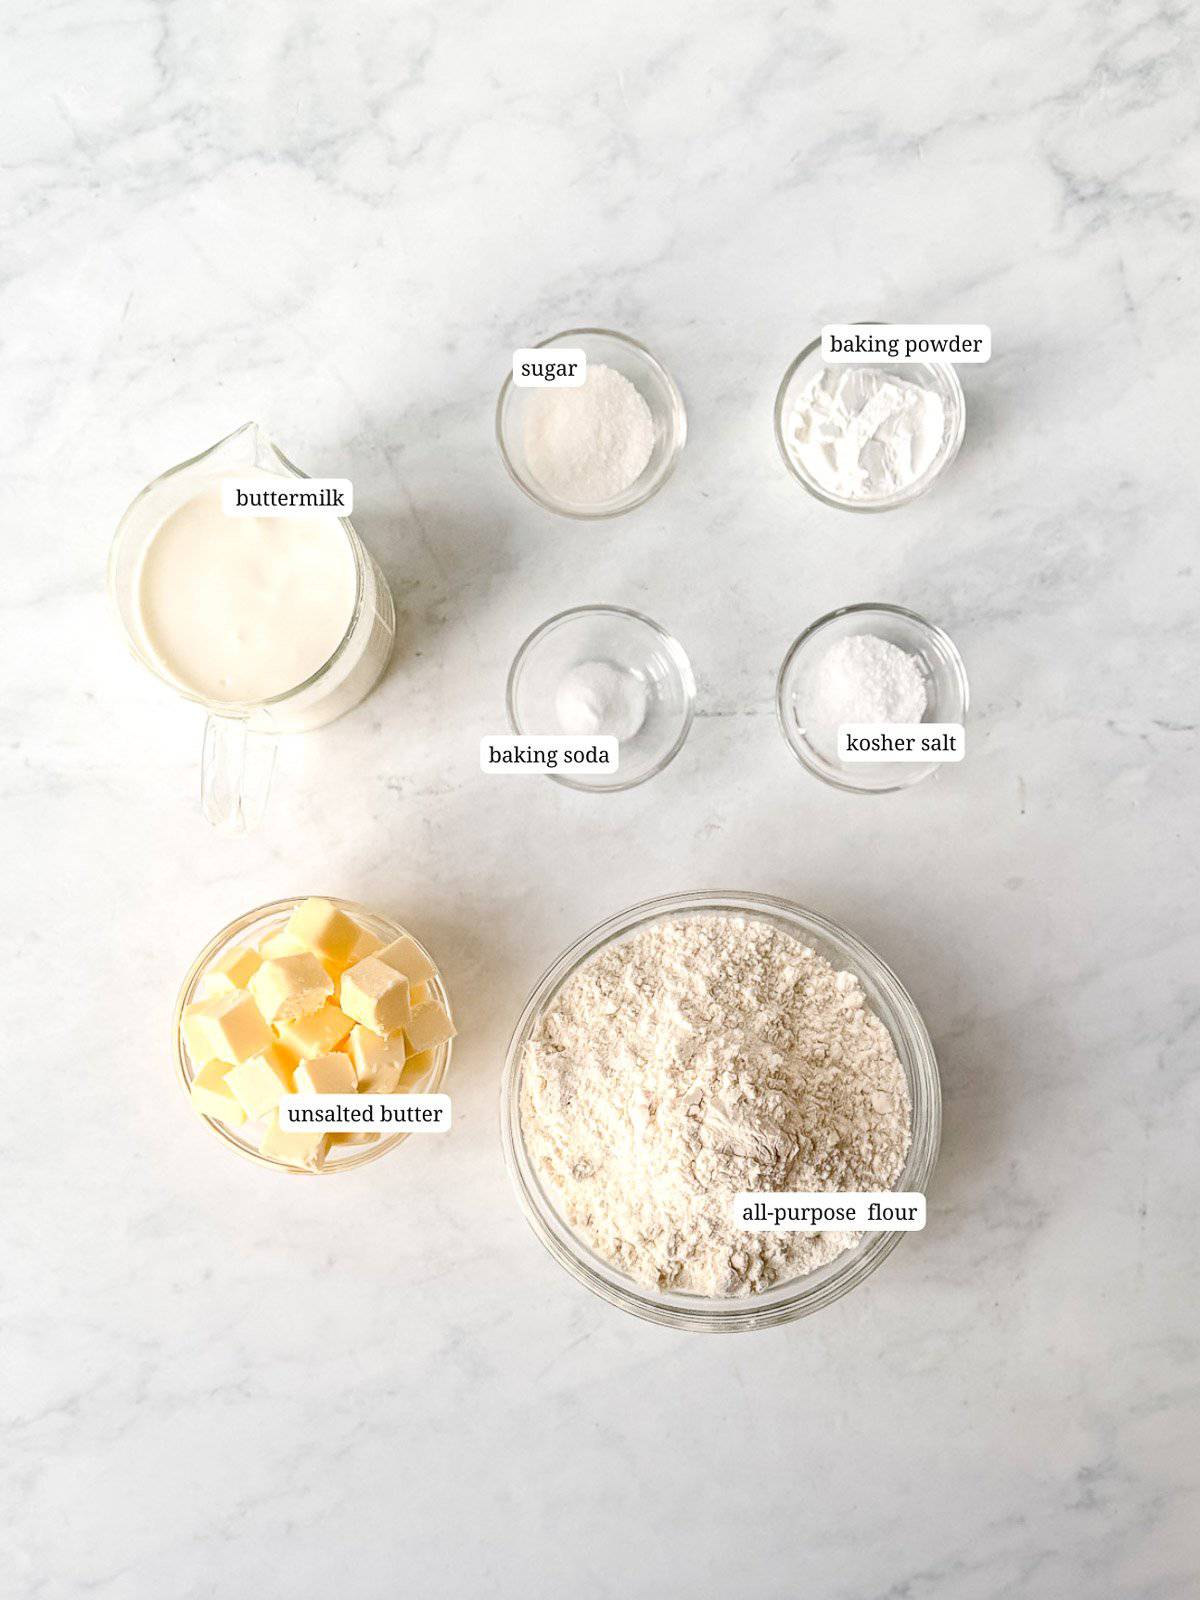
- All purpose flour - I use all purpose flour for this recipe, although you can use half cake flour for more tender biscuits.
- Cold butter - Use unsalted butter and make sure it is very cold. Grated or cubed are both fine. If you only have salted butter, reduce the added salt by half.
- Buttermilk - Use real cultured buttermilk. Buttermilk not only adds taste and tenderness for your biscuits, but it also reacts with the baking soda to ensure a tall biscuit. If you need a substitute, use kefir, plain yogurt thinned with water, or sour cream thinned with water. Do not use "homemade" buttermilk made with lemon juice or vinegar. It won't have the same taste or texture.
- Baking powder - Gives the biscuits their rise and tenderness. Do not skip this!
- Baking soda - Helps the biscuits brown and reacts with the acidity in the buttermilk, giving taller and more tender biscuits.
- Salt - Salt is essential for flavor, browning, and structure. I use kosher salt, but if you only have common table salt, use half the amount.
See recipe card below for a full list of ingredients and measurements.
Variations
I have a lot of biscuit recipes on this website, but my favorites always start with a base of these easy buttermilk biscuits. Here are a few ways that I have changed up my recipe:
- Jumbo - Down South we call them cathead biscuits because... well, they are the size of a cat's head. Perfectly sized for breakfast sandwiches and big appetites.
- Just a few - Sometimes it's just me and The Boy, so I make a small batch of biscuits.
- Taste of Spring - I Love when my chive plant starts growing those beautiful purple chive blossoms and I can make my chive blossom biscuits.
- Mix-ins - I've made Ham and Swiss, Gruyere and chive biscuits, and my Cheddar and Chive, and Cacio e Pepe Biscuits are always a huge hit!
- Drop biscuits - One of the most common biscuits in the South are simple drop biscuits, where you literally mix everything up and "drop" spoonfuls into your skillet, or on a sheet pan, and bake.
- Sweet biscuits - Biscuits aren't just for hearty, savory meals, they are also delicious for dessert or as treats. I love to make my cream biscuits into the best strawberry shortcake, but I also love to make blueberry biscuits or strawberry biscuits drizzled with vanilla glaze.
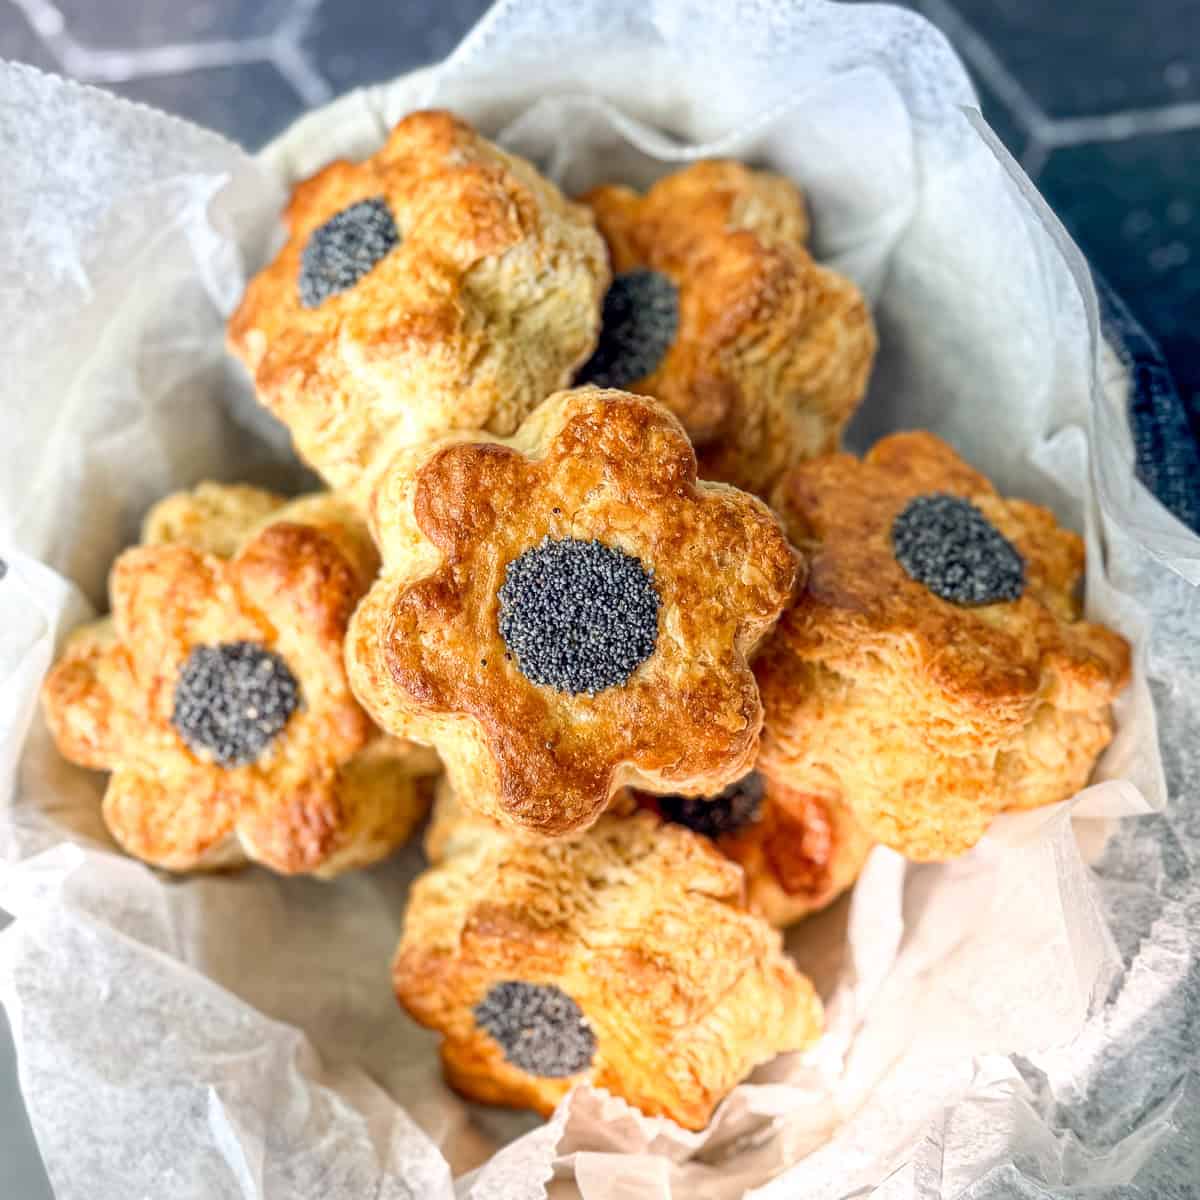
- Fun Biscuits - I love to cut my biscuits into different shapes and sizes to suit my mood. Everything from mini biscuits with small ring cutters to flower biscuits with poppy seed centers using my flower cutters. Have a deliciously good time!
Up the flavor Try adding pimento cheese to your biscuit dough for the most amazing savory pimento biscuits. Cheesy biscuits have never been so delicious!
Cynthia's Recipe Review
These buttermilk biscuits make me ridiculously happy. They taste just like the biscuits I remember from my childhood, only taller and flakier. My Grandma would be proud to serve them.

TROUBLESHOOTING YOUR BISCUITS
Don't wait until it's too late. Here are ways to ensure your biscuits are going to be the best ever!
- Dough feels too dry: Drizzle in 1 to 2 teaspoons of extra buttermilk at a time and gently fold it in. Biscuit dough should look shaggy, not wet (see process photos).
- Dough feels too wet or sticky: Lightly flour your hands and work surface. Dust the dough, fold it once or twice, and continue. Sticky dough is normal, but it should not be wet
- Butter is too soft while shaping: Stop and pop the dough into the freezer for 5 minutes. Warm butter can melt into the flour and prevents those flaky layers.
- Biscuits are not rising: Check that your oven is fully preheated to 450°F. Cold biscuits plus a hot oven equal a tall rise.
- Layers look uneven or crumbly: This usually means the dough was handled too much. Fold once or twice more, then stop. Over mixing kills layers, but gentle stacking fixes it fast.
- Biscuits are falling over: it's too late to fix this one now, but next time remember this formula that: if your dough is more than three-quarter inch thick, use at least a 3 inch biscuit cutter. If a half inch or smaller, you can use a 2 inch biscuit cutter.
Quick Recipe Video
Step-by-Step Instructions
Start by taking a breath. Biscuits should feel fun, not stressful. Follow the photos below and remember that shaggy dough is good dough. As long as your butter starts cold and you don't overwork the dough, these will bake up beautifully.
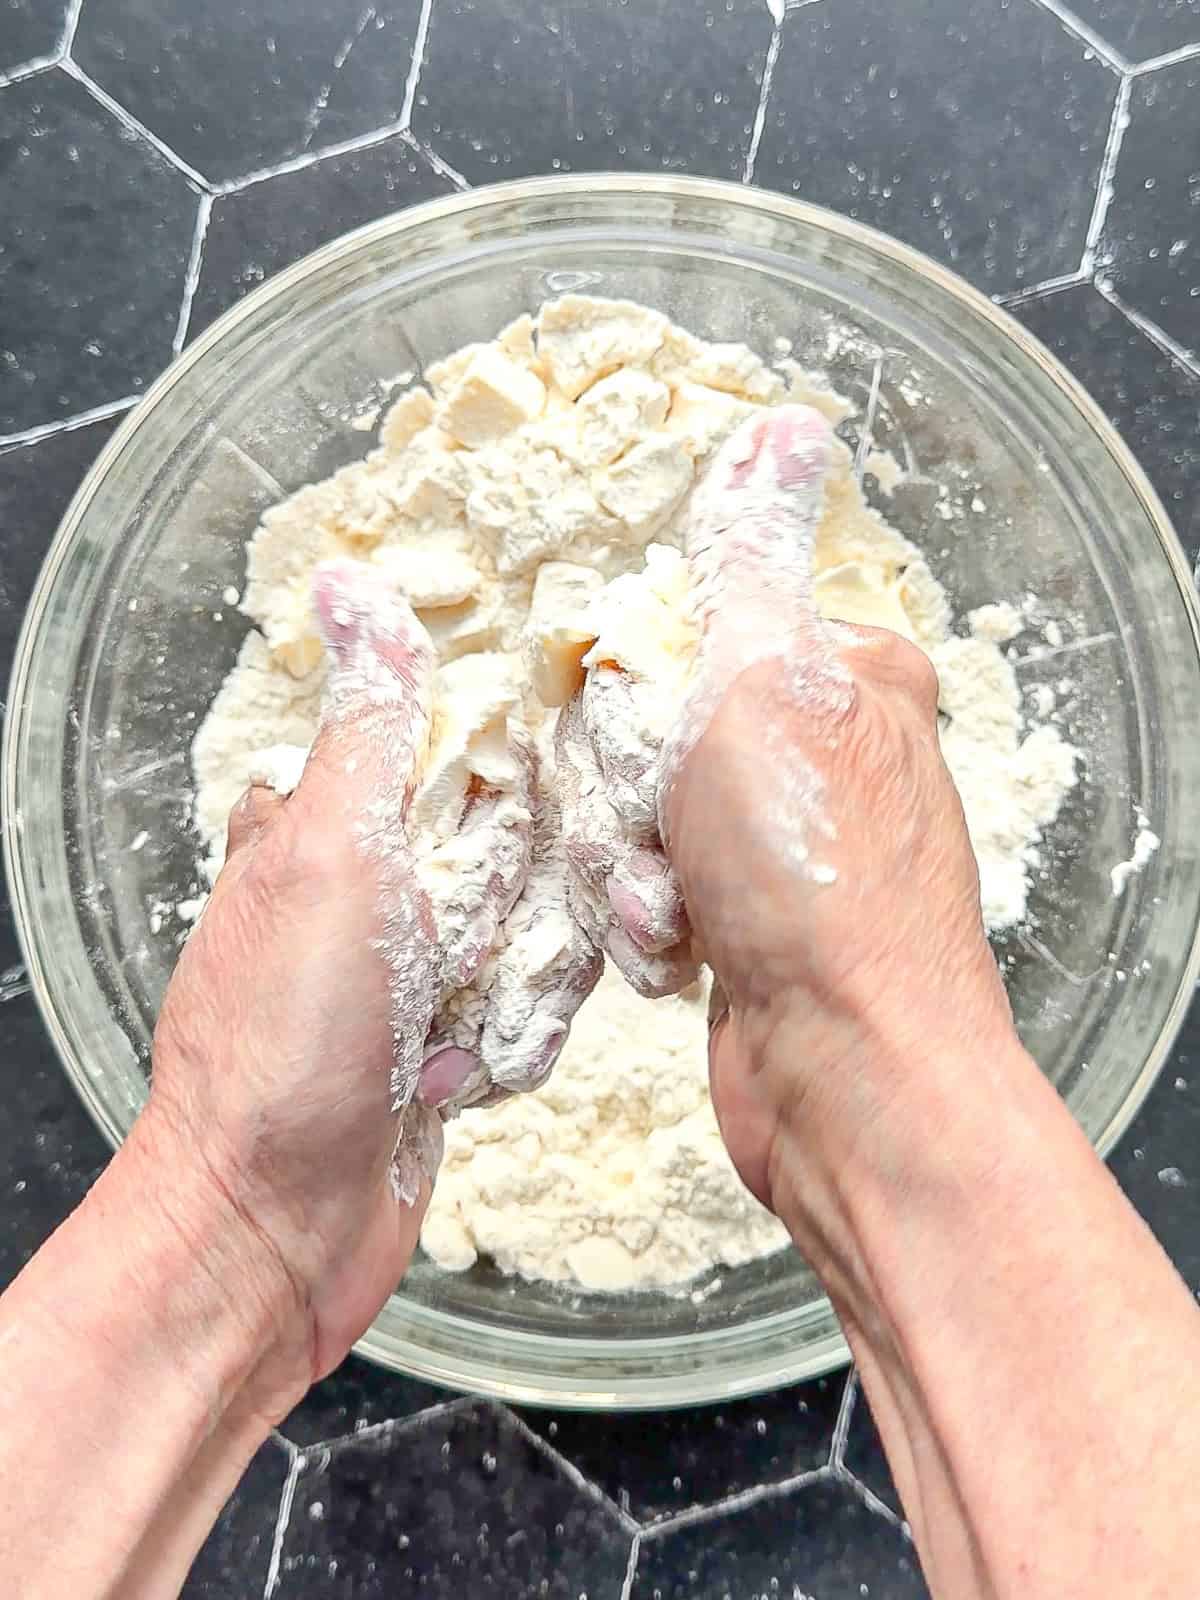
Step 1: Whisk together flour, baking powder, baking soda, sugar, and salt. Add cold butter and cut it into the flour using a pastry cutter or snap it in with your fingers.
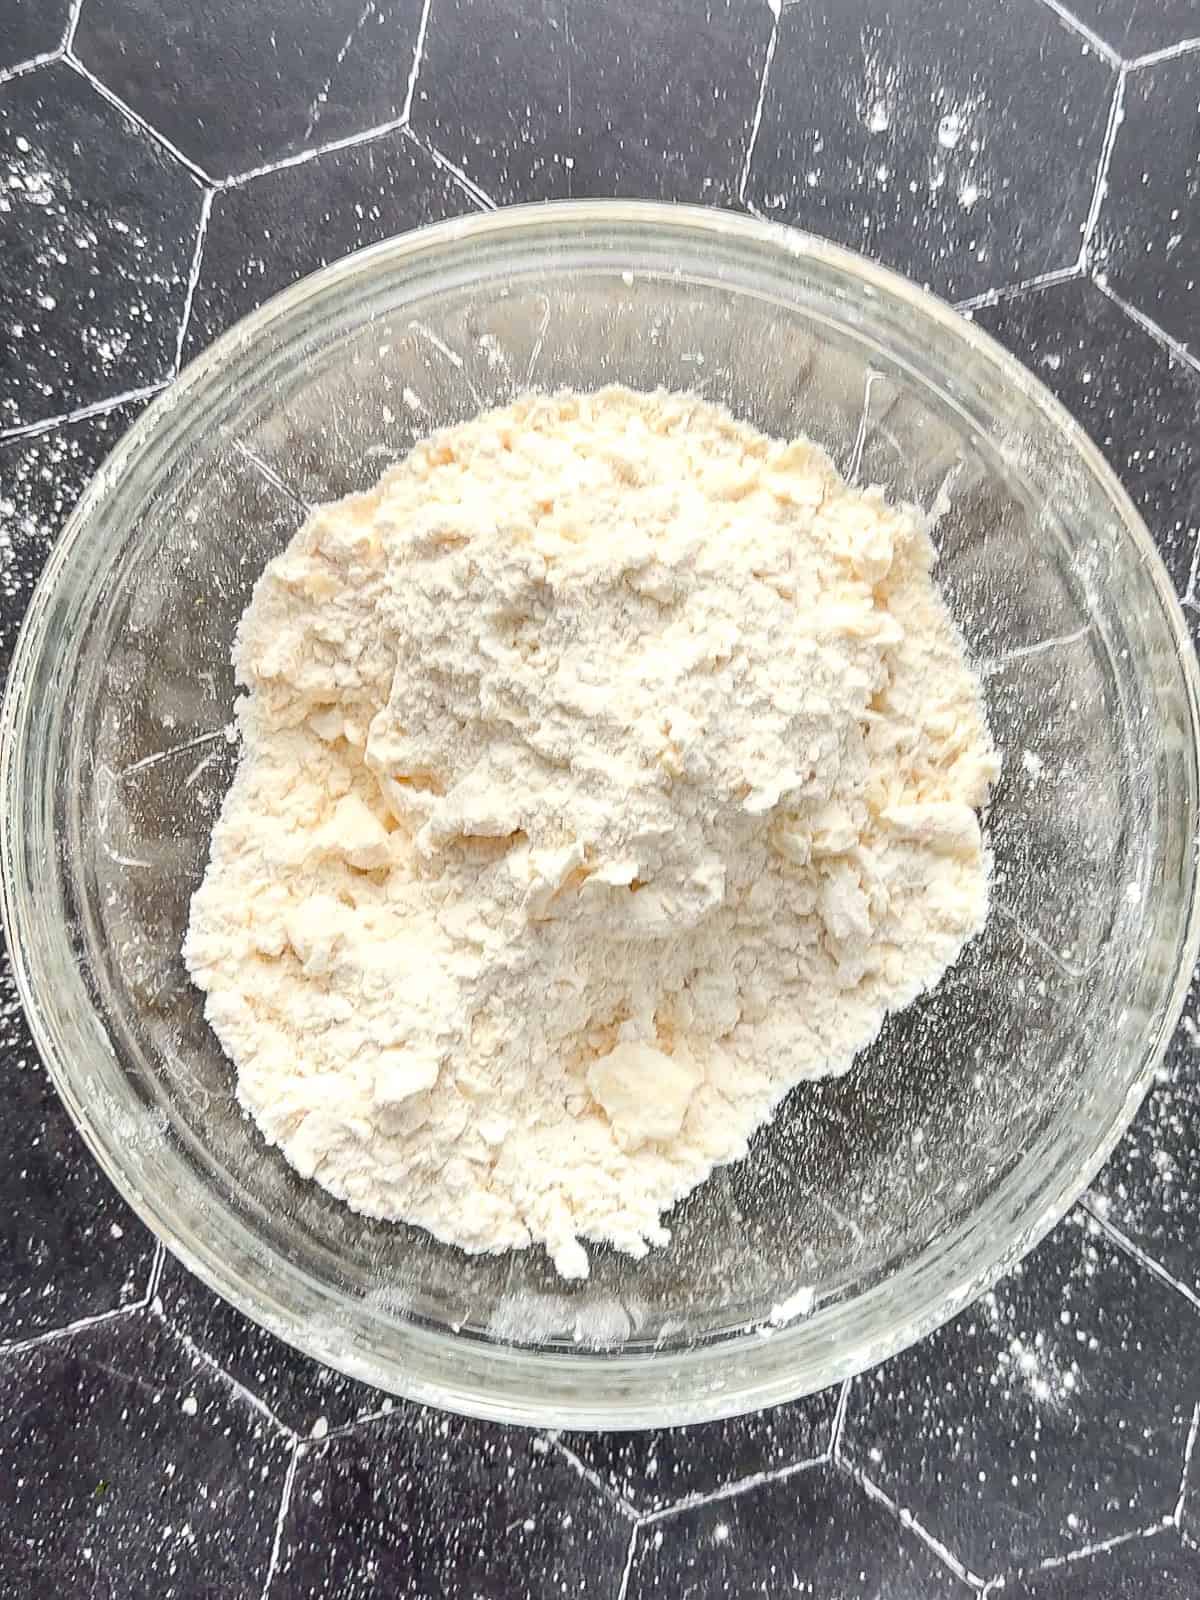
Step 2: Continue until you have flat and crumbly pieces of butter.
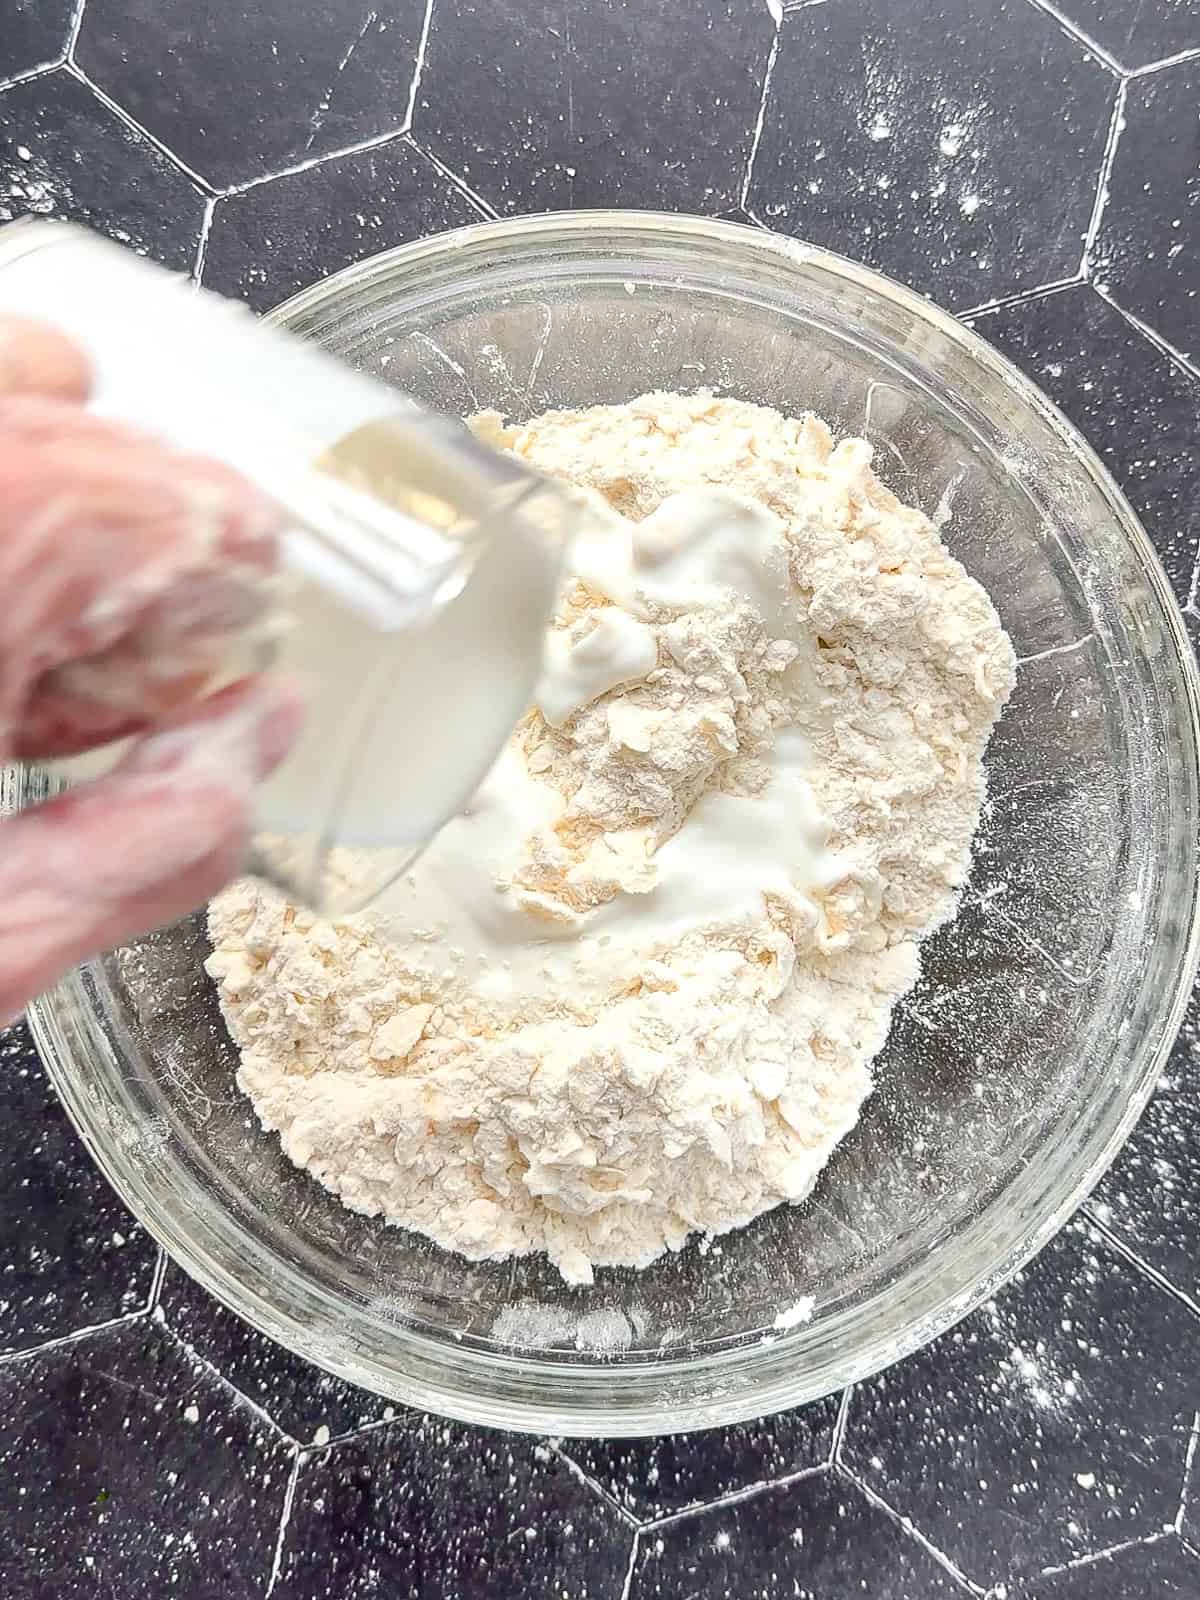
Step 3: Make a well in the center and pour in the cold buttermilk.
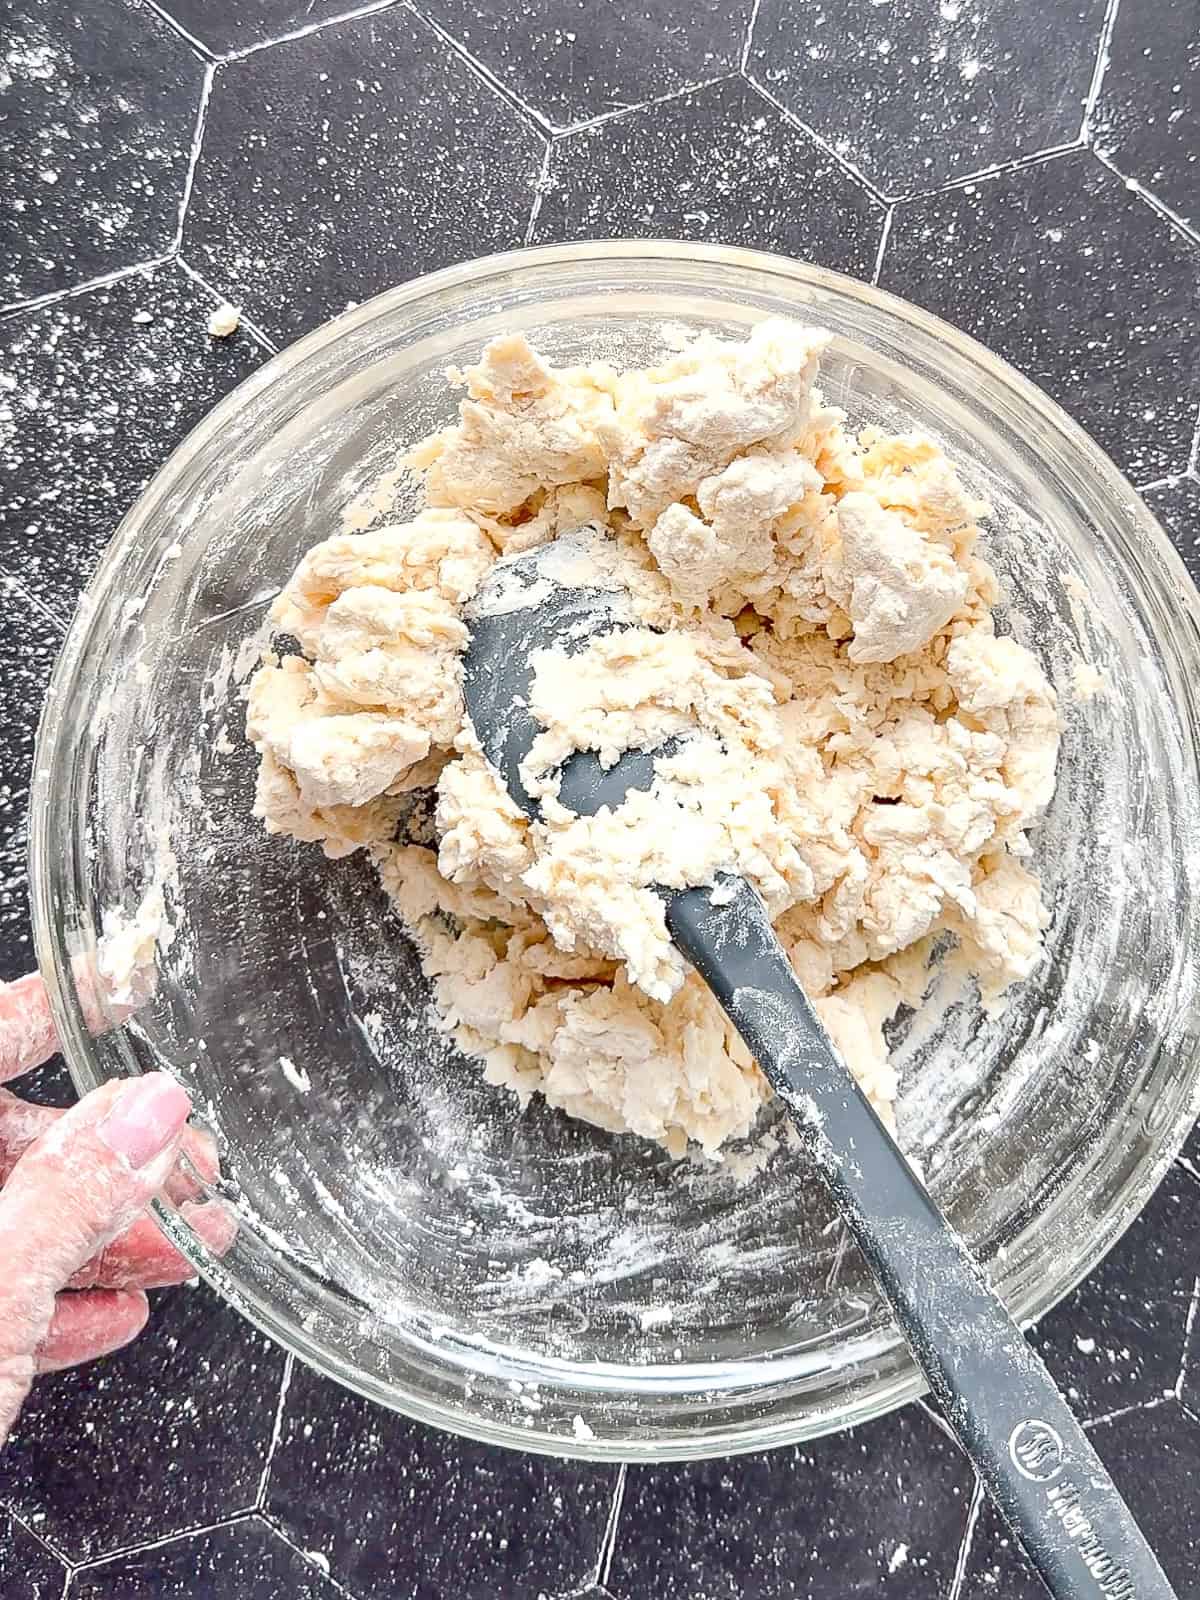
Step 4: Mix gently until the dough looks shaggy and loose.

Step 5: Turn the dough out onto a lightly floured surface. Pull it together with your hands or a bench scraper into a rough square.
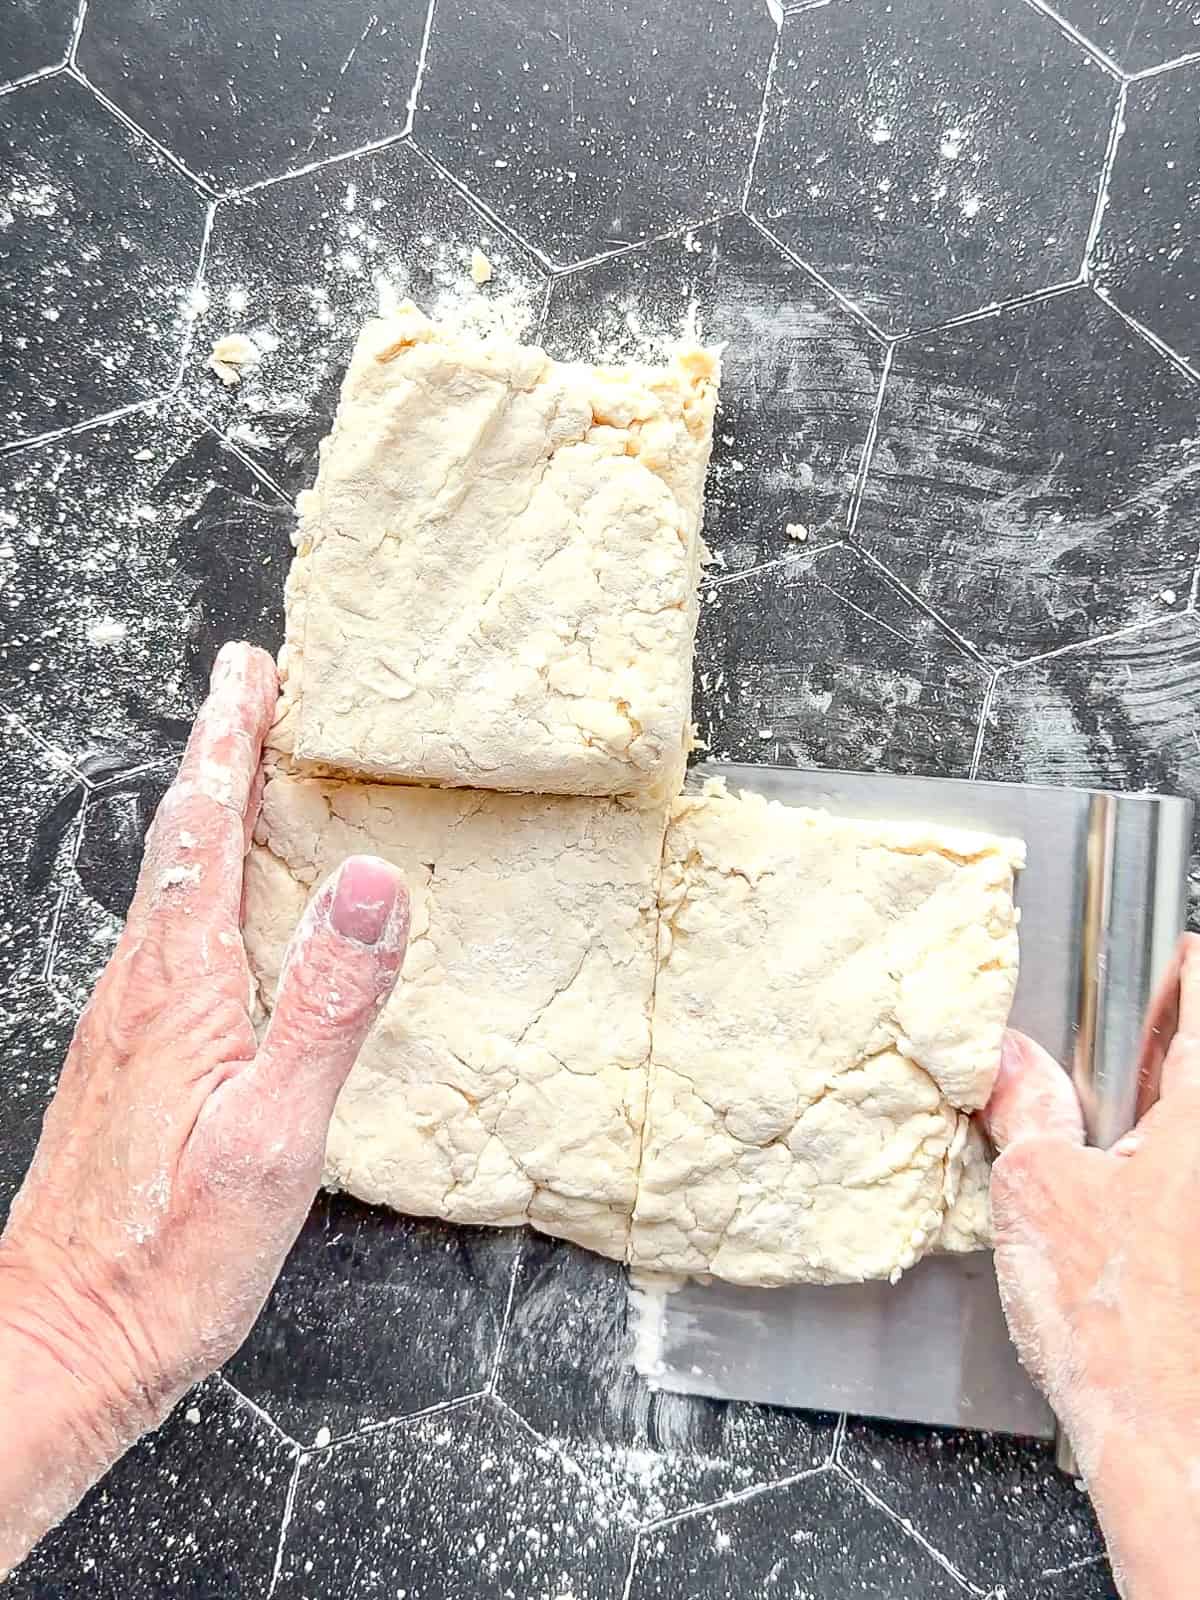
Step 6: Cut the square into four smaller pieces. Stack them on top of each other. Press down into a square again.

Step 7: Repeat this cut and stack method two more times for maximum flaky layers.
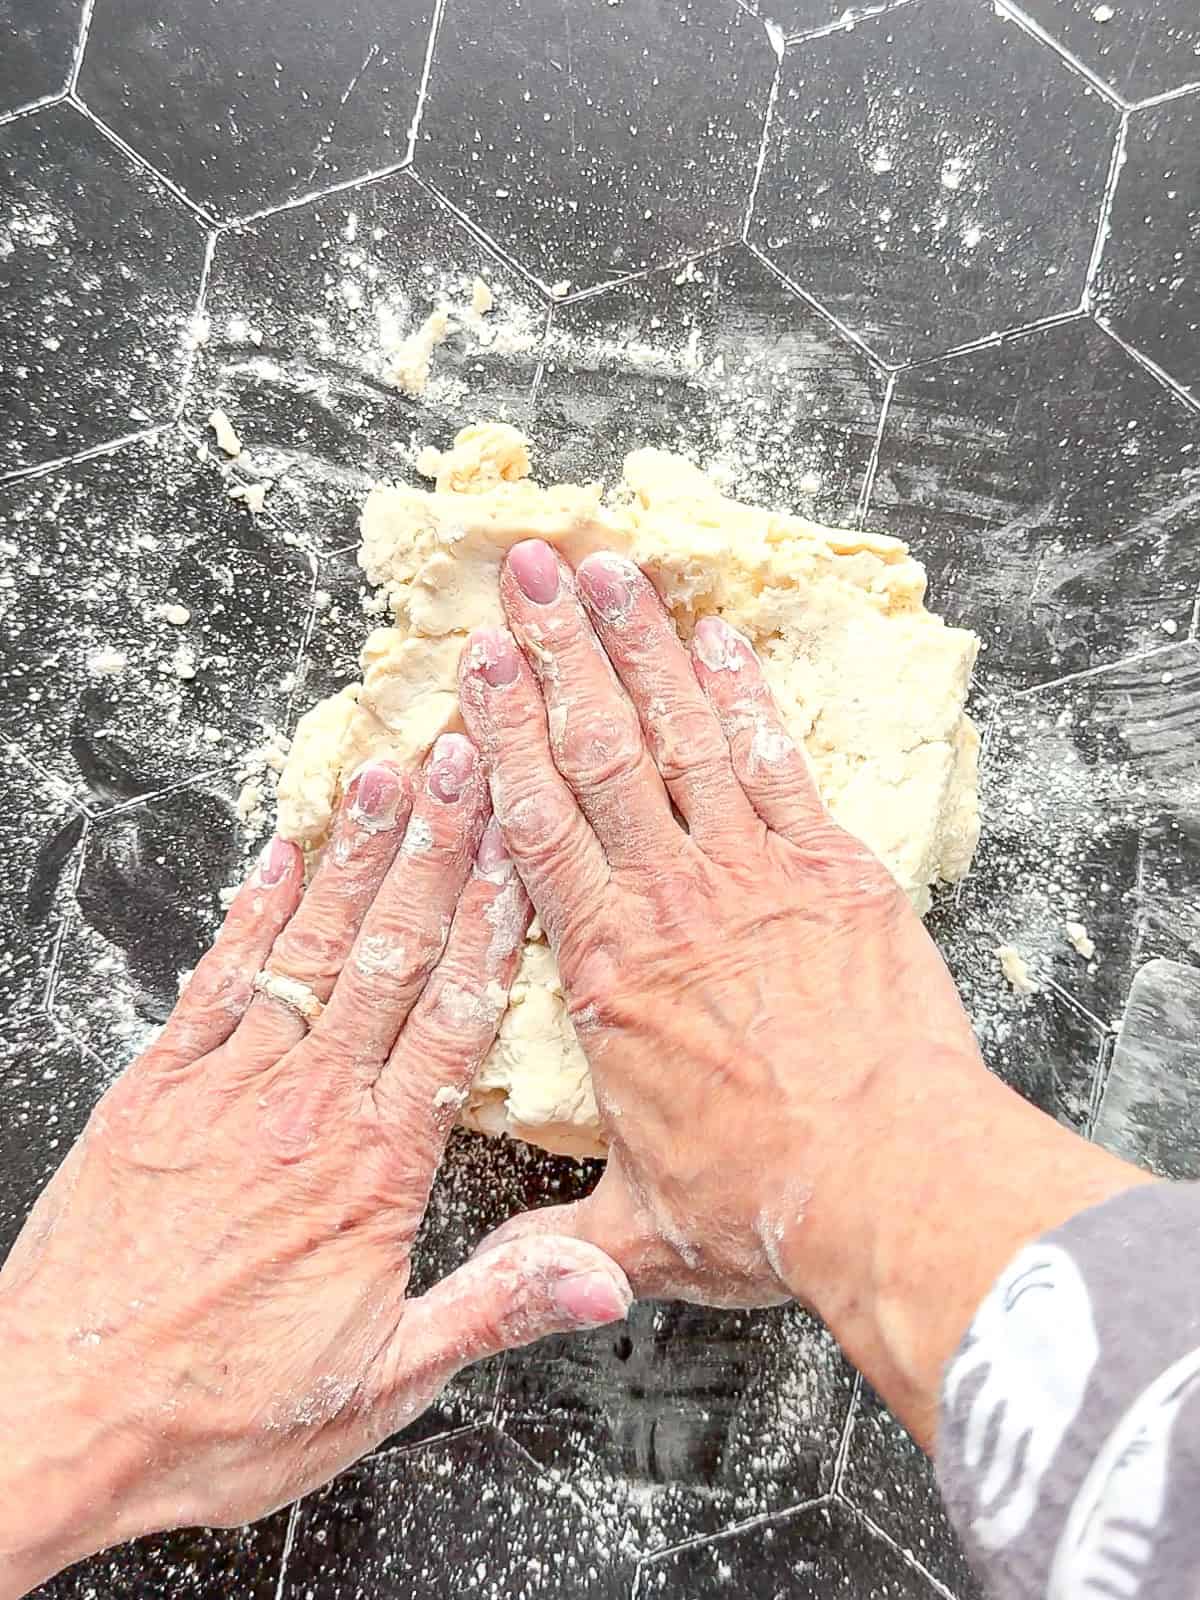
Step 8: Pat the dough into a rectangle ½ to ¾ inch thick.
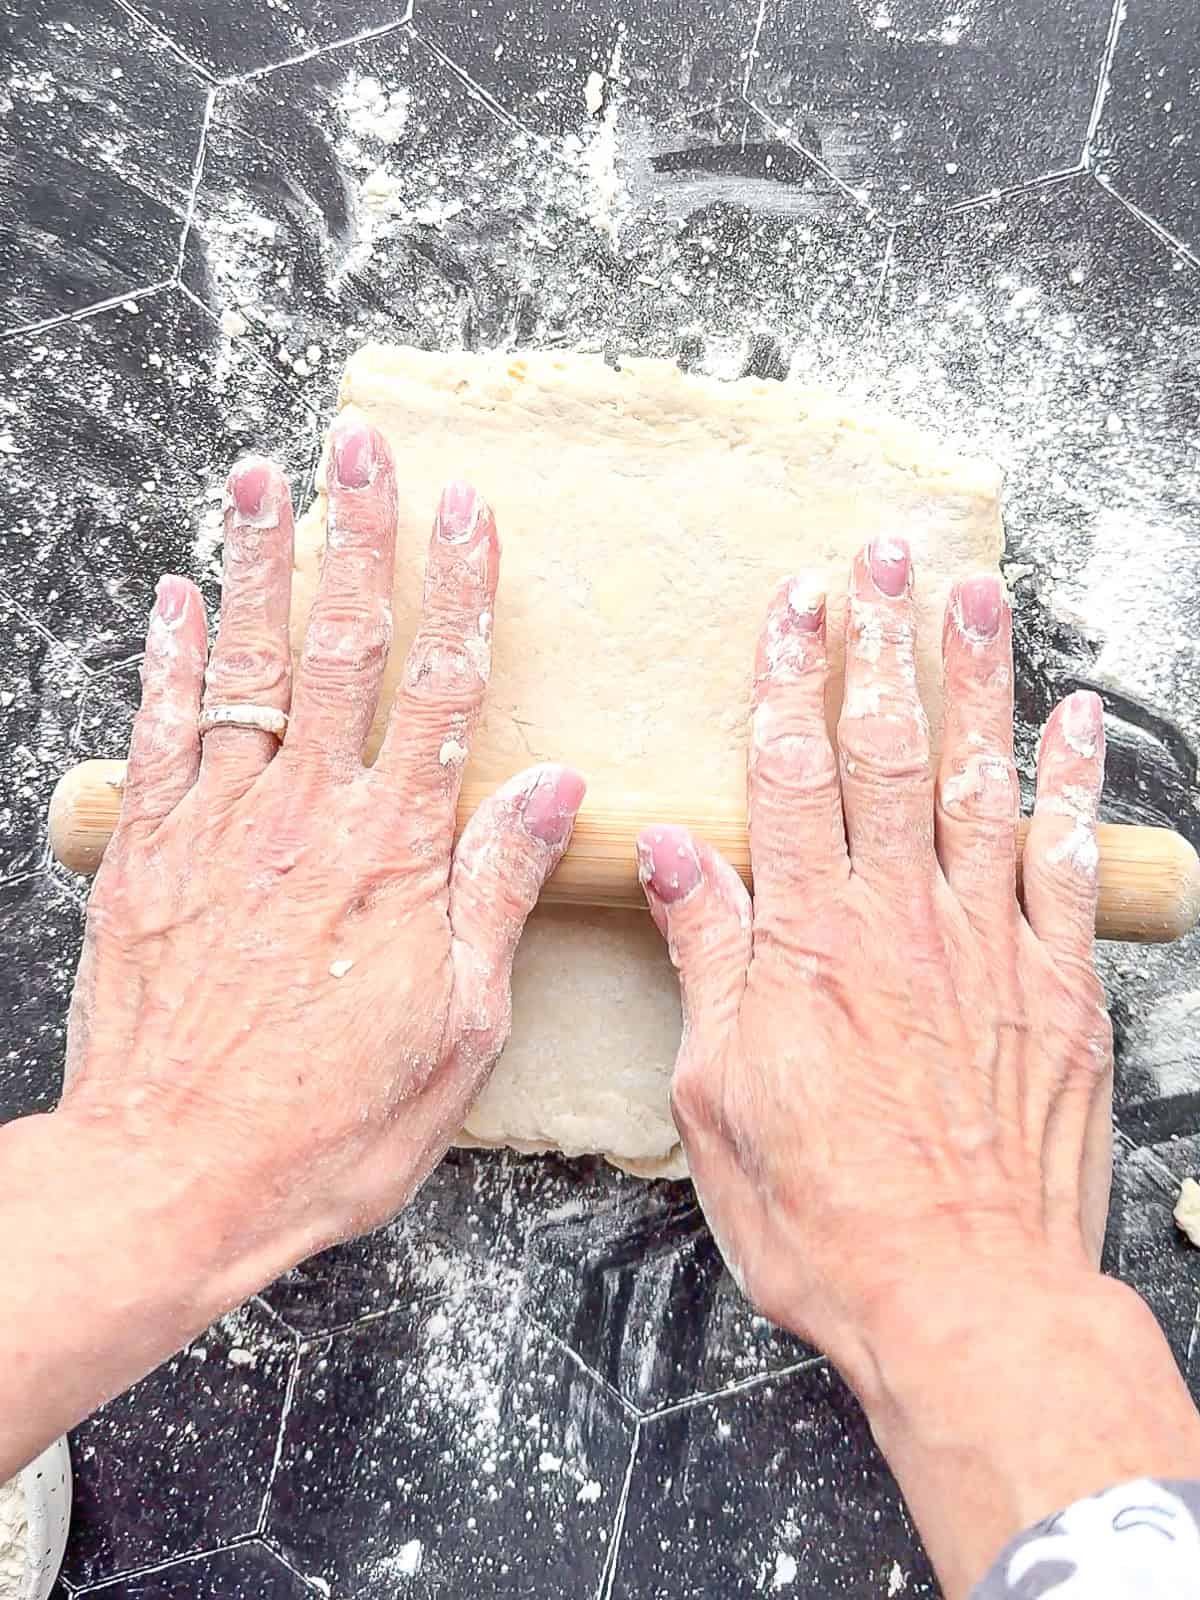
Step 9: I like to use a rolling pin to get a smooth top, but I'm kinda crazy like that.
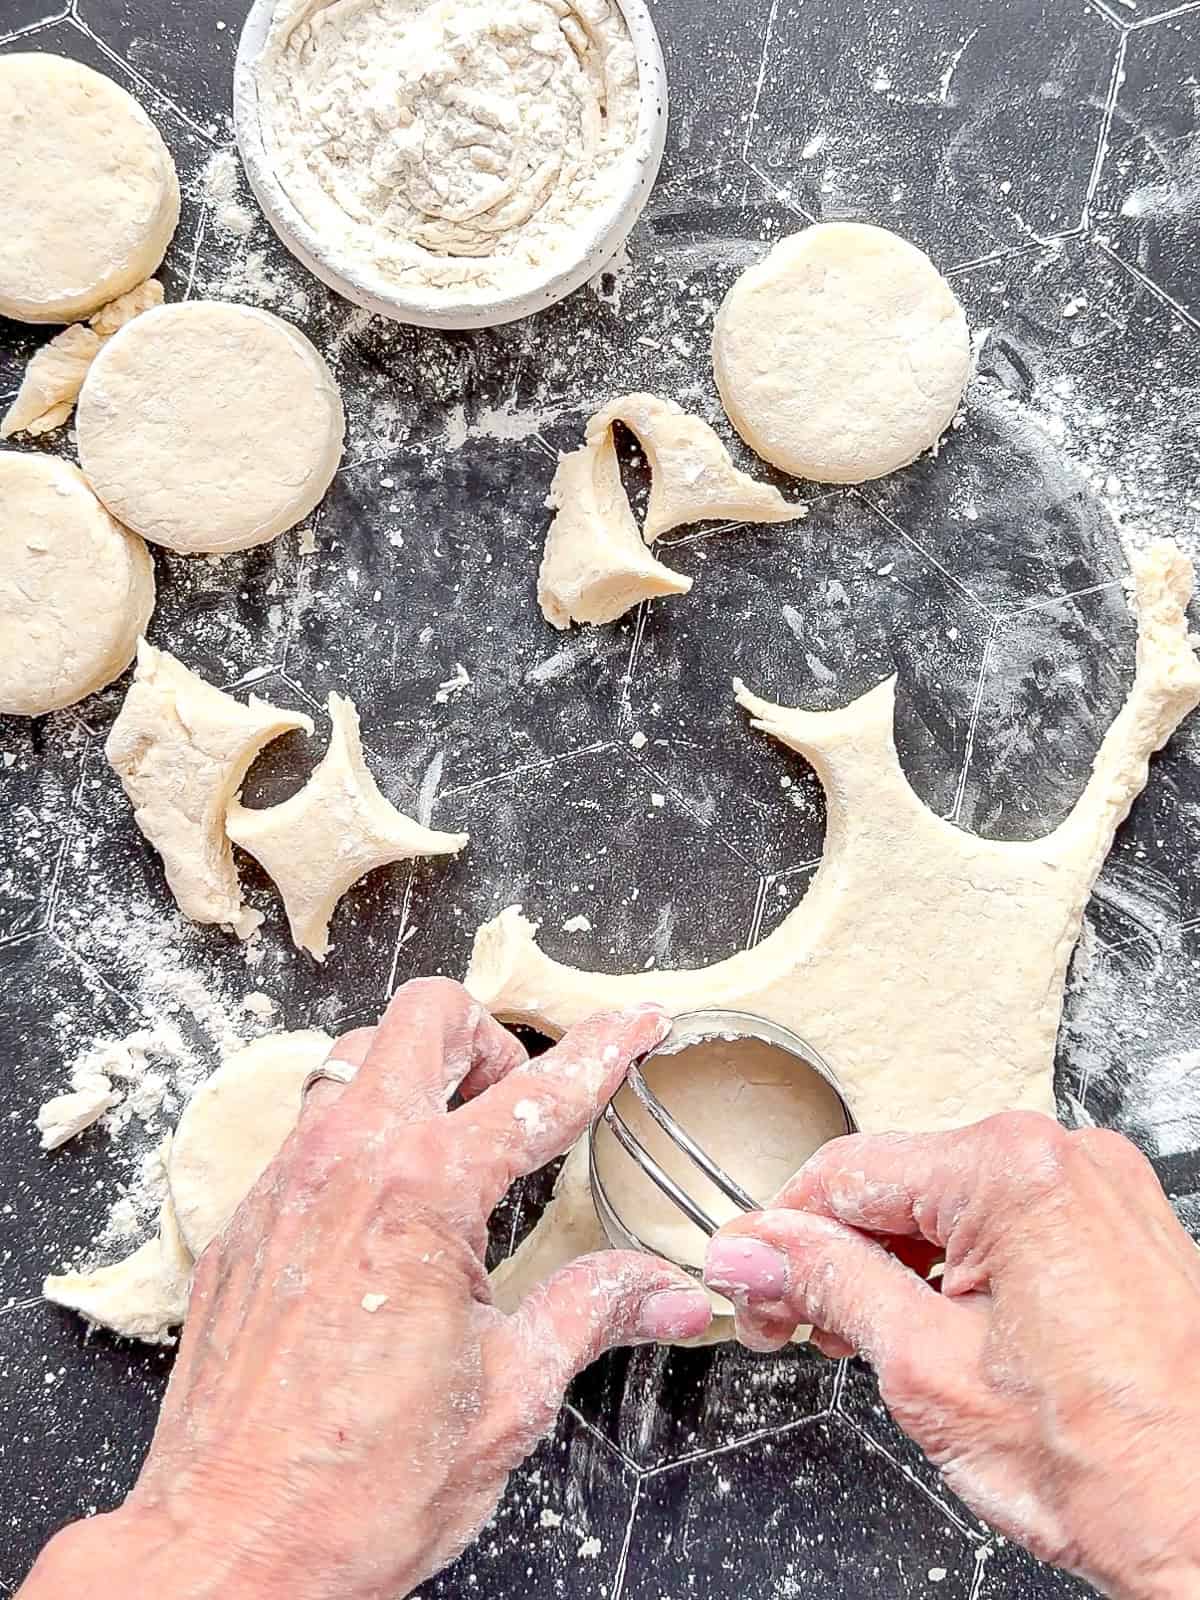
Step 10: Cut into rounds or squares. Freeze the shaped biscuits for 10 to 15 minutes as you preheat your oven to 450°F.

Bake : Brush the tops with egg wash (one egg whisked with one tablespoon of water) or more buttermilk and bake at 450°F for 15 to 18 minutes, or until golden brown.

Rest: Let the biscuits cool on the sheet pan for at least 10 minutes. Brush with melted butter and sprinkle with flaky salt if you like.

Serve: Fresh from the oven, brushed with butter, and ready to enjoy. Grab one while they're hot. These will not last long!
Cynthia's Helpful Tips
- Cold Everything - Start with the butter and buttermilk very cold, but don't go crazy. You don't have to use frozen anything. We will be popping these into the freezer before baking.
- Stacking Method - The cut and stack technique is what makes those big layers.
- Flour Lightly - Too much flour makes biscuits tough. Use a flour duster to add small amounts of flour just to keep things from sticking.
- Freeze Before Baking - This rechills the butter so your biscuits rise higher.
- Sharp Cutter - Press your biscuit cutter straight down, never twist.
Serving Suggestion
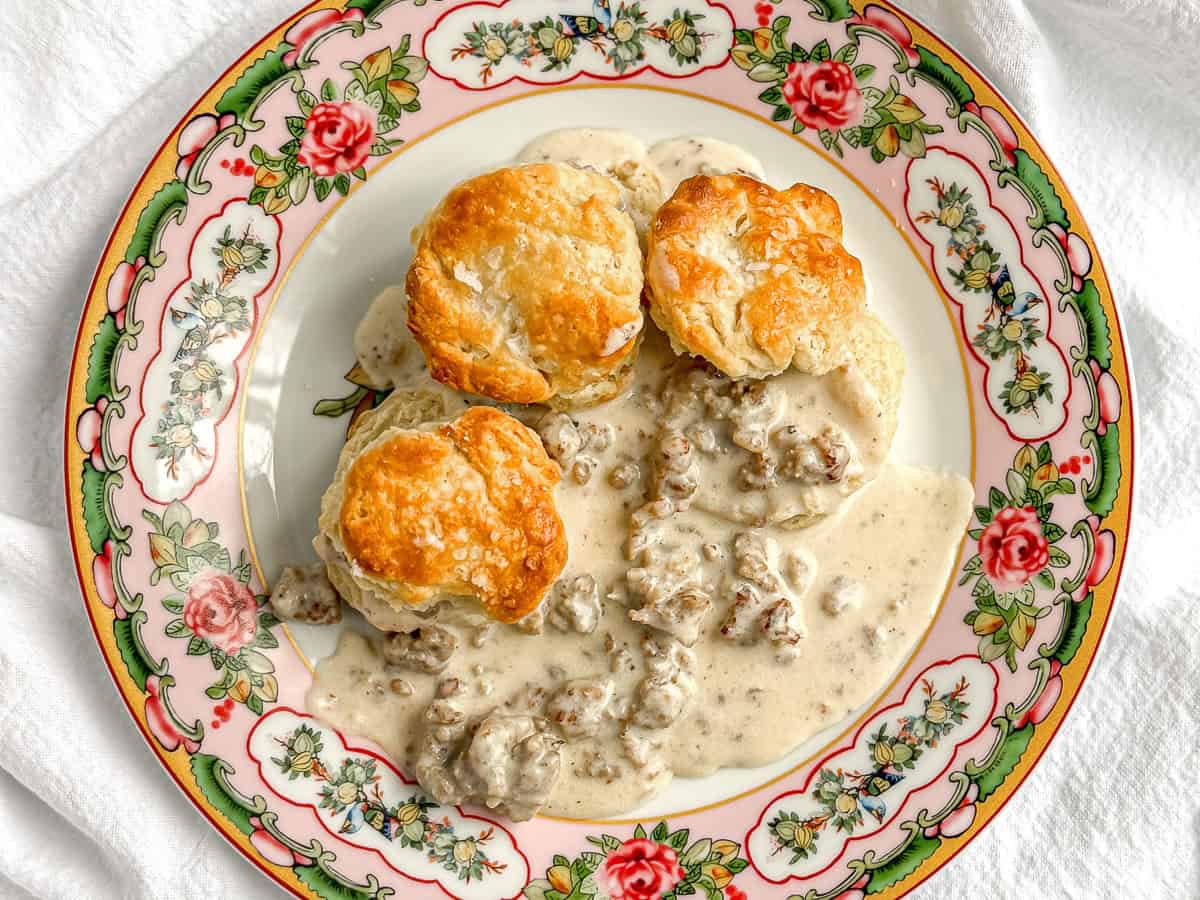
Nothing made my dad happier than a plate of biscuits and sausage gravy. The only person who likes it nearly as much is The Boy. And me! Extra gravy please!
Recipe FAQs
Yes. Follow my freezer biscuits recipe to mix the dough, shape the biscuits, and freeze them. Bake from frozen.
Store at room temperature for 2 days or in the freezer up to 2 months.
Warm in a 350°F oven for 8 to 10 minutes.
Expired baking powder or baking soda are the most common causes. Check your dates and use the freshest.
Yes. Reduce the salt to ½ teaspoon.



Did you try this recipe?
Please consider leaving a comment with a ⭐️ rating below and tell me all about it! It helps me to continue to improve my content and lets others know what you think!
I appreciate it so much!
-Cynthia
📖 Recipe
Easy Flaky Buttermilk Biscuits
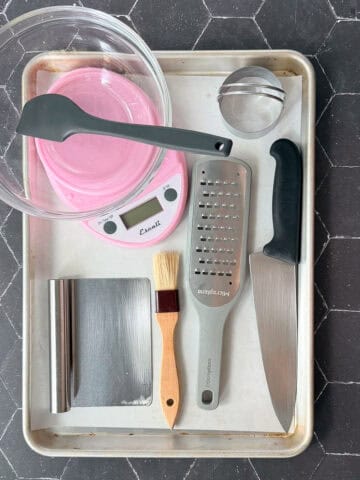
Recommended Equipment
Ingredients
- 2 cups (240 g) all purpose flour
- 1 tablespoon baking powder
- 2 teaspoons sugar
- 1 teaspoon salt
- ¼ teaspoon baking soda
- 8 tablespoons (112 g) unsalted butter very cold and cut into small cubes or grated
- ¾ cup (180 g) buttermilk very cold (Plus more, if needed)
- 1 large egg whisked with water for egg wash (optional)
Instructions
- Line a large baking sheet with parchment paper.
- Whisk flour, baking powder, baking soda, sugar, and salt in a mixing bowl.
- Add cold butter, cubed or grated, and cut it in until the mixture has flat and crumbly pieces of butter.
- Make a well and pour in the buttermilk. Mix gently until a shaggy dough forms.
- Turn dough onto a lightly floured surface. Press into a square.
- Cut the square into four pieces, stack them, and press into a square again. Repeat twice more.
- Pat into a rectangle ½ to ¾ inch thick. Cut biscuits into rounds or squares. Freeze shaped biscuits for 10 to 15 minutes while you preheat your oven to 450°F
- Brush the tops with egg wash. Bake 15 to 18 minutes or until golden brown. Cool at least 10 minutes before serving.
Save This Recipe! 💌
Video
Notes
- Food processor instructions: Measure all of your dry ingredients into the bowl of your food processor. Pulse a few times to mix. Add cold butter to the dry ingredients and pulse 5-6 times, or until most of the butter is in pea sized, or smaller, pieces. Pour into a mixing bowl and proceed with the rest of the instructions.
- Keep all ingredients as cold as possible. If the dough softens while shaping, chill it briefly.
- Freeze unbaked biscuits for easy baking later. See my freezer biscuit recipe for all the details.
- Reheat baked biscuits in a 350°F oven for 8 to 10 minutes.
- Salt - Salt is essential for flavor, browning, and structure. I use kosher salt, but if you only have common table salt, use half the amount.
The stacking method sounds like the secret I have been searching for. Can’t wait to make these tomorrow. Can you please tell me can I add some inclusions? Such as raisins or cranberries or any inclusion how many grams would I add? Thank you 🙏🌸
In general, I wouldn't add more than one to one and a half cups, or 115 to 170 g of additional ingredients. Cheese, raisins, cranberries, or whatever you want. Don't add anything that is too wet or your biscuits will be so soggy and not bake up correctly. Come back after you've made them and let me know how it goes!
This was my first time making the buttermilk biscuits and now I can’t go back. My family loves them and her step by step videos made it feel so easy! It’s definitely worth purchasing the buttermilk, I plan to freeze the extra.
Thank you so much for choosing my recipes!
Great recipe (although I forget one thing every time) Thanks!
You should use the check box next to each ingredient on the recipe card. It saves me every time!
Nice biscuits, but wayyyy too much salt.
I reached out to the commenter to make sure they didn't accidentally misread the recipe and add too much salt as the amount of salt in this recipe is the standard amount of salt for any biscuit recipe across the board. They responded and said that they think all biscuit recipes, including ones from a bakery, are too salty and even included recommended daily dietary salt amounts in their response. I'm not certain if they made the recipe or not, but this comment appears to be a taste preference thing and not a recipe error. Everyone has their own amount of salt tolerance and their own preferences. I stand by my recipe since it's my grandmother's and it was her mother's and it's been in my family for generations. If you don't want as much salt, I recommend that you don't add as much salt.
Look no further, this recipe is foolproof!(im the fool and have now made them perfectly-TWICE!)
Thank you Cynthia !
I’m so glad you loved them! Thank you for choosing my recipes ❤️
Perfection!!
Thank you!